Philippe Lafargue died at his home from an undiagnosed glioblastoma on June 22. Philippe has been instrumental in the Roubo project, helping with translations for “Make as Perfectly as Possible: Roubo on Marquetry” and “With All Precision Possible: Roubo on Furniture.”
“When we first met more than 35 years ago, I recognized immediately the talents Philippe possessed, talents that often surpassed his ability to communicate them,” says Don Williams, who co-authored the Roubo books along with Michele Pietryka-Pagán. “Over the years, thanks to the foundation of the multi-year curriculum of École Boulle and the career choices he made later on, combined with the thoughtful encouragement of his former wife, Maria, and the family life with his children, he became what Tom Wolfe would call ‘A man in full.’ In the end, his contribution of good-humored friendship and technical, historical and verbal expertise was integral to Team Roubo functioning smoothly for creating the volumes. We will proceed without him, although to be truthful, I cannot fully envision that right now.”
On learning of his death, Michelewrote, “I never actually met Philippe, but I could tell from one phone call that I was communicating with a true professional – not only a true master at what he did, but also a superb human being. We are all worse off with this loss of Philippe. May he rest in peace.”
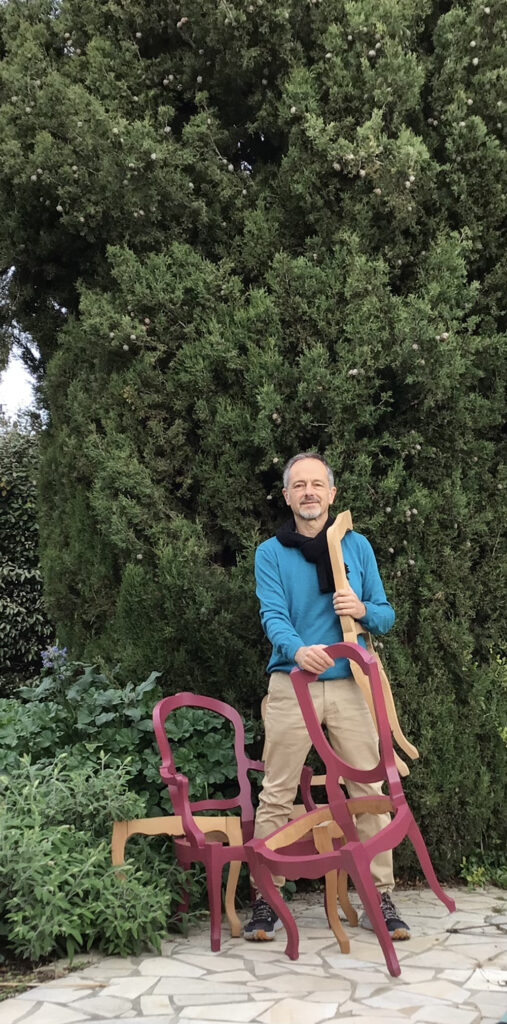
We recently featured Philippe in a Meet the Author profile. It ended with this quote from Philippe:
“You can fight all the time but life is going to take you where it’s going to take you. It’s up for you to go for it, to be quick to accept and change. And you are always part of it. That’s the beauty of it. No matter what happened, you are part of it – 50 percent is your choice. The rest is to accept that you have decided to do this or not. That’s the difficult part. But life is short. Life is to be lived. Life is to discover yourself.”
The following is excerpted from “The Joiner and Cabinet Maker,” by Anonymous, Christopher Schwarz and Joel Moskowitz.
It begins in 1839. In that year, an English publisher issued a small book on woodworking that has – until now – escaped detection by scholars, historians and woodworkers.Titled “The Joiner and Cabinet Maker,” this short book was written by an anonymous tradesman and tells the fictional tale of Thomas, a lad of 13 or 14 who is apprenticed to a rural shop that builds everything from built-ins to more elaborate veneered casework. The book was written to guide young people who might be considering a life in the joinery or cabinetmaking trades, and every page is filled with surprises.
Unlike other woodworking books of the time, “The Joiner and Cabinet Maker” focuses on how apprentices can obtain the basic skills needed to work in a hand-tool shop. It begins with Thomas tending the fire to keep the hide glue warm, and it details how he learns stock preparation, many forms of joinery and casework construction. It ends with Thomas building a veneered mahogany chest of drawers that is French polished. However, this is not a book for children. It is a book for anyone exploring hand-tool woodworking.
Thanks to this book, we can stop guessing at how some operations were performed by hand and read first-hand how joints were cut and casework was assembled in one rural England shop.
Here’s what you’ll find in our expanded edition of this book:
• A historical snapshot of early 19th-century England. Moskowitz, a book collector and avid history buff, explains what England was like at the time this book was written, including the state of the labor force and woodworking technology. This dip into the historical record will expand your enjoyment of Thomas’s tale.
• The complete text of “The Joiner and Cabinet Maker,” unabridged and unaltered. We present every word of the 1839 original (plus a chapter on so-called “modern tools” added in a later edition), with footnotes from Moskowitz that will help you understand the significance of the story.
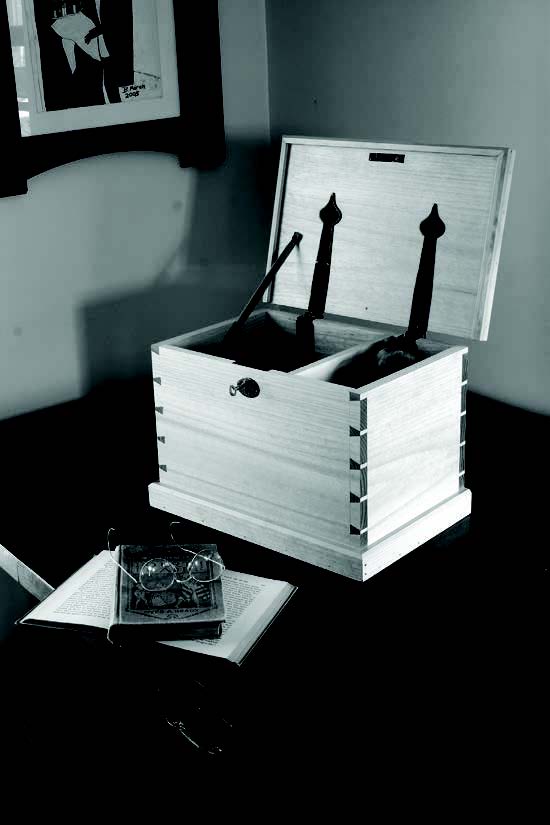
• Chapters on the construction of the three projects from “The Joiner and Cabinet Maker.” Schwarz built all three projects – a Packing Box, a dovetailed Schoolbox and a Chest of Drawers – using hand tools. The construction chapters in this new edition of “The Joiner and Cabinet Maker” show the operations in the book, explain details on construction and discuss the hand-tool methods that have arisen since this book was originally published.
• Complete construction drawings. Lost Art Press drafted all three projects in SketchUp to create detailed drawings and cutting lists for the modern woodworker.
Confession time: No one has ever taught me how to fit a lock. I have always done it by instinct, feeling along in the dark until the thing fit and worked (after a good deal of fussing).
So reading the directions in “The Joiner and Cabinet Maker” was a real revelation. As a result, fitting the lock for the Schoolbox was straightforward, fast and simple. That’s the good news. The bad news is that I don’t have anything to compare it to except my own self-taught ham-handed cave-carving methods. So you’re not going to get anything to compare Thomas’s methods to.
In any case, this method works great. Here we go. The key to everything with setting the lock is the pin that the key turns on. Yes, the keyhole is important, but not as important as the location of the pin. Let this square piece of brass guide you and you’ll be fine.
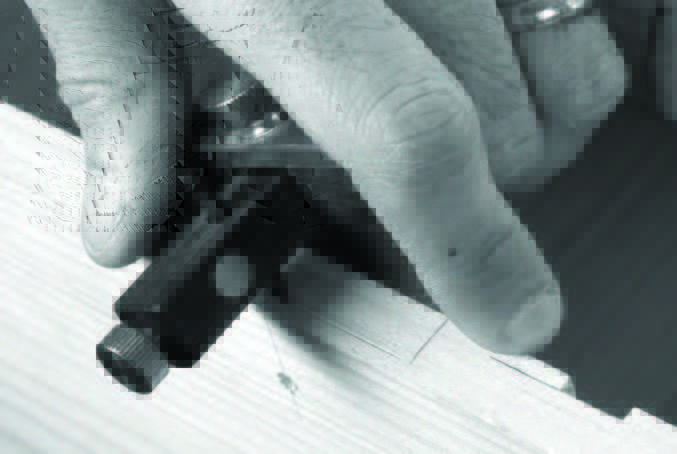
Bore a hole through the front of the box using a birdcage awl. The sharp arrises of the awl will bore through the front. Barring that, drill a hole that is smaller than the pin in the lockset and test the fit.
Find the centerline of the front of the Schoolbox and strike a vertical centerline near the top. The line need only be 1″ or 2″ long. Now you want to bore a scant hole through the front that the pin will push into (that’s why the pin is proud of the lock mechanism). You can measure this location, as Thomas did. Or you can line up the top of the lockset with the top of the carcase and push the pin into the soft pine. Then set the lockset aside and use a birdcage awl to bore a hole straight through the front of the box, where the pin should go. When you break through to the inside of the box, try to fit the pin into the hole in the front of the box. Widen the hole on both sides until the pine holds the pin right where it will be in the end.
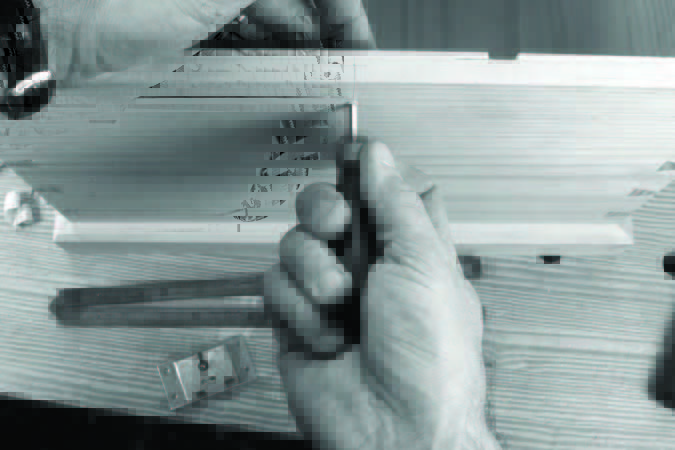
With the lockset in place, position your square up to the extents of the top plate and trace those lines on the top edge of your box.
Now mark where the top plate of the lockset will fit in the top edge of the Schoolbox. Working from the front of the box, press the pin into your hole. Clamp the lockset in place and trace the extents of the lockset onto the top edge of the Schoolbox. Use a square to help.
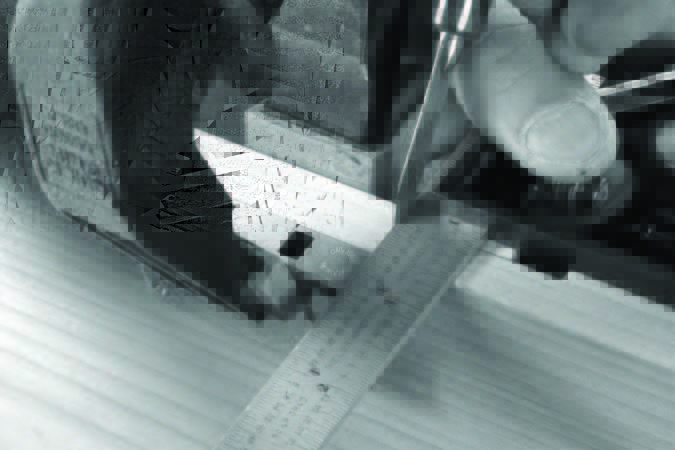
Here I’m using a cutting gauge to mark the front edge of the lockset on the top edge of the box. Then measure the thickness of this top plate and mark that on the inside of the box. Start wasting away this shallow mortise.
Now you want to mark out the width of the top of the lockset’s plate on the box. Set your marking or cutting gauge to the width of the plate and use the gauge to connect the distance between the two pencil lines you just struck. The mortise for the top plate of your lockset is now ready to be wasted away.
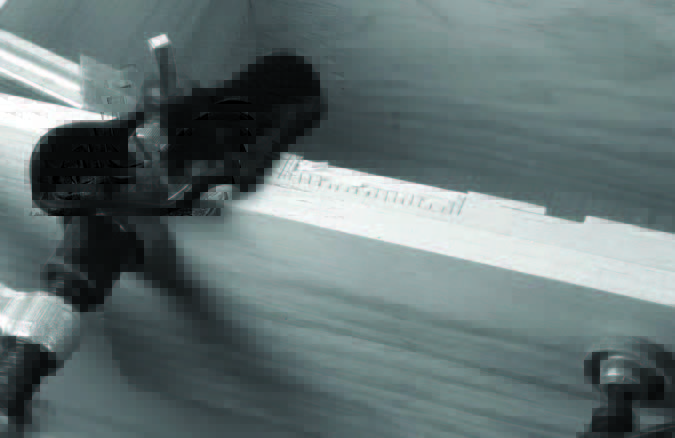
Router planes excel at this type of detail work. When you need mortises that are exactly the same depth (such as matching hinge mortises), a small router plane is the tool for the job.
To remove this waste, score it with a chisel that you drive with taps of your mallet. You can then remove the waste with the chisel or use a router plane to ensure the depth of your mortise is consistent.
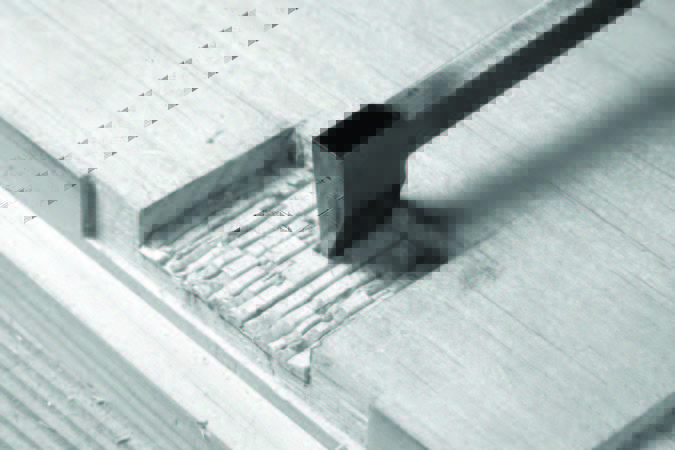
A drawer-lock chisel is great for this sort of close-quarters work. Score the waste with the drawer-lock chisel then remove the scored waste with a bench chisel by working from the top.
Now push the pin of the lock into the hole in the inside of the Schoolbox. The works of the lock will butt against the front piece. Trace around the box that holds the works. Measure the thickness of the lockset and mark this as the finished depth of your lock’s mortise. You can chisel out this recess, or you can saw its extents, then chisel it.
Use a fairly thick pencil lead to mark around the works of the lock. The corners of the lockset might be rounded over during manufacturing, and a thick pencil will actually give you a more accurate line than a skinny pencil lead.
The rest is easy. Press the lock into this mortise and trace around its back plate. Then waste away this area using the same techniques discussed above. If you measured carefully you should have a fullmortise lock that fits completely flush without thinning the front of the Schoolbox any more than necessary.
Use some small files to enlarge the hole for the key. Use a rattail file to enlarge the hole around the pin. Use a flat file to make room for the rest of the key. It doesn’t have to be perfect if you are going to cover the keyhole with an escutcheon plate.
Screw the lockset in place and fetch the steel hinges. They need to be installed in the case before the lid is affixed.
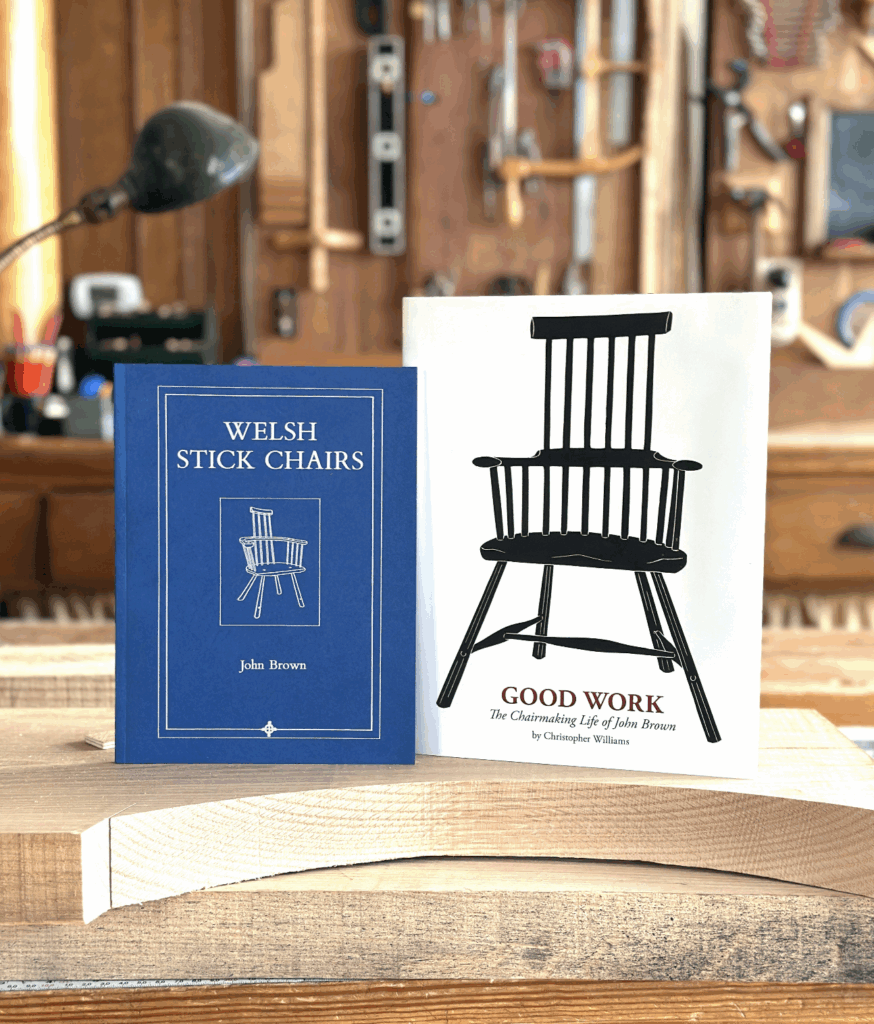
Get two classic chairmaking books – “Welsh Stick Chairs” and “Good Work” – for one special price. Together, they’re just $ 49 – but only through August 7. The regular price for both is $87 – you save 44 percent.
If you’re wondering where stick chairs came from, these two books will tell you the whole amazing story – and get you started in building them.
Stick chairs have been around for centuries – but they’ve mostly been ignored by museums. In the 1990s, Welshman John Brown wrote and published the landmark book “Welsh Stick Chairs.” This book inspired hundreds of people all over the world to begin researching and making these vernacular chairs.
One of those people who was inspired by “Welsh Stick Chairs” was Welshman Chris Williams. He worked with John Brown for more than a decade making these chairs. Through the years, John Brown’s chairs became more wild and true to the old Welsh character, and Chris was there the whole time.
After John Brown died, Chris wrote the book “Good Work” about his mentor. This biography explores John Brown’s creative genius and his tumultuous character. And it explains how John and Chris built these chairs almost entirely by hand.
There is no better place to learn about the spirit of these chairs and how they were made than with these two books. So we are offering them at a special price until August 7.
Technical Details
“Welsh Stick Chairs”: Using first-edition examples of “Welsh Stick Chairs,” we reset the entire book in the original font to ensure the text was crisp. We rescanned and processed the photos and drawings and cleaned them up. And we spent weeks researching the paper stock of the original to capture the same earthiness and perfection of the first edition. We also made a small but invisible improvement – we sewed the signatures together to ensure the book will last for lifetimes. The book is a softcover, covered in heavy card stock like the original. The book measures 7-1/4″ x 9-5/8″. Our version includes John Brown’s original introduction to the book, plus the additional introduction he wrote for the third edition and an updated essay on John Brown by Nick Gibbs.
“Good Work”: The 208-page full-color book is also filled with historical photographs (many never published before) and beautiful linocut illustrations by Molly Brown, one of JB’s daughters. The book is printed on heavy coated paper with a matte finish to make it easy to read. The book’s pages are sewn, glued and taped – then covered in heavy boards and cotton cloth – to create a book that will last for generations. And the whole package is wrapped in a durable tear-resistant laminated dust jacket, which features linocut illustrations by Molly Brown.
Both books are produced and printed in the United States.
One of our local treasures, the Baker Hunt Art and Cultural Center, hosts a free lecture series in its Scudder House ballroom, and the speaker on August 13 is Christopher Schwarz. His subject? Chairmaking, of course!
“Not long ago, most households in Kentucky had the basic tools and skills to build their own furniture. If you raised crops or animals, you needed a few tools to keep things working. Plus you had time during the winter to make a table or a few chairs.
“Today, a skill like chairmaking seems entirely too difficult to do without special training. Chairs have a lot of crazy angles and difficult joints. But we know that farmers and laborers made them all the time. How?
“For the last 22 years, furniture maker Christoper Schwarz has studied the furniture made by everyday people – what academics call “vernacular furniture – which is ignored by most museums. By studying older pieces and building new versions of them, Chris has found the clever ways in which farmers and other non-professionals did complex trigonometry and precise joinery using basic tools.
“In this presentation, Chris will show off a 300-year-old chair made by a farmer and the clues it offers as to how it was built. And then he’ll use those clues to assemble a basic chair on stage.”
The lecture is from 6-8 p.m.; a cash bar is available. While the event is free, seating is limited, so registration is required. The Center is located at 630 Greenup Street, Covington, Ky., 401011.
Illustration from “The Stick Chair Book: Revised Edition” by Christopher Schwarz
Editor’s note: Our Mind Upon Mind series is a nod to a 1937 Chips from the Chisel column (also featured in “Honest Labour: The Charles H. Hayward Years”), in which Hayward wrote, “The influence of mind upon mind is extraordinary.” The idea being there’s often room for improvement.To that end, we’ve asked you what else you have thought of, tried out and improved upon after building projects from our books. To submit your own idea, email kara@lostartpress.com. You can read more about the submission process here.
Today’s pick is from Nick Stanchenko. Thanks, Nick!
— Kara Gebhart Uhl
After a few chairs, I decided I was ready to try the armbow miters, as illustrated — but not really explained — in “The Stick Chair Book.” (Turns out, I wasn’t quite ready.)
The first challenge was getting the angles to match. This is easy with a router and a dovetail bit, but unfortunately I had sold my router a year ago to focus more on hand tools. After a bit of head scratching, here’s what I came up with:
Clamp the two parts together, draw an angled line using a bevel gauge and cut in one go.
This kind of worked, but wasn’t super accurate. The saw tends to pivot a little after the top part is cut through. Oh well. Time for another approach:
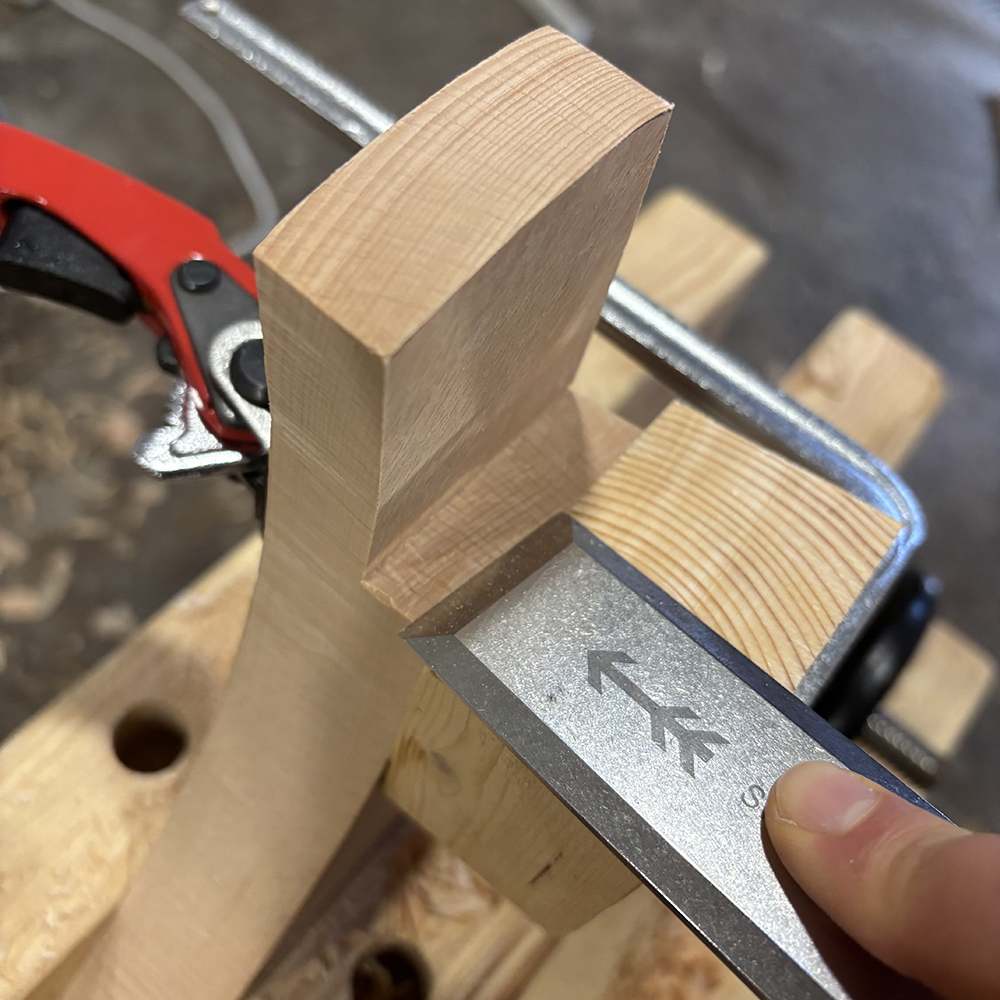
Make an angled block. Then clamp it to each of the mating parts and refine them with a wide chisel. (The lap joint itself was cut with a saw and flattened with a router plane.)
This time, I had a perfect match and rushed to glue up. Bad idea! Glue gathers in the sharp corner and prevents the parts from coming together tightly. In fact, the whole assembly slides around as you try to clamp it. It was devastating, but obvious in hindsight.
I removed the clamps, let the glue dry, scraped it off and trued all the surfaces again. Now what?
“Pinch dogs” would have been a great solution to hold the joint in place. But I couldn’t remember what they were called, and I don’t think they are sold where I live anyway.
Here’s another method to keep the parts from moving: Pin them!
When chiseling, you might chip a corner as I did here. Don’t panic. Just bevel or round over the damaged edge, which is on the underside of the armbow.
I found a regular pin more or less satisfactory, although you can also drawbore it (i.e. offset the holes by a tiny amount) to pull the joint together more tightly.
Now the glue-up:
Much better.
Finally, I present to you the resulting joint after a bit of clean-up with a spokeshave, a rasp and a card scraper. (OK, it’s the best of the four I’ve made so far.)
The cool part is that a stick will go through where the pin is, so there will be no trace of it left. Well, it does not really matter, but it feels nice.
Good luck!
— Nick Stanchenko
p.s. Needless to say, pinning will also help with non-mitered lap joints.