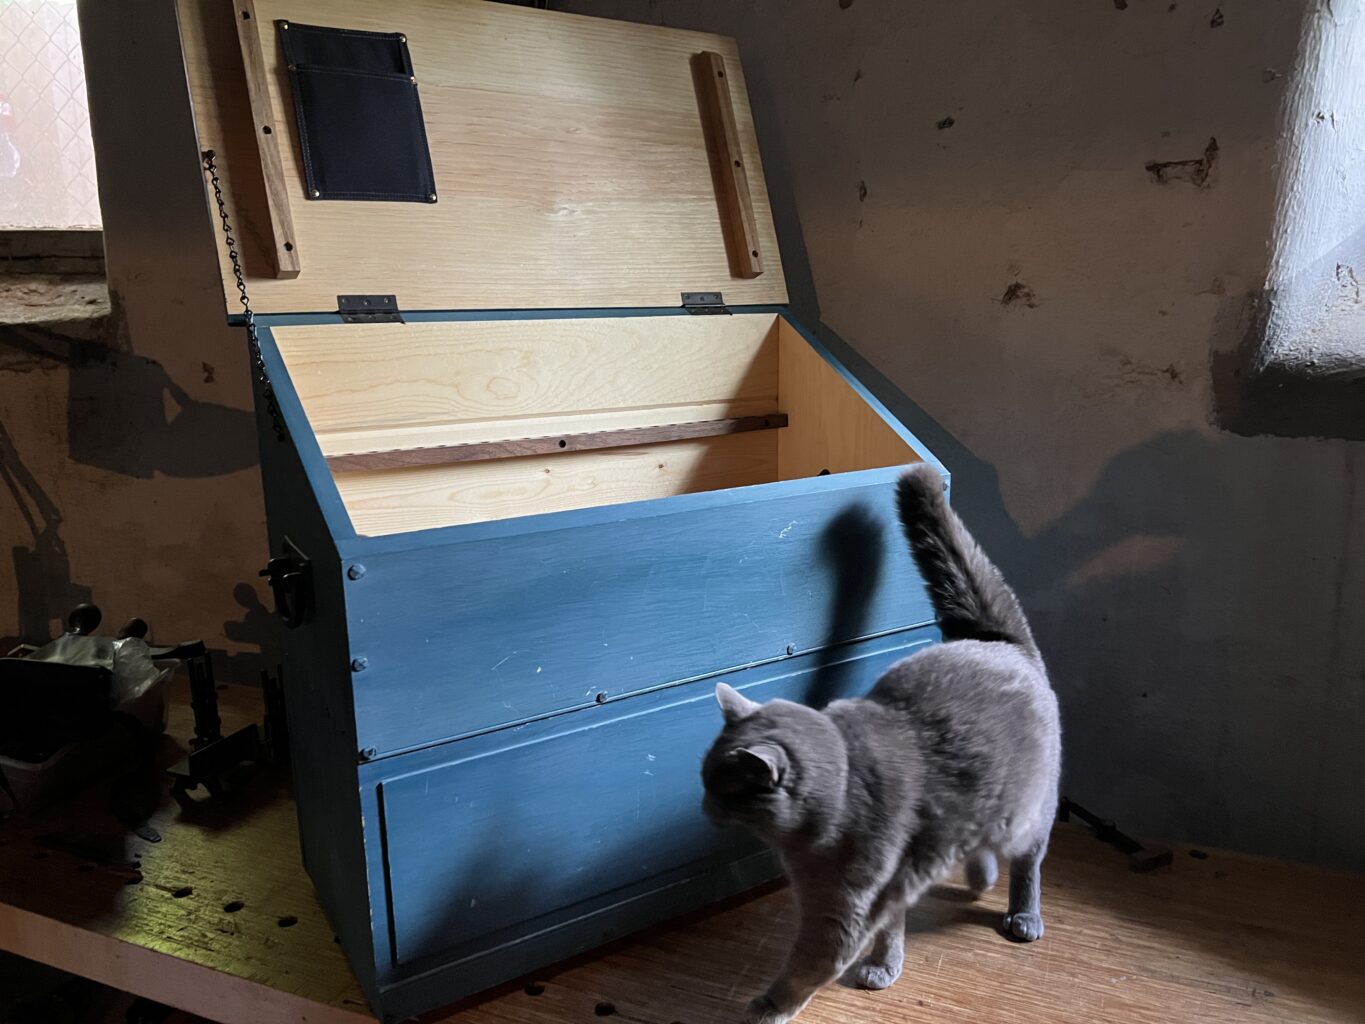
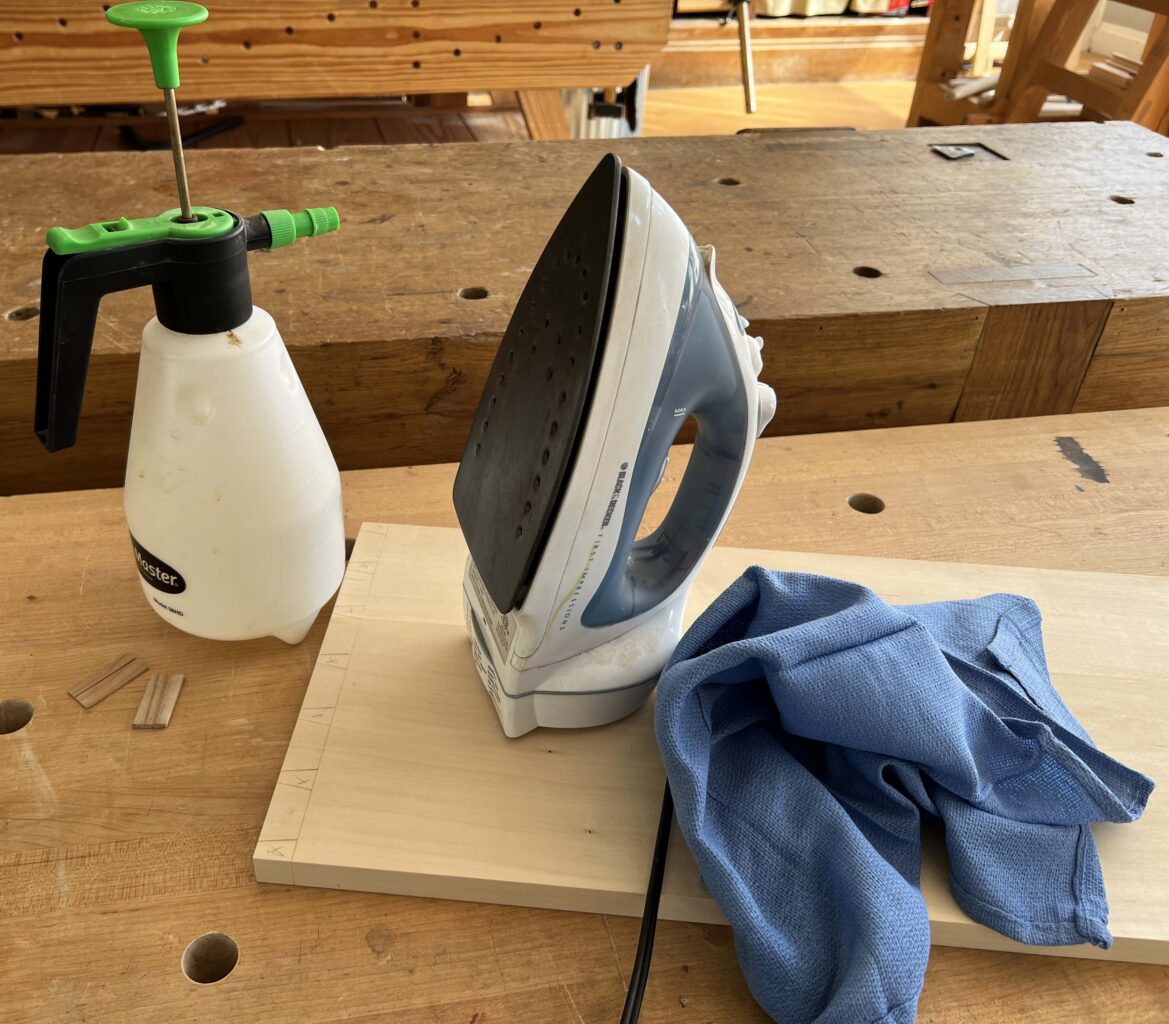
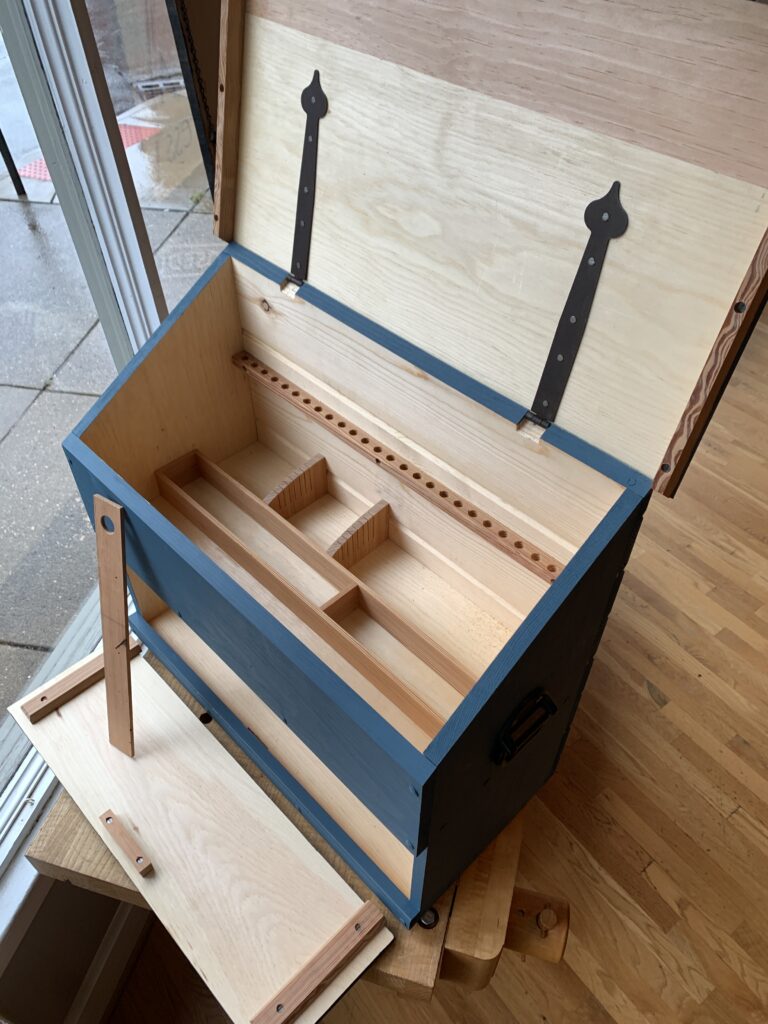
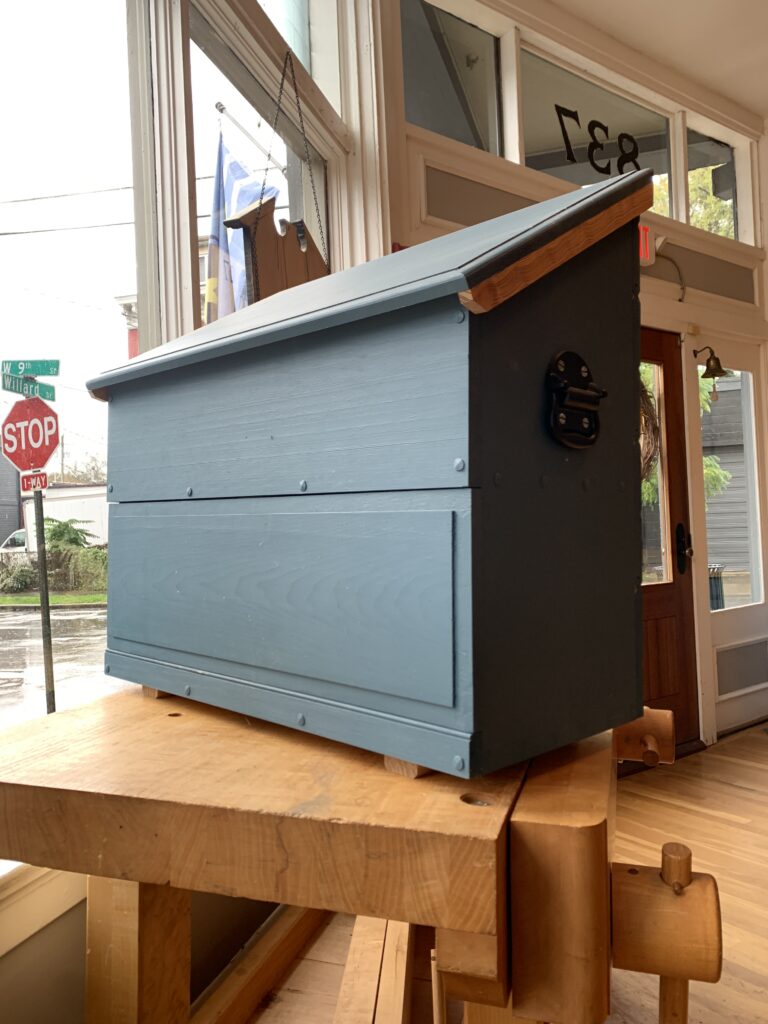
We had to relist our one copy of Deluxe Roubo on Furniture from the Blem Sale (along with a copy of “By Hound & Eye,” plus we still have some “Book of Plates.”) So IF YOU ARE LOCAL or are willing to travel tomorrow:
The books are listed here in Chris’ eBay store. They are all 50 percent off retail. They are listed for pickup only with no shipping options. If you buy one, you (or your spouse, child or buddy) must pick it up on Dec. 23. We can’t ship it to you – we don’t have the boxes or packing material here in Covington. If you beg me (Megan Fitzpatrick) to mail you one, I will say no. So please, please, please don’t make this uncomfortable or weird for us. And especially don’t email help@lostartpress.com. They are dealing with holiday craziness and don’t have anything to do with this blem sale.
The two project chairs featured in the book: the balloon-back (left) and the fan-back.
I love going to the Lie-Nielsen Toolworks Open House (almost) every summer for a number of reasons, but one of the best is getting to hang out with chairmaker extraordinaire Pete Galbert for a few days. He’s been there at every event I’ve had the pleasure of attending.
Pete is one of those people who always puts a smile on my face, because there’s always one on his. He’s just so darn nice and fun to be around. And he’s an extraordinary teacher – I was blown away by his presentations at Woodworking in America (back in my former life).
Hopefully I’ll get to see him in person next summer (if not sooner). But for now, I’ll have to make do with seeing him on his spindle turning and milk paint videos. And, of course, reading from his book (for which he also did all the gorgeous drawings).
Obviously there is a long history to the Windsor chair. And along the way, I’m sure that just about every imaginable technology has been used to build them and all sorts of design innovations have been tried. I am neither a historian nor a wood technologist; luckily, there are a number of good books on both subjects. In setting out to write this book, I wanted to make chairmaking accessible and open a door into a gratifying kind of woodworking.
Looking back, I recognize that my own transition into working with green wood took place in stages. I remember simply wanting to see what a drawknife could do, and I didn’t care if it was on a split piece of oak destined for a chair or a 2×4. I encourage you to act on your impulse to explore and play. These are vital steps in the learning process.
Even though I could simply lay out a single path to success for making a chair, I recognize that each of us comes from a different background, workshop and skill set, so I’ve tried to stress the principles that you’ll encounter, knowing that you will apply the information that best suits your ability and interests.
I’ve structured the information so that the basic concepts are illustrated, and if you want to go deeper into the topic, you can delve further into the text. Illustrating the book myself was an obvious choice for me because not only do I enjoy drawing, but I also hope to impart as much visual information as possible. Plus, the chairs, with their thin lines and crisp silhouettes, translate beautifully when drawn.
The project portion of this book details the process of building the two chairs shown below. While the process for building a chair is simple, there are many opportunities to learn more about the materials, tools and techniques.
The project chairs were chosen both for their similarities and differences. Besides some aesthetic elements, the chairs are structurally identical from the seat down. That way, making one chair will give you experience that will serve you in the other. From the seat up, the difference is both aesthetic and technological. If you have access to green wood, you will find the balloon-back attainable. If you are limited to sawn (hopefully air-dried) lumber, you can make your way through the fan-back, which lacks the extreme bend, yet it has slightly more complex joinery in the crest.
Another reason that I chose these chairs is that they point the way toward two different families of design within the Windsor tradition. The balloon-back is a great introduction to the classic forms, such as the continuous-arm, sack-back and comb-back.
If your interest runs more toward more modern options, the fan-back leads to other designs with clean Asian-influenced lines, such as the birdcage and the step-down-crest styles. My unpainted contemporary designs are mostly rooted in the technology that begins with the fan-back form.
Drawing of two “families” of chairs to which each project chair belongs.
I also cover options for building these chairs using the lathe in a limited way, or without using a lathe at all. While turning is the most efficient way to make the legs and joinery, not having experience with or access to a lathe should not stop you from making a fine chair.
In this book, I’ve tried to address the questions that riddled me as I ventured into chairmaking and share some of the lessons and discoveries I’ve found helpful along the way. I spent most of my earlier years as a woodworker poring over books to squeeze out the information that I needed. One thing that struck me was that I got something new each time I returned to my favorite texts. My goal here is to not only demonstrate ways to achieve the tasks, but to show some of the common problems you might encounter and how to address them. Because of this, some of the descriptions might make more sense to you once you’ve worked with the process and found a problem for yourself. If the depth of the information here ever seems daunting, take a deep breath and rest assured you can make a chair that will exceed your expectations with only the basic concepts in hand. Once you’ve grown comfortable with them, the rest of the information might be more inviting.
Even for experienced furniture makers, each process will likely introduce new challenges. From splitting wood to turning, steam bending to carving, it’s a different way of looking at making a piece of furniture. While there are many steps involved in making a successful chair, and mastering the process can be a lifetime pursuit, a little effort and resilience will pay off at each turn.
My hope is that the information here encourages you to build your first chair, or perhaps just your latest.
Peter Galbert’s hoop-back on the left, and perch on the right. He uses these two seating forms to teach you the foundations of chairmaking in his new video series.
Part one (available now) focuses on kiln-dried wood and Pete’s “perch” – a stool with a decidedly modern look. In this episode, he discusses chair design and ergonomics, and introduces all the tools and techniques to get you started in chairmaking. And he shows you how to make the perch, of course.
Part two (available soon) will focus on green wood and making a traditional Winsdor hoop-back stool (what some might call a sack back), and introduce some more advanced techniques.
Pete says that his overall goal “is to remove whatever is limiting you from making your chairs. Because really, this technology is as simple as drilling a hole, and whittling a peg to fit in it, and knocking it home.”
The tools Pete introduces/shows you how to use.
Altogether, Pete says there will be 8-10 hours of video instruction in this “foundation” series (all included in the $69.99 price). By the time the series is complete, you’ll have a solid foundation in chairmaking tools and techniques, as well as design and comfort considerations, to make many kinds of seating – and you’ll discover that chairmaking isn’t scary at all!
This link will take you to all of Pete’s Vimeo videos (including his recent series on using milk paint), as well as Vimeo videos featuring Pete’s work (I’d forgotten about that video Chris Schwarz did of “Chairmaker’s Notebook!). To sign up for his new series, click on the trailer for “Foundations.”
Raney has assembled and finished the last of the Crucible Improved Pattern Dividers that were on hand and is offering them for sale through his website. There are not many available. So act now or forever hold your tongue.
The good news is that Raney is working on a way to bring dividers back into production, which he discusses here.
Raney has also made a batch of nice-looking plane-adjusting hammers, which are for sale in his store. This first batch comes with both walnut and rawhide striking faces.
My most recent commission, a built-in for the living-room alcove of a 1920s house, has been as rewarding to design and build as it has been a challenge with respect to budgetary constraints and safety during a pandemic.
My clients, Anke Birkenmaier and Roman Ivanovitch, have a minimalist modern aesthetic, with hardwood floors, pale walls and modernist furniture, some of it from the mid-20th century. Their home’s exterior is solidly American Foursquare, with painted clapboards, original windows and the original front porch, which has a limestone foundation and several limestone steps up from grade. Inside, the original plainsawn oak trim remains, some of it stripped of paint applied by a former homeowner. In contrast, the fireplace surround is more forward-looking in historical terms, a Jazz-Age design with geometric motifs. This focal point provided precedent for something more streamlined than the original built-ins that are typical of my clients’ neighborhood.
Before. The built-in was for the alcove to the right of the fireplace.
Roman is a professor of music. A piano presides over about a third of the living room’s floorspace. Anke is a professor of Spanish. The cabinetry would store musical scores, sheet music, CDs, family board games and lots of books.
I draw inspiration from all sorts of historical sources, but in this case one particular built-in came to mind: a wall of cabinetry and open shelves I’d long admired in a book given to me decades ago, “Contemporary Furniture: An International Review of Modern Furniture, 1950 to the Present,” by Klaus-Juergen Sembach. The modular ensemble was designed by Mogens Koch, a Danish architect whose designs are still produced today. Koch was in his early years of professional practice when what is now my clients’ house was built.
An original piece designed by Mogens Koch. (Click here for source.)
The orderly divisions of the upper section appealed to me and seemed ideal for the kinds of music-related books I’d seen on the freestanding shelves when I first visited the house. After I drew the piece to scale the clients suggested they’d like walnut for the lower cabinets and paint for the uppers.
Almost done. Before I installed the CD shelves and door knobs.
Budget-friendly Details
Unlike those who built Koch’s designs in solid hardwood, with traditional exposed joinery, I was working with a budget that required me to use affordable materials, as well as choose carefully how I invested my time. The final built-in reflects the following considerations:
1″-thick slab doors are far quicker to make than frame-and-panel doors and complement the streamlined aesthetic.
Because they’re quick to install and facilitate adjustment, European hinges are considerably less costly than traditionally mortised butt hinges, which feature in many Mogens Koch designs.
The casework for the base sections with doors is made using an efficient method, from 3/4″ prefinished veneer-core maple plywood with solid walnut faces (using the same basic technique as I describe for kitchen cabinets in “Kitchen Think”). The central base section with open shelves for sheet music is made from 1/2″-thick walnut-veneered veneer-core ply, the shelves fitted in dados.
The upper sections are made from Baltic birch plywood, which could be painted without requiring solid lippings or veneered edges.
A Few Aesthetic Details Worth Noting
For dynamic rhythm I divided the space into three sections across its 96-1/2″ width.
1/2″-thick shelves and verticals (instead of my customary 3/4″) preserve the lightness of the Mogens Koch design. Where verticals are doubled up between modules, the extra thickness visually emphasizes the structure.
The ensemble has a strong central focus, with a section of the upper cabinetry subdivided for CDs, a 1-3/4″ bump-out at the base, and graduated horizontal lines of open shelves for sheet music.
Each of the uppermost three sections increases in height toward the top for happy proportions.
To lighten the appearance of this large built-in, the kicks are slightly recessed.