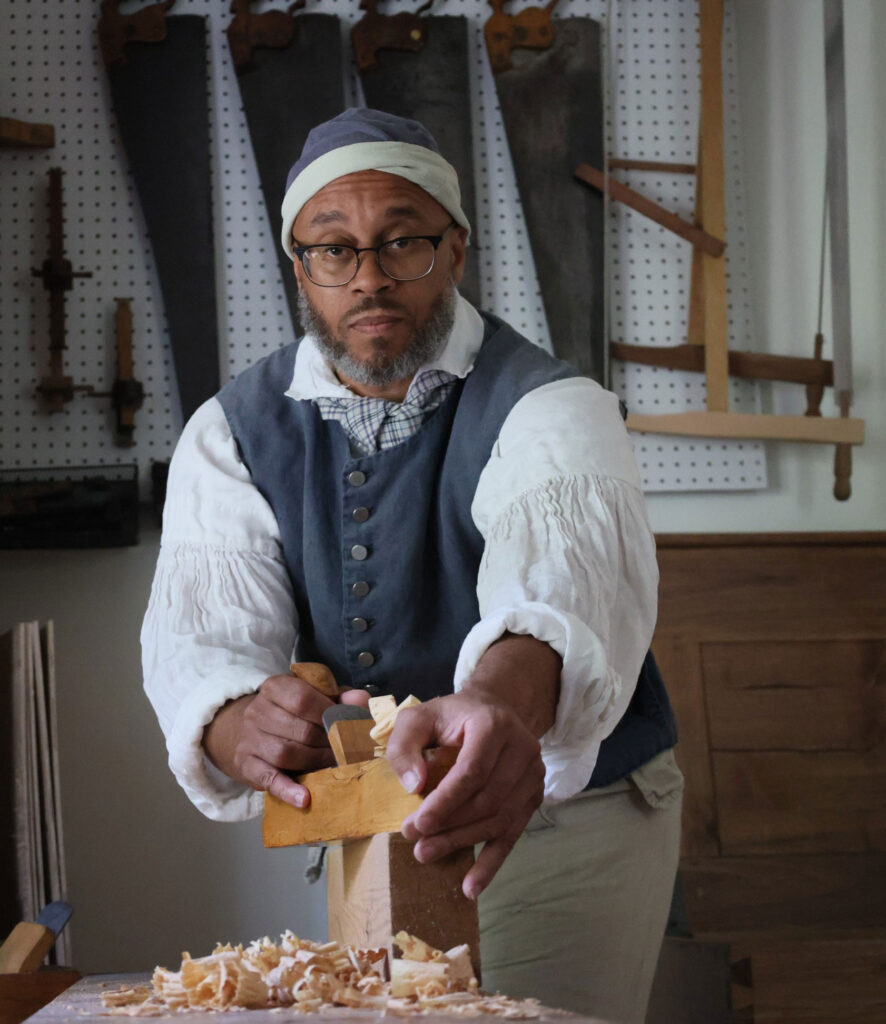
Jerome Bias, who will be leading the scholarship class.
We are thrilled to announce that we will offer a scholarship class this fall for six African-American woodworkers that will be taught by our long-time friend and hand-tool woodworker Jerome Bias.
The class will run from Nov. 27 to Dec. 1, 2023, at our storefront in Covington, Ky. The scholarships include tuition, materials and lunch every day. All African Americans are encouraged to apply: men, women, straight, gay, beginners, intermediates, whatever. No previous woodworking experience is necessary. Just a passion for learning the craft.
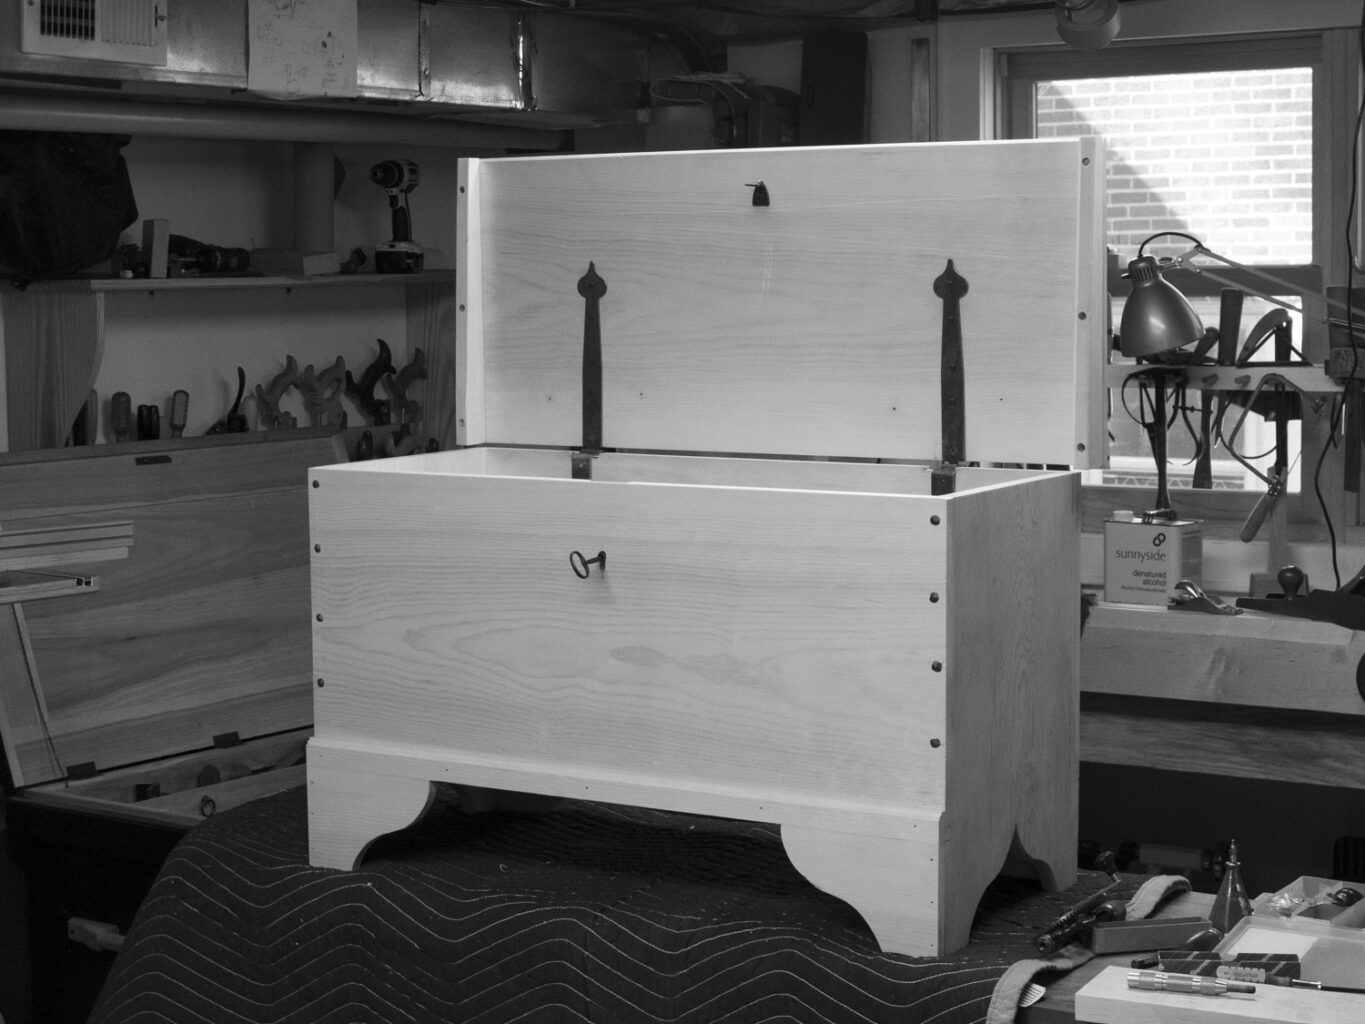
During the five-day class, Jerome will show students how to build a six-board chest using hand tools, white pine and traditional tapered nails. The chests can be personalized with different mouldings and details on the feet. These chests are fantastic as blanket chests at the foot of a bed or for storing hand tools in a workshop.
A six-board chest in pine.
But just as important as the chest, students will learn to wield handplanes, chisels, hammers and handsaws – the core tools of a trade shared by many of our ancestors.
Jerome is a talented woodworker, chef and interpreter living in North Carolina. In addition to building furniture, Jerome has worked as an interpreter at Old Salem Museum and Gardens and has studied the life and work of 19th-century African American woodworker Thomas Day. He has also presented his work at Colonial Williamsburg and regularly travels to former plantations to cook traditional meals as a way to enable African American visitors to connect with how their ancestors expressed hope and love while still enslaved.
Applying for the scholarship is easy. Simply send an email to: scholarship@lostartpress.com by Sept. 15, 2023. In the email, please let us know:
Your name and where you live.
A few sentences about any woodworking experience you’ve had so far.
A few sentences about why you want to attend this class.
We have room for six students in this class. Jerome will select the students from the pool of applicants. As mentioned above, the class includes tuition, materials and lunches during the class. Students will be responsible for travel to Covington and lodging – we are happy to help suggest places that fit your budget.
And don’t worry if you don’t have a lot of tools. We will be able to loan students the essential tools for the class.
Finally, please share this post with any African-American woodworker (or wanna-be woodworker) you know. We want to cast as wide a net as possible.
— Christopher Schwarz
P.S. Whenever we offer scholarships for woodworkers who have been traditionally excluded from the craft, we often hear the cry: Why not offer scholarships based on need? Our answer: We already do that. All of my teaching outside of my shop (Florida School of Woodwork; Marc Adams School of Woodworking) goes to fund need-based scholarships at those schools. I teach for free; all the money goes to scholarship funds. During my career, I have contributed tens of thousands of dollars to the Roger Cliffe Memorial Foundation, which supplies woodworking scholarships for veterans and people who face financial hardship. So please, before you take a swing at us, please know that we seek to help anyone get into the craft. These scholarships are just one of the ways we do it.
Almost every horizontal surface in our workshop and office has a knife on it. As does every drawer and till. Shop knives are essential tools for opening boxes, cutting rope and 100 other workshop tasks. So we are always on the lookout for inexpensive, quality knives.
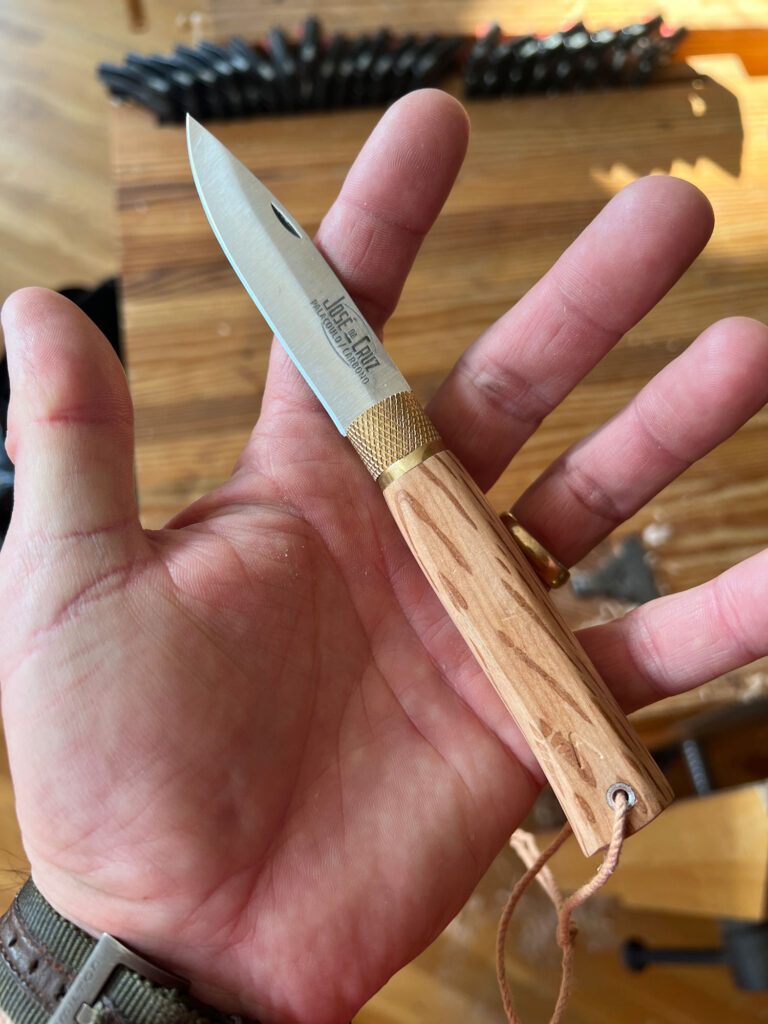
This year I heard about Jose Da Cruz knives that are made in Portugal and brought a few of them in for testing and use. They are available in large and small sizes. And with a variety of handle materials. And the price is right: About $20-$23.
I won’t buy a folding knife unless the blade locks firmly. Standard non-locking pocket knives aren’t safe enough for daily and rough use. I like my fingers and still have all of them.
The Jose Da Cruz knives lock a lot like the Opinel knives – via a locking brass ferrule. The knives are made well and, for the most part, well-finished. My favorite handle material was the small “green oak” folder. The wood isn’t flashy, but it is interesting and nicely finished. Plus, it is one of the versions that has a hole for a lanyard – a useful feature.
The steel is great for a shop knife. I suspect it is plain old O1. It takes a good edge easily and stays sharp for a long time.
Good knives are good friends. And this is definitely a good one.
— Christopher Schwarz
To read previous entries in the gift guide, click here.
The following is excerpted from Peter Galbert’s “The Chairmaker’s Notebook.” Whether you are an aspiring professional chairmaker, an experienced green woodworker or a home woodworker curious about the craft, “Chairmaker’s Notebook” is an in-depth guide to building your first Windsor chair or an even-better 30th one. Using more than 500 hand-drawn illustrations, Galbert walks you through the entire process, from selecting wood at the log yard, to the chairs’ robust joinery, to applying a hand-burnished finish.
Turning is a form of carving, and as such, there are many similarities to the tools you might use in standard carving, although the sharpening geometry is different. Whenever my turning skills seem to let me down, I often look to the shape and condition of my tools. The correlation between well-tuned tools and turning success cannot be overstated. I usually see this when I hand a well-tuned tool to a student who has been struggling with a poorly tuned one. The improvement is usually immediate. This chapter covers the tools that I find most helpful in turning and the way I maintain and use them.
Tool Condition New turners often underestimate the dulling effect that cutting will have on the tools. Turning tools show a distinct change in their usefulness as they dull. The dull tool will resist taking a light cut. The extra pressure required will tend to increase vibration while limiting the range and fluidity of motion. This is a recipe for a bad experience.
Most modern turning tools are made from high-speed steel. High-speed steel retains an edge longer and is less prone to losing its hardness during grinding. The downside is that high-speed steel is more difficult to get as sharp as regular high-carbon steel. But for me, the extra edge life is worth it. High-speed steel encourages grinding because it isn’t damaged by overheating until it reaches red-hot. If it does get red-hot, take that as a sign that you are being too aggressive. Let the tool cool (don’t quench it in water because this stresses high-speed steel) and, as remedies, lighten your grinding pressure and perhaps dress the wheel.
Fig. 13.1 The dulling effect on turning tools.
Many production turners conclude their sharpening process at the grinder. They use a light touch and frequent grinding to keep a sharp edge. I like the idea of this because it encourages grinding and sharpening in general. It stresses getting back to work instead of fussing with honing. But I hone most of my tools after grinding to get the edge as smooth as I can to leave a scratch-free surface on the work.
The dulling effect can be difficult to imagine; after all, sometimes you use the tool for only a minute or two. That’s hardly a problem with a plane or a chisel. But would you ever consider carving hundreds of linear feet with a carving gouge between sharpenings? Many turners ignore the length of their cuts and do just that. Imagine a 2″-diameter round spinning at 800 rpm; after 30 seconds of cutting, more than 210 linear feet have passed against the edge! Of course, by using different parts of the cutting edge, the tool can go longer between sharpenings. But for the new turner, focusing on getting one part of the tool to cut is usually tough enough. So tool maintenance becomes even more imperative.
Oftentimes a slight burr or a damaged edge on a tool won’t just leave a dull spot, it will send the tool skittering down the work or chew it up. This is especially evident when using the skew. When entering a V-notch or any cut where the skew starts cutting immediately upon contact, the slightest deformity on the edge will prevent the tool from taking a bite.
Also, when the skew gets dull, taking a cut when the tool is presented straight on to the work becomes more difficult, so the turner usually shifts the handle far to the side to get more of a slicing cut. This makes it tougher to resist the force of the turning piece. Because the support for the tool is too far to the side, the skew is easily dragged down the work, resulting in a catch.
Fig. 13.2 The position of the skew is important in order to maintain control.
One essential tool that is most often neglected is the tool rest. A pitted or dinged-up tool rest will make smooth turning nearly impossible, and most new turners assume the problem is with their technique. A well-polished, smooth and waxed tool rest is essential to good turning. I take a smooth file to my tool rest and hold it perpendicularly as I draw it along, taking a fluid cut. After the surface is level and free of defects, I polish it with stones or fine sandpaper. Then I wax and buff it. The tool should glide easily. Any tools that have sharp corners, such as parting tools and skews with rectangular cross sections, should be eased with a buffer or sandpaper.
Fig. 13.3 A smooth and polished tool rest is essential.
Turning Tools As with most woodworking, it is easy to confuse having more tools with having more ability. More important than having lots of tools is knowing when and how to use them. Talking about tool choice and shape can be contentious in turning circles, much like discussing politics at a holiday dinner, but here is my take.
My basic turning kit contains a 3∕4″ roughing gouge, which does most of the heavy shaping; a 1∕8″ diamond parting tool for sizing diameters; a 3∕4″ oval skew for finishing all of the surfaces except the coves; and a 3∕8″ detail gouge for getting into coves and roughing out beads. The size of these tools can vary with personal preference and the scale of turnings that you are making. Getting the most out of each one and limiting the number of times that you switch tools helps to achieve consistent results. With these four tools I can perform all of my turning tasks; more importantly, by limiting my collection, I keep all my tools in top condition with ease and know exactly which tool to turn to at each step.
Fig. 13.4 Basic turning tool kit.
I also use a couple of other tools that make my life easier (I’ll mention those as we go), but to make these chairs, the four core tools more than suffice.
The techniques you use at the lathe will dictate the shape of your tools’ edges. Every turner has favorite shapes; I am no exception. I’ll share my angles and shapes below, but keep in mind that the key to turning tools is the degree of sharpness and maintaining flat bevels. Any rounding over of the bevel will encourage you to over-rotate the tool to engage the cutter, which makes the tool difficult to control. To aid with the flat bevels, I use hollow grinds on all of my turning tools. The only exception is on the inside of the gouges, where a slight rounding can be tolerated.
For all of my sharpening, I like to keep the process fast and simple to encourage me to do it. Ensuring that sharpening is fast and easy is vital to actually stepping away from the lathe to do it. Further information on the techniques in using these tools is in the Turning Practice chapter and information on the lathe and its accessories can be found in The Chairmaker’s Workshop chapter.
The roughing gouge I use a 2″ gouge for turning blanks to round and a 3∕4″ gouge for roughing out my shapes. The larger gouge isn’t necessary, but it does make roughing more comfortable.
Before I reshape a new gouge, I polish the inside to remove any milling marks. I use a diamond cone-shaped hone, sandpaper on a dowel and diamond paste on a dowel to polish the flute. I grind a 35° bevel (or so) on my gouge. Just as important as the angle and condition of the edge is that the profile is straight. This keeps the cuts fluid and predictable. If the edge is crowned, rotating the tool during cutting will advance or retract the cutting edge, which adds another variable.
While grinding the gouge is possible to do freehand and with a simple tool rest, I use a jig to get consistent results. The set-up time with the jig is quick and doesn’t deter me from grinding.
Fig. 13.5 Sharpen a roughing gouge.
Once the bevel is ground, I use small diamond-impregnated paddles to hone the bevel, then I remove the burr with the diamond hone. Sometimes I turn the burr from the inside of the flute with a leather strop.
This isn’t a finishing tool, so I don’t go too far with the honing. I always like to keep the flat at the edge small to prevent rounding during honing. I hone only three or four times before going back to grinding.
The diamond parting tool I like a diamond-profile 1∕8″-wide parting tool. The tool is widest at its cutting edge, which reduces binding, and the tool’s small kerf reduces vibration. I don’t hone this tool because I use it only for sizing diameters, and I grind it too often for honing to be practical. To grind it, I don’t even set up a tool rest. I shoot for about a 50° inclusive angle. First, I set the tool on the top edge of the tool rest and lower it until I make contact with the heel of the bevel, then I lower the tool on the wheel until it makes full contact. I repeat this for both sides, taking care to keep the edge at the widest part of the tool’s spine and straight across. When I have turned a burr, I stop grinding and tap the edge into a softwood block to knock the burr off and get back to turning.
Fig. 13.6 How to grind a diamond parting tool.
The oval skew I prefer an oval skew, which seems to move more fluidly and doesn’t ding up my lathe’s tool rest. It’s a personal choice. I sharpen it at 30° inclusive (15° on each side) using a standard tool rest on my grinder. I don’t have any trouble grinding it this way, even though the shaft of the tool is an oval. I simply focus on keeping the edge horizontal; once it is hollow-ground, it registers on the wheel. I also shape the edge to a subtle curve. I like the exceptionally light cut that this curve allows, plus the toe and heel of the edge are somewhat pulled back, making catches less likely. I achieve this curve by pivoting on the tool rest while grinding.
Fig. 13.7 Grind and shape the oval skew.
It’s important to keep the two bevels ground equally. Once I’m satisfied with the grind, I hone the tool by pulling it on my stones just as I would a chisel. If the edge is curved or you are using an oval skew, you will roll the tool slightly to make sure that the entire edge is honed. Don’t confuse this with lifting the tool so that the back edge of the hollow grind loses contact. This is the worst result and will round the cutting edge over, dubbing it like a drawknife. Having a flat facet behind the cutting edge is essential to good skew technique. I never strop this tool, and I hone it on my finest stone in between turning each chair leg to keep it at peak sharpness.
When the facet behind the cutting edge gets wider than 1∕16″, I hollow grind again.
The detail gouge I first polish the inside flute of the detail gouge (as I mentioned above) before regrinding it to a fingernail profile with a commercial jig. The jig comes with instructions for grinding the correct shape. For a long time, I avoided investing in a jig to make this grind, but after using one, I realized that my results doing it by simply rolling the tool on the tool rest while swinging the handle side-to-side did not give as consistent a result. I usually resist sharpening jigs, but I’ve found the consistent results worth it in this case.
The shape of the curve at the end of the flute should be even. I grind the detail gouge at 35° and finish the honing the same as with the roughing gouge. I keep this tool in top shape to reduce chatter and the chance of catches. Like the skew, this tool performs best when most of the bevel is made up of the hollow grind, so I grind again after only a few honing sessions.
Fig. 13.8 Sharpen a detail gouge.
To those new to turning, there are many details to consider, such as the speed of rotation, the size of the workpiece, the heft of the lathe and the details to be turned. Tool condition is one variable that you can always control. To achieve this, you must become proficient at the grinder. In the last 15 years, I’ve had the same iron in one of my favorite spokeshaves, but I’ve replaced most of my turning tools at least once. While they aren’t cheap enough to think of as disposable, I never confuse their cost with the value of a pleasant turning experience.
I’m always a bit surprised by what sells well each year. I look at our sales every morning, track inventory and try to figure out our next step. But rarely do I step back and look at the big sales picture. Except for today. Here are the 10 best selling Lost Art Press/Crucible products of 2023 by units sold.
“Sharpen This” This pocket book came out in September 2022, yet we’ve already printed 14,000 of these little suckers. It is my fastest-selling book (whatever that’s worth). If you buy it from us, I sign each copy personally and we include a PG-13 Slightly Naughty sticker.
“The Woodworker’s Pocket Book” Another surprise, really. This has to be the best woodworking book for the bathroom. You can flip to any page and learn something interesting about finishing formulas, wood species or 18th century mouldings listed by furniture style.
“The Handcrafted Life of Dick Proenneke” This book continues to sell thanks to the fact that 1) It’s a simply amazing read and 2) The incredible popularity of the PBS series about Dick. The author took care of Dick’s cabin for years and was the perfect (and authorized) person to write this book.
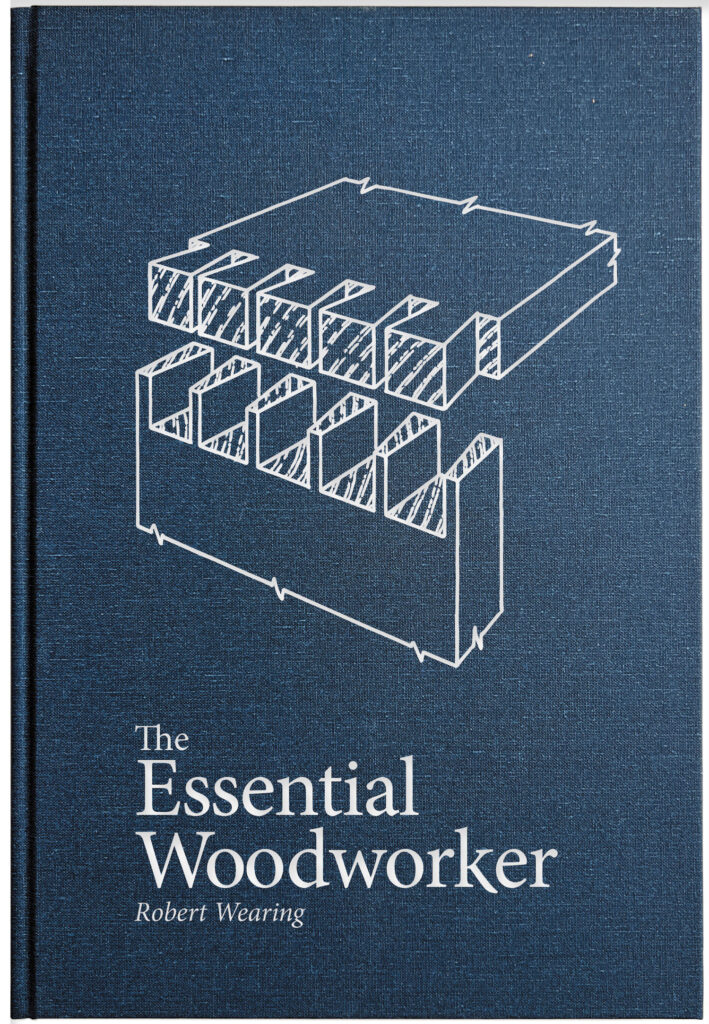
“The Essential Woodworker” We reissued this book in 2010 with the help of the author, Robert Wearing, and it is now in its 10th printing. This book continues to sell because you can read it in a short afternoon and it connects all the dots with handwork. It is simple (but not simplistic), perfectly illustrated and simply the right book for those who want to work with hand tools.
“Make a Gibson Chair” Video. This one isn’t a surprise. The video came out this year and shows how to make one of the most comfortable (and simple) stick chairs ever.
“Workshop Wound Care” Another great and much-needed pocket book. This book should be in every shop. Not because it will help LAP financially or make you a better woodworker, but because you will need its advice some day when things go wrong. Not if – when.
“Crucible Engraving Tool” We’ve sold more than 1,000 of these suckers, and I can’t wait to see what woodworkers do with them. We are out of stock this minute, but we have another 500 on the way in the next week or two. So sign up to get notified when we restock.
“Euclid’s Door” This book, released in 2021, had a slow start but picked up steam in 2023. “Euclid’s Door” teaches you practical geometry as you build some very useful and accurate wooden shop tools. It’s fun and eye-opening. And the next book in the series (coming in 2024) will bring even more fans into the “By Hand & Eye” fold.
“Karvsnitt” Jogge Sundqvist’s second book with Lost Art Press dives into the world of chip-carving, spells and color. Like all of Jogge’s work, this book is engaging, fun and inspiring.
“With the Grain” Again, what the heck? This book is in its seventh printing and continues to sell and sell. I think I know why: It’s a no-nonsense guide to what you need to know about wood technology at the bench. There are much more scientific books out there, but you won’t find a more practical one.
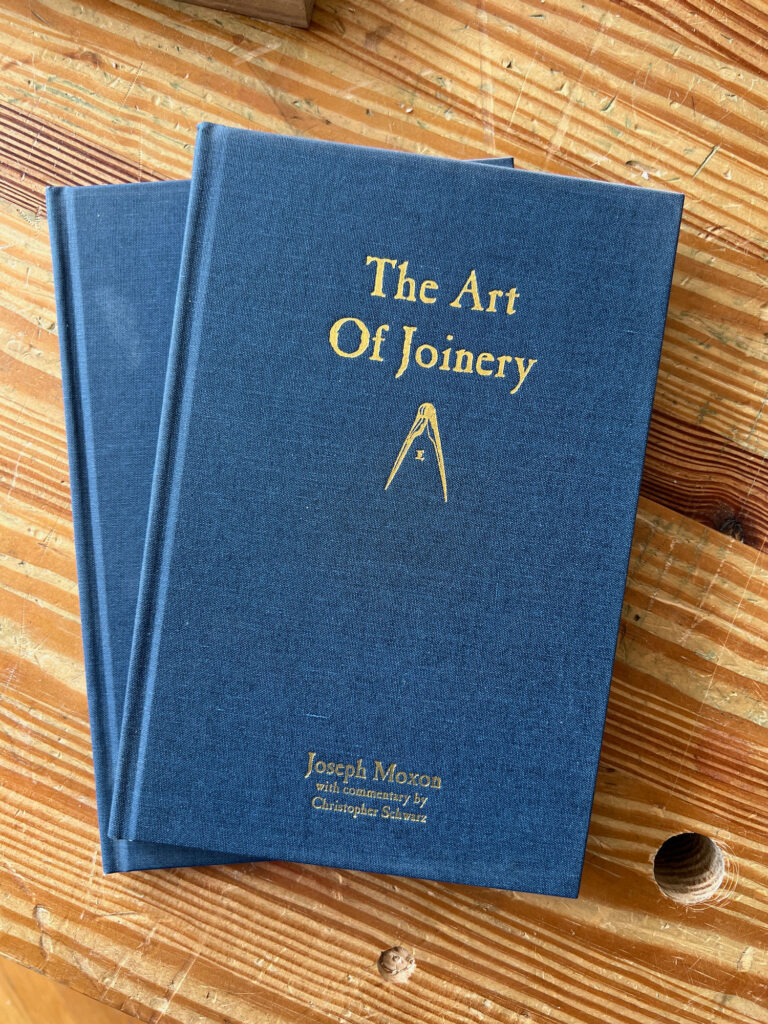
The first cover of the first printing of our first book. Designed in about 15 minutes.
When we sent our first book, “The Art of Joinery,” to press 15 years ago, I was teaching a class at Kelly Mehler’s School of Woodworking in Kentucky and got a phone call from the pre-press shop.
“The interior folio looks fine,” the voice said. “But what are you going to put on the cover?”
I stood there, dumbfounded. John and I hadn’t even thought about the cover.
So on my lunch break I grabbed my laptop and whipped up the cover above in about 15 minutes. I laid out the text and thought: Should we put some image on the cover? I quickly scanned through the images in the book and – with about two seconds of thought – threw the dividers on there. I sent the cover to pre-press and ran back to finish the class.
And that is how we got our company’s logo – dividers.
Believe it or not, it took a while for us to catch on that our books needed cover images. When I worked in corporate publishing, the cover and title were things that were settled and discussed by people way above my pay grade. So it wasn’t something I thought much about.
So “The Essential Woodworker” went through the same oh-crap-I-forgot-the-cover process as “The Art of Joinery.” It really wasn’t until “The Anarchist’s Tool Chest” that my head really began thinking much about our books’ covers’.
A quick mock-up of the new diestamp for “The Essential Woodworker.”
These days I spend more time working on the cover – though we don’t fret over the marketing aspect of it. Like all aspects of our books, the cover is a joint decision between the author and me. So many times the cover is remarkably unmarketable. Which I love.
Now that we have Megan on board as the full-time editor, I have more time to breathe, think and look beyond the flaming crisis of the day. So this week I spent some time redesigning the cover of “The Essential Woodworker” by Robert Wearing, which is one of our core books. We are in the process of reprinting it for its 11th printing, and I don’t know when the new cover will appear. Likely this fall. And I don’t know if the cover cloth will be blue. Cloth shortages are wreaking havoc with our titles. (Have you seen the new cloth on “With the Grain?” I like it, but it wasn’t our first choice – or our eighth.)