First the good news: Tariffs aren’t yet affecting Lost Art Press books. We print entirely in the United States. But some of the raw materials, including some of the papers we use, come from Canada. We follow the issue closely, and our books might not see any price increases.
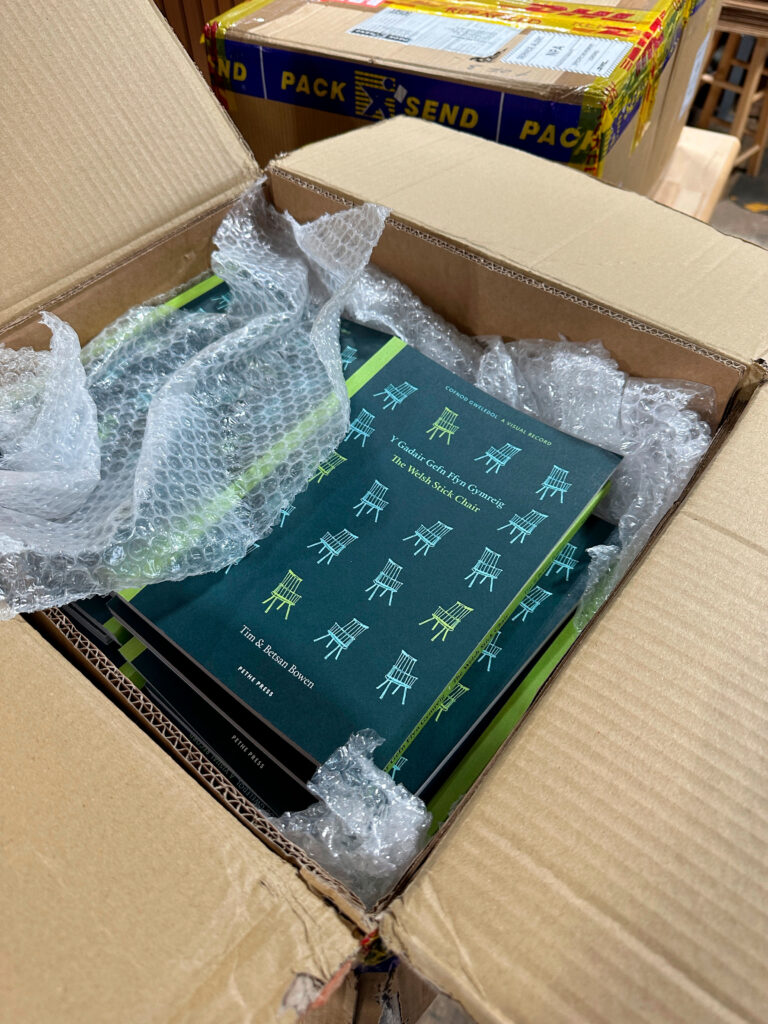
The bad news: metal prices are on the rise because of the tariffs. And the only book we import, “The Welsh Stick Chair: A Visual Record” by Tim and Betsan Bowen was just walloped by a tariff. We had to raise the price significantly.
This is a great book, and I hope we can carry it going forward. But no promises.
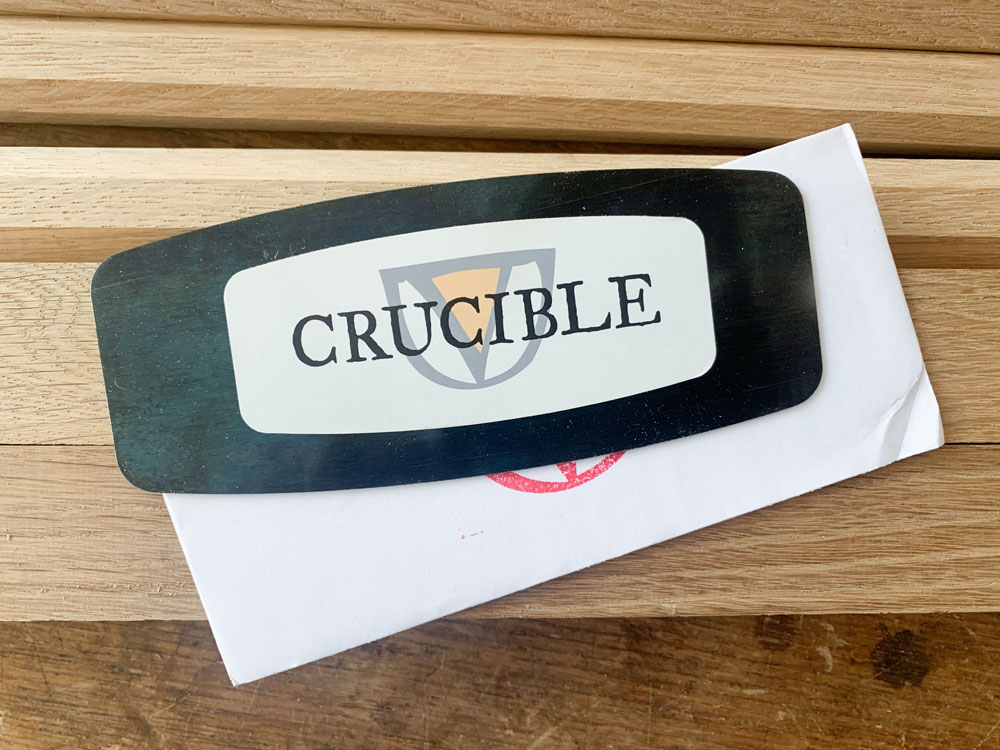
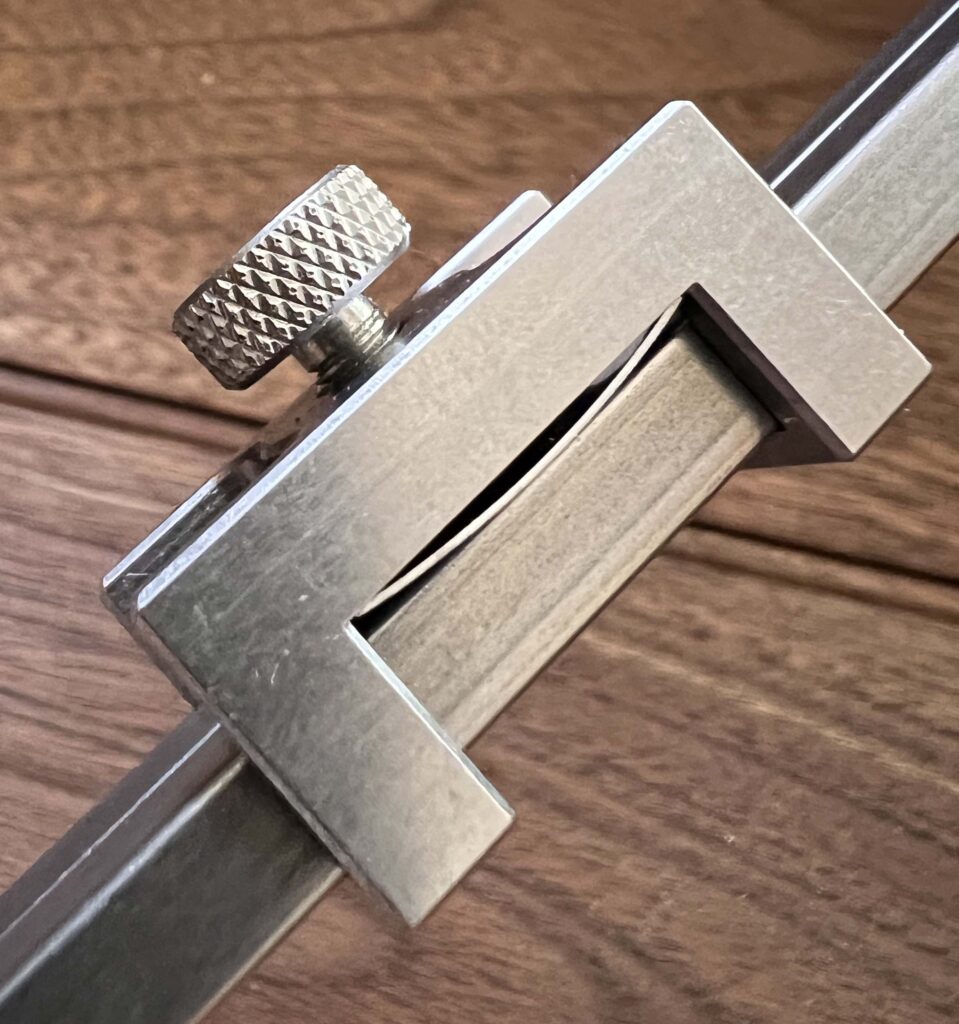
We just got the first batch of Crucible Curved Card Scrapers in from the machine shop. These have been out of stock for far too long. I bought the steel before all the tariffs went into effect, so the price is the same ($25). I have no idea what will happen to the price with the next batch (some steel components have doubled in price in the last month).
So buy them now while they are this price.
Finally, we have also restocked on “Doormaking and Window-Making.” There is no price change for this Michigan-printed book.
— Christopher Schwarz