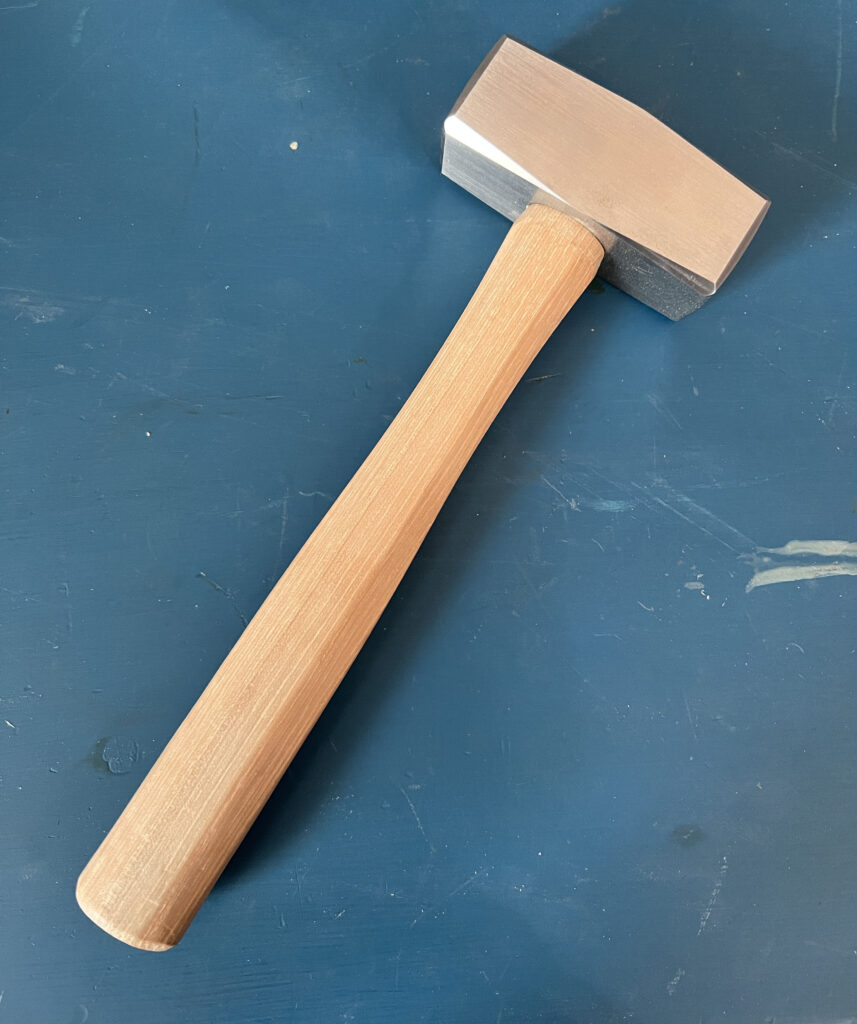
We have a small number of “regular” Crucible Lump Hammers back in stock, with more on the way. So if you’ve been lamenting the late lack of lump hammers, fret no more.
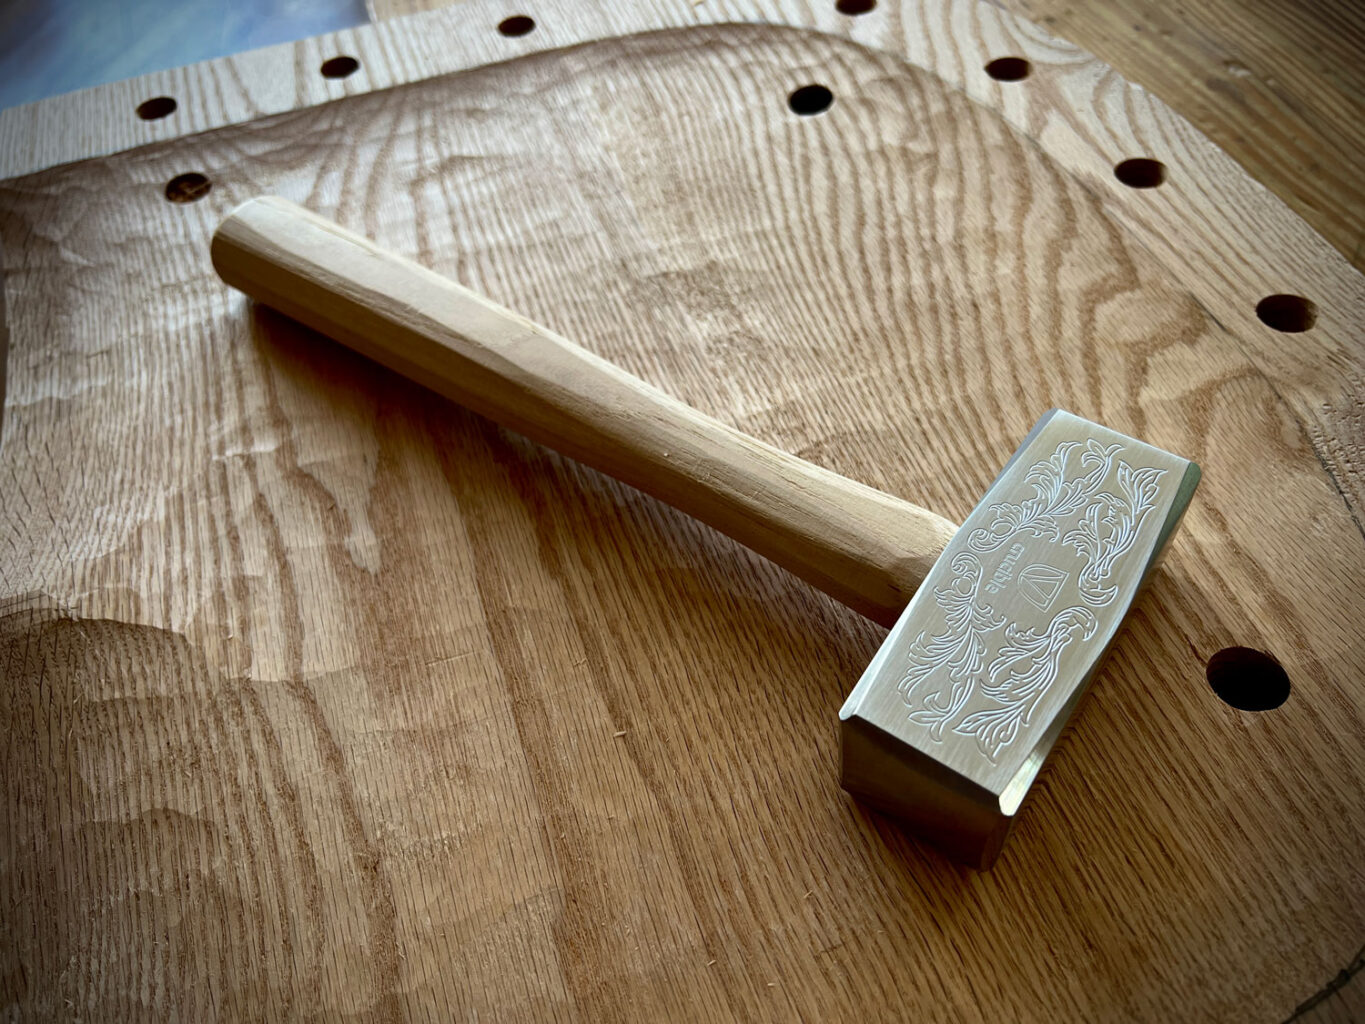
We also have a handful of the special edition engraved Crucible Lump Hammers remaining, to temp you fancy lads and lasses.
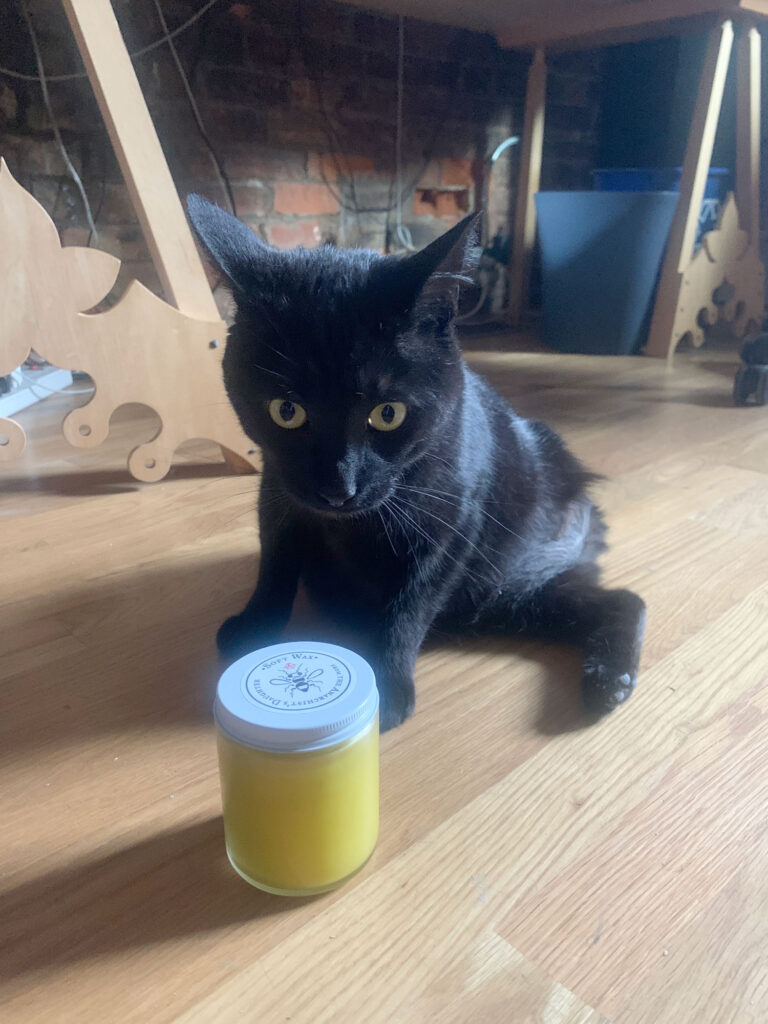
Katherine has just posted about 32 jars of Soft Wax 2.0 in her store. She wishes it were more jars. Production has slowed because the lipstick making machine she normally uses has gone on the fritz. The switch that controls the heating element and temperature control has failed.
Replacing it is beyond my skills – there must be six leads to the switch. And our normal repair guy isn’t responding to our hails. (Help, Eric, you’re our only hope.)
If you are an electronics expert in our locality and want to earn some money and gratitude, let us know in the comments.
In the meantime, poor Katy is making wax with a restaurant-grade nacho cheese heater. It works well, but it’s small. So it’s a whole day’s work to make 30 jars.
Anyway…
We love this finish, and I use on my chairs and casework. Katherine cooks it up here in the machine room using the raw ingredients of yellow beeswax, raw linseed oil and a little bit of citrus solvent. She then packages it in a tough glass jar with a metal screw-top lid. She applies her hand-designed label to each lid, boxes up the jars and ships them in a durable cardboard mailer. The money she makes from wax helps her make ends meet at college. Instructions for the wax are below. You can watch a video of how to use the wax here.
Instructions for Soft Wax 2.0 Soft Wax 2.0 is a safe finish for bare wood that is incredibly easy to apply and imparts a beautiful low luster to the wood.
The finish is made by cooking raw linseed oil (from the flax plant) and combining it with cosmetics-grade beeswax and a small amount of a citrus-based solvent. The result is that this finish can be applied without special safety equipment, such as a respirator. The only safety caution is to dry the rags out flat you used to apply before throwing them away. (All linseed oil generates heat as it cures, and there is a small but real chance of the rags catching fire if they are bunched up while wet.)
Soft Wax 2.0 is an ideal finish for pieces that will be touched a lot, such as chairs, turned objects and spoons. The finish does not build a film, so the wood feels like wood – not plastic. Because of this, the wax does not provide a strong barrier against water or alcohol. If you use it on countertops or a kitchen table, you will need to touch it up every once in a while. (I have it on our kitchen countertops and love it.) Simply add a little more Soft Wax to a deteriorated finish and the repair is done – no stripping or additional chemicals needed.
Soft Wax 2.0 is not intended to be used over a film finish (such as lacquer, shellac or varnish). It is best used on bare wood. However, you can apply it over a porous finish, such as milk paint.
APPLICATION INSTRUCTIONS (VERY IMPORTANT): Applying Soft Wax 2.0 is easy if you follow the simple instructions. On bare wood, apply a thin coat of soft wax using a rag, applicator pad, 3M gray pad or steel wool. Allow the finish to soak in about 15 minutes. Then, with a clean rag or towel, wipe the entire surface until it feels dry. Do not leave any excess finish on the surface. If you do leave some behind, the wood will get gummy and sticky.
The finish will be dry enough to use in a couple hours. After a couple weeks, the oil will be fully cured. After that, you can add a second coat (or not). A second coat will add more sheen and a little more protection to the wood.
Soft Wax 2.0 is made in small batches in Covington, Kentucky. Each glass jar contains 8 oz. of soft wax, enough for about five chairs.
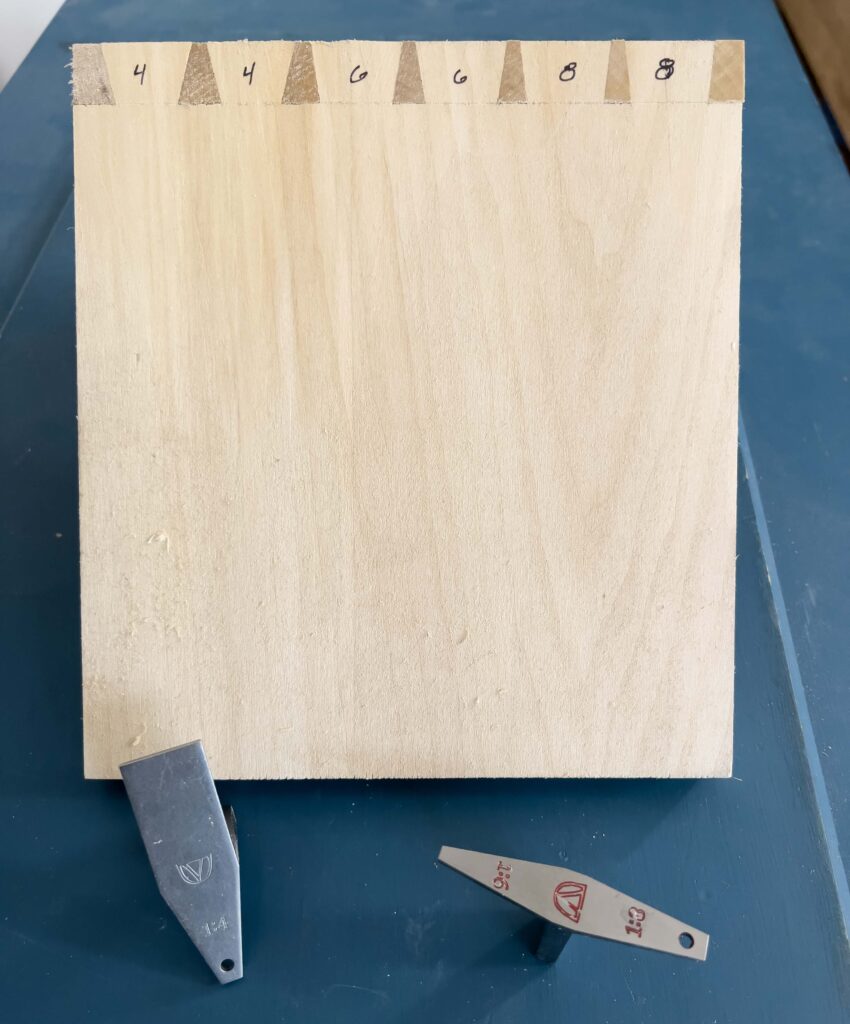
With the release of our 1:4 Dovetail Template, which is now in the shop alongside our slightly older 1:6 & 1:8 combo Dovetail Template, I’ve received a few emails from folks lamenting there’s no way on our site to tell the difference both in how they look and how the resulting dovetails perform.
The second is easily answered: they perform the same – or close enough. Each of those three angles – and just about anything in that general vicinity, will outlast you – even if relatively poorly cut. Just look at pre-industrial drawers if you don’t believe me; on drawers that are still working just fine after more than a century, some of the dovetails look as if they were gnawed out by a beaver.
The first is fairly easily – if not particularly elegantly – answered, too. Above is a corner of joints, two each per angle, that I hurriedly cut using some scraps from the burn bin. Note that there isn’t a whole lot of difference between the look of the 1:6 (9.5°) and 1:8 (around 7°) joints. I prefer the 1:6, simply because it’s what I first cut, and have done so pretty much ever since; my wrist now has that angle ingrained. So while it felt weird to cut the 1:4 (around 14°) and 1:8, it’s certainly doable. If you can mark the line, you can saw a line.
But I also think it’s kinda funny that we sometimes fret over those angles. Do you always cut exactly on your lines? I don’t – not for the first half of the joint (in my world, that’s usually tails). The second half of the joint must (ideally) perfectly match the first half, no matter what the angle. So if my wrist tilts to, say 10° or 8° instead of 9.5° on one side of a tail, oh well. (That said, to me, the 1:4 looks a bit hefty…’cause I’m such a delicate flower.)
Anyway, above, you can see the difference in the template angles we offer. Both templates are in stock as of the moment I published this (and if we run out, I’ll order more!). Click here for the 1:6/1:8 (my favorite), and here for the 1:4 (Chris’s favorite).
– Fitz
p.s. Why doesn’t the 1:4 offer, say, 1:5 on the other end? The square end of the tool allows you to also use it as a saddle square (and to not get turned around by two similar-looking angles).
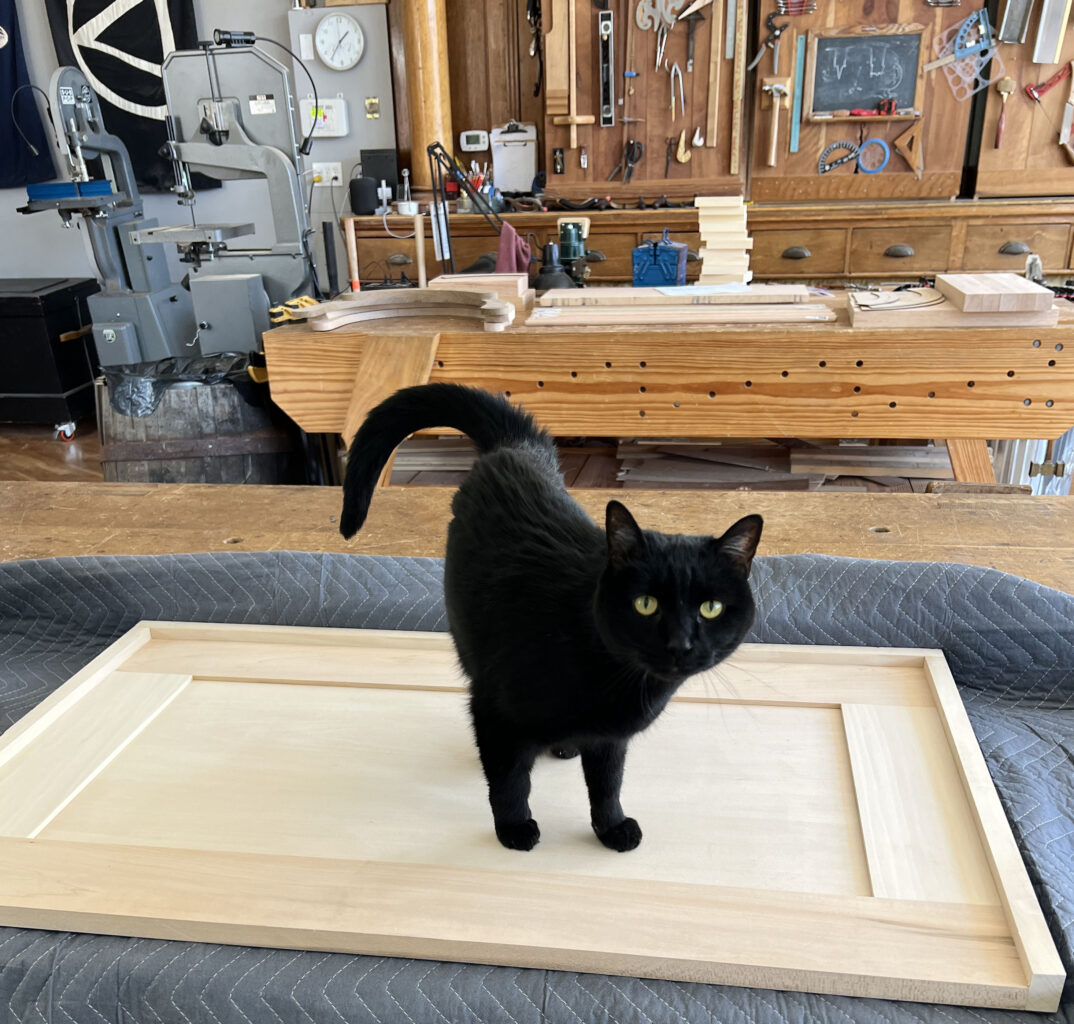
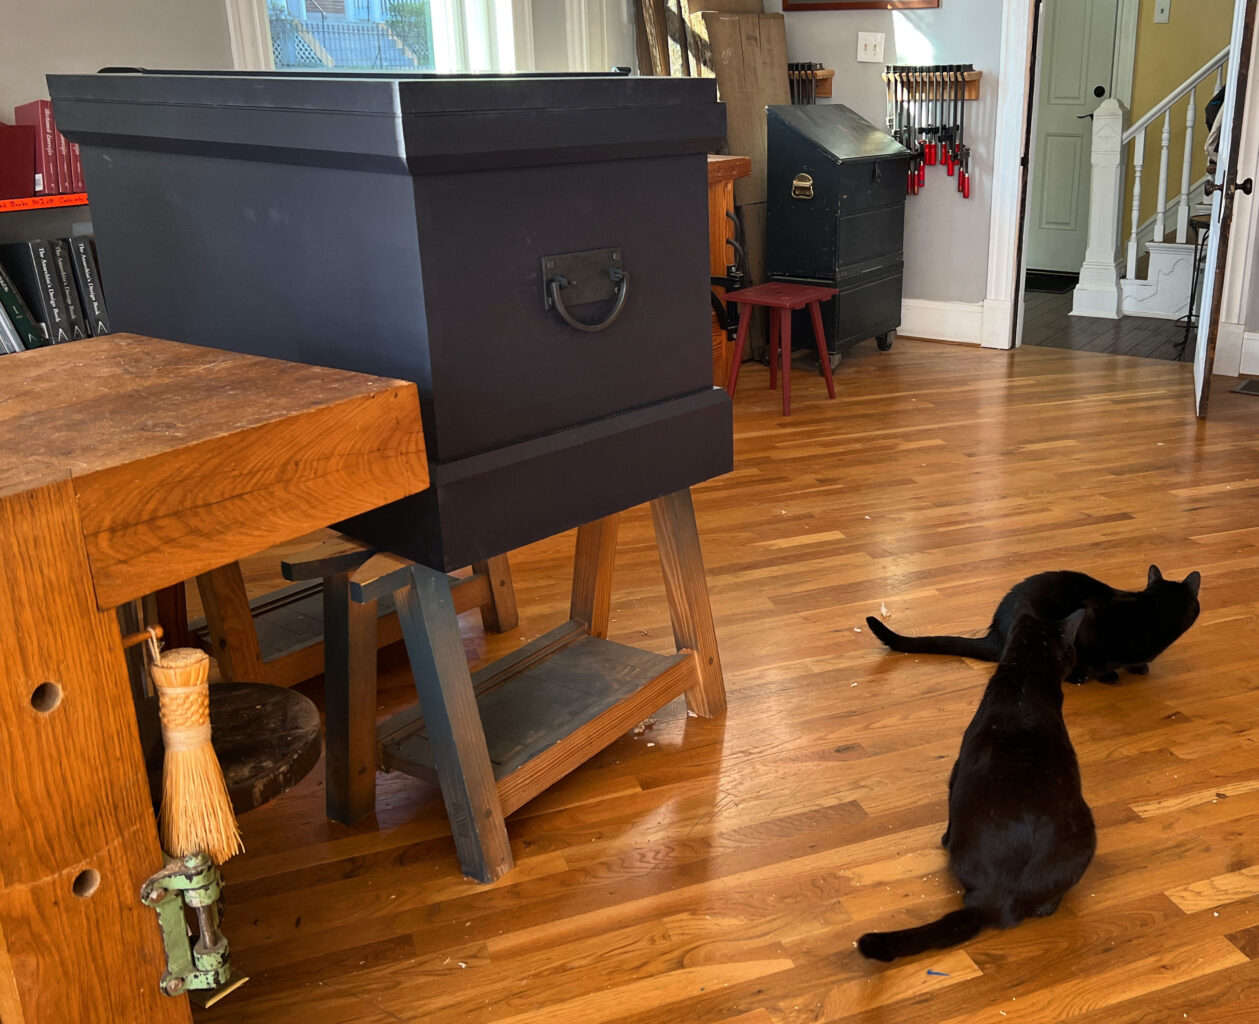
It will come as no surprise to those who know me that I got distracted by other work…and that I forgot it takes me five times longer (at least) to do things with a camera pointed at me than when no one is watching. And that is why the video I promised a few weeks back on kitting out the interior of an “Anarchist’s Tool Chest” is taking a bit longer than expected. But with Wally’s help, we’re nearing the finish line. (A special thanks to its soon-to-be owner for bearing with the delays.)
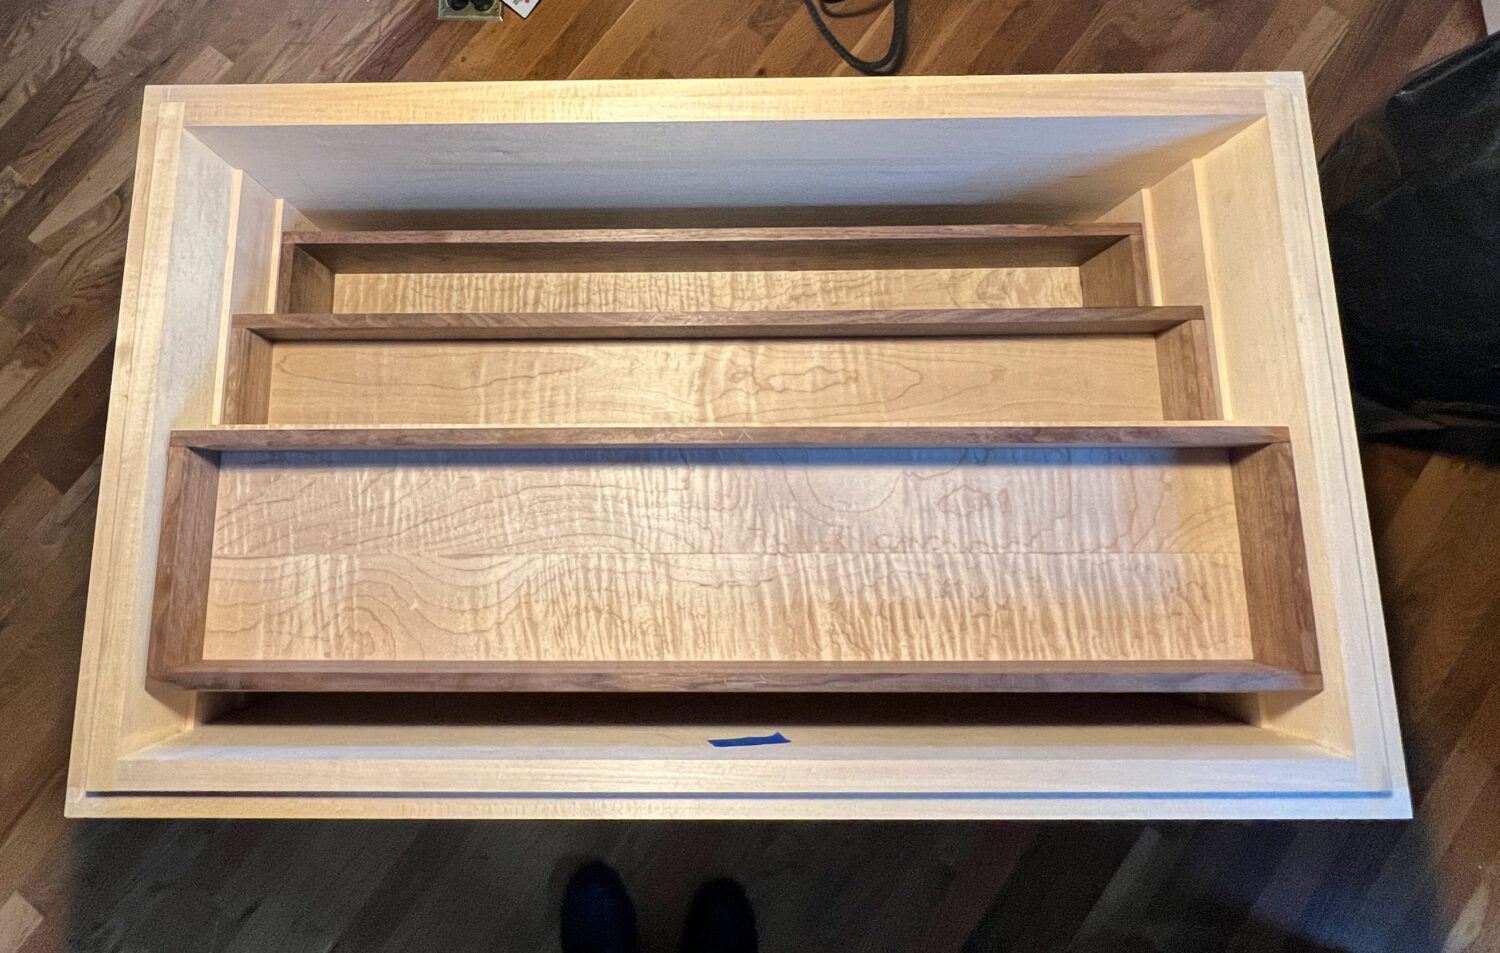
The video will feature: • installing the till runners • a brief look at dovetailing the three tills (goodness knows if you’ve built this chest, you know how to cut dovetails!) • fitting the till bottoms to the runners • installing a moulding plane till at the back • making and installing a hanging hole-y rack with slots behind it for backsaws • making and installing a saw till for larger handsaws • notes on finishing the interior • tips on fitting the lid • hardware installation, including hinges, chest lifts, ring pulls and a “crab lock” • caster installation • surprisingly few cats (unless we add then in post production).
Chris plans to start editing at the end of next week, and he’s fast – so it should be available soon thereafter. Below are a few pictures I snapped during the process.
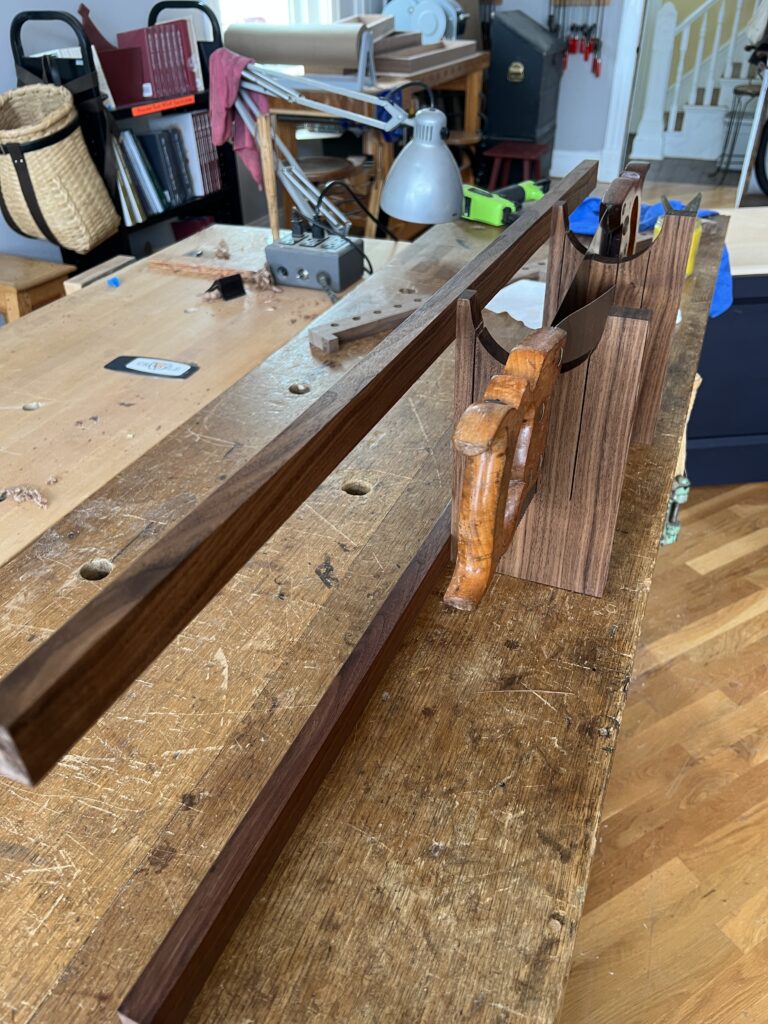
Always a good idea to make sure the saws fit before you install the rack in the chest.
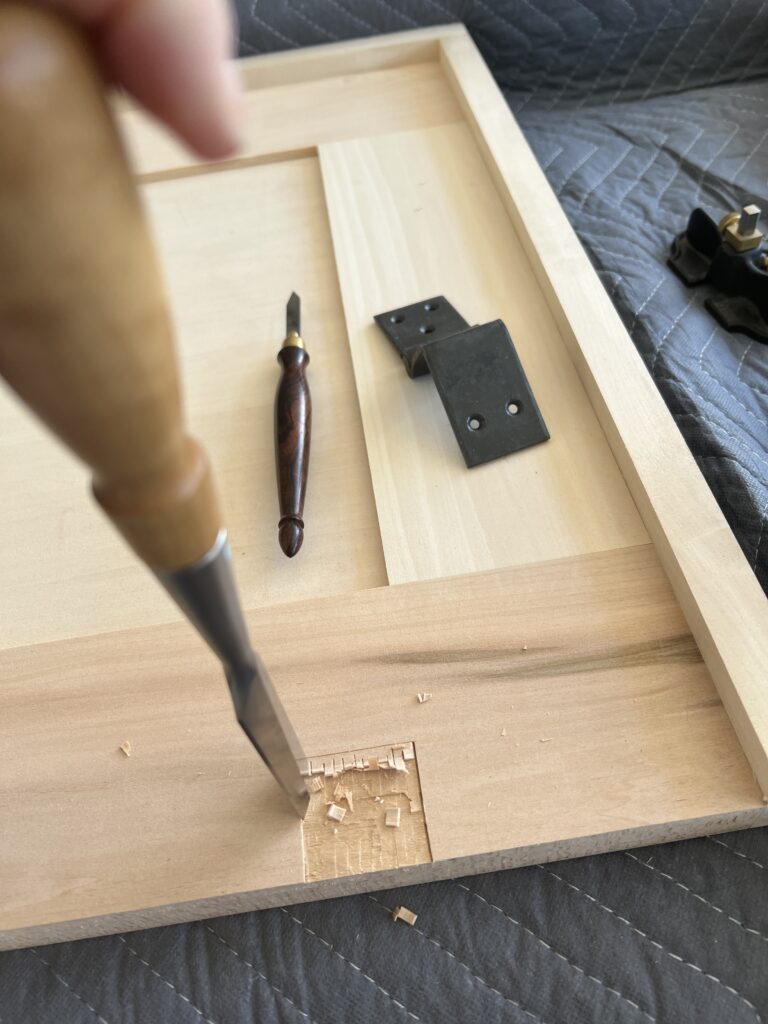
The owner chose Horton Brasses forged hardware (good stuff).
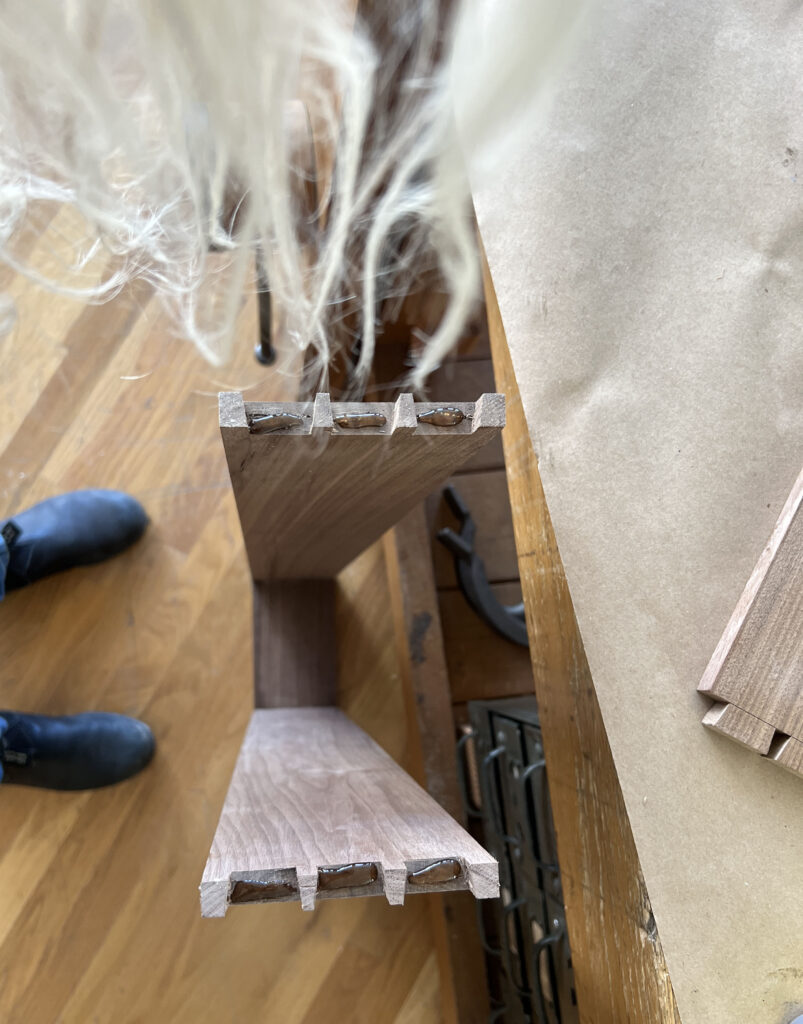
Never use your hair as a glue brush. But if you do, make sure you’re using hide glue (it washes out easily).
Tills before “make pretty” and finish.
Bean and Wally know that I keep treats in my tool chest. Could there be some in this chest, too? (Nope – sorry boys.)
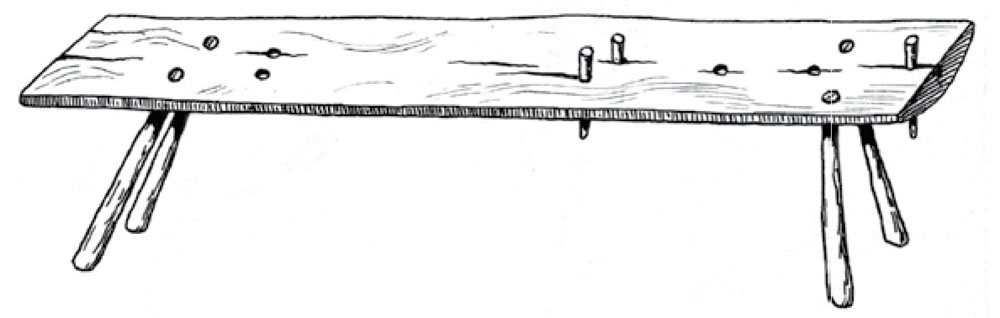
FIG. 56. All-purpose woodwork bench. Karja. After a drawing by A. Toomessalu., KV 78, 64.
The following is excerpted from “Woodworking in Estonia,” by Ants Viires; translation by Mart Aru.
It’s one of Roy Underhill’s three favorite woodworking books, but you can’t buy a copy of it for love or money. Translated into English without the author’s permission in the late 1960s, “Woodworking in Estonia” has been a cult classic ever since it first surfaced.
It is, according to Underhill, “one of the best books on folk woodworking ever” and covers the entire woodworking history of this small Northern European nation from pre-historical times through occupation by the Germans and Soviets up through Estonian independence.
The author, Ants Viires, devoted his life to recording the hand-tool folkways of his country without a shred of romanticism. Viires combined personal interviews and direct observation of work habits with archaeological evidence and a thorough scouring of the literature in his country and surrounding nations.
If all this sounds like a dry treatise, it’s not. “Woodworking in Estonia” is an important piece of evidence in understanding how our ancestors worked wood and understood it more intimately than we do. Viires records in great detail everything from the superstitions surrounding the harvesting of wood (should you whistle in the forest?) to detailed descriptions of how the Estonians dried the wood, bent it, steamed it and even buried it in horse dung to shape it for their needs.
Lost Art Press spent more than two years bringing this book back to life. We contacted the author before his death in 2015 to secure rights for the first authorized English translation. Using the 1996 Estonian edition of the Estonian book, we commissioned a new English translation.
We also obtained the rights to the original photos and drawings. The 1969 unauthorized translation used poorly reproduced images, likely mimeographs, which were murky and dark. This edition contains more than 240 crisp, original photos and line drawings.
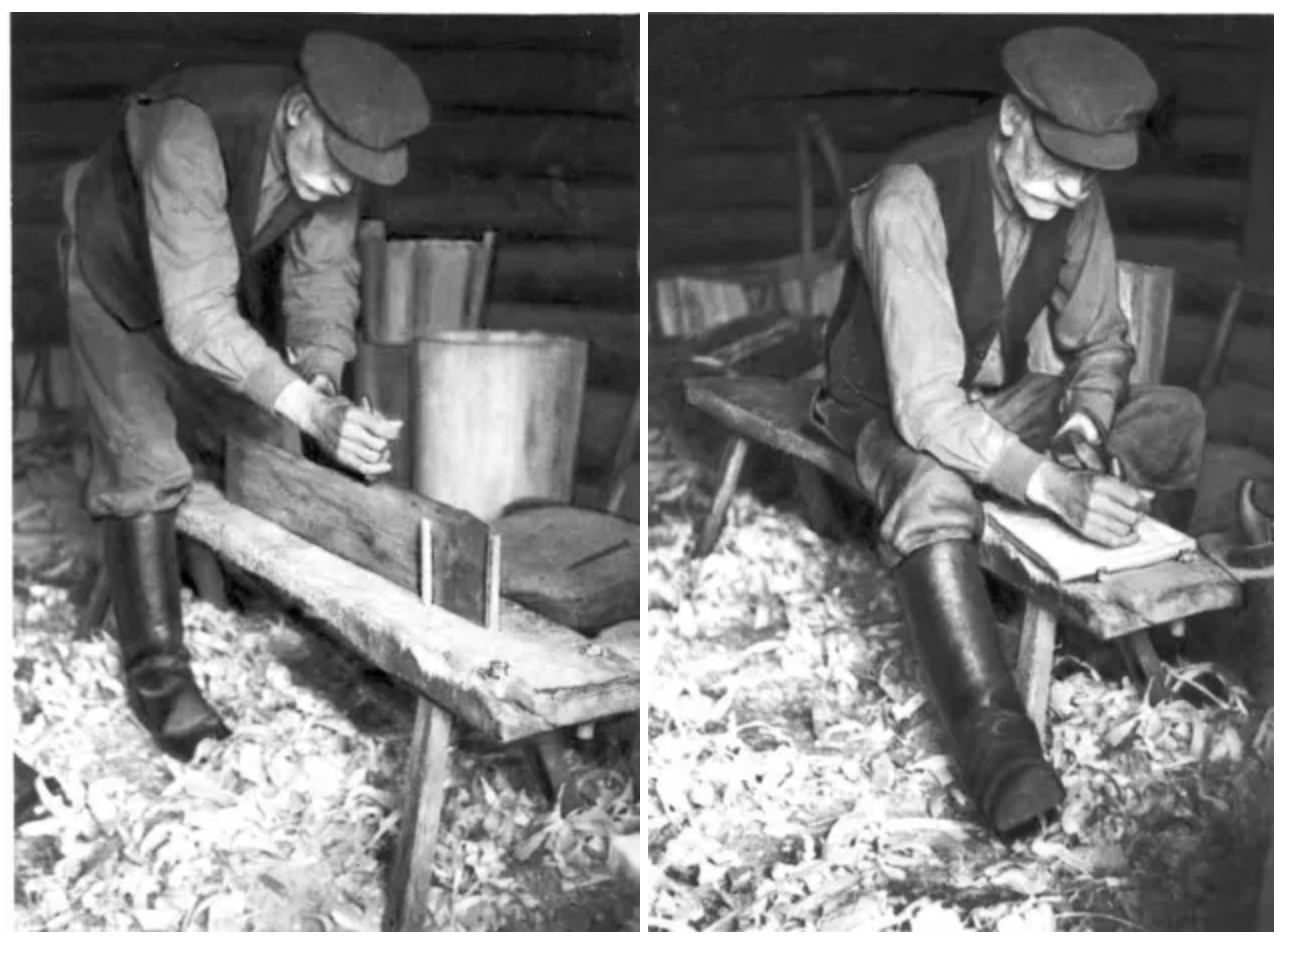
The use of the plane presumes a base on which the item being planed is fastened. For a long time a simple low working bench, in Avinurme, “tööjärg” (Fig. 56) served for this and on which also other woodwork was done. In places such benches are still used, particularly in Avinurme or elsewhere where home industry has persevered. The older generation throughout the country still remembers planing on the simple bench. The typical Avinurme workbench has two holes at one of its ends, and the board to be planed is fastened either against or between pegs driven in these holes, so that the person planing sits astride on the bench (Fig. 57). In other places there is often only one stick at the end of the bench. Mostly there are two holes next to each other near the middle of the bench and the board is fastened on the bench so it is possible to plane the edge of the board (Fig. 58). Sometimes there is a square hole in the center for the inverted wedge when holding the plane steady and jointing the edge of a board (see Fig. 94).
FIGS 57 & 58. Such simple workbenches were still usual for Russian home-industry workers at the beginning of the past century. It also appears from representations of Nuremberg cabinetmakers from 1398 and 1444 that they, too, have used identical benches. Only in German drawings of the 16th century do we see higher and wider benches, although still simpler and more primitive than the benches known today. But in the 18th century, benches as represented in drawings and lithographs bear resemblance to the present-day bench.
So the carpenter’s bench (“höövlipink,” also “kruupink, tisleripink, puusepa pink”) as we know it today is no older that two or three centuries. It became known in the village later still, and its actual appearance can be placed within living memory of the older generation, i.e. at the end of the 19th century. Of course, there may have been estate carpenters who had acquired benches somewhat earlier, even a century or more. The rapid development of village cabinetmaking in the second half of the 19th century brought the bench into the village. The story of carpenter Juhan Kaseoks (born 1866) of Keila is characteristic:
“I didn’t have a carpenter’s bench earlier. About 30 years later [1910] there was a little more. Ikmelt Jaan’s father, whose name was Prits, he made the first one. His father was as a very good carpenter. He even started to sell them. Masters bought them from him. I was working at the manor, I naturally had one too. My father-in-law, Maerus, did that work, and he had one too. But households didn’t have them. There was a bench instead of it.”
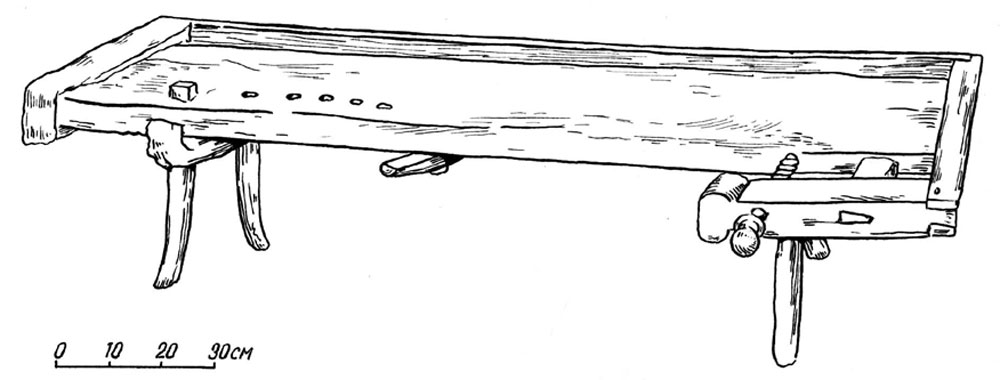
FIG. 59. Carpenter’s bench. Püha. After drawing by J. Võerahansu. EJ 61:70.
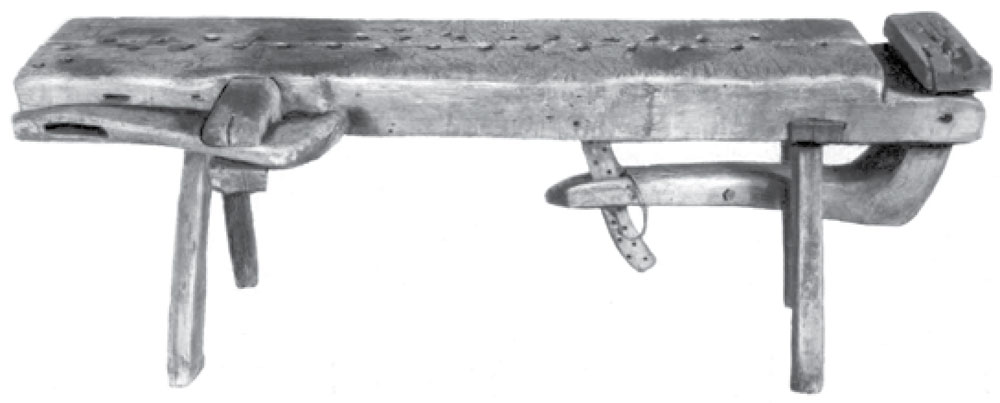
FIG. 60. Carpenter’s bench, Original unknown. ERM A 386:236.
After the example of carpenter’s benches people from villages started to build at first simpler benches. So, for example, people remember how they provided an end screw to an ordinary low bench. An old-style carpentry product, a planing bench now preserved at the Estonian National Museum (Fig. 60), uses natural branches of the tree skillfully applied in critical functions. Also a bench with screws represented a certain stage of development. Kusta Sinijärv (born 1866) of Karja remembers: “In my childhood we already had a real carpenter’s bench with a screw. At first it had one screw, with one screw at one end. But now the bench has two screws, with one screw also at the side. The side screw came there about 50 years ago [ca. 1900]. An older planing bench (with a side screw) but without a lower drawer has been shown in Fig. 59.
So the carpenter’s bench developed into a generally obligatory carpentry tool. Only the Avinurme woodworkers who make wooden containers still use the old benches. Chairmaking joiners in Avinurme, however, use the up-to-date joiner’s bench.