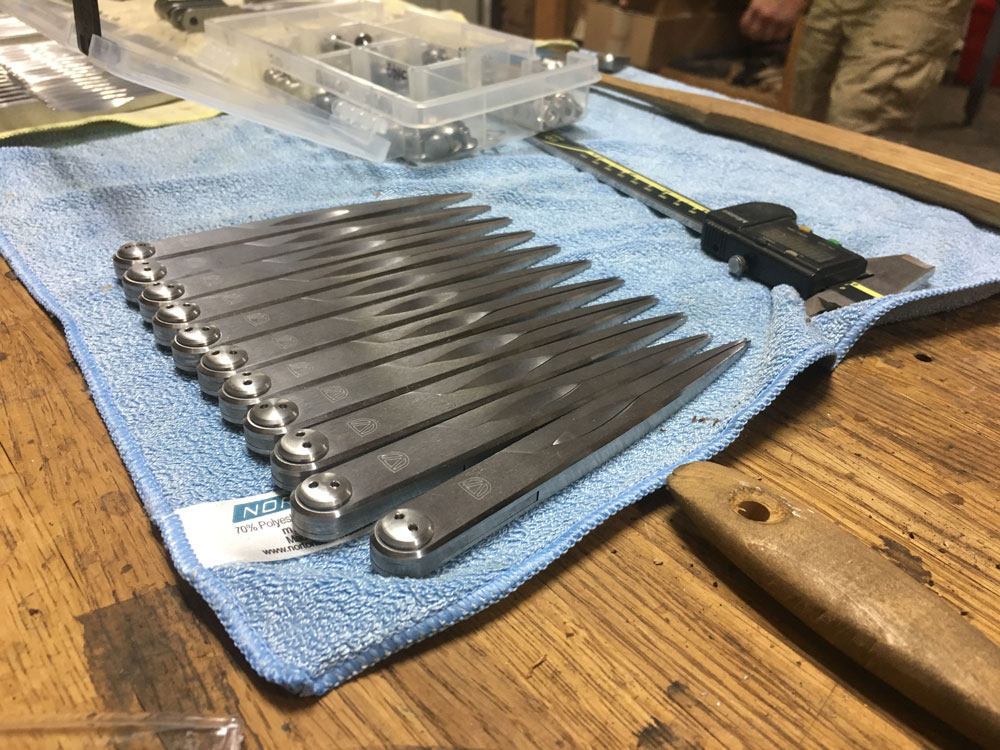
Making dividers – hundreds and hundreds of them – has been our obsession most of this year.
As a result, we at Crucible Tool have been burning through sanding belts. We have become quite good at precision reaming (stop snickering, or we’ll give you a taste of it). And we have become connoisseurs of legs that spread apart – without any slop – in the grip of a firm hand (again, you don’t want a piece of this).
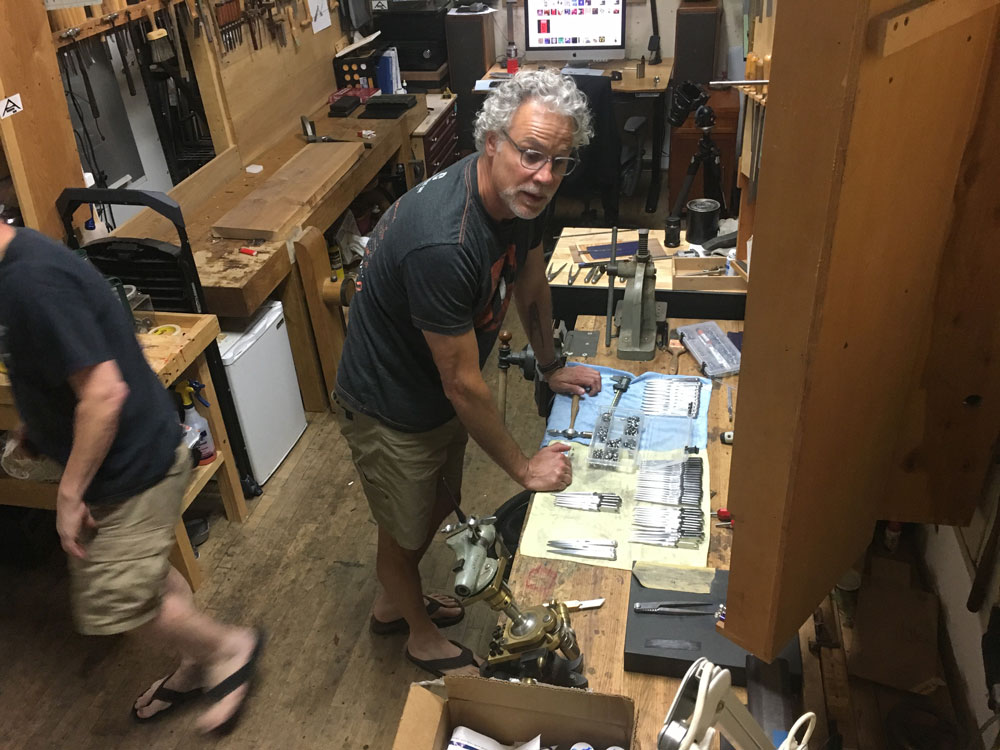
As a result, since early June, we have been able to keep up with orders for the dividers in the crucibletool.com store. That has been mostly due to the thankless detail work from John and Raney (really, I just eat bonbons all day and bark orders).
John Hoffman – assembling and inspecting the dividers.
So if you have been itching to own a pair, we now have plenty. They are $187, which includes domestic shipping. Yes, we are working on getting them into the markets in Canada, the UK and Europe.
Thanks to everyone who has supported Crucible Tool so far this year. We are now working on our fourth tool, which we hope to release before the end of 2017. In the meantime, we have plenty of holdfasts, design curves and dividers boxed up and ready for immediate delivery.
Read the other installments in the “Sharpen This” series viathis link.
When it comes to the topic of honing guides, I’d sooner have a double colonoscopy than discuss them. But here goes.
Honing guides are jigs. They hold a cutter to perform an operation, much like a scratch stock holds a moulding cutter, a slitting gauge holds a knife for cutting veneer or a router holds a dovetail bit for cutting joinery. Sometimes jigs are a good idea; sometimes they are a fool’s errand.
But to dismiss them entirely relegates you to the realm of woodworkers who populate the food court at the Woodworking Show, yammering to the ketchup dispenser about the finer points of mustard. Don’t be that guy.
As someone who has used almost every honing guide on the planet and who started life as a devoted freehand sharpener, here’s my take: You can’t do all of your sharpening with a honing guide (or the accessories to the accessories for the honing guide). But you’re also a fool if you don’t acknowledge that a simple honing guide can bring consistency and speed to sharpening simple blades.
If you want to explore honing guides, first buy the cheapest one – the Chinese-made side-clamp honing guide that costs $10 to $20. This is one case where spending a lot of money isn’t a great idea. Expensive honing guides are usually part of some sort of system, like Amway.
Try the honing guide. Compare its edges to the edges you get when you sharpen freehand. And – whatever you do – make your decision without consulting the Internet. It will only radicalize you one way or the other.
Personally I use a honing guide for straight chisels and simple plane blades. Everything else – moulding plane cutters, carving tools, knives, weird chisels, awls, etc. – are sharpened freehand. And when I’m working in the field, I sharpen chisels and bench plane blades freehand – it’s not difficult, stressful or even inconvenient.
I use a guide at times because, like all jigs, it can speed the operation of routine chores (I think of it like using a table saw for ripping lots of lumber). But I’d never use a honing guide that required a setup time of more than two minutes – by that time I’d have the edge sharp and ready to go back to work.
But most of all, don’t let any debate about sharpening equipment or techniques get in the way of your sharpening.
Read the other installments in the “Sharpen This” series viathis link.
One of the misguided mantras in sharpening is this: Polish the edge until you remove all the scratches left from the previous grit. Then move to the next finer stone and remove all the scratches left by the earlier grit.
This ridiculousness is why it can take beginning sharpeners 30 minutes to sharpen a chisel.
Polishing doesn’t make the edge sharper (see this), it makes the edge more durable. So having a few errant scratches remaining on your edge means you might have to sharpen a little sooner than if you had achieved a perfect scratch-free edge.
Sharpening priests and priestesses will counter my statement with: Tiny scratches in the edge will leave tiny scratches on the work when using a smooth plane.
To which, I’ll counter: Yes, but sandpaper. (See this entry for a discussion of the traditional way to prepare surfaces for finishing.)
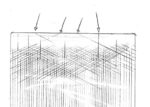
Coarse scratches left by manufacturing, grinding or a coarse stone.
Scratches left by a #1,000-grit waterstone with a few deep scratches visible.
Polishing on a #4,000-grit waterstone with a few errant scratches noted.
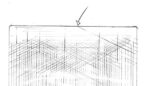
Polishing with an #8,000-grit waterstone with one scratch noted.
Sanity on Scratches When you polish an edge, a few errant scratches are fine. When I sharpen on a polishing stone, here are the steps:
Rub the bevel on the stone for about 10-12 strokes.
Observe the bevel; if there are scratches, return to step 1.
If there are still scratches after three visits to a stone, I move up to the next grit (or get back to work if that’s my final grit).
Sometimes I manage to remove all the scratches from an edge. Sometimes I don’t. Regardless, sharpening a tool never takes longer than one song on the radio.
On Cleanliness One of the ways to improve your polishing has nothing to do with the brand of stones or your skill. It’s cleanliness.
In my experience, the primary cause of scratches that are difficult to polish out is stray grit on your sharpening stones. If you get big rocks on your small-rock stones, the big rocks will scratch the edge. These big rocks can be loose abrasive on the stone or even get embedded in a soft stone.
So keep your stones clean. If a stone is giving you trouble, put some lubricant on it and wipe it off with your hand. That removes loose grit. If grit has become embedded in the stone, flatten the stone and clean it off. That fixes almost every problem except for a stone that was poorly made and has coarse grit embedded throughout (yes, this happens).
— Christopher Schwarz
P.S. One more entry and then we get to sharpen things!
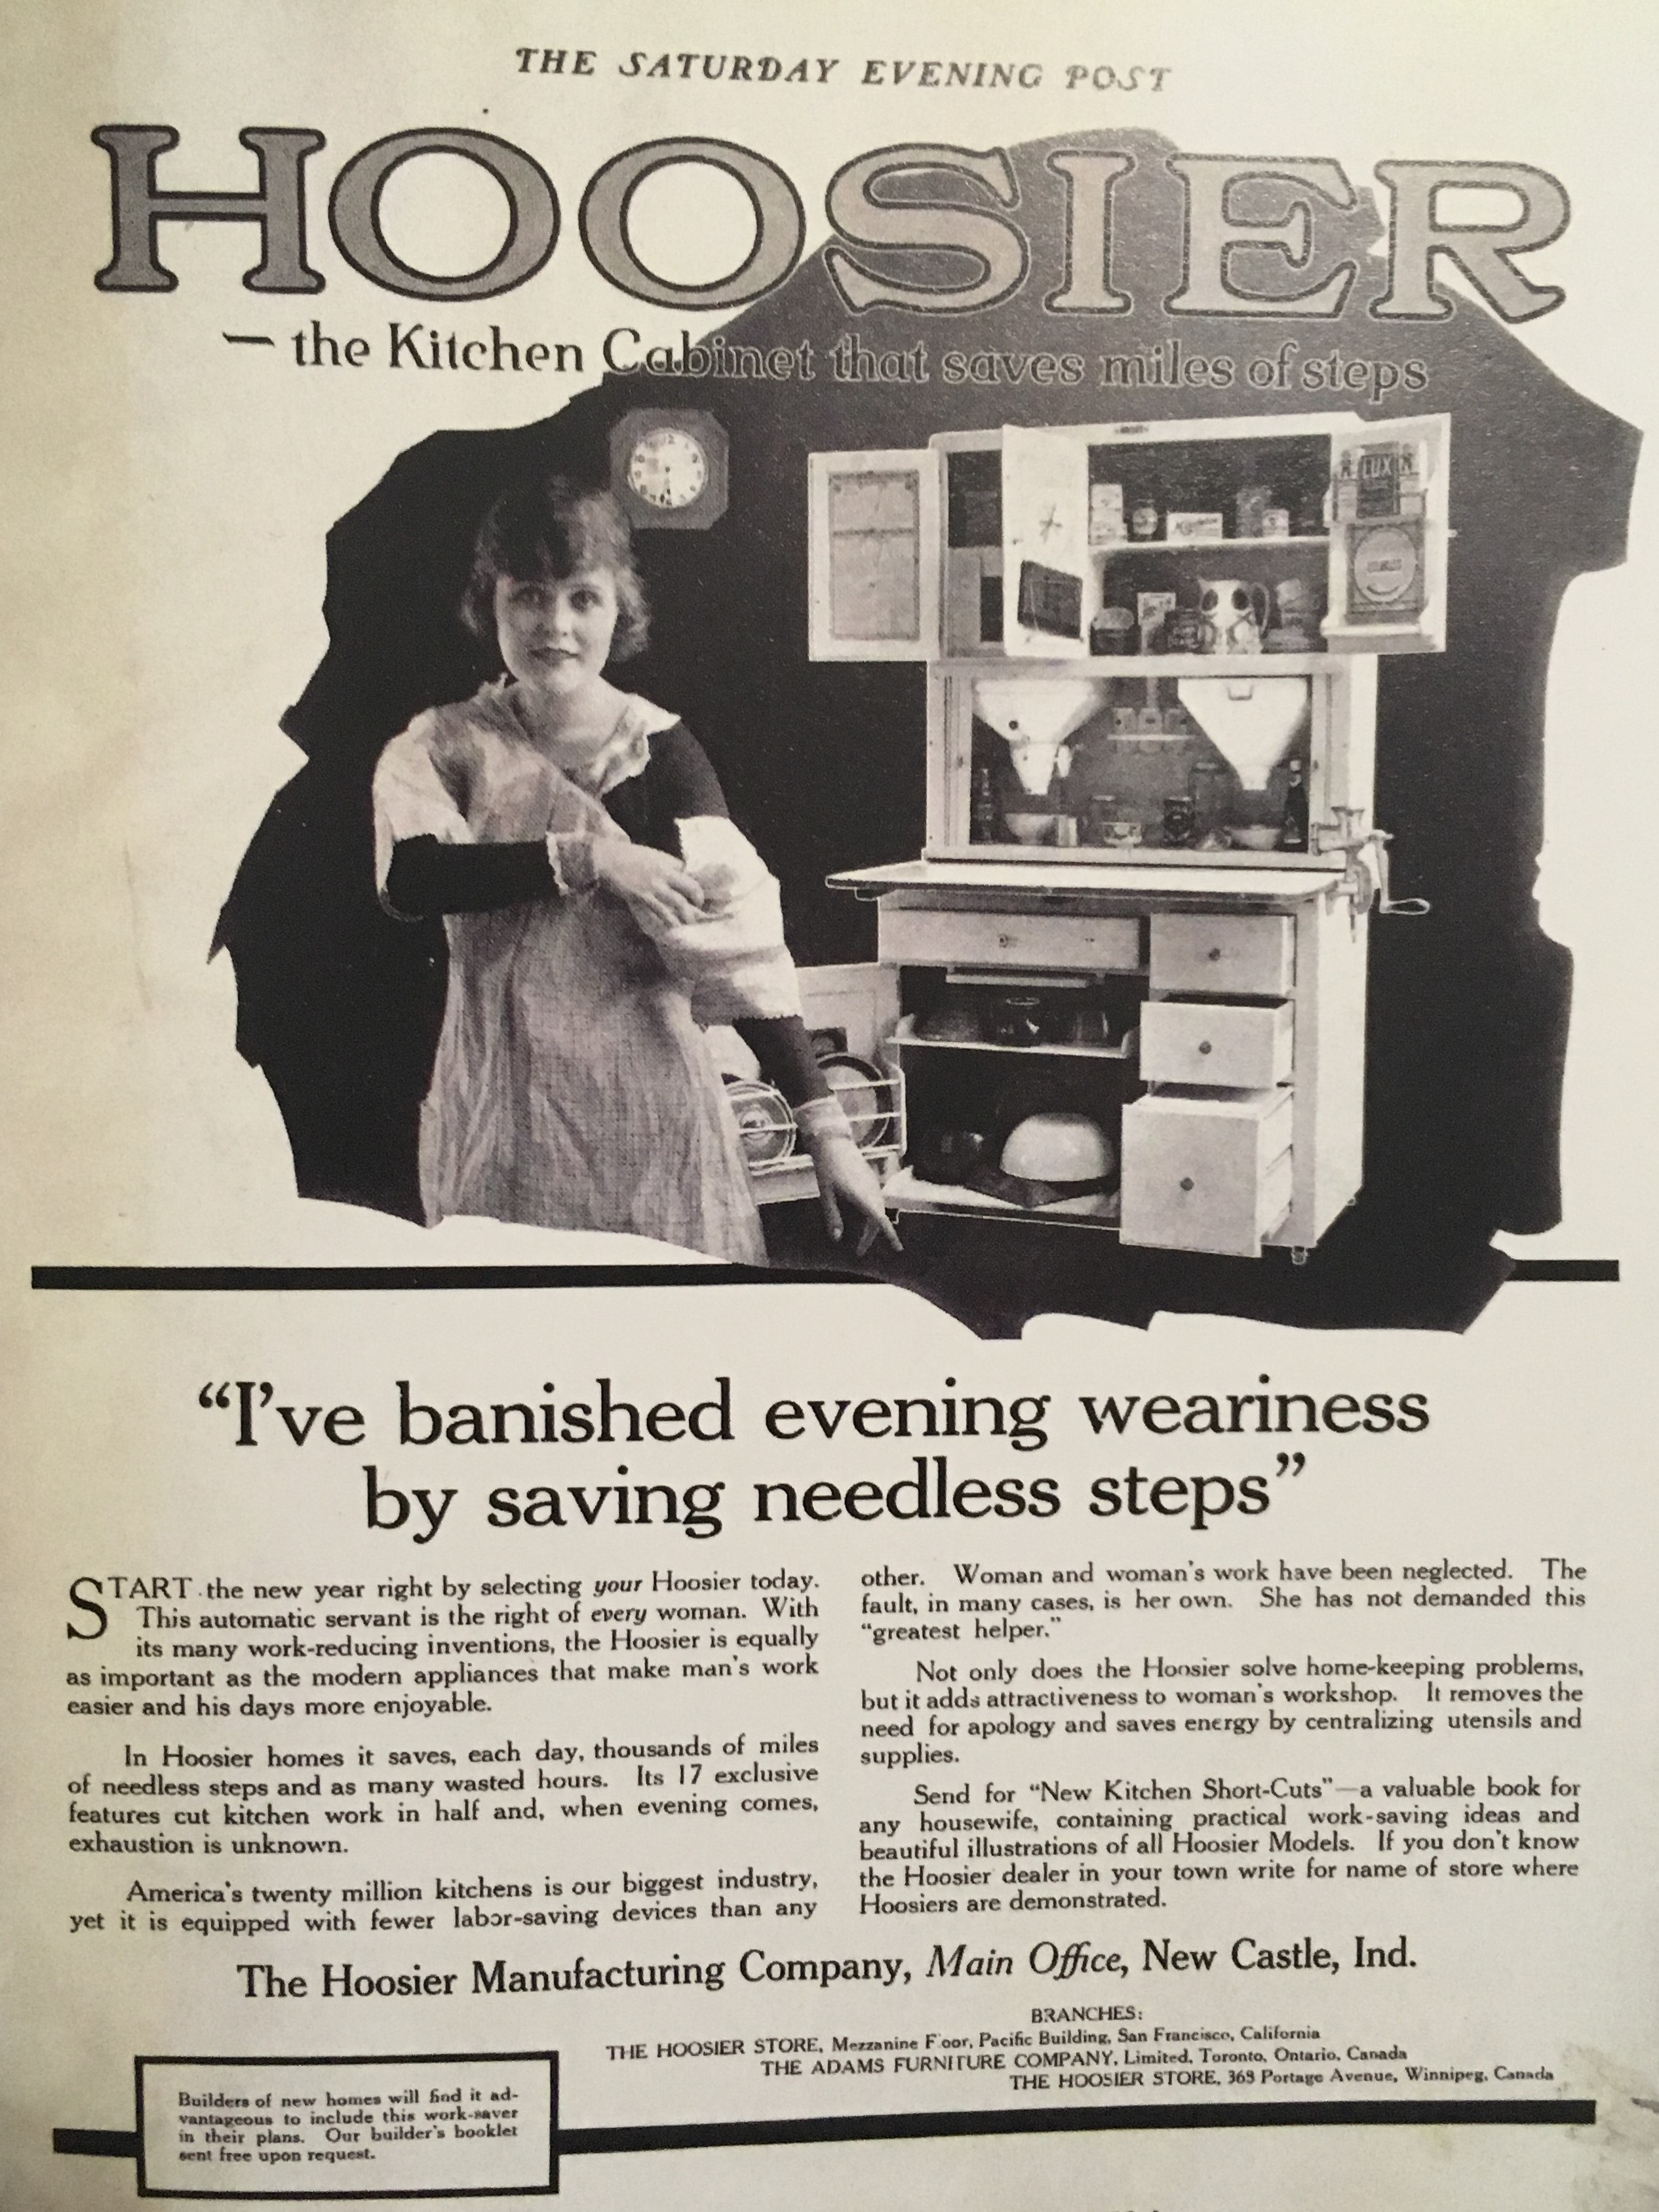
Advertisement published in The Ladies’ Home Journal, 1919. Is it just me, or is there a suggestive twinkle in her eye as she removes that work apron?
Hoosier cabinet ads offered another attractive benefit: by helping their users stay “beautiful,” “youthful,” and “energetic,” the cabinets in effect promised to help save marriages. “Why be all fagged out and suffer from backache and headache?” asked one ad. “Why be a kitchen drudge, waste your strength and wear yourself out? A ‘Dutch Kitchenet’ will systematize your kitchen work—make it easy and give you leisure time for rest and recreation.” The Sellers cabinet promised to “conserve your strength to a remarkable degree.” The Hoosier Manufacturing Company agreed that “the greatest economies [women] can effect are those of Time and Strength,” allowing “more time for rest and recreation,” and for “porch breezes” in summer. “The Hoosier will help me to stay young,” declares a bride to her mother, presumably on her wedding day, judging by her attire. “Save nerves, Save health,” cries another Hoosier ad; yet another, “Think what this spare time would mean to you day after day, if you worked sitting down so you could feel rested enough to enjoy it.”
Based on these and other advertisements citing headaches (yes), exhaustion, and drudgery, it seems likely that Hoosier cabinets were not infrequently paid for by husbands anticipating improved performance in the bedroom as well as the kitchen.—Excerpted from The Hoosier Cabinet in Kitchen History by Nancy Hiller, author of Making Things Work
Read the other installments in the “Sharpen This” series via this link.
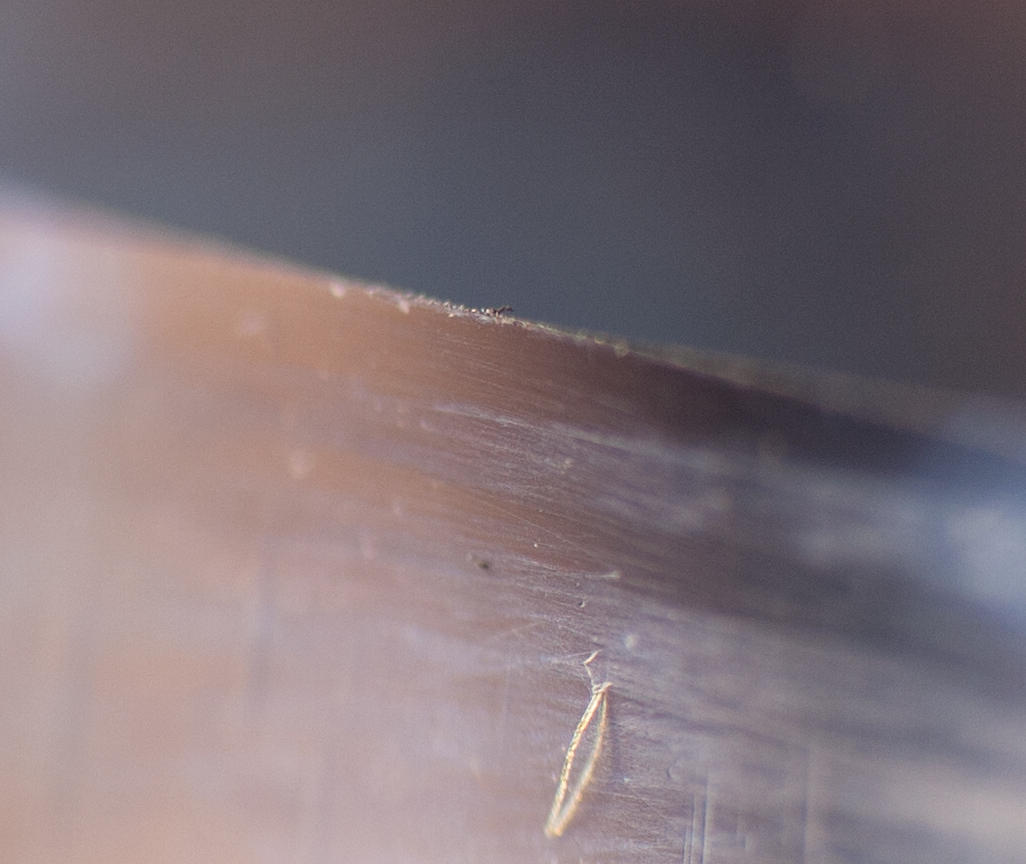
The burr – how to make it and how to remove it – confuses many beginners. Many underestimate its importance. Others disagree on how to remove it.
First, what the heck is it? The burr is a tiny curl of metal that appears on your edge when you birth a zero-radius intersection. It’s important because it’s the only practical way to ascertain that you have created a zero-radius intersection and that your edge is ready to polish.
Here is what is important (and not) about the burr:
The burr needs to exist along the entire edge of the tool. If you have a burr in a few places but not others, you need to rub the edge on your stones until you create a consistent burr.
If you cannot create a consistent burr, do not polish that edge with finer abrasives. Instead, switch to a coarser sharpening media. The coarser abrasive will quickly remove the dull areas of your edge and give you that consistent burr.
If you have a consistent burr, don’t worry too much about the scratch pattern on its edge. The scratch pattern becomes more important at the polishing stage (which is the topic of the next entry on this series).
Don’t try to break off the burr with your fingernail. I have damaged some edges this way, sending me back to the coarse stones to make a new burr.
Once you have a consistent burr, there are several schools of thought on what to do next.
Leave the burr alone until the very last. Polish the bevel as high as you want to go. Then remove the remnants of the burr using your finest sharpening stone by rubbing the back of your edge against your finest stone. This strategy works quite well.
Deal with the burr on every stone during your sharpening process. So after you create the burr on your first stone, rub the back of the tool on that first stone to remove the burr. Then move to the next polishing stone. Work the bevel and then work the back on that stone. And so on. Likely you won’t be able to feel a burr created by the finer stones. Work both the bevel and the back on every stone, all the way to your finest stone. This strategy also works quite well.
Sliding the edge through softwood will remove the remnants of a fine burr.
3. After polishing the bevel, remove the remnants of the burr on the back (you might not be able to feel it) with a non-sharpening media, such as a piece of wood or your palm. This strategy is old school. You rub the bevel and back against your palm. Or you slide the edge through a piece of softwood. No surprise: This strategy works quite well.
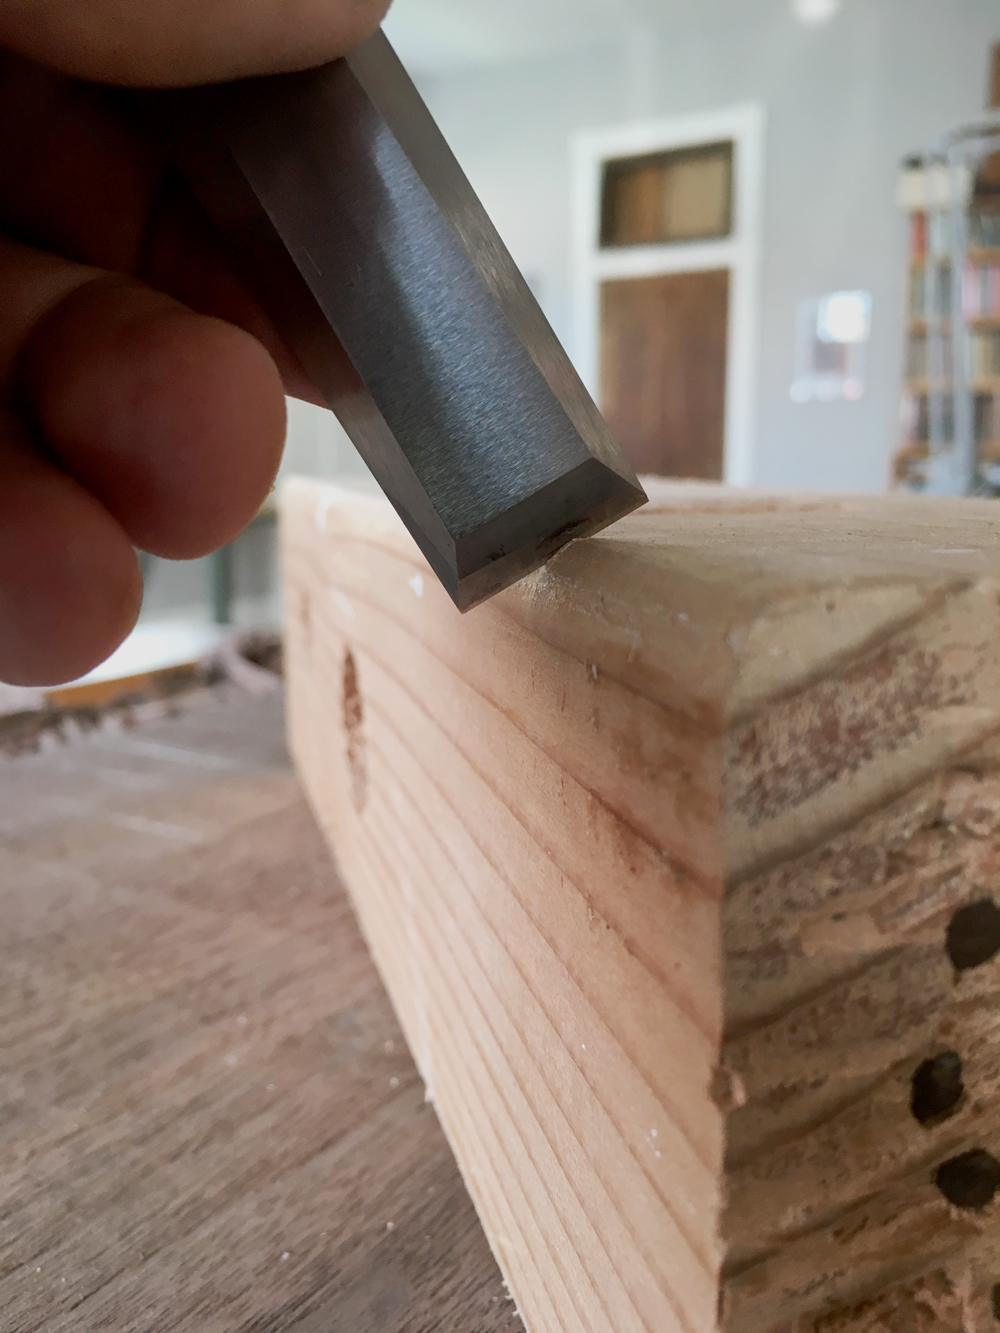
Removing the Burr The debate on how to remove the burr has caused a few small wars in the Balkan states. Don’t fall for the fundamentalist talk on the topic. The only “wrong” way to remove the burr is when you use a soft media, such as a waterstone. You can actually mash the burr into the soft surface of the stone, break it off and embed it in the stone.
This is bad because the next time you sharpen, the broken burr will act like a piece of glass sticking out of the asphalt – it will mangle your new edge. This has happened to me. It sucks. (To avoid this problem on soft stones, begin with the back of the tool cantilevered off the stone and then pull it onto the stone. The corner of the stone will remove the burr, preventing it from embedding in the stone.)
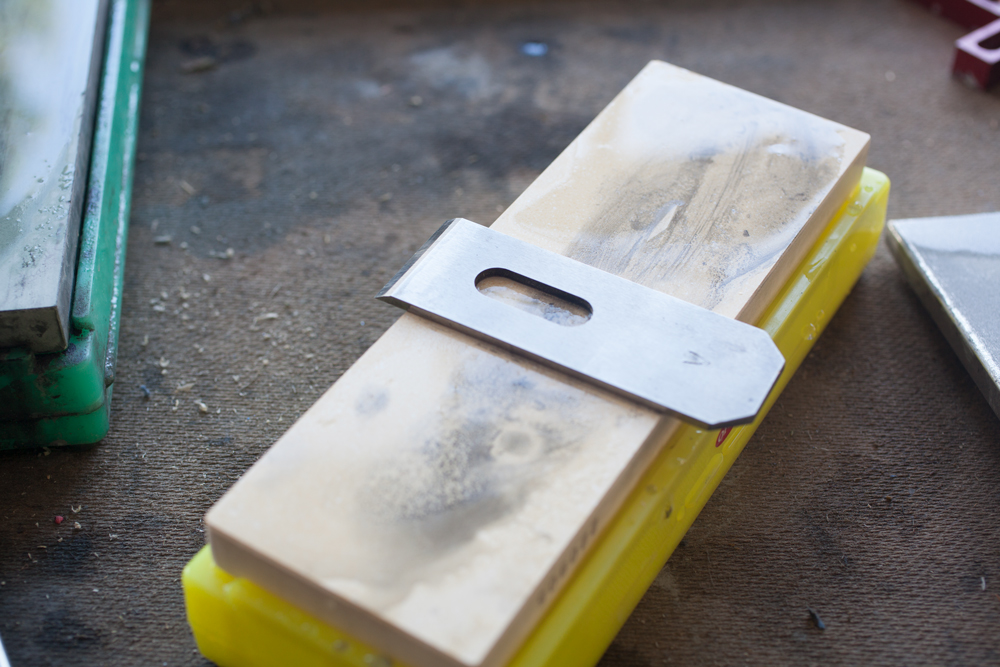
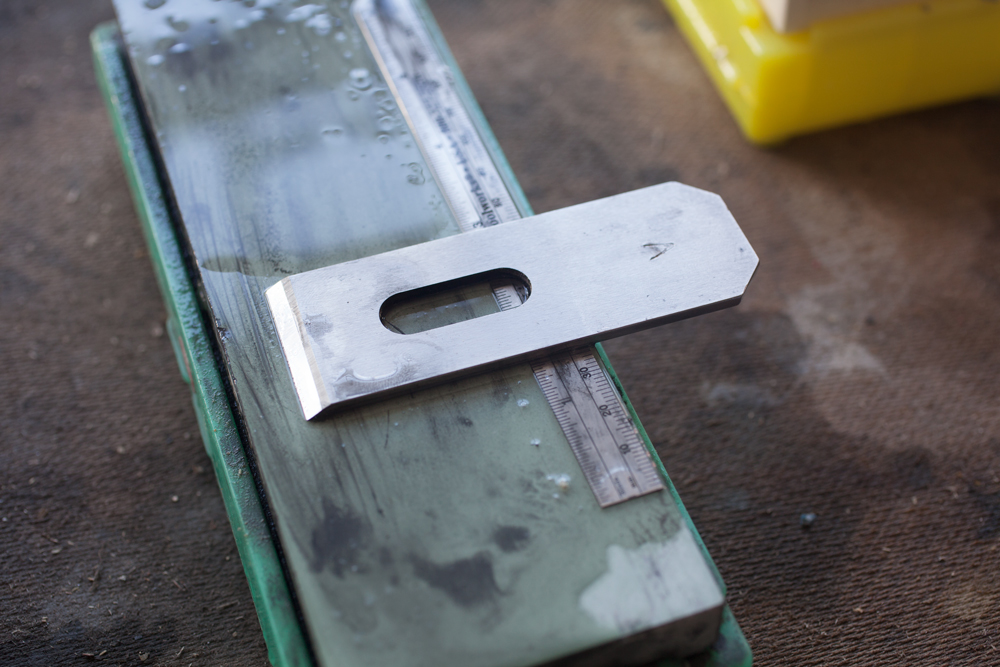
So you might remove the burr by putting the tool’s back flat on your polishing stone and moving the tool. That works fine.
Avert your eyes! It’s the tricksy ruler trick.
Or you might prop up the back of the blade on a thin ruler so you polish only the tip of the back to remove the burr (people call this David Charlesworth’s “Ruler Trick”). While some will tell you that using the Ruler Trick will make you sterile, reduce your IQ and make toe fungus grow on your face, that’s crap. The Ruler Trick is just another way to remove the burr. It works fine.
I apologize if these entries seem to have the same pattern (you need to do this; how you do it is unimportant). But that’s exactly the same with the burr. You have to create one to get a zero-radius intersection. Then you have to remove it. How you do this is fairly unimportant.
Next up: How to polish an edge and how your particular method is unimportant.