Several Lost Art Press authors will be available at Handworks to sign your books.
If you want to get Don Williams and Narayan Nayar to sign “Virtuoso: The Tool Cabinet and Workbench of Henry O. Studley,” they have set up three times during the weekend for signings. The signings will be in nearby Cedar Rapids at the Scottish Rite Temple where the cabinet and workbench will be displayed. Directions here. Yes, there are tickets still available – details here.
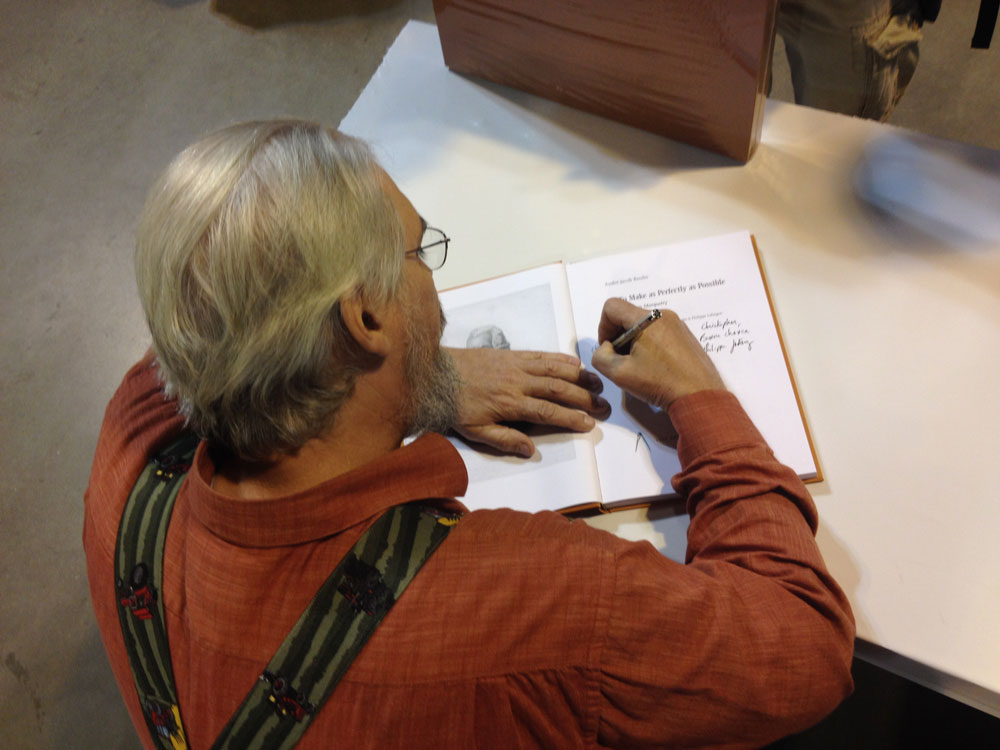
Don is obligated to stay with the exhibit the entire time, so don’t look for him at Handworks. You’ll find only other bearded, suspendered men.
Here are the times for the three “Virtuoso” signings:
Friday at 2 p.m. to 3 p.m.
Saturday at 5 p.m. to 6 p.m.
Sunday at noon to 1 p.m.
“Virtuoso” will be available for sale both at Handworks and at the exhibit.
Roy Underhill and ‘Calvin Cobb – Radio Woodworker!’ Roy Underhill will be at Handworks this year to deliver the keynote address at 10 a.m. Saturday and will be floating about the show at other times spreading mayhem.
We plan to corral him for a book-signing at 11 a.m. Friday morning in the Lost Art Press booth in the Festhalle. Bring your copy of “Calvin Cobb – Radio Woodworker!” or pick one up at the booth.
Other Lost Art Press Authors Peter Galbert has a booth at Handworks, so you can get your copy of “Chairmaker’s Notebook” signed there. George Walker, one of the authors of “By Hand & Eye,” will be at the show and is always happy to sign books. Matt Bickford, the author of “Mouldings in Practice,” has a booth in the Festhalle. Mike Siemsen, the host of “The Naked Woodworker,” is happy to sign your DVDs (pro tip: not on the silvery side). Joel Moskowitz of Tools for Working Wood and co-author of “The Joiner and Cabinet Maker” should also be at Handworks.
And, of course, I’ll be there and happy to sign anything – babies, bare chests and books especially.
The best words of advice I’ve heard sound simple until you give them some thought. Here are three things to consider.
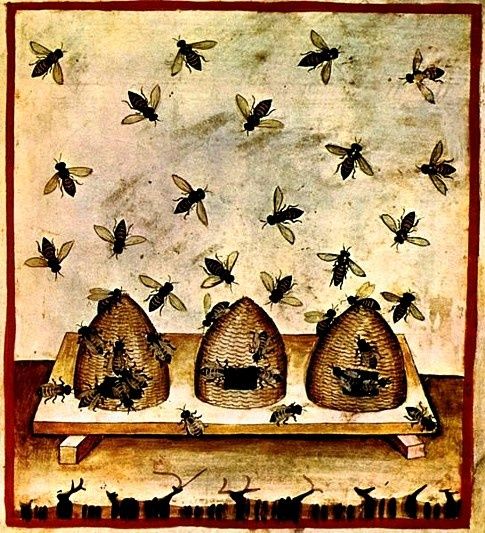
“Good beekeepers have to figure some things out for themselves.”
This was a simple statement made by a beekeeper and mother to her teenaged woodworker who was struggling with sharpening, setting up a handplane and producing a nice surface.
She didn’t know about woodworking, but she knew about farming and bees. And when her young son despaired that he could not get his plane to work, she spoke those 10 fantastic words:
“Good beekeepers have to figure some things out for themselves.”
A couple years ago I heard Mike Siemsen of “The Naked Woodworker” DVD fame discussing workbenches with a new woodworker.
Question: What about moisture content blah, blah, blah?
Siemsen: Don’t worry about it. It will work out fine.
Question: But the wood species yadda yadda annular rings shinka shinka gymnosperms?
Siemsen: It will all work out fine. I wouldn’t worry about it.
Question: So E-value, Janka rating and tangent grain? Roubo, Nicholson and Klausz?
Yoda: Fine it will all work out. Worry not.
…this conversation continued for another 30 minutes in the same format.
Third vignette. Matthew Sheldon Bickford, author of “Mouldings in Practice,” ends his book with the best single-word ending sentence in the history of woodworking writing. Stick with me here.
“Be willing to succeed by being willing to fail,” he writes on page 241. “Tie yourself to your actions. Stop reading. Err!”
It’s easy to think that there aren’t any secrets left in woodworking. But I don’t think that’s true.
While a lot of the basic hand and machine skills are widely discussed and disseminated (thank you, Internet), a good deal of specialized and advanced knowledge is still frustratingly obscured. Here’s one small example.
When I was a junior editor at Popular Woodworking Magazine I was assigned to work with a prominent furniture-maker to help him develop his article ideas and get them into print. Standard stuff. I won’t use his name because I was raised right.
During a visit to his shop I noticed he had a lot of complex moulders and hollows and rounds planes. At that time, there were maybe four articles written about these planes that I could find. I was personally desperate to learn more, so I assumed that our readers would be as well.
The guy refused to write an article or even demonstrate how to use the tools.
“That,” he said, “is what makes my furniture special. I’m not going to show others how to do it.”
I think there’s a 50/50 chance that the guy actually had no idea how to use the planes and was embarrassed that he had them up on the wall. And if that was the case, then I totally forgive him for being human.
But if he really did know how to use them, then he’s no friend to the craft.
Most woodworking (even the complex stuff) is pretty simple once someone shows you the tricks that break the process down into logical and predictable steps. So I bristle when someone throws up a stone wall. That usually means the process really is exceedingly simple.
My search for an author who could explain hollows and rounds didn’t end that day. It ended several years later when I met Matt Bickford at a woodworking show. At the time he was thinking about becoming a full-time planemaker. He showed me two tricks at his pink-painted workbench that day, and I knew I had found the answer.
My years-long search eventually ended in us publishing “Mouldings in Practice” by Matt. It is one of our books I am most proud of because it is the first real text on making mouldings by hand. It makes the process incredibly simple. And it flips the bird to that furniture-maker I encountered many years ago.
Bottom line: If you know something, say something.
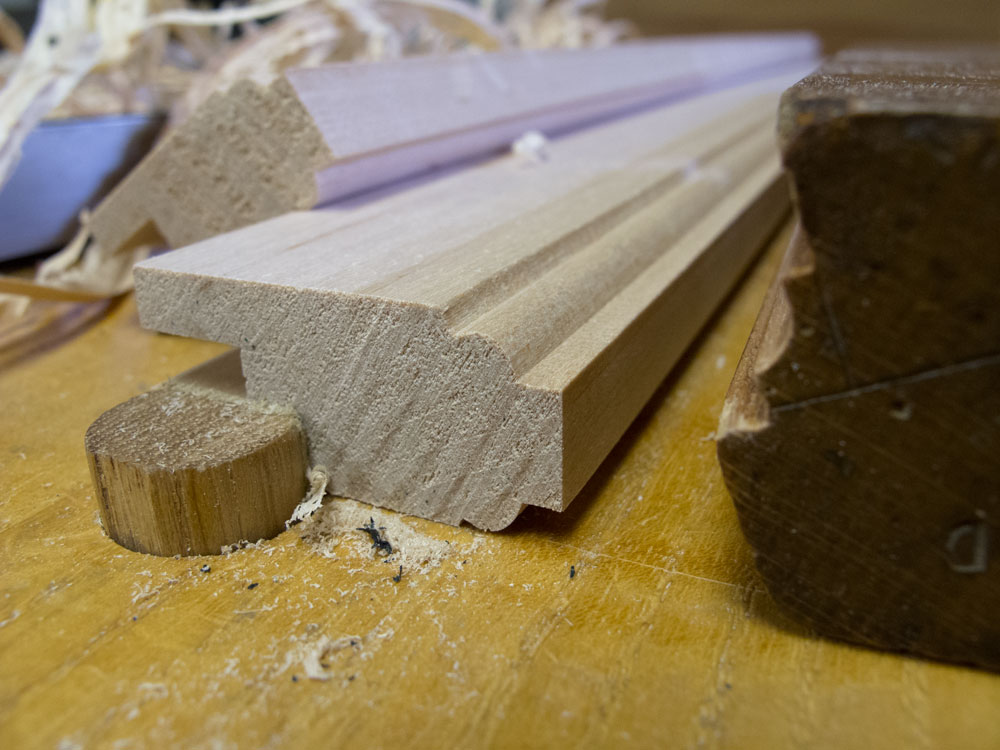
Many woodworkers struggle when designing their own mouldings, and that’s because they haven’t studied enough of the most common forms. Imagine trying to build a chest of drawers if you had only seen a few of them.
To become fully aware of mouldings, it’s best to study their forms from about 1400 to the present. That’s outside the scope of this particular blog entry. But we can help you with the more recent stuff.
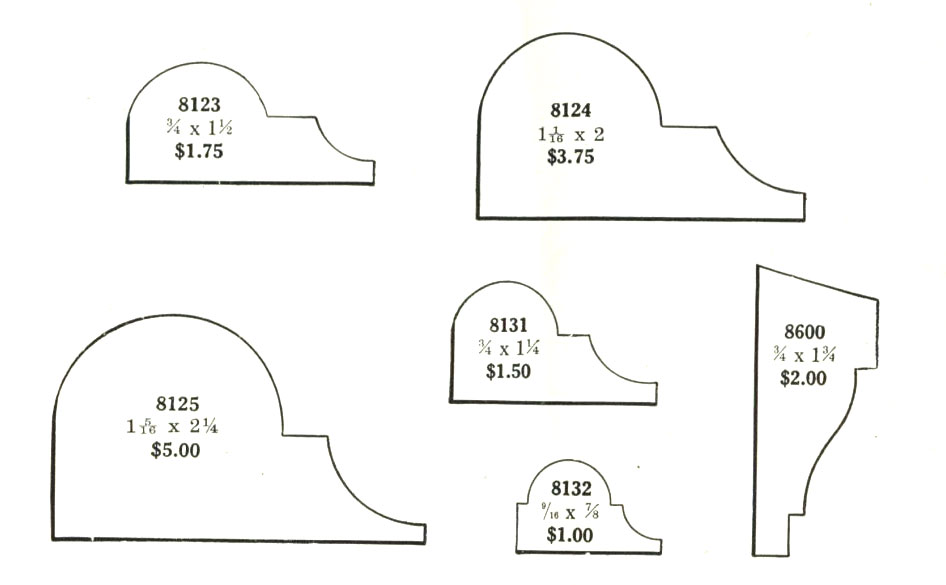
Thanks to Eric Brown, we are accumulating a nice collection of hard-to-find references on moulding shapes. Eric has a bad/good habit of picking up woodworking ephemera when he sees it and sends a good deal of it my way so I can share it here.
Thor Mikesell has digitized three of these catalogs for us. Thor is a new student to traditional woodworking, with a background in trim and finish work as well as scenic construction for the stage. He lives in Eugene, Ore., with his wife, Holly and their two dogs.
There are three catalogs for you to download, study and enjoy. All are in pdf format.
The first is the 1938 “Arkansas Soft Pine Handbook,” which was published as a way to promote use of Pinus echinata, a shortleaf pine that is technically a yellow pine but was being promoted as great for interior trim.
Aside from the interesting marketing of this pine that I grew up with, there is a fantastic visual guide to mouldings in this 68-page booklet. It is well worth downloading and taking a look at.
The second booklet is “Mouldings Millwork No. 72” from the Foremost Lumber Corp. in Brooklyn, NY. It has a similar (but not identical) array of mouldings.
Despite word from Tibet from my milk paint supplier that Agnes the yak was busy assembling her hope chest and flirting shamelessly with a certain strapping young specimen of yakhood, I decided that I needed to take the bull by the horns and get on with painting my six-board chest.
Vinegar, skim milk, a stainless soup pan, spaghetti strainer and a measuring cup.
I poured a liter (quart) of skim milk into the soup pan, let it warm on very low heat to the point where there were just the faintest hints of steam coming off it, and then added 4 cl (1.5 fluid ounces) of vinegar –stirring a few swipes, enough to mix, but no more. This is not a critical thing, the curds will form in one way or another. You can even just let it sit at room temperature, but that will take hours. The important thing is not to bring the mix to a boil.
The fresh cheese.
I did this twice, and the second time I ended up with much less cohesive curds. No matter. After washing, it looked the same. If you substitute whole milk and maybe a little cream, and lemon juice in place of the vinegar, the same process will yield a fabulous farmer’s (or ricotta or quark if you want to be fancy about it) cheese.
The finished cottage cheese, cement/lime-mortar pigment, and hydraulic lime.
You pour out the “cottage cheese” into a strainer lined with cotton cloth, and then rinse it under cold water two or three times. Given that vinegar is an acid used to curdle the casein milk protein and separate it from the whey, this is an important step in that a basic powder in the form of slaked lime or chalk is often added to the cheese, which if not rinsed could cause a chemical reaction that would spoil the mix, at least. Then I added water to a handful of slaked lime with a couple of pinches of borax mixed in. In place of the slaked lime, you could use various kinds of finely ground chalk powder, or nothing. The lime or chalk powder is a filler, and results in a more pastel color. But some just add the pigment directly to the cheese and go from there. The borax is to help break down the casein protein in the fresh cheese, increase the adhesiveness of the paint, and adds some anti-microbial protection.
It took a while to mix all of the lumps out. Would have gone faster with an electric mixer, but that would have been too much for even my remarkably tolerant better half. “Darling, you know I love it when you whip up a new recipe, but if you even think about serving rusty nails and hinges braised in vinegar this evening, you will be sleeping in the rabbit hutch tonight.” We don’t have a doghouse.
The other thing was I used a natural hydraulic lime, NHL3.5, instead of the non-hydraulic lime usually recommended, because that was what I had. It worked OK, but you have to use the paint quickly and stir often because the lime will start into its hydraulic set after a while, and the paint becomes useless.
The chest after two coats.
It doesn’t show in the photo, but I used a little more lime and a little less pigment for the second coat and it gave the chest the slightly two-toned look I was aiming for.
Mostly people use linseed oil for a topcoat over the milk paint to give it a little depth and a slight gloss. I wanted to finish the inside of the chest, too. You can’t use linseed oil inside a chest, especially one that will be used to hold clothes or linens, because it starts to stink after a while. So I opted for some lovely natural shellac I picked up a while back. Just the ticket.
Very slight gloss, nicely highlighting the cross-grain tear-out from the moulding plane. Whoops.
It’s done.
All in all a good experiment. Start to finish, making the paint is about a 20-minute process. There are a number of recipes online. Lots of different permutations, but the upshot is that it really isn’t that critical what you do or which ingredients/quantities you opt for, as long as you make enough for the whole job, or are looking for the slightly two-tone effect.