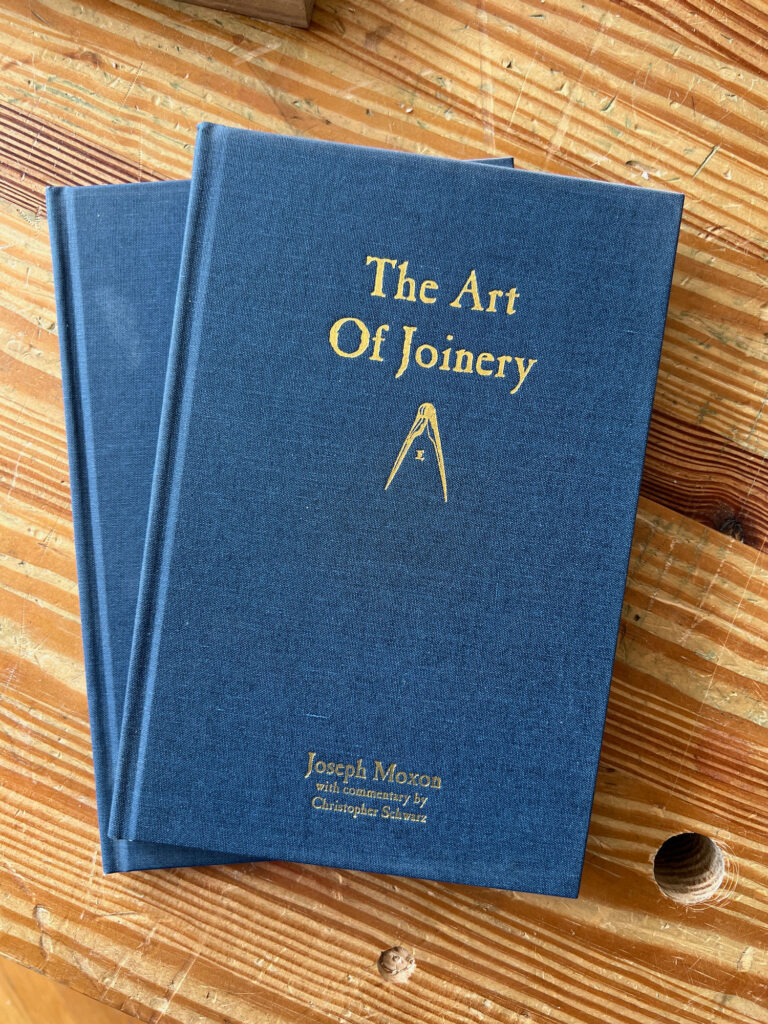
The first cover of the first printing of our first book. Designed in about 15 minutes.
When we sent our first book, “The Art of Joinery,” to press 15 years ago, I was teaching a class at Kelly Mehler’s School of Woodworking in Kentucky and got a phone call from the pre-press shop.
“The interior folio looks fine,” the voice said. “But what are you going to put on the cover?”
I stood there, dumbfounded. John and I hadn’t even thought about the cover.
So on my lunch break I grabbed my laptop and whipped up the cover above in about 15 minutes. I laid out the text and thought: Should we put some image on the cover? I quickly scanned through the images in the book and – with about two seconds of thought – threw the dividers on there. I sent the cover to pre-press and ran back to finish the class.
And that is how we got our company’s logo – dividers.
Believe it or not, it took a while for us to catch on that our books needed cover images. When I worked in corporate publishing, the cover and title were things that were settled and discussed by people way above my pay grade. So it wasn’t something I thought much about.
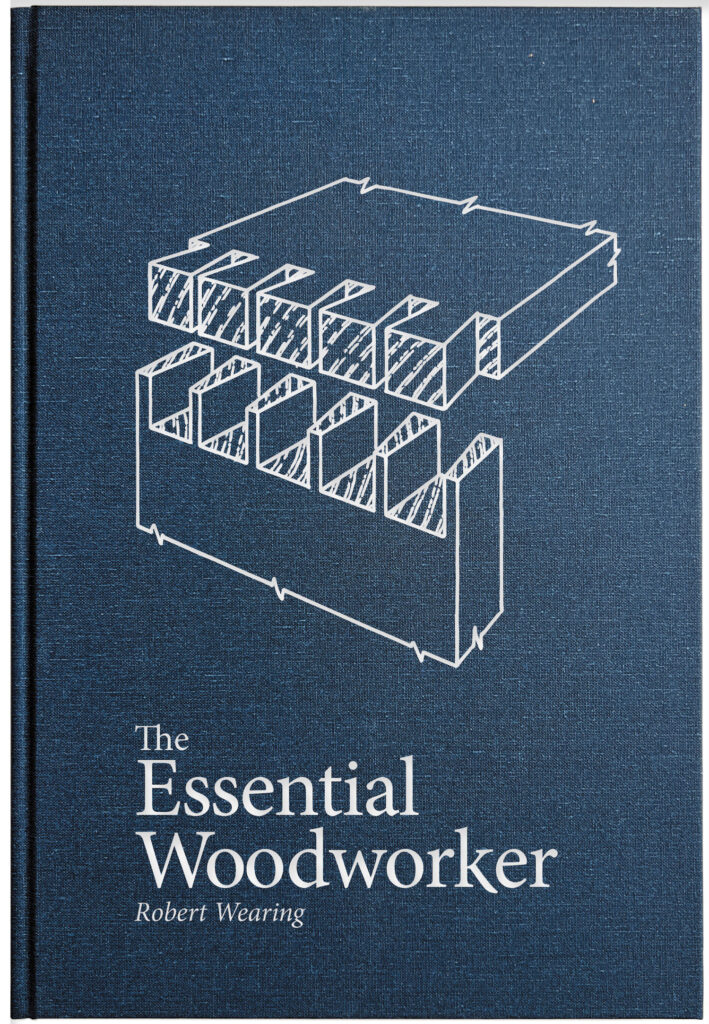
So “The Essential Woodworker” went through the same oh-crap-I-forgot-the-cover process as “The Art of Joinery.” It really wasn’t until “The Anarchist’s Tool Chest” that my head really began thinking much about our books’ covers’.
A quick mock-up of the new diestamp for “The Essential Woodworker.”
These days I spend more time working on the cover – though we don’t fret over the marketing aspect of it. Like all aspects of our books, the cover is a joint decision between the author and me. So many times the cover is remarkably unmarketable. Which I love.
Now that we have Megan on board as the full-time editor, I have more time to breathe, think and look beyond the flaming crisis of the day. So this week I spent some time redesigning the cover of “The Essential Woodworker” by Robert Wearing, which is one of our core books. We are in the process of reprinting it for its 11th printing, and I don’t know when the new cover will appear. Likely this fall. And I don’t know if the cover cloth will be blue. Cloth shortages are wreaking havoc with our titles. (Have you seen the new cloth on “With the Grain?” I like it, but it wasn’t our first choice – or our eighth.)
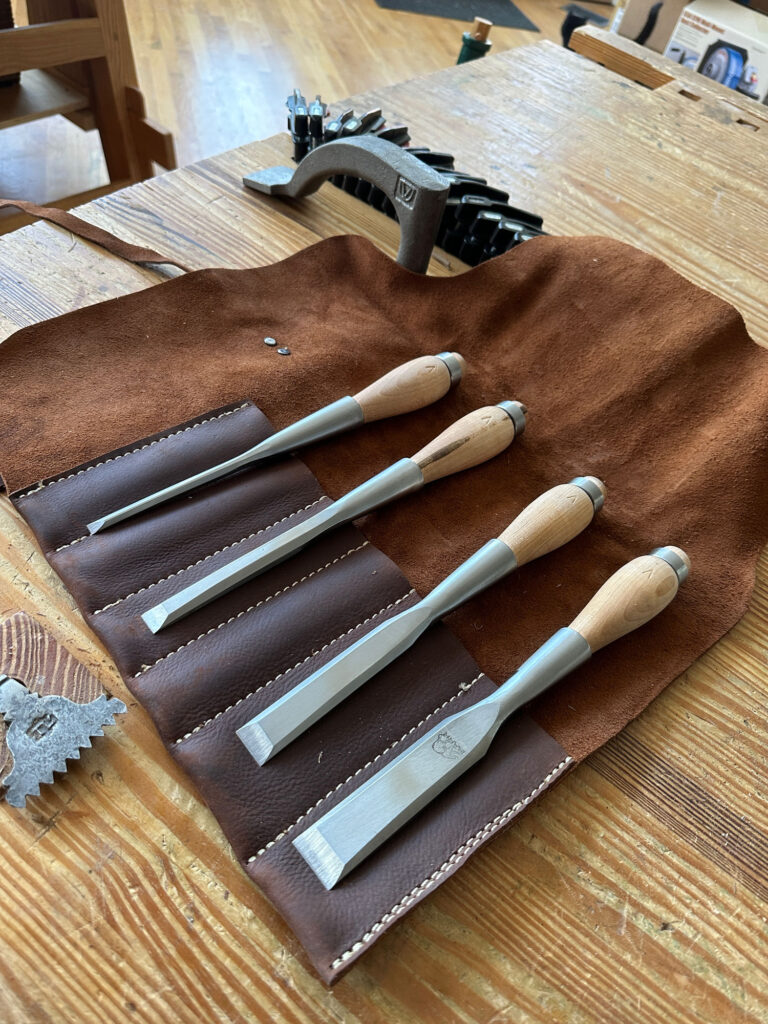
The set of Barr Cabinet Maker’s Chisels I purchased.
When I bought a set of Lie-Nielsen chisels in the early 2000s, I had to sell my set of Barr Cabinet Maker’s Chisels. Our kids were young (Katherine was just 3), and Lucy and I struggled to pay the $1,200 monthly daycare bill for two kids.
I couldn’t justify owning two nice sets of chisels when I needed only one.
I rationalized selling the Barrs by saying the Lie-Nielsens were more suited for the work I was doing at the time – lots of dovetails. And I stand by that statement. The Lie-Nielsens are lightweight and have outstanding balance. And they won’t wear you out if you have to chop out 100 pin sockets.
But I regretted selling the Barrs. They were simply outstanding, and they held an edge better than any other tool steel I’ve worked with (including Japanese chisels). I wrote about my long experience with Barr tools here on my substack, “The American Peasant.”
The Cabinet Maker’s chisels are fantastic for heavy work and have a handmade feel, like my blacksmith-made scorp, adze and 2” Barr chisel.
This week I turned the clock back, and I now own a set of four Barr Cabinet Maker’s Chisels. After chatting with Ginger Quarton at the company, I learned that the company still makes batches of the chisels two or three times a year. I asked if I could get on a waiting list.
As luck would have it, they had a set of the tools on hand – a customer had changed his mind. So I purchased his error.
The four chisels – 1/4”, 1/2”, 3/4” and 1” – come in a heavy leather tool roll. They are exactly like my old Barrs. Beefy and easy to sharpen.
They are a good deal heavier than my Lie-Nielsens. The Barr 1/4” chisel weighs 145 grams; the Lie-Nielsen 1/4” weighs 65 g. The Barr 1/2”: 192 g. The same-size Lie-Nielsen: 95 g.
With no more daycare (or college tuition) bills left to pay, I am happy that I can keep both sets. Yes, I feel a little Anarchist’s Tool Chest Guilt. But I have room for both chisel sets in my tool chest. Hell, I still have quite a bit of space in my tool chest for other stuff if I wanted more planes or scorps or an extra brace or two (which I really don’t).
I spent an hour at the bench tonight tuning up the Barr chisels. (They didn’t need much – just a little polishing on the back because I’m a fussy guy.) I’m now in the middle of building several chairs, and I have some large through-tenons to chop. So these tools are going straight to work in the morning.
EDIT: Sold. (But I’d be happy to build another if asked!)
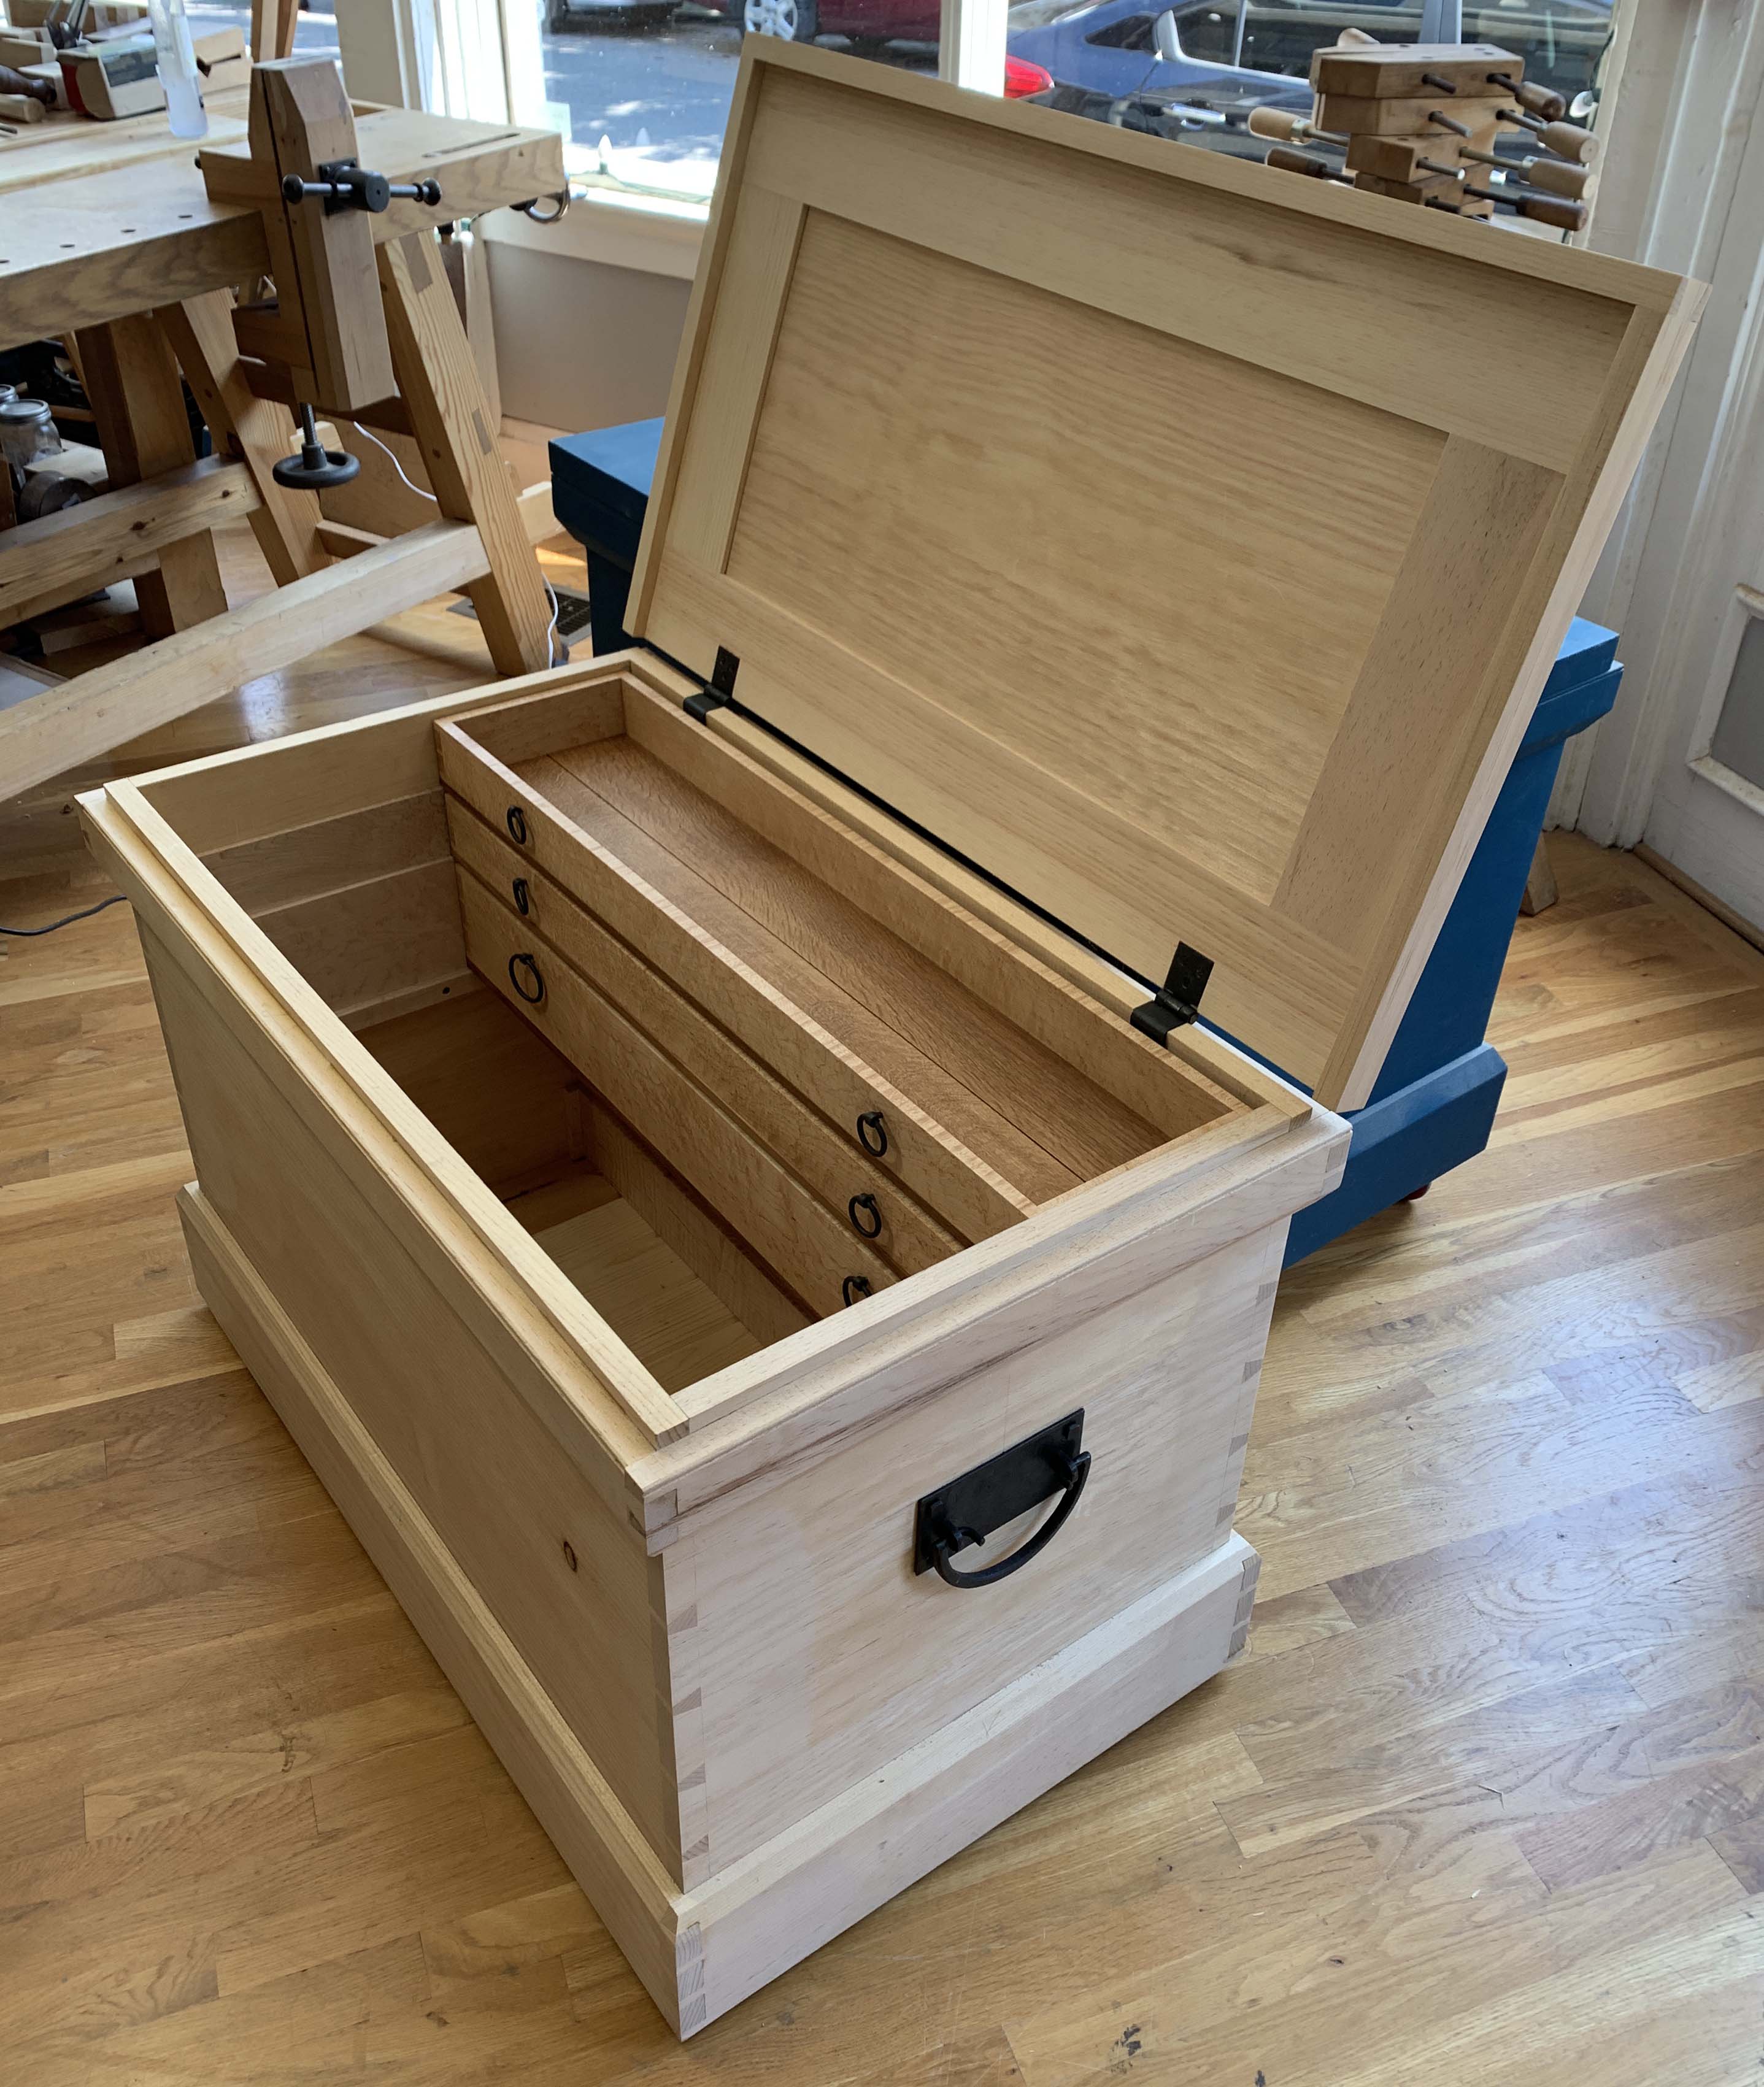
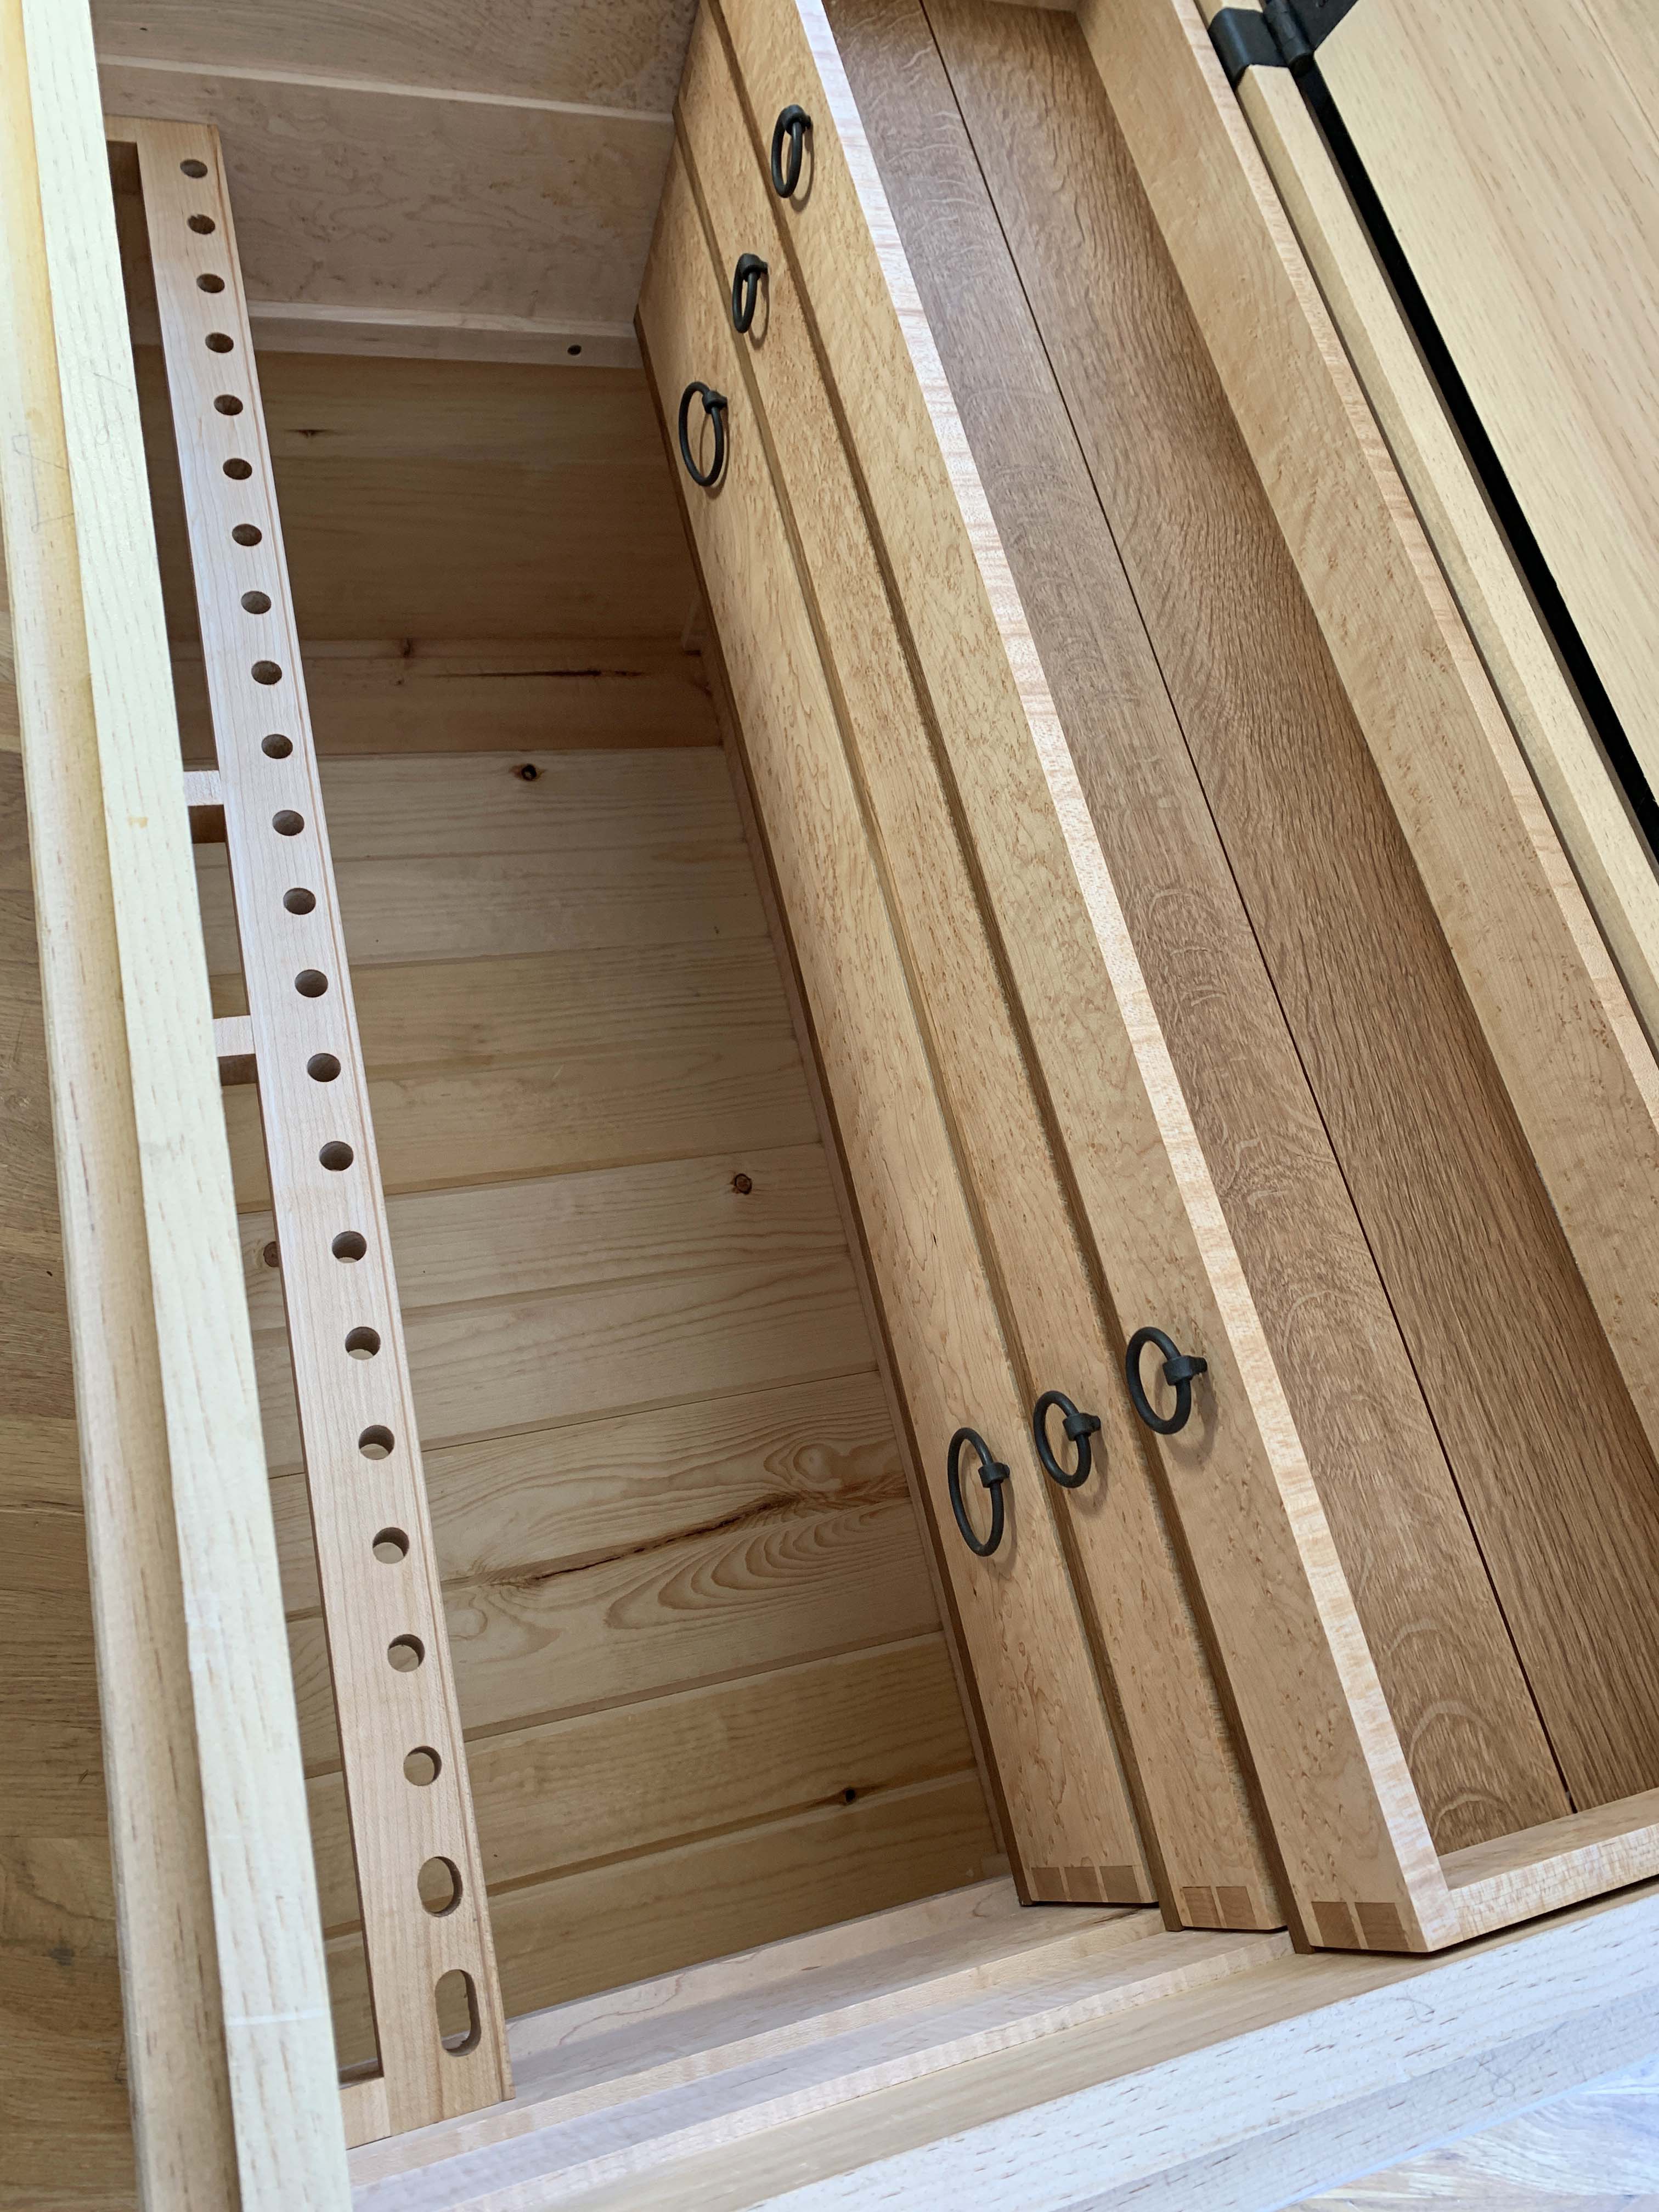
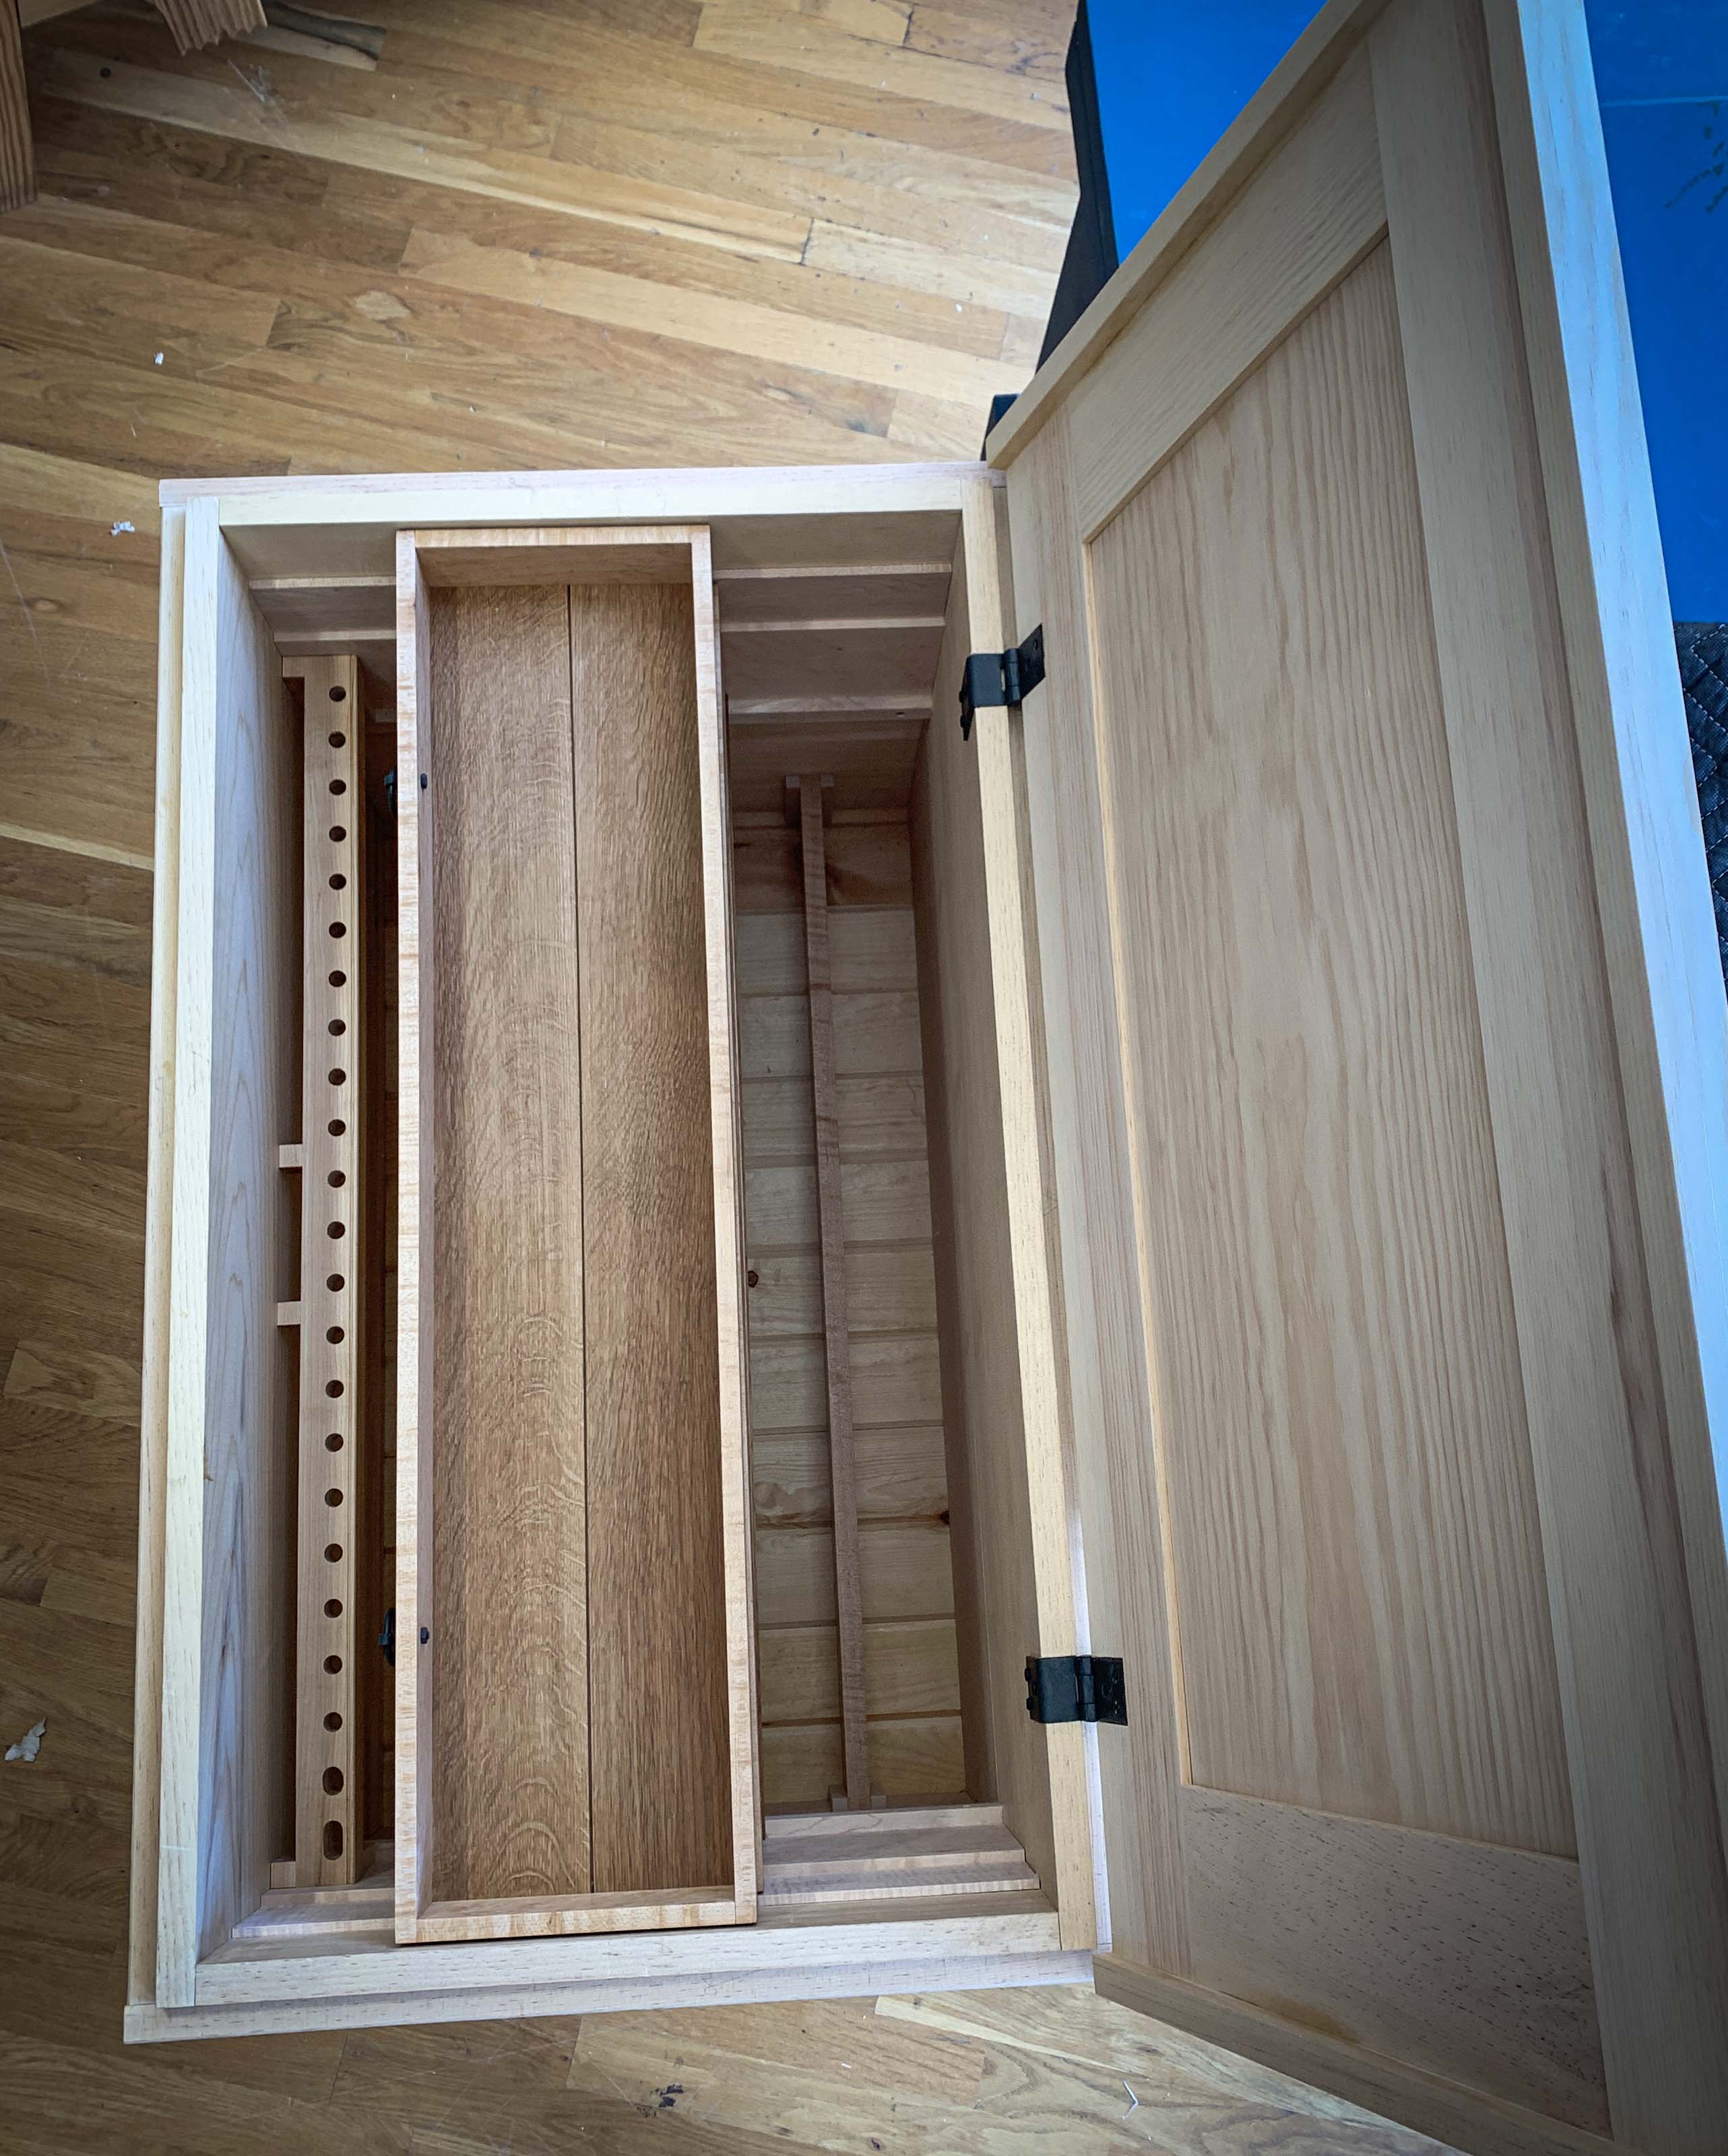
With my extra time during the lockdown, I was able to complete this hand dovetailed sugar pine Anarchist’s Tool Chest. Its exterior dimensions are: 39-3/4″ wide x 23-1/2″ deep x 24-1/4″ high (including the battens – aka rot strips – on the bottom). It has hand dovetailed bird’s-eye maple tills with quartersawn white oak shiplapped bottoms affixed with cut nails. All three tills are 8-1/2″ from front to back. The top two tills are 2-3/4″ high with 1/2″-thick bottoms; the bottom till is 5″ high with a 5/8″-thick bottom. The top till is 36″ wide, the middle till is 35-1/2″ wide, the bottom till is 35-1/4″ wide.
The remainder of the interior fittings – the slides for the tills, the tool rack and the moulding plane corral – are of figured hard maple.
The tool rack is slightly different than what is shown in the “Anarchist’s Tool Chest” book; I bump it out from the front chest wall to allow for the hanging backsaws behind the chisels, screwdrivers and other tools in the tool rack. (I find this not only protects them, but makes the saws easier to grab than from a bottom-mounted saw till.)
The chest bottom is tongue-and-groove pine boards affixed with forged Rivierre nails. The hand-forged hardware is the new “Anarchist’s Tool Chest Re-forged kit” from Horton Brasses.
The chest is $4,200 as is (including your General Finishes milk paint color of choice); that also includes crating (LTL shipping is paid by the buyer; it’s typically less than $250). Add-ons (real milk paint, an iron crab lock, casters (either new or re-conditioned vintage), custom interior fittings, etc.) are available as well. First one to respond with a definitive “yes” gets it. (My signature below is linked to my email.)
If you’d like to see more (including entirely too much on dovetail how-to) and outfitting the interior, check out my Instagram feed.
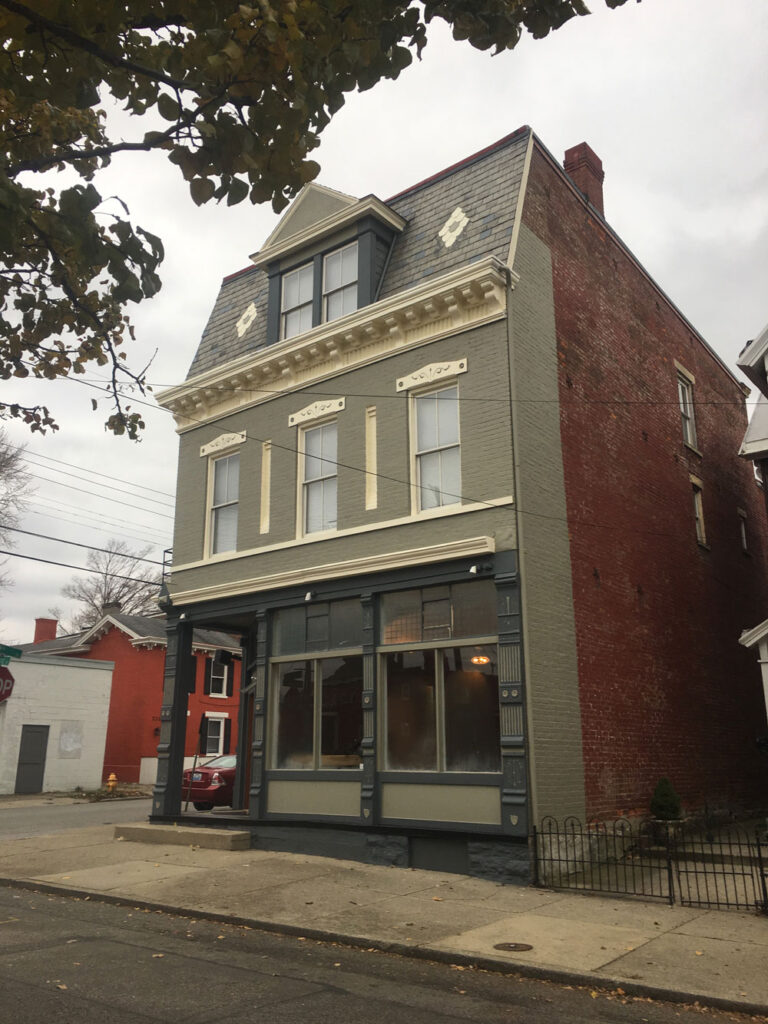
Our storefront on Willard Street in Covington, Ky.
We are offering some new classes and old favorites at the Lost Art Press storefront during the first half of 2023. All these classes take place in our bench room at our Covington, Ky., location.
Our storefront is located in the center of the city’s Main Strasse village, and we are surrounded by lots of places to eat, drink and stay – all without ever using your car. The bench room is a nice place to learn handwork. Every student gets a heavy workbench, the bench room is filled with natural light and the floors are oak, which is easy on your back. Oh, and the class size is small: a maximum of six students.
Registration for these classes opens at 10 a.m. Eastern on Sept. 26 through our Covington Mechanicals classes page (where you’ll see “Register Now” buttons on each class – but you can’t until 10 a.m. Eastern on the 26th). Classes tend to fill up fast, but there is some turnover. So we encourage you to sign up for the wait list if the class you want is full.
Here are the classes for January to June 2023. (And we may add another class or two in the weeks to come – if so, they’ll be announced here.)
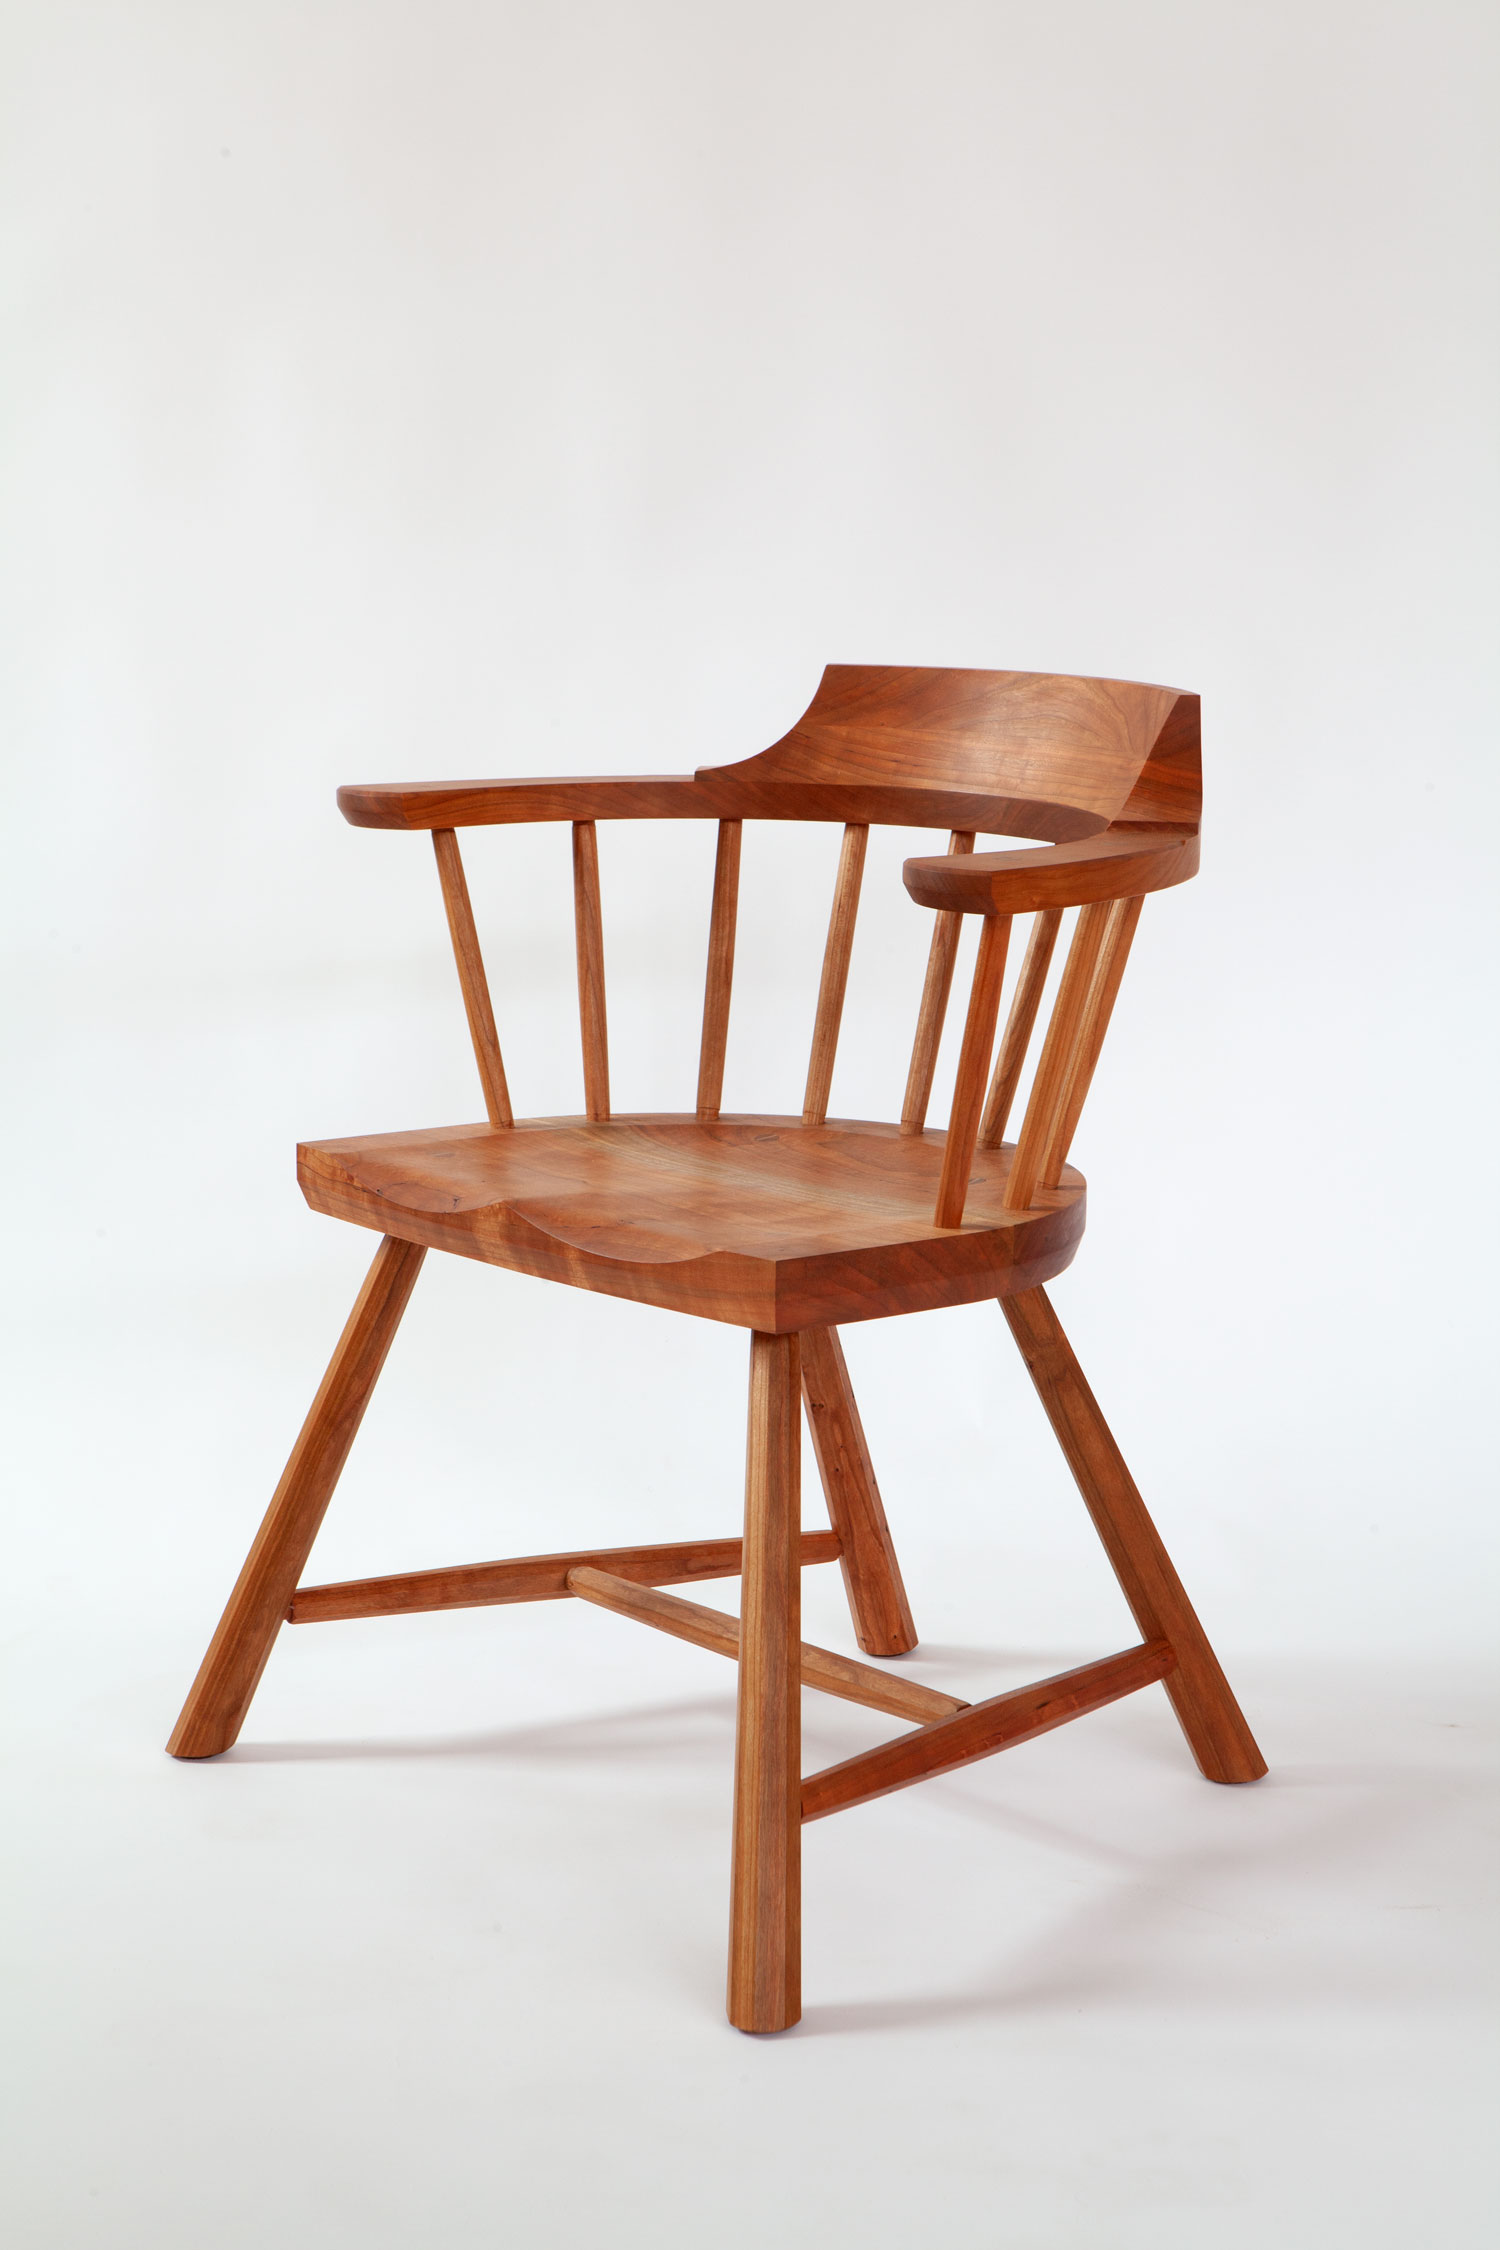
Comb-back stick chair in black cherry.
Comb-back Stick Chair with Christopher Schwarz Jan. 16-20, 2023 Build a comb-back stick chair, an excellent introduction to the craft of chairmaking. Students will construct a comfortable chair using mostly bench tools and just a few specialty tools. Students are encouraged to customize their chair by combining different hands, arms, stretchers and combs. This class is open to anyone who can sharpen their own hand tools.
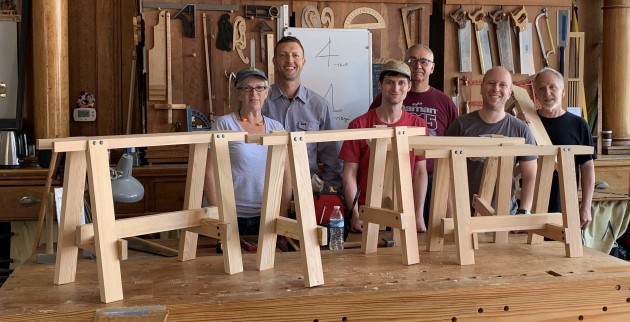
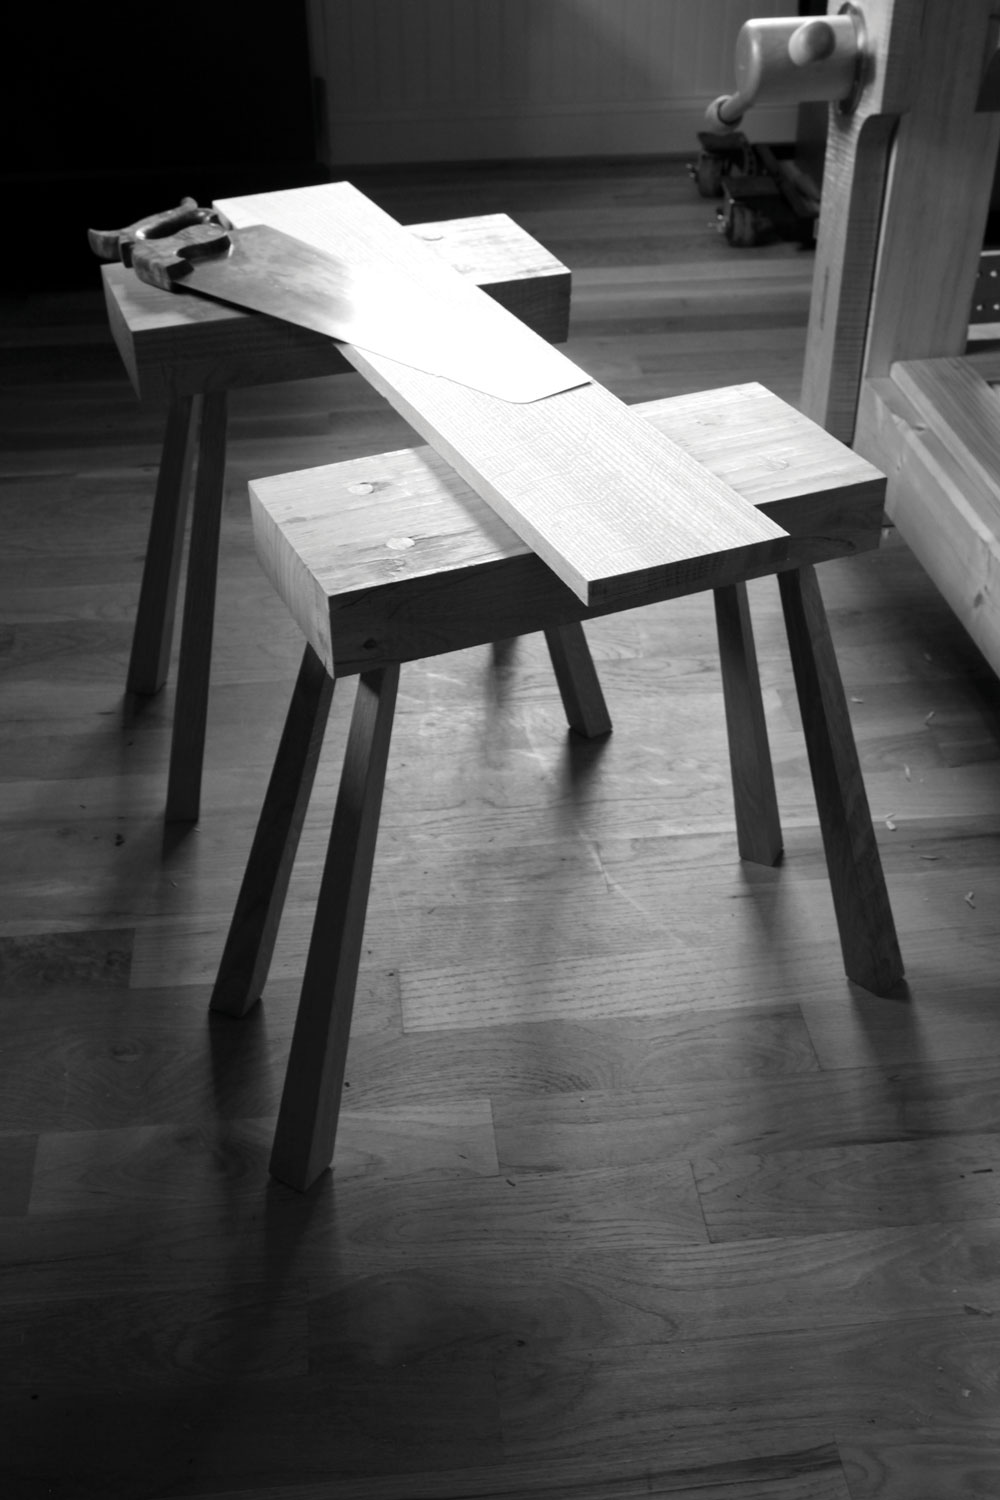
Traditional sawbench
Build a Sawbench with Megan Fitzpatrick Jan 28-29, 2023 Build a traditional sawbench as you learn fundamental hand-tool skills including how to lay out your cuts, use handsaws, chisels, bench planes, router planes and more. Plus, you’ll learn how to properly use cut nails (without splitting the wood). Sure, you’ll get a nice sawbench out of it, but the real joy is in the new techniques you’ll pick up.
Anarchist’s tool chest
Anarchist’s Tool Chest with Megan Fitzpatrick Feb 6-10, 2023 In five days, we are going to build traditional full-size English tool chests – a.k.a. “The Anarchist’s Tool Chest,” from Christopher Schwarz’s book of that title – using hand tools. If you don’t like dovetails, this is not the class for you. If you’d like to learn dovetails (while you build a sturdy chest that holds about 50 hand tools…which is to say almost all the hand tools you need to build furniture), this is absolutely the class for you – you’ll get plenty of instruction and practice.
Plus, we’ll make handsome and (almost) bomb-proof raised-panel lids, and cut the mouldings, skirts and lids by hand. And though we will have time to build only the outside of the chest, I’ll discuss how to divide up the interior for efficient work, and show you some options.
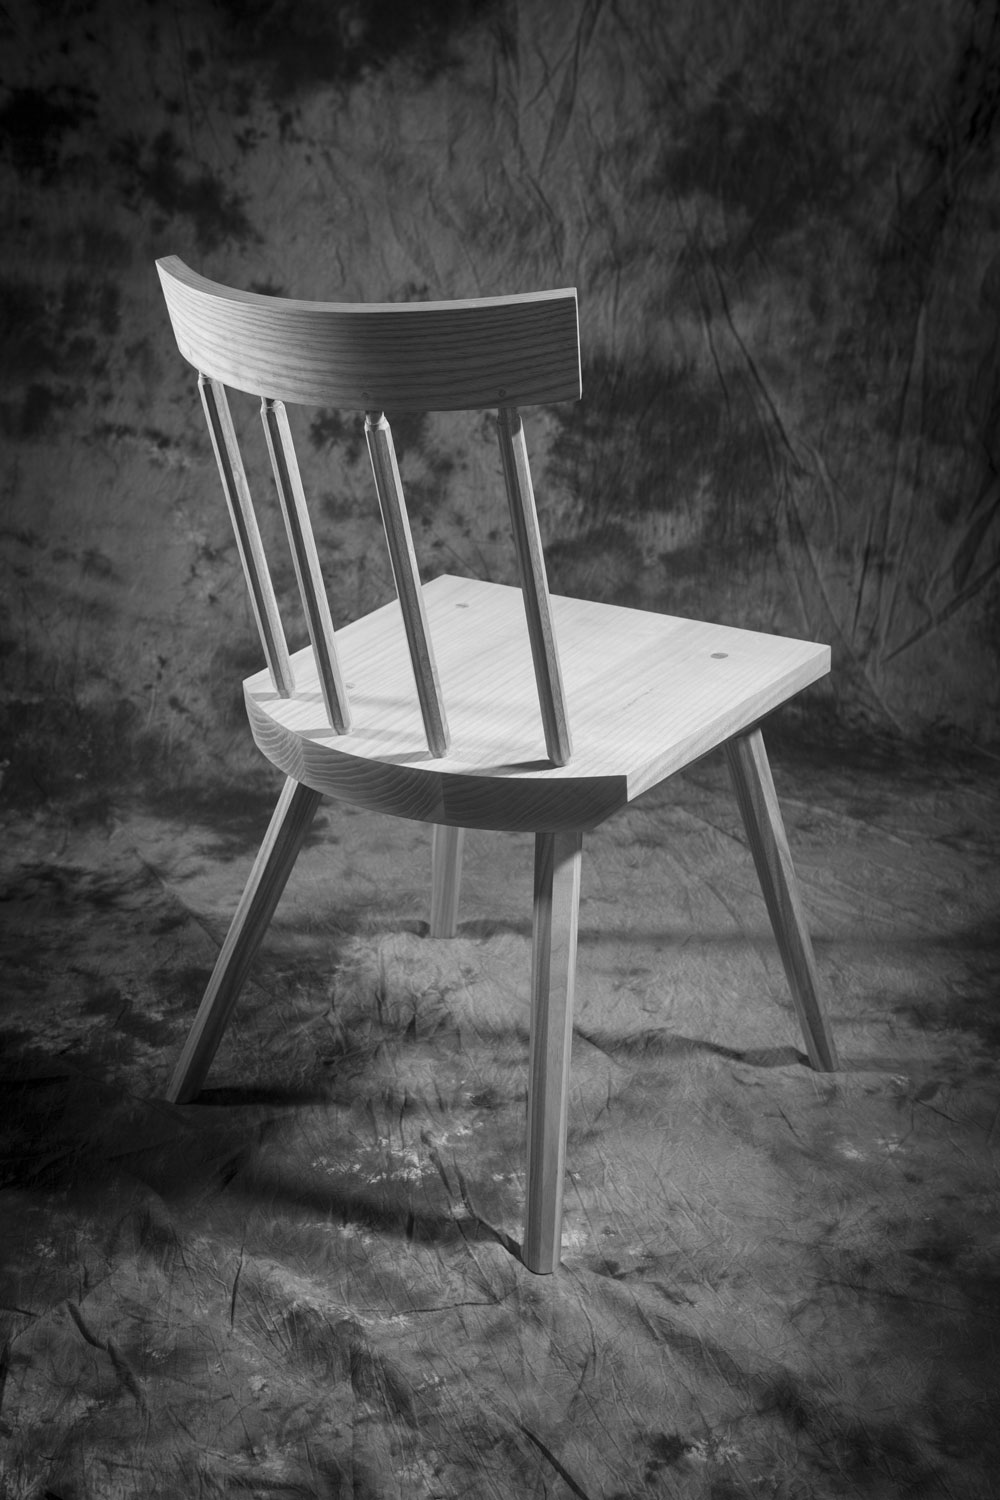
Staked backstool in ash.
Staked Backstool from the ‘Anarchist’s Design Book’ with Christopher Schwarz Feb. 18-19, 2023 This contemporary side chair is a two-day introduction to many of the operations involved in chairmaking, including drilling compound angles, making tapered mortise-and-tenon joints and creating short sticks. This class is open to anyone who can sharpen their own hand tools.
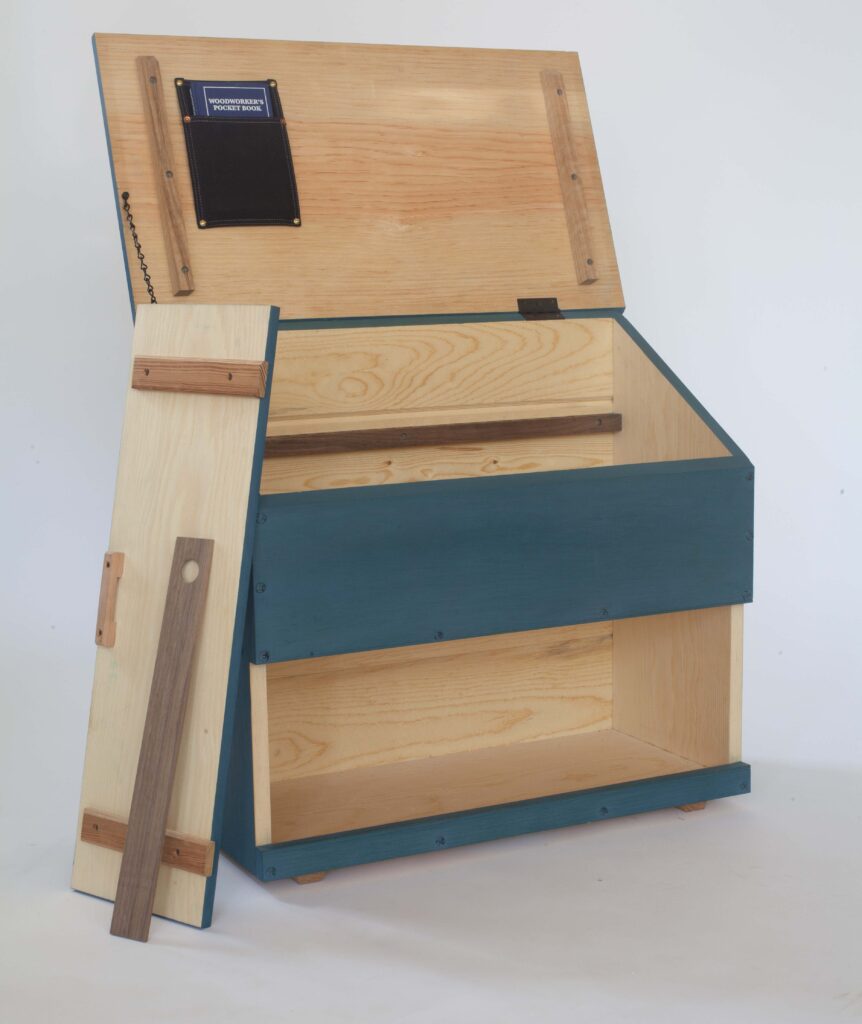
Dutch tool chest
Dutch Tool Chest with Megan Fitzpatrick March 3-5, 2023 This handsome tool chest is a great three-day introduction to several bedrock hand-tool joinery techniques: dovetails, dados, rabbets and more. Plus you’ll learn how to cut a fingernail moulding, raise a panel, use cut-nails and rules for carcase construction. By the end of Day 3, you’ll be able to pop all your tools in your new chest (which fits in the back of almost any car) for your drive home.
Lowback stick chair in black cherry.
Lowback Stick Chair with Christopher Schwarz March 20-24, 2023 Build a lowback stick chair, a fairly simple chair that involves a good deal of cutting and shaping compound curves. This is a great dining chair and offers excellent lumbar support. This class is open to anyone who can sharpen their own hand tools.
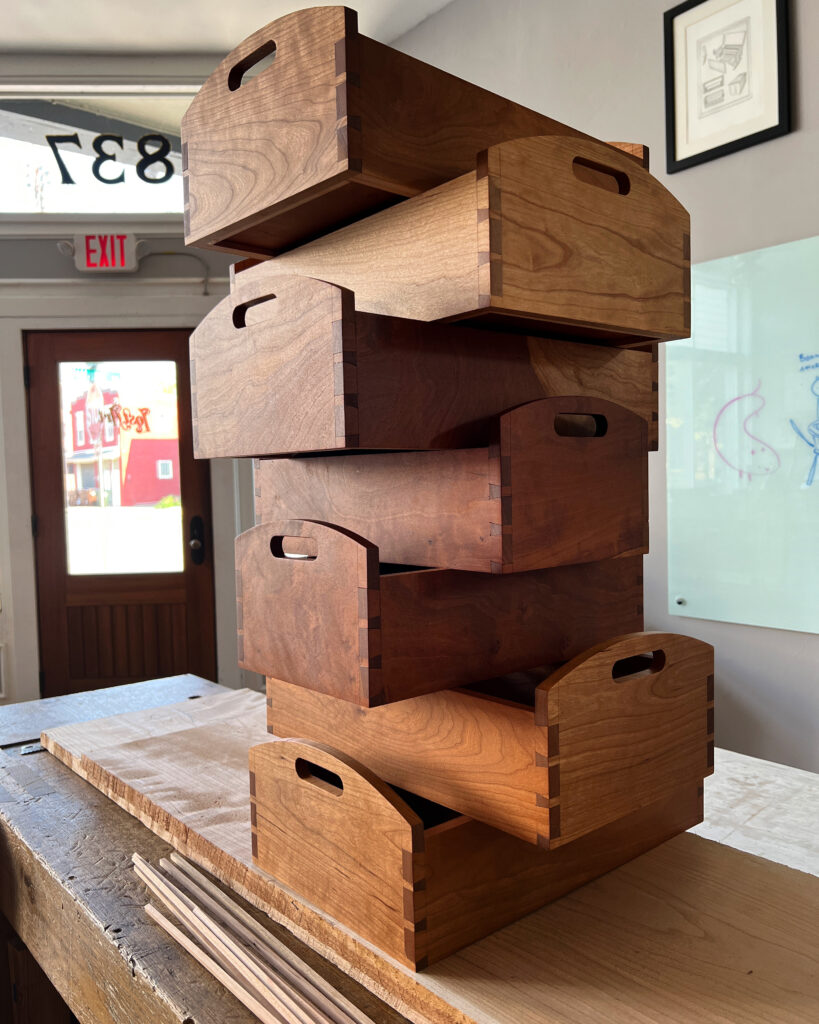
Dovetailed Shaker trays
Dovetailed Shaker Tray with Megan Fitzpatrick April 22-23, 2023 Make a classic Shaker silverware tray in this introduction to hand-cut dovetails. In this two-day class, you’ll learn: dovetail layout using dividers; how to saw to a line with a backsaw; how to wield a coping saw; how to pare and chop with chisels; how to fit dovetails;cut and fair curves and more.
Staked sawbenches in poplar and oak.
Staked Sawbenches with Christopher Schwarz May 13-14, 2023 During this weekend class you’ll build a pair of staked sawbenches, which are essential for any shop that uses handsaws. During the process of building your sawbenches, you’ll learn about compound-angle joinery, making tapered mortise-and-tenon joints and leveling the legs to the floor. This class is open to anyone who can sharpen their own hand tools.
Dutch Tool Chest with Megan Fitzpatrick May 19-21, 2023 This handsome tool chest is a great three-day introduction to several bedrock hand-tool joinery techniques: dovetails, dados, rabbets and more. Plus you’ll learn how to cut a fingernail moulding, raise a panel, use cut-nails and rules for carcase construction. By the end of Day 3, you’ll be able to pop all your tools in your new chest (which fits in the back of almost any car) for your drive home.