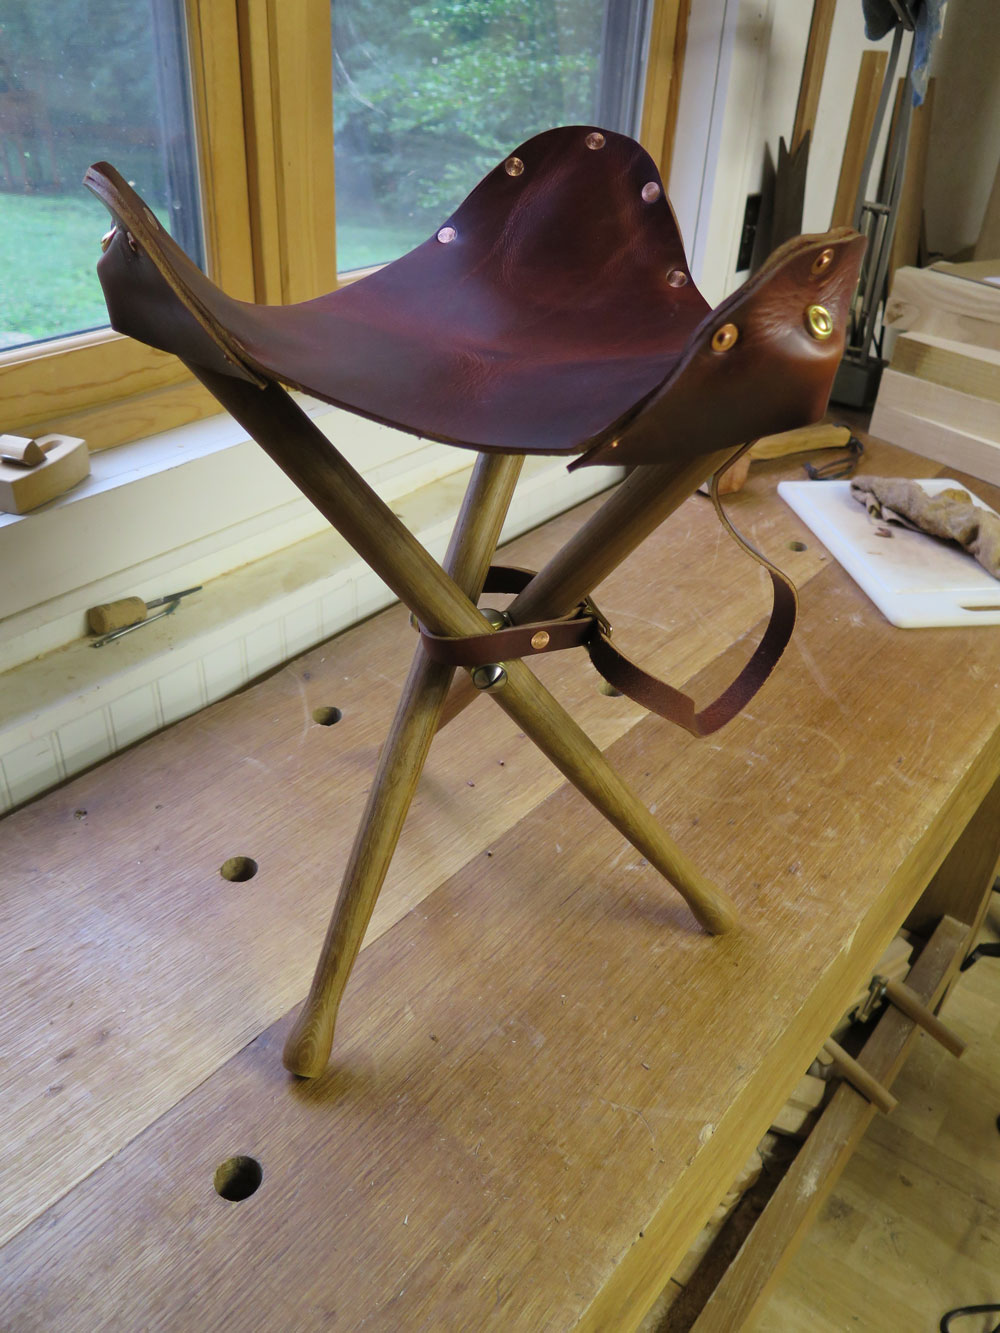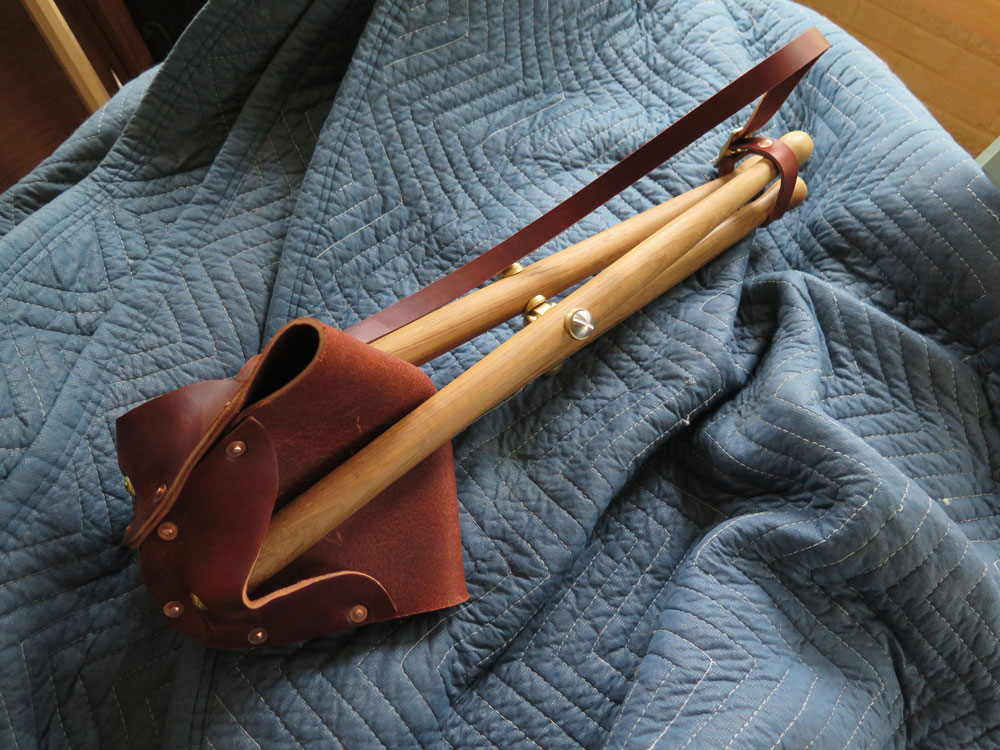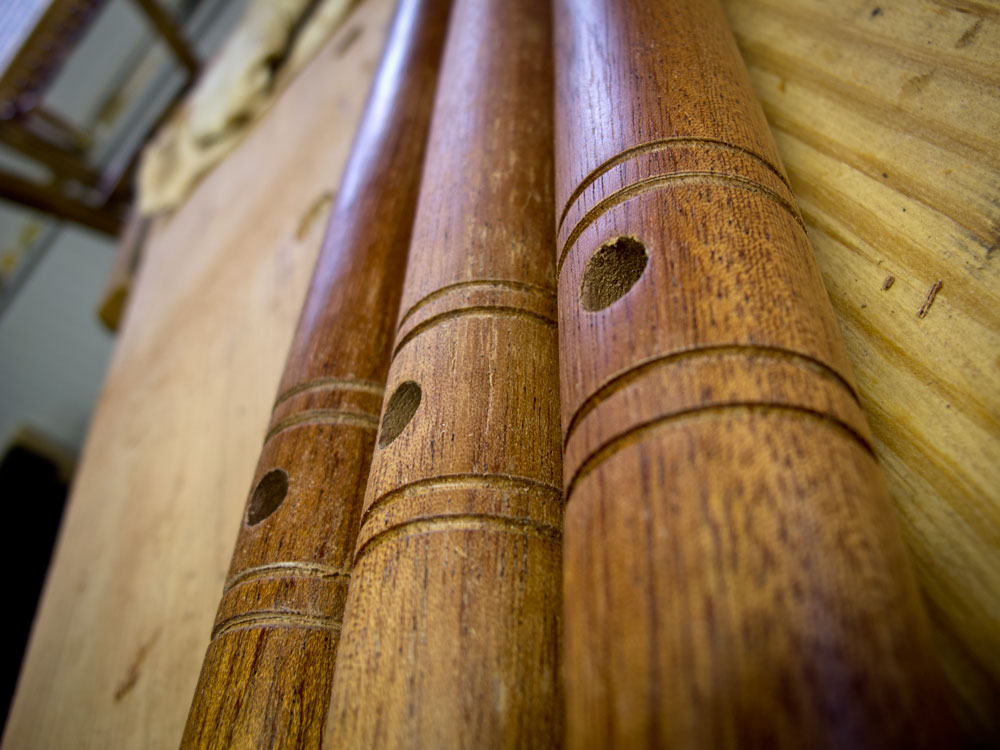
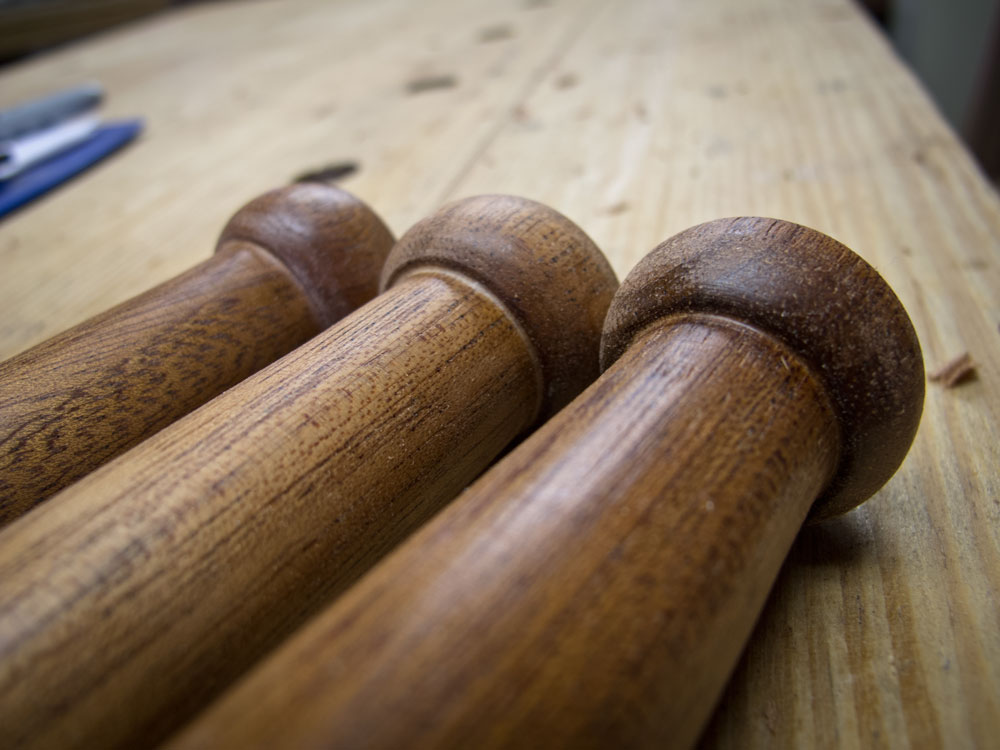
With the stool’s hardware mechanism working fine, this morning I made a set of three stool legs from mahogany left over from a run of Roorkhee chairs in 2012.
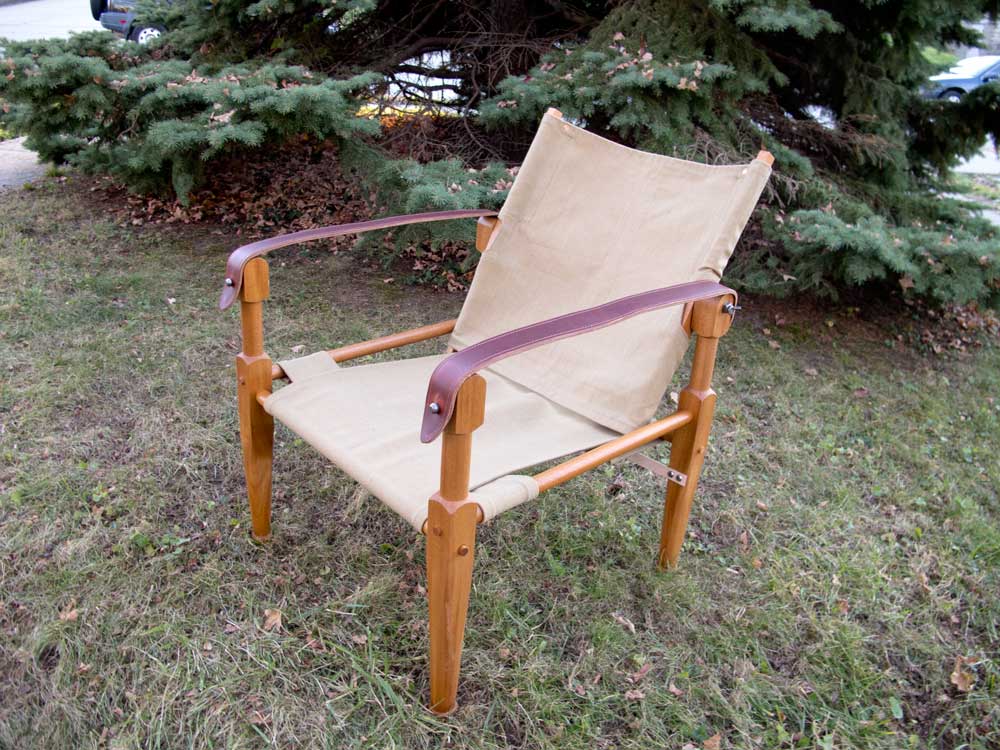
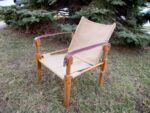
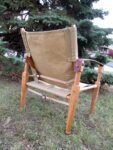
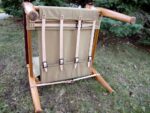
My design for the legs was inspired by the foot of an original 1898 Roorkhee, which is essentially a slightly flattened bead. I also added four grooves that straddle the holes through the legs and turned a gradual taper from these holes down to the ankle.
The fun part of the job was finishing the legs on the lathe. With the lathe spinning, I rubbed on some beeswax from farmer beekeeper and woodworker Will Myers (thanks Will!). Then, with the lathe still spinning, I used Roubo’s polissoir to burnish the mahogany and drive the wax into the wood’s pores. A final polish with some rough cotton cloth (an empty bag of grits) produced the final sheen.
I don’t know if it’s a non-non to use a polissoir on a spinning lathe, but it sure made short work of the finishing process.
For the seat, Ty Black is cutting out some of my “oiled latigo” leather I bought for a Roorkhee chair for a customer. That leather is from Wicket & Craig and has the shop nickname of the “sex machine leather.” It’s impossibly buttery and beautiful.
On Friday, I hope we’ll get the second prototype assembled – after I age the hardware.
— Christopher Schwarz
Oh, One More Thing…
During the last 10 years, the most common question I’m asked (aside from, “What wood should I use for my workbench?” Answer here.) is, “How do you manage to write, edit, build and teach as much as you do?”
I know that most people are paying me a compliment with the question. With others, the implication is that I don’t build all the projects I show here. Or that I sub-contract out the construction or finishing. Or that I am just really skilled in making photo-realistic images.
Here’s the deal: I went to journalism school and cut my teeth at a newspaper where we wrote 400 to 500 original pieces a year. I can write a blog entry, such as this one, in about 15 to 30 minutes without much forethought. It just comes out – like water from a well or crap from a porta-potty, depending on how you like my work.
Also important: I don’t watch TV, don’t like sports, don’t have a lot of friends and don’t have any other hobbies besides woodworking and listening to music while woodworking. Considering how much time I devote to the craft, I actually should be a lot better and a lot faster.
Like this:
Like Loading...
