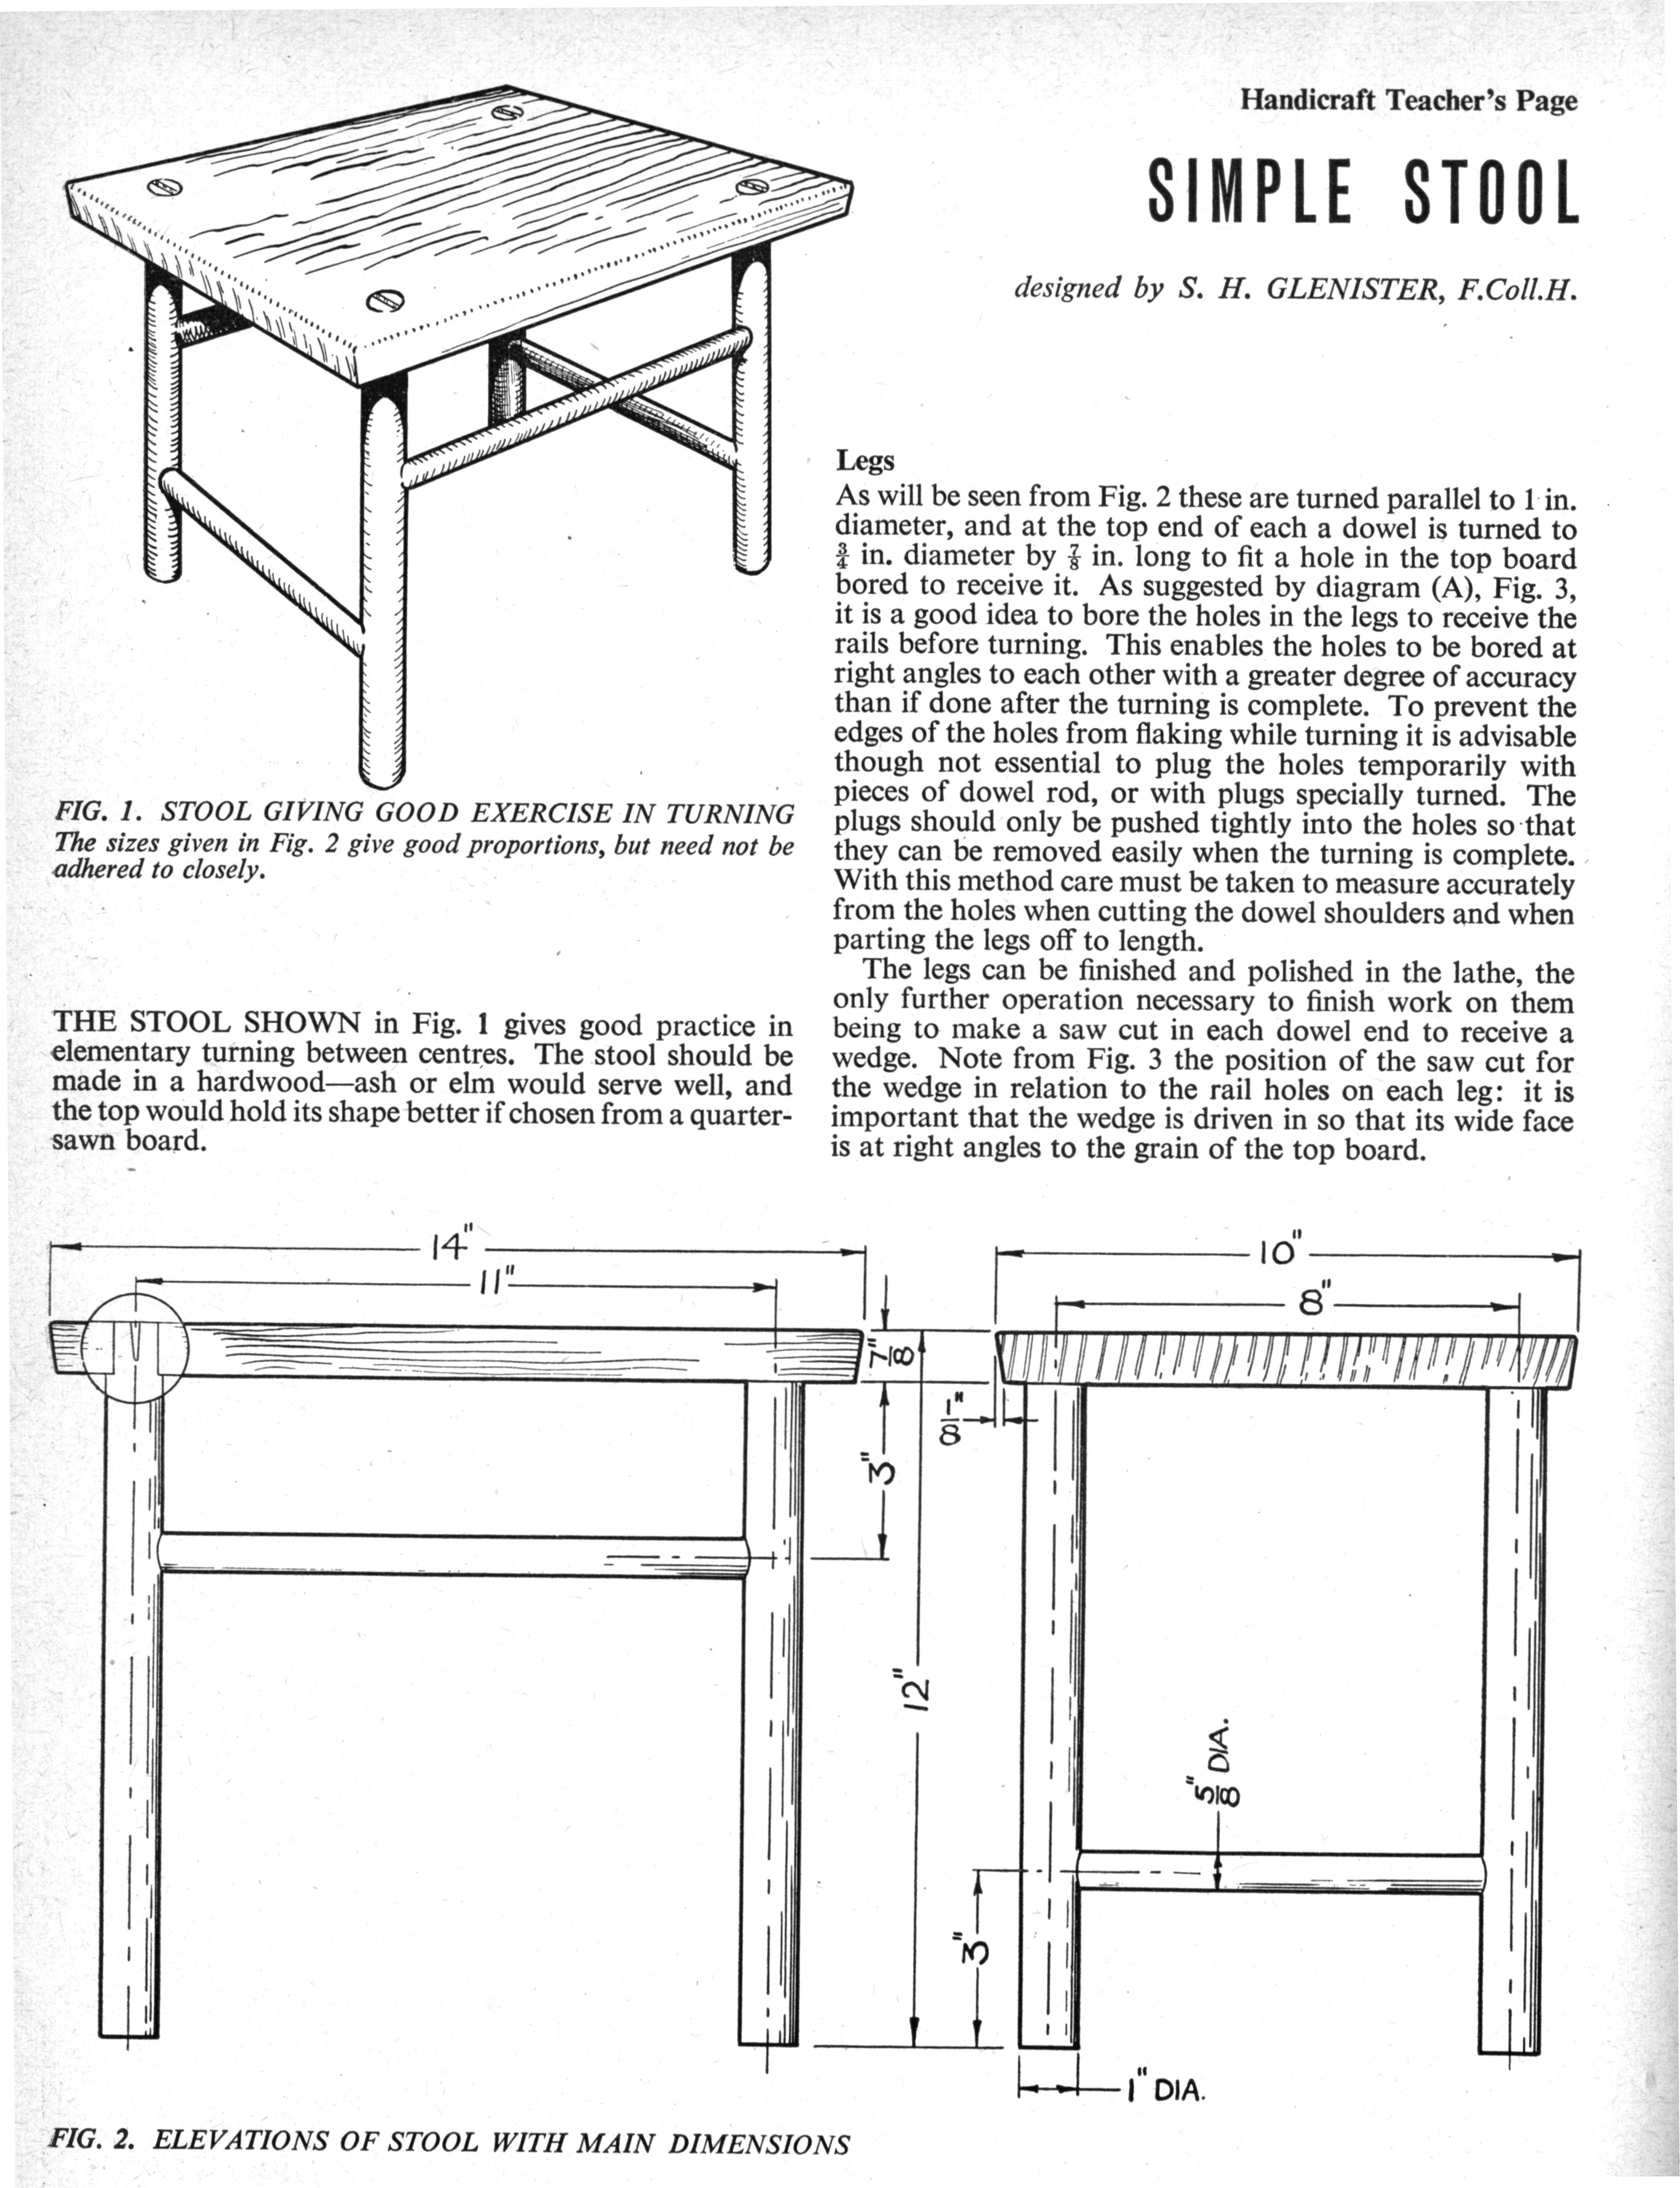
Once you become aware of staked furniture, you will find it everywhere. Today I was finishing up a marathon 12-hour session of editing “The Woodworker: The Charles Hayward Years” and stumbled on this short article from the February 1964 issue.
It’s billed as an exercise for beginning turners. And while I’d probably add some rake and splay to the legs, it’s a pretty charming piece as-is.
The most interesting detail of its construction is that the author recommends you cut the mortises before turning the legs. That works when you have 90° angles everywhere, but is a mess when you get into compound-angle joinery.
Luckily in “The Anarchist’s Design Book,” I have a way of dealing with this sort of compound-angle joint that is embarrassingly simple. Here’s a clue: Buy a set of spade bits and an extension for your drill.
Good morning! Another weekend over and another busy week is upon us. No matter how crazy life is, make sure to take some time to read the forum and see what your fellow woodworkers are up to. Remember, if you have a question about our products, procedures in our books or anything related to Lost Art Press, the fastest way to get an answer is our forum. Check it out here.
No. 7 Adjustment Issues Kendall took apart his Lie-Nielsen No. 7. to sharpen the blade but now that he is putting it back together he cannot get the blade to adjust below the sole. He is looking for any help on what he may be doing wrong. Let’s see if we can prevent him from having to make a call into Lie-Nielsen. Help him here.
Handworks 2017 Does anyone who has attended Handworks have a recommendation for a place to stay? Steve is ready to get his plans together and is looking for input.
Spare Bedroom Workshop Mark and his girlfriend have found a house that they love and want to buy but there is no garage or basement to use as a workshop. Mark is looking for feedback from anyone who has used a spare bedroom as a shop before. Did it work out? How was the noise? Was dust all over the house?
Crucible Dividers Jason likes the pictures of the Crucible dividers but wants to get to the point and find out how they work. If you have a pair, let him know what you think.
Hot Hide Glue Gelling Quickly Josh has had success with hot hide glue on small pieces but has had no success with it when trying to glue up a panel. Every time he finds he is unable to close the joint. He is wondering if anyone would be able to help with why this is occurring.
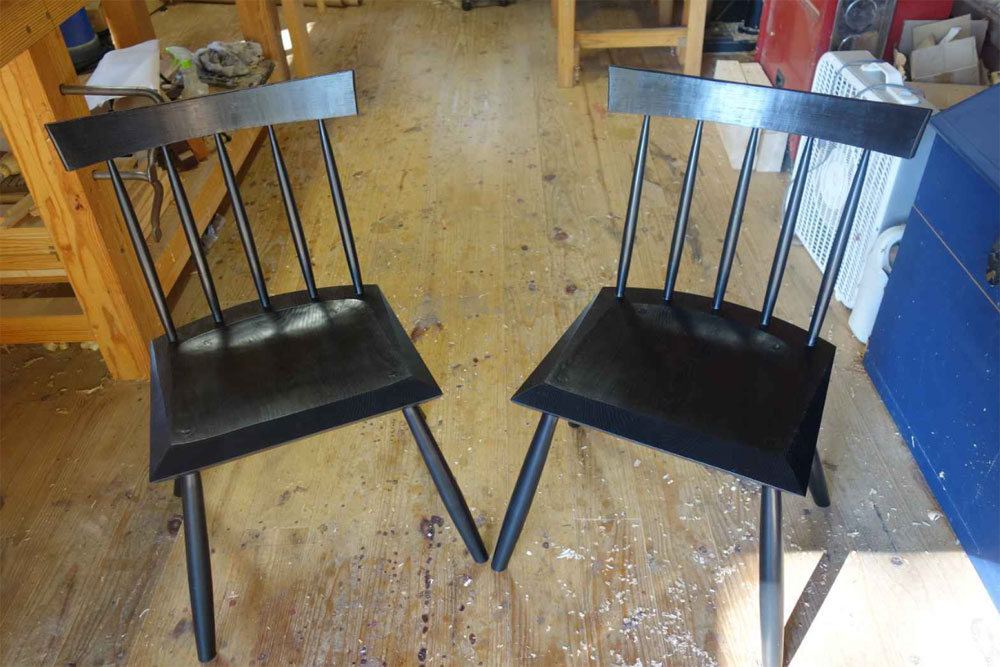
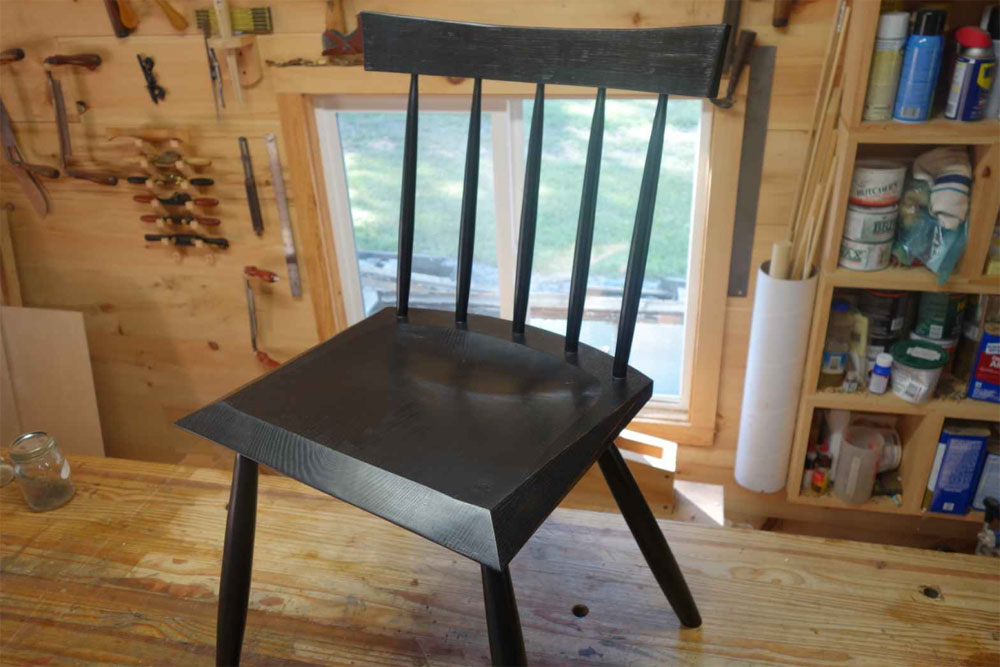
Staked Chair Travis has made a pair of staked chairs from “The Anarchist’s Design Book” and they turned out great. (Photo at top and to right.) The beveled edges are a great touch!
All of the pieces in this book were designed using dirt-simple techniques that rely on photos of old furniture, a pencil, scraps of wood and wire clothes hangers.
The method allows you to stand on the shoulders of successful designs and alter them to fit a particular space in your home, to remove ornament or to even change the purpose of the piece (you can turn a stool into a desk).
It begins with finding a piece of furniture with an attractive form or, as I like to say, “good bones.” It doesn’t matter in what style or period the piece was built. What matters is that the piece’s proportions and lines hit you in the gut.
The chair and backstool in this book both began with a piece from Victor Chinnery’s classic “Oak Furniture: Fine British Tradition.” I liked the rake of the legs, the four evenly spaced spindles and the smallish crest rail.
But there’s a problem when starting with a photograph. As a photographer friend says, “Photos are lying bitches.” Well-designed furniture looks good from almost every angle, and a photo shows only one view-point. The solution is to make a quick digital model or small mock-up.
To do this, you need some dimensions. I use a pair of dividers and a ruler to work these out. For example, I knew that the seat of the back-stool in Chinnery was about 14″ from the floor. That allowed me to figure out the width of the seat and the other relevant dimensions. Some dimensions, such as the depth of the seat, I guessed at using ranges from “Human Dimension & Interior Space.”
If I’m building a case piece, I then make a quick 3D model in a computer-aided design (CAD) program. No joinery. No details. Just boxes that reflect the mass and major components of the piece. Then I rotate the piece and look at it from all angles to see if the photo was lying.
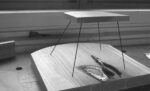
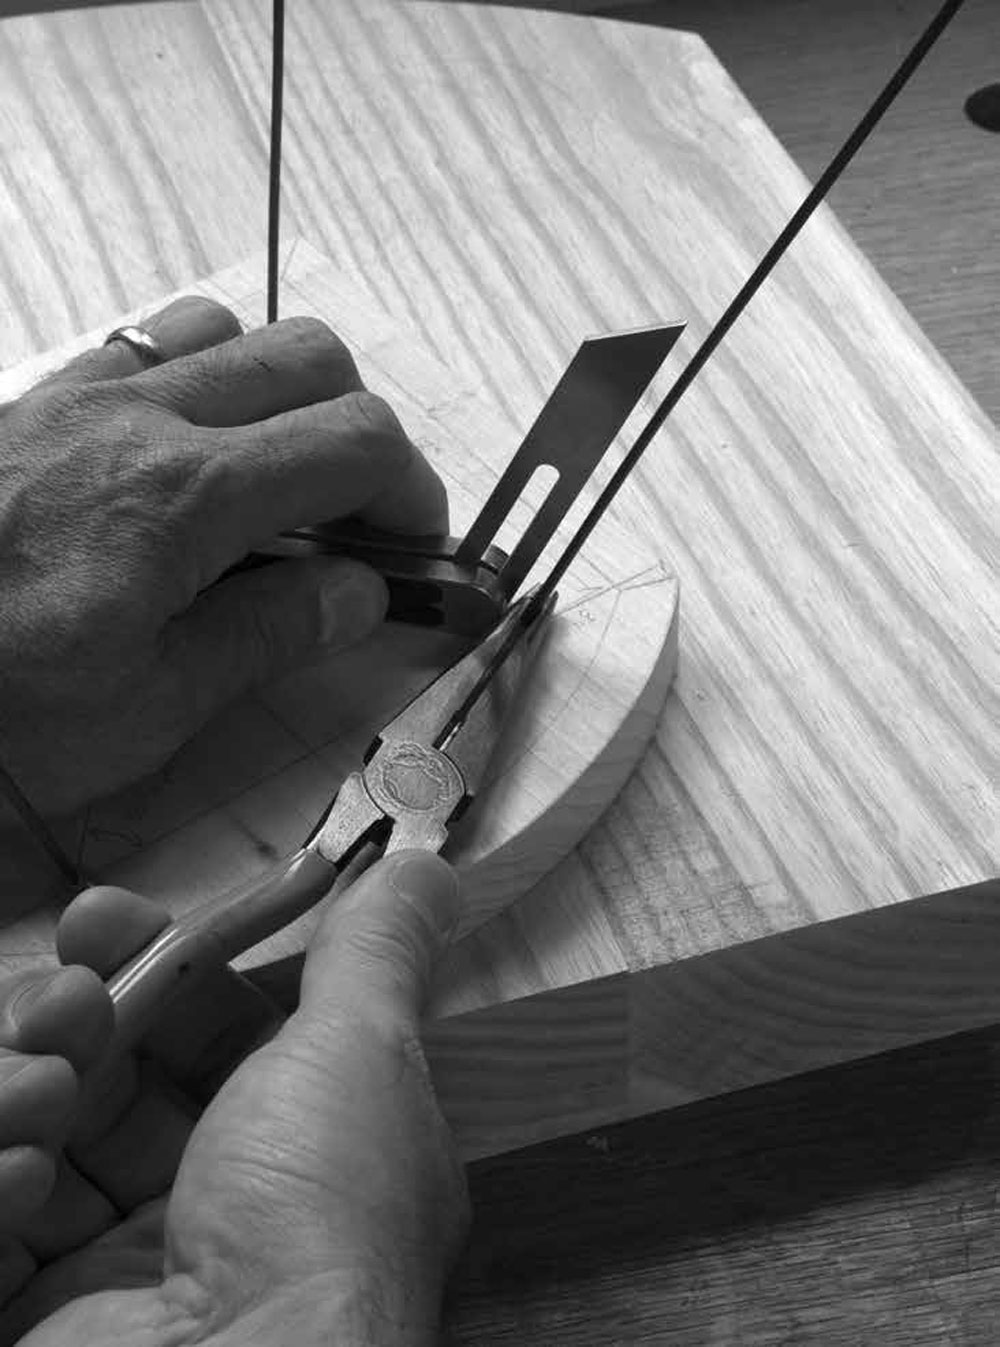
‘Modeling’ Projects in ‘Wireframe’ Modeling chairs or any staked piece in CAD, however, is stupid. OK, “stupid” is a strong word. It’s much faster to make a half-scale model using scraps and wire.
Nice backside. When I began designing the chair in this book, I started with rear legs that were angled 30° off the sightline. This angle gave the chair a wide stance that looked great from the rear.
Bambi? Is that you? But when I viewed the model from the front, the chair began to resemble a newborn fawn that was struggling to stand.
Fix you. Just like in nature, the answer was to help the model stand up a little more straight. In a chair, I usually make changes in 3° increments or so. But because this chair looked splayed like a squashed spider, I changed the angle by 5°.
I epoxy the wire legs into the plank seat and bend them into position with pliers. As you’ll see in the next section on staked furniture, this modeling process will also solve the geometry problems for you when building the piece.
Then I put the model on a table and walk all around it. I bend and snip the wire legs until the piece hits me in the gut the same way the original photograph did.
At this point I’ll do one of two things: If I have the time, I build a quick full-size prototype from junk wood. This allows me to work out some of the joinery and construction problems that I might not have anticipated.
If I’m in a hurry, I take a picture of my wire model, print it out and draw on the printout. I might add bulk to the legs, scalpel bulk from the seat, add spindles and other details.
Then I head to the shop and build what I pretty much know is something that will work.
Run Forrest. The 5° alteration changed the stance significantly. Viewed from the rear and the front, the chair looks more like a bird dog in the field.
If this process sounds arduous, you might not be ready to design your own pieces of furniture. Stick to plans – there’s no shame in that.
Design, like anything in woodwork, takes a little effort. I’ve never met anyone who can design a piece using pure inspiration and nail it on the first try. The process outlined above, however, is the shortest distance I’ve found between desire and satisfaction.
It is Monday and we are all dragging. Time to brew some coffee, relax and let the week start off right. With the forum. Remember, if you have a question about our products, procedures in our books or anything related to Lost Art Press, the fastest way to get an answer is our forum. Check it out here.
Staked Table from Green Lumber This question is similar to the question from last week about whether a workbench could be made from green wood. However, this week Jeremy wants to know if similar rules apply if he makes the staked table from “The Anachist’s Design Book.” See some of the responses and add your own feedback here.
Hanging Shelf Ethical Issue Dennis has a vision that he is not sure how he wants to execute. He has provided images of his inspiration and his sketches for us to ponder and give feedback on. See what you think and let him know how you would proceed here.
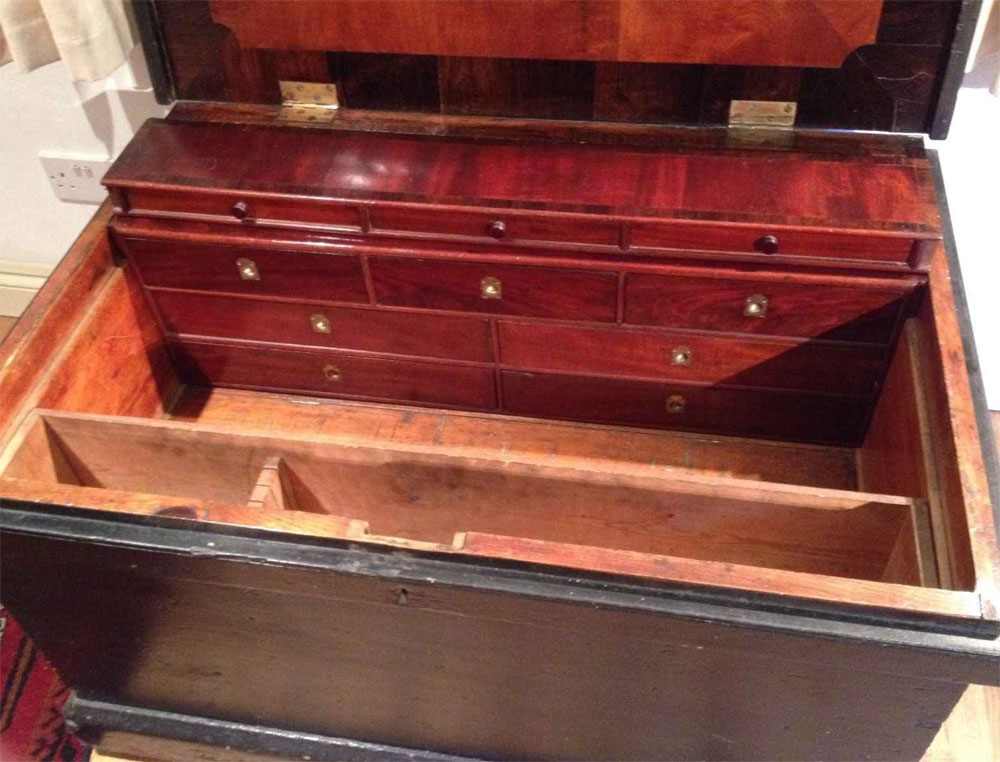
English Cabinet Makers Tool Chests Adam found some tool chests on E-Bay that are worth a look. One image is shown at the top of this page and the rest can be found here.
Visiting London Know any places around London that a woodworker shouldn’t miss while there? Make sure to let Kris know.
Using Ash for a 6-Board Chest Jacob is worried about the ogee feet and how they will work with ash. He has a plan to try to prevent the wood from cracking in the long run but is curious to see if others think it will work or if they have other suggestions.
from http://verktykista.wordpress.com
from http://verktykista.wordpress.com/
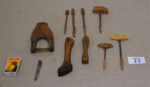
Tool Collection from West Norway Adam provided a link to a tool collection from a boatbuilders shop in Norway. (Two images are shown above) He points out the similarity between some of the tools in the images to those from Estonia. The link to the full collection is in his post.
Summer is in full swing and where I live it is HOT. The best way around this is to stay inside and read the forum. Remember, if you have a question about our products, procedures in our books or anything related to Lost Art Press, the fastest way to get an answer is our forum. Check it out here.
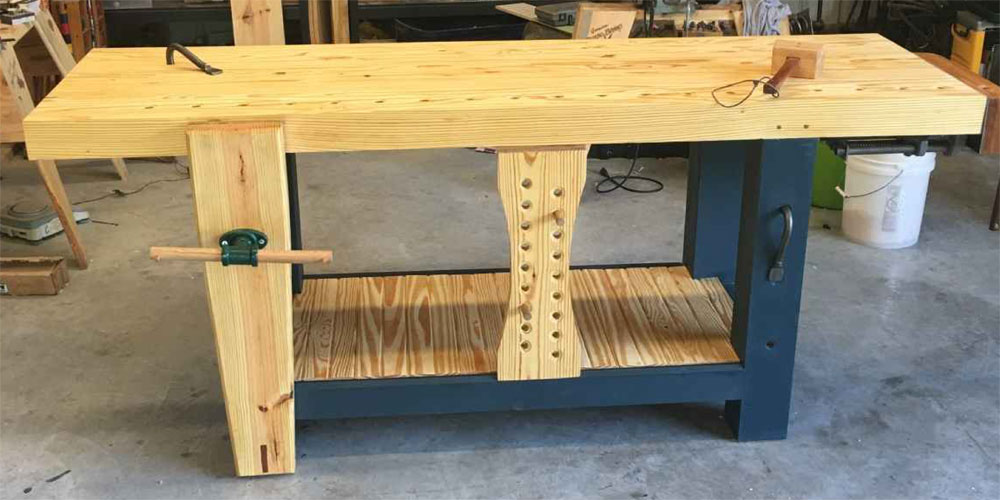
Workbench is finally finished I love showing off people’s finished projects and this one is perfect for that (above). I love the painted legs. Beautiful work Tyler.
Staked worktable is rickety Christopher is finding his staked worktable to be a little rickety so far in his construction and is thinking of putting two aprons between the battens with screws to remedy the problem. Has anyone had a similar experience? And if so, what was your solution?
Suitable replacement for pine
David is looking for pine on the West coast and has found it nowhere. The question now is whether to build from 3/4” pine or switch to poplar. What are your thoughts?
Roubo bench green timbers – the waiting game How dry does wood need to be to start a bench build? This is the question Jason is pondering while anxious to get started. Most are advising that as long as there is dry would for the legs, the top can be green. Do you agree?
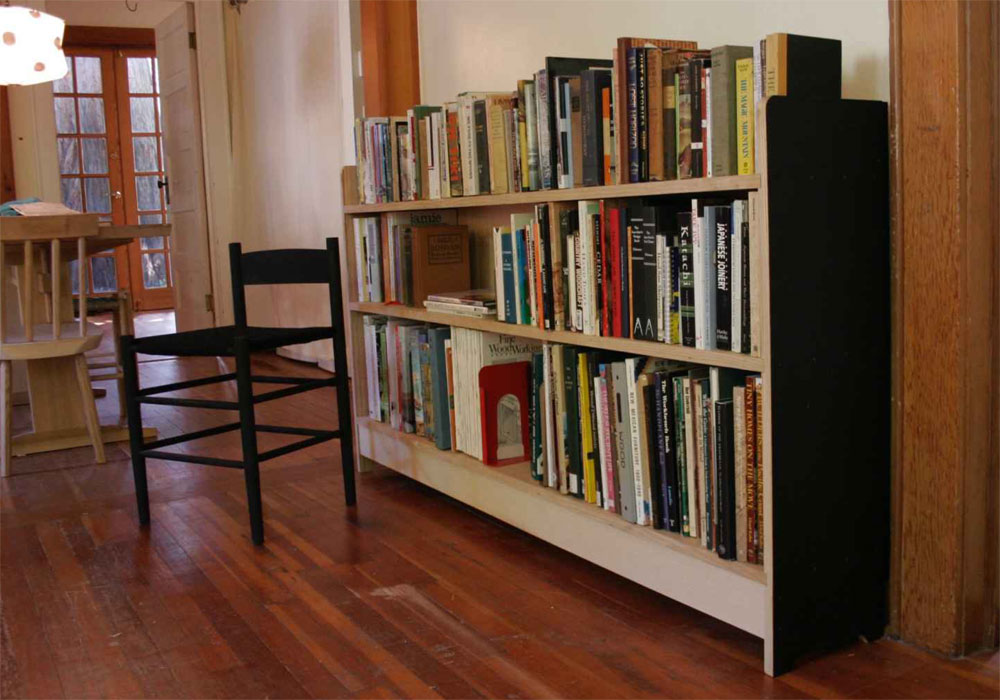
Making a wider bookshelf Thomas’s bookshelf is painted and in use. Looking good! (At right.)
Planting on a raised panel Michael is getting ready to build a wall cabinet and is thinking he wants to approach his doors the way Peter Follansbee did the lid on his tool chest. (Below; the photo is from Peter’s blog.) The problem is that he is not sure how he attached his dust seal. Glue? Dowels? Dominos? Anyone able to help him out?