Anyone who has read “The Anarchist’s Tool Chest” or worked in my shop knows that I dislike French-fitted cubbyholes for tools. I prefer my tools to roam free and migrate amongst my tills as they rise and fall in importance to the job at hand.
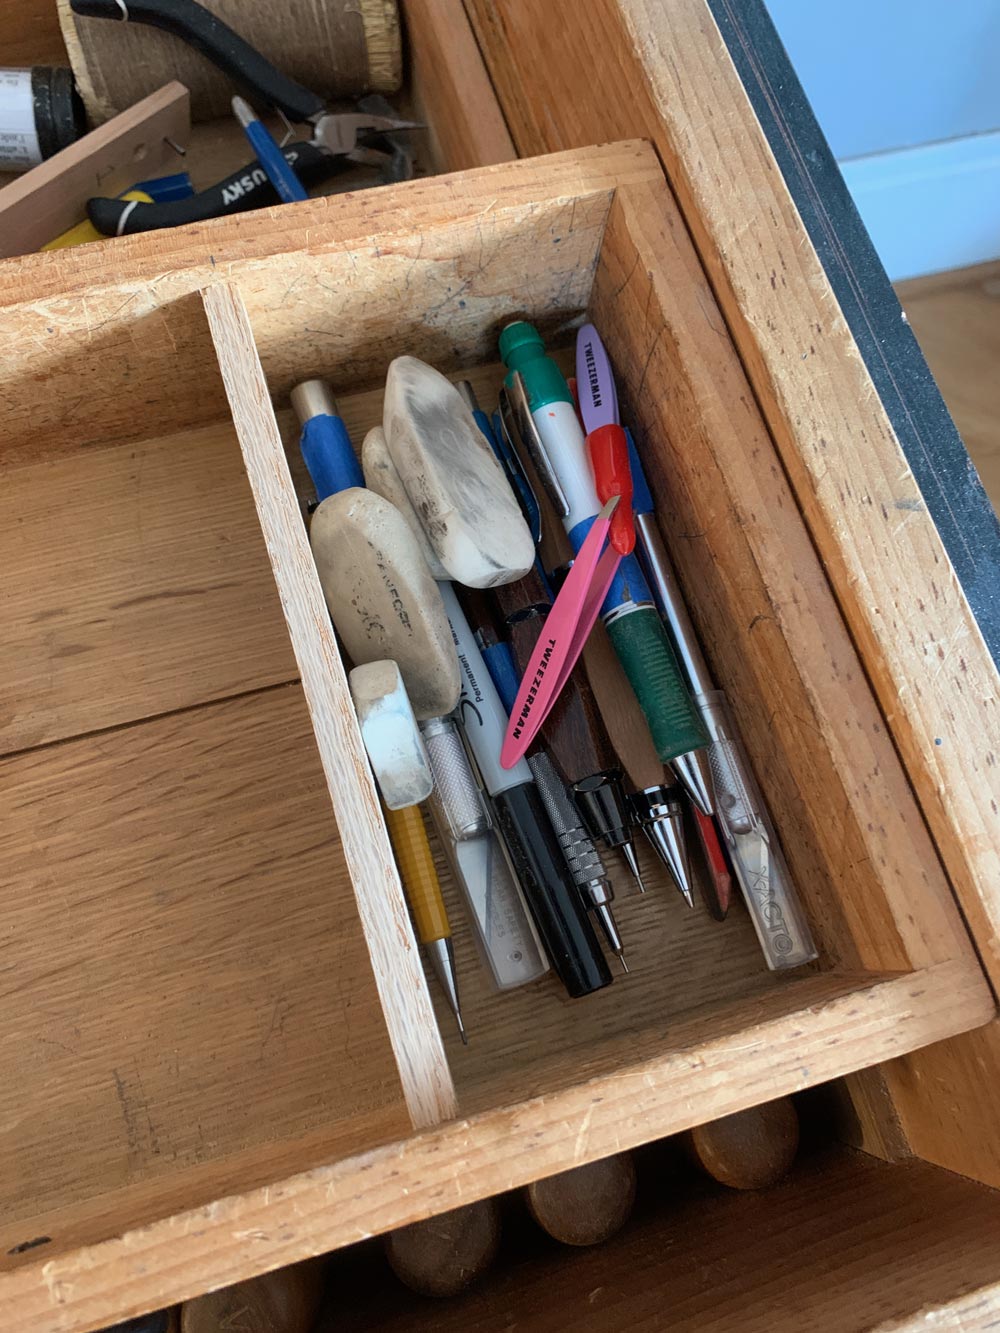
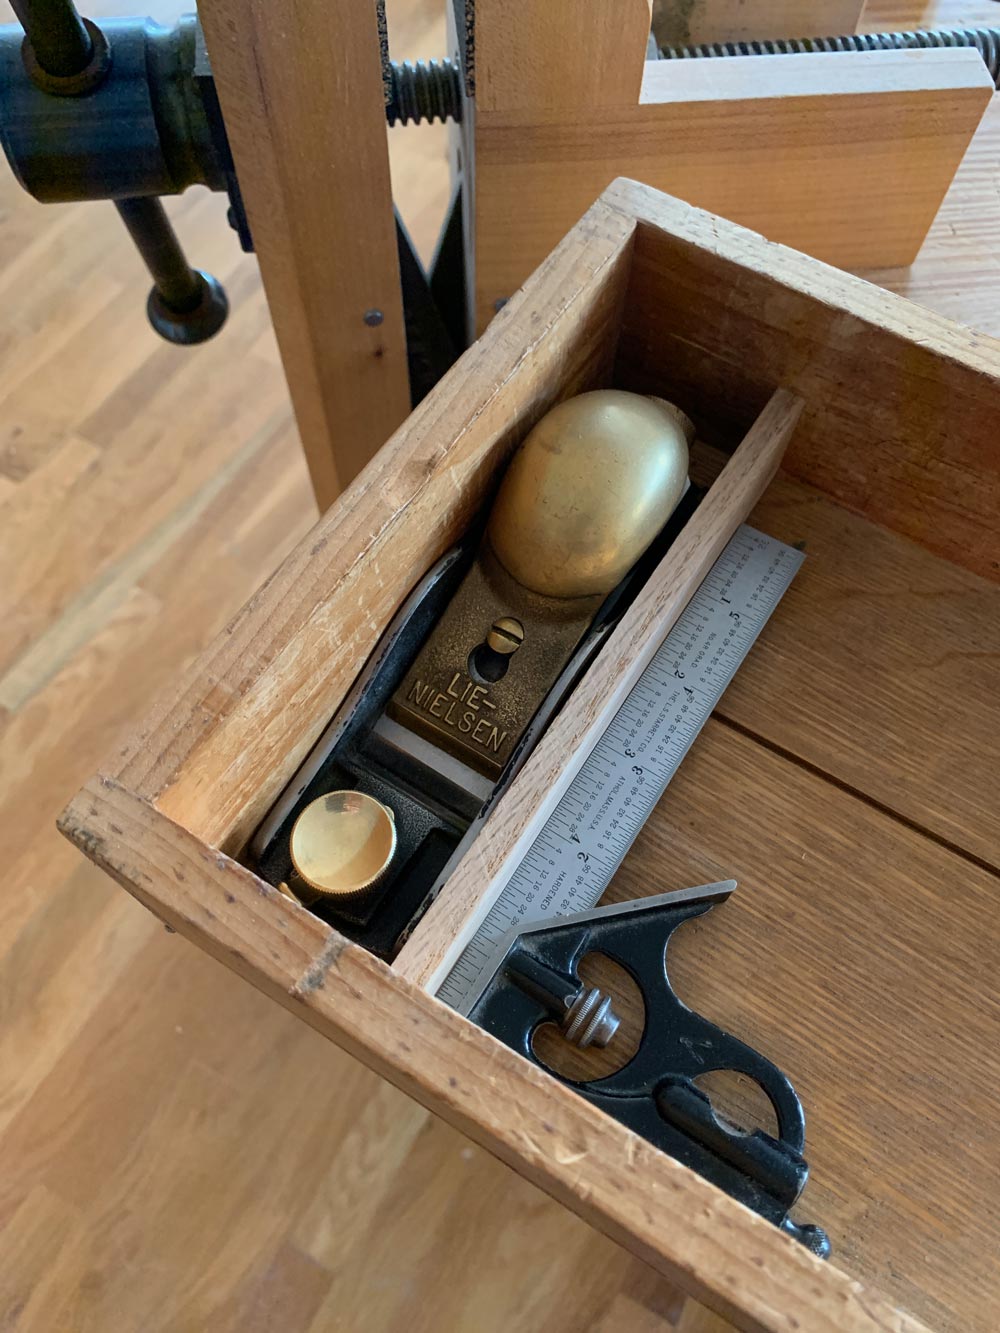
I still think this way, but this morning I took a small step to both corral my pencils and tip my hat to my Lie-Nielsen 60-1/2 block plane. I added a small oak divider to keep my pencils, knives and 6” rules in one spot. And I added a smaller divider for my block plane at the other end of the till.
The pencil divider has been a long time coming. I hoard my mechanical pencils, rules and erasers and the like (you have to in a group shop or you will end up pencil-less). And like Nesquik or Tang, they soon dissolve into the rest of the till, hiding under the other tools and becoming invisible.
The divider for the block plane is simply an admission that this block plane has been with me for 23 years and isn’t going anywhere.
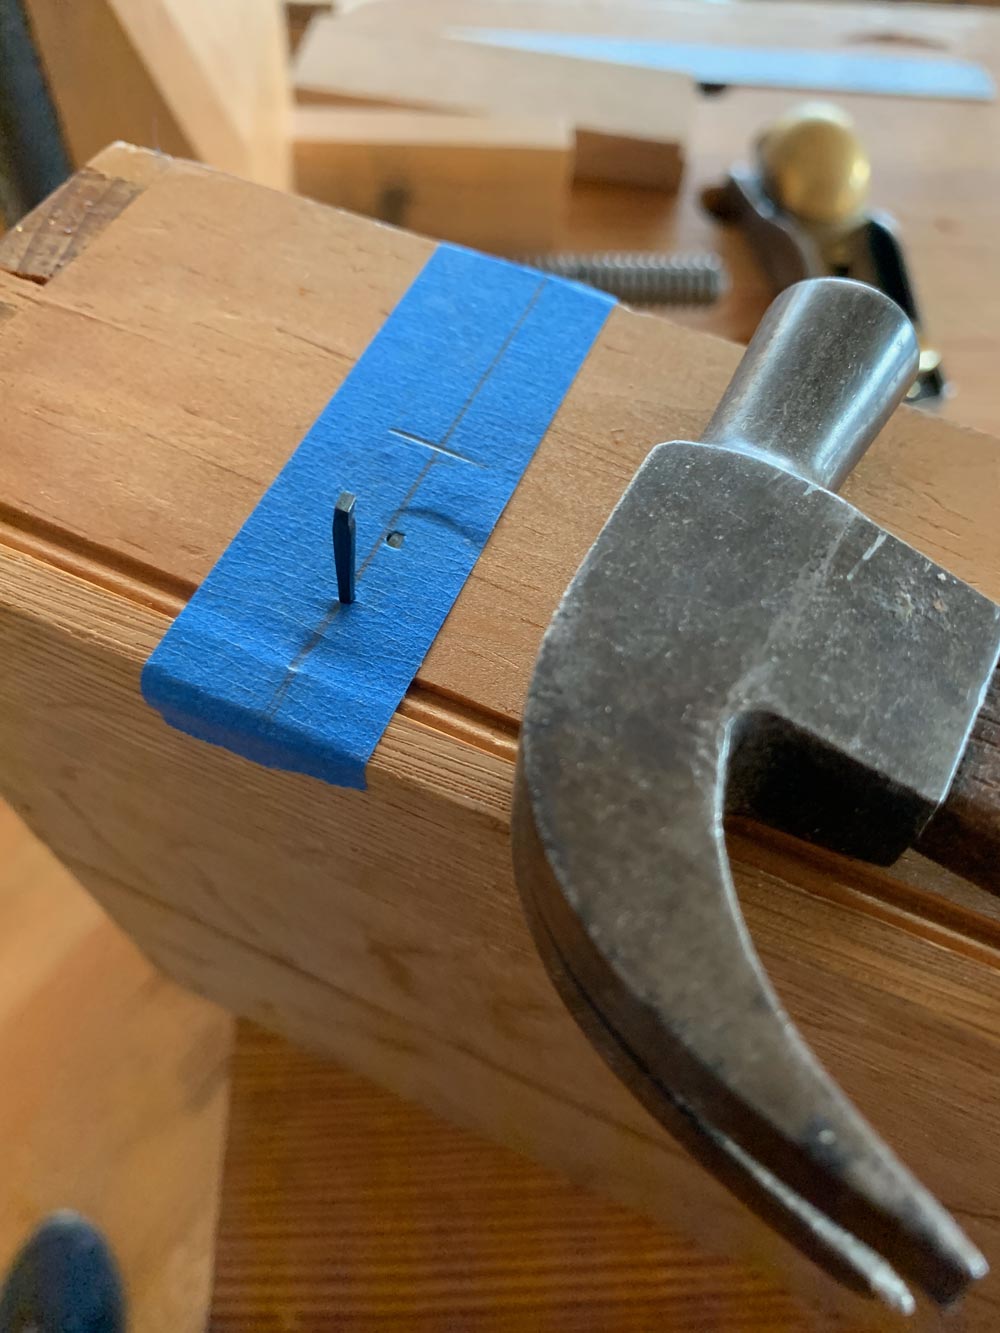
The dividers are oak scraps that I secured with headless brads only. So if this turns out to be a bad idea, it’s reversible.
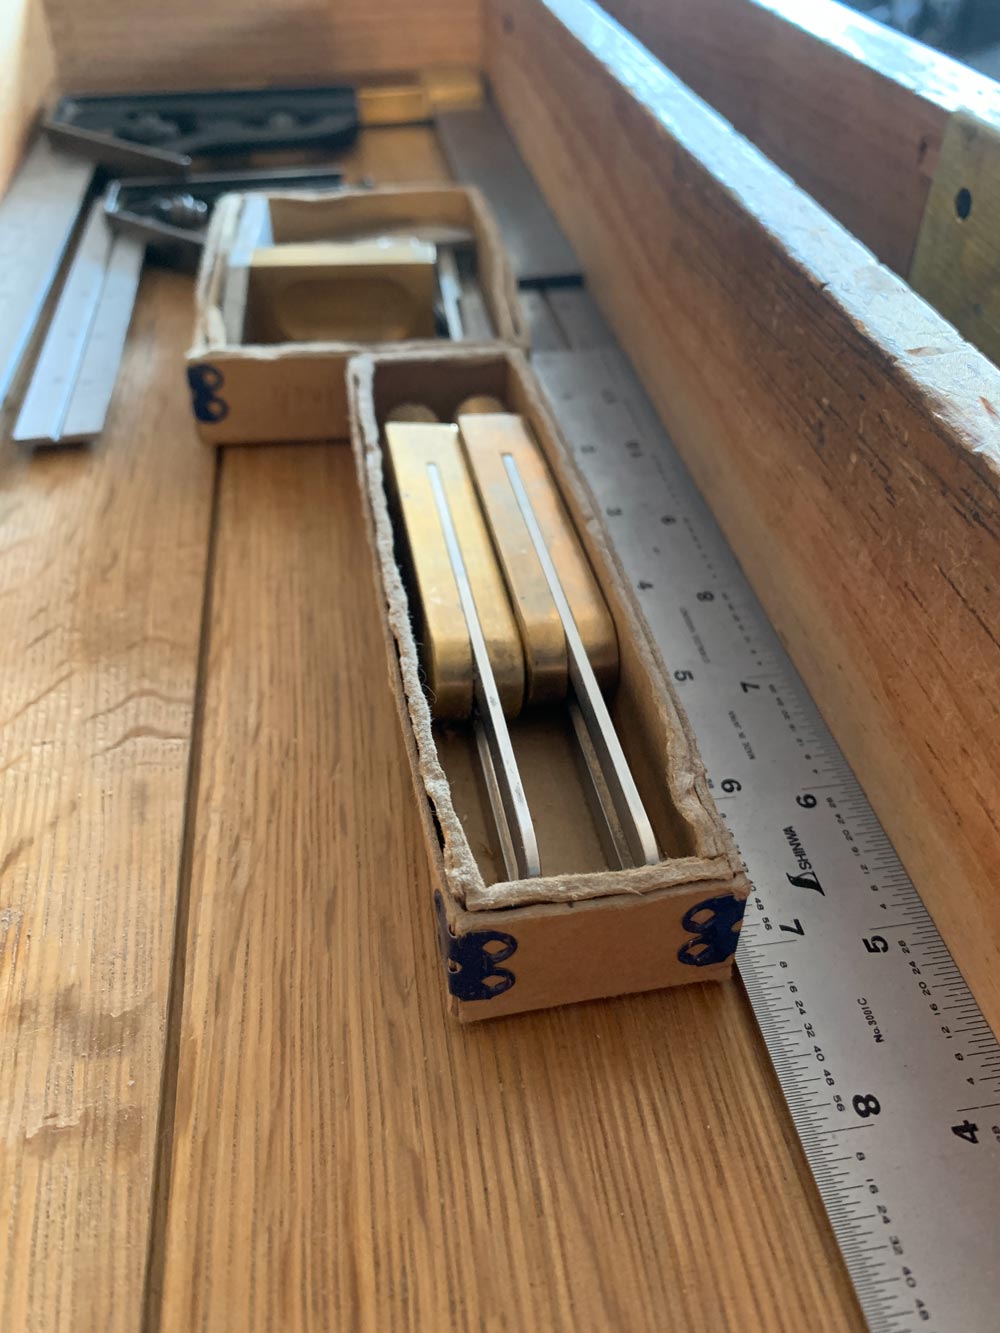
One other small tip: to restrain and protect valuable tools, such as my sliding bevels, I keep them in small cardboard boxes. The boxes can migrate (a good thing) but they never become invisible (also a good thing).
After numerous production delays, which I will blame on the mole people instead of the pandemic, “The Anarchist’s Design Book: Revised Edition” is now back in stock and shipping from our warehouse.
This is the fifth printing of the book, which means there are about 15,000 copies in circulation. By publishing standards, that’s a sad failure. But for me, I couldn’t be happier.
As a young writer, I aspired to work for a major metropolitan newspaper with 500,000 people reading my stuff every day. Then, as a working journalist, I grew tired of documenting the failures and successes of others. I wanted to be the one to fail. And here I am, failing every dang day and somehow still eating (thanks for the cookies this week, Megan).
These books in the “anarchist” series – the tool chest book, the design book and the forthcoming workbench book – are as much about making furniture as they are about making a life outside the normal corporate structure.
And as a bonus, the stuff I write doesn’t end up lining the Birdcages of America. Right? It doesn’t, does it?
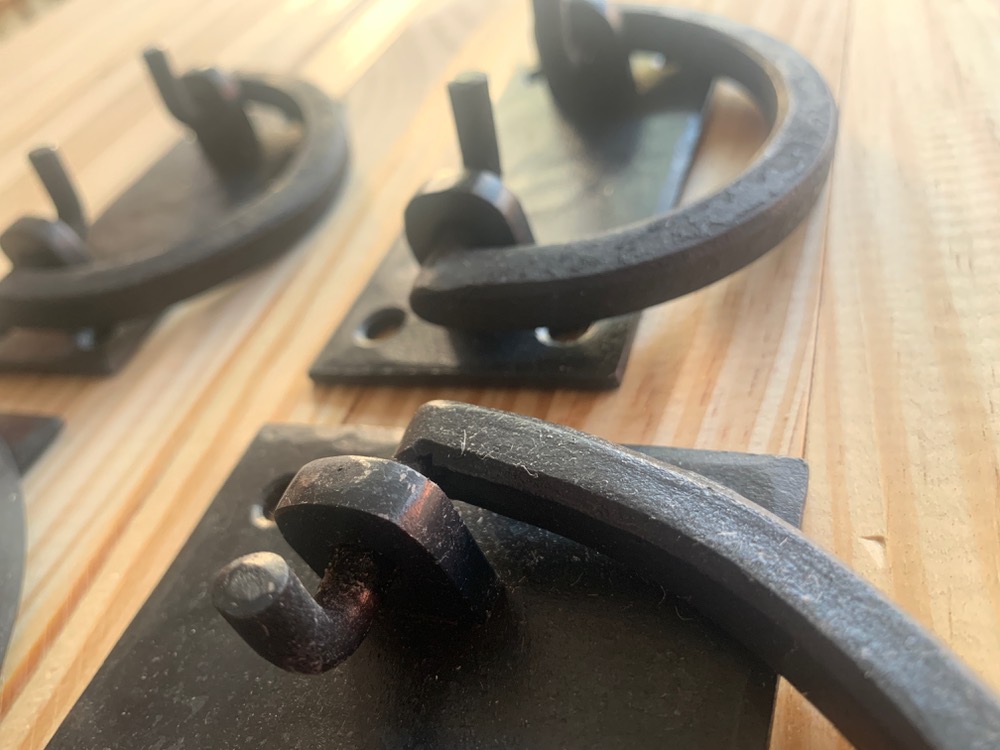
A new kit of forged hardware for a three-till tool chest from Horton-Brasses, displayed here on an end piece for an ATC (7/8″ x 21-7/8″ x 24″), so you can get a sense of scale.
We got our hands on a set of new hardware for the “Anarchist’s Tool Chest” (or any large chest, really) from Orion Henderson at Horton Brasses – he’s calling it “The Anarchist’s Tool Chest – Reforged” – because it is hand forged for the company by a blacksmith. (The company is still offering the original kit, too.)
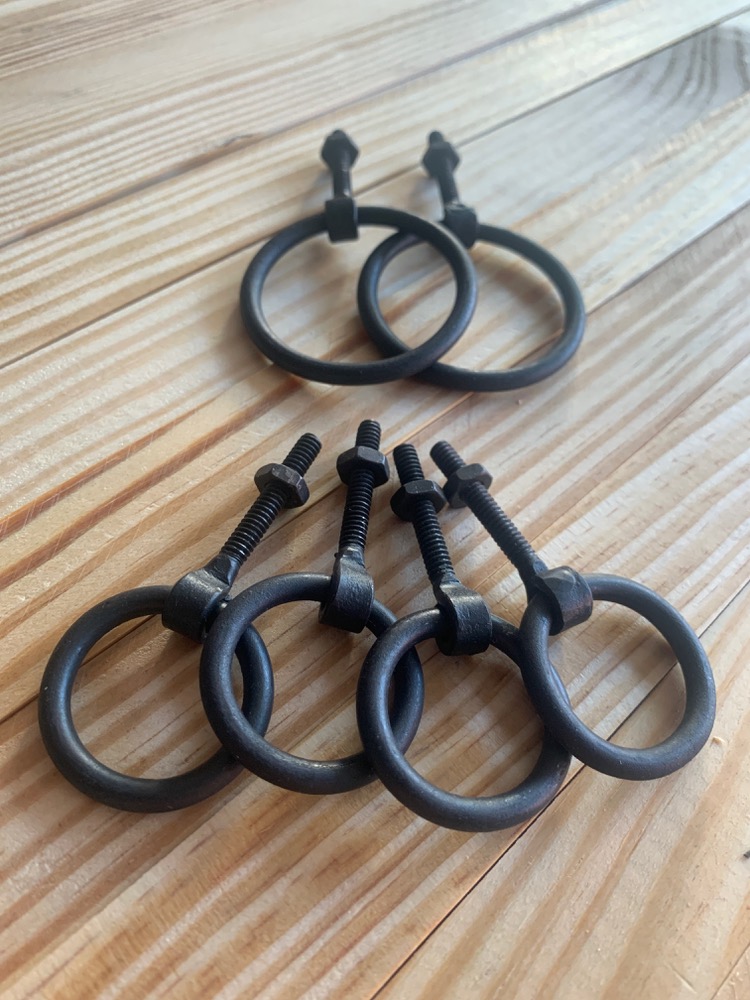
The kit includes two surface-mount chest lifts (HF-46; 6″ wide x 3″ tall) with square-head bolts included, two hinges (HF-49; 1-1/2″ x 2″ x 1/8″; fits stock 3/4″ to 7/8″ thick) with matching black screws, two sets of small ring pulls (HF-51) for the top two tills and one set of large ring pulls (HF-52) for the larger bottom till. (All the components are also available separately.)
A close-up look at the lifts.
This is some beefy, beautiful stuff. I think its rugged handsomeness will look great on a traditional tool chest, and I hope to order a set to install on the almost-finished ATC that is awaiting my return to the Lost Art Press shop. (I’ll be selling that chest, so the hardware and other finishing touches will be up to the buyer, of course).
And you might be wondering why only two hinges instead of the usual three Horton Brasses PB-409 hinges I’ve been using on these chests: These are substantial enough that two ought to be plenty strong. Christopher Schwarz assures me this is so, and he has made a number of ATCs with but two Peter Ross hand-forged hinges of various designs, so he would know. (For the record, I still think Peter Ross’s chest hardware is the cat’s meow – but this nice set is a fraction of the cost.)
Ring pulls.
Horton is also offering a smaller version of the chest lift (HF-45; 3″ wide x 2″ tall) that I think would look great on a Dutch tool chest.
When we said we were going to offer fewer woodworking classes at the Lost Art Press storefront, we meant it…yet we nonetheless have a fair number on offer for the second half of 2020 (plus we’ve added one in June).
You can see the classes now and it looks as if you can buy tickets, but you cannot. The “register now” won’t actually let you register. Tickets will go on sale at 10 a.m. Eastern on Saturday, Feb. 22.
Here are the additions to the lineup at a glance – plus a reminder of our two 2020 Lost Art Press Open Houses:
June
• Open House – June 13, 10 a.m.-5 p.m.
• Build a Jennie Alexander Chair with Ray Schwanenberger, June 15-19
July
• 3-Day Spoon Carving Intensive with JoJo Wood, July 6-8
• The Bent-leg Greenwood Stool with Brendan Gaffney, July 11-12
• Build an American Welsh Stick Chair with Christopher Schwarz, July 13-17
August
• Make a Dovetailed Shaker Tray with Megan Fitzpatrick, Aug. 1-2
• Build a Welsh Stick Chair with Christopher Williams, Aug. 29-Sept. 2
September
• Build an American Welsh Stick Chair with Christopher Schwarz, Sept. 14-18
• Build the Anarchist’s Tool Chest with Megan Fitzpatrick, Sept. 28-Oct. 2
October
• Make a Carved Oak Box with Peter Follansbee, Oct. 5-9
• Intro to Staked Furniture – Design & Construction with Christopher Schwarz, Oct. 17-18
• Build a Jennie Alexander Chair with Ray Schwanenberger, Oct. 26-30
November
• Build a Dutch Tool Chest with Megan Fitzpatrick, Nov. 6-8
December
• Open House – Dec. 12, 10 a.m.-5 p.m.
Click through here to our class listings for details on each. Again, tickets for these new-to-the-lineup classes will go on sale at 10 a.m. on Saturday, Feb. 22.
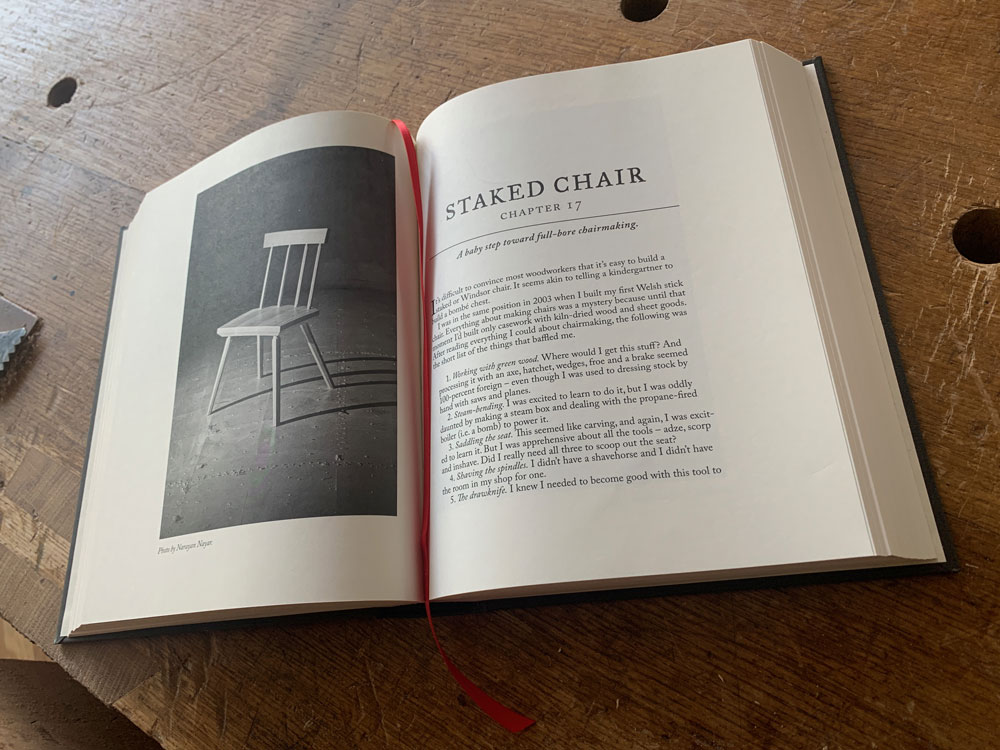
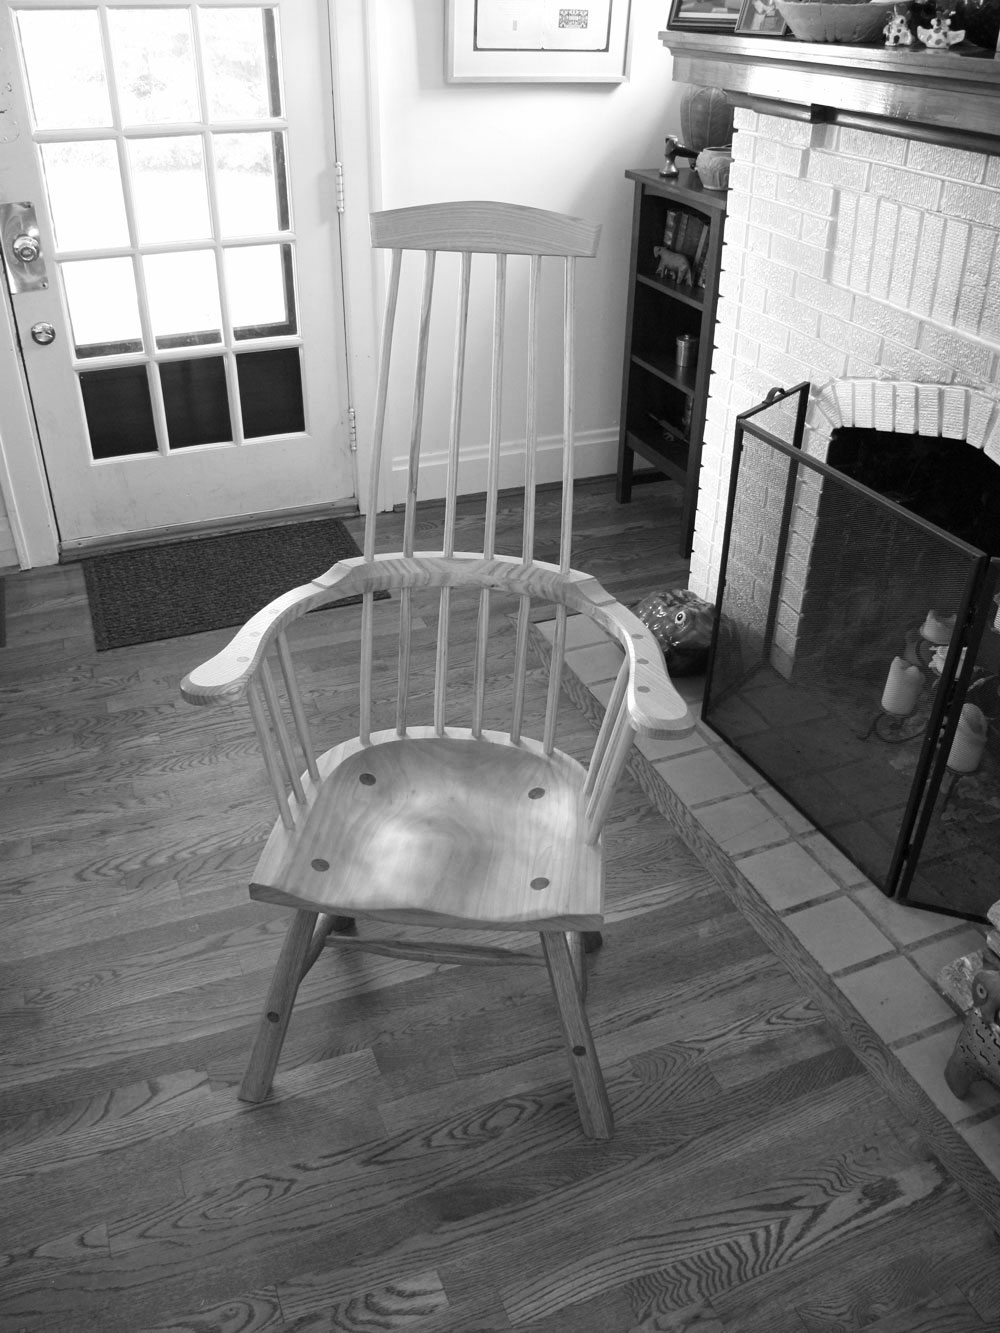
My second chair. Ugly but strong. And it was the key to my upcoming book.
Before I talk to an author about writing a book for Lost Art Press, I ask them to perform a short exercise beforehand. The exercise helps me understand the real thrust of their book idea.
This is important because we have received book proposals from authors that read “I’d like to write something about doors.”
Here is the exercise we send to potential authors:
Come up with a book title and (if necessary) a secondary title. Book titles should be short – usually no more than five words. And they must relate to the entire book. They should use simple and strong words – no -ing or -ly forms. We will help you with the final title, but it will help you think about your book if you can develop a working title. It helps set the tone for your work. A secondary title can help explain the main title. For example, the secondary title for “Cut & Dried” is “A Woodworker’s Guide to Timber Technology.” You might need a secondary title. You might not.
Write a “high concept.” The “high concept” is a 35-word (or so) pitch that explains the content of the book to someone who is not a woodworker and who has never heard of your work. I imagine it’s how I would explain a book at a dinner party to the person next to me. The “high concept” for “The Anarchist’s Tool Chest” was: “You can build almost anything with about 45 tools. This book shows you how to choose good tools, helps you build a chest to protect them and contends that furniture making is a radical act in today’s society.”
Create a table of contents (TOC). A good TOC is an outline for your book. It is the skeleton, and it charts your narrative arc (all good books tell a story). The more detail and thought you put into your TOC, the easier the writing will be. Also good to note: You might rip up a few TOCs before it’s over.
When I start in on a book, I also perform this exercise. But with the vernacular chair book, I wasn’t ready to answer these questions. I had to first figure out if I had an idea that was worth working on for two years.
So for the first half of 2020 I worked on other people’s books and “The Anarchist’s Workbench,” and I didn’t think much about chairs at all.
I did sign up a few new authors for future books, such as getting Megan Fitzpatrick to write a book on Dutch tool chests for a 2021 release. One day we talked about her upcoming book, and I asked how she planned to deal with the different possible construction strategies for the chest’s lid, back and interior.
She replied that she was going to use a “Choose Your Own Adventure” approach, where she would show all of the typical methods and let the reader pick.
And that was when my book on vernacular chairs snapped into focus.
Of all the books I’ve written, my favorites are the ones that I wish I’d had when I was 11 years old. If I’d had “The Anarchist’s Tool Chest” or “The Anarchist’s Design Book” when I was a kid, I would have been thrilled.
When I first contracted the chair-building disease in the 1990s – after encountering John Brown’s writing – I bought every book I could find on chairs, even the crappy ones. I read them all once, and most of them twice.
They all left me disheartened. Here’s why: Each author explained how he built his chairs. But they were (mostly) from the tradition that involved green wood, a froe, a shavehorse, a drawknife, a steambox and a bunch of specialty tapering and reaming tools.
Plus the geometry hurt my head.
I didn’t own any of those tools or easy access to green wood. After years of building furniture with dovetails, mortises and tenons, it seemed like few of my skills or tools carried over to chairmaking. That’s when I decided to take a class with David Fleming in Cobden, Ontario, to see if there was any hope for me as a chairmaker.
With Dave’s help I got through the construction of my first chair. Then I came home and – within days – began to build another chair so I wouldn’t forget what I’d learned. I decided that I would just use whatever wood and tools I had on hand and make it work. The chair would probably suck, fall apart or break. But that would be OK. It was just a flammable vessel to help me retain the geometry lessons and the hand skills.
The chair I made was damn ugly, but it didn’t fall apart.
After 20 years of studying vernacular chairs, I have concluded that “use what you have” is a valid way to make a good chair. It’s the strategy that’s been employed all over the world for centuries. You don’t need special tools or skills to make a chair. You just have to really want to build a dang chair.
Megan’s simple phrase, “Choose Your Own Adventure,” is the crux of my next book.
The working title: “The Stick Chair Book.”
The high concept: “Build chairs with the wood and tools around you. Learn to make all the components of a chair – legs, stretchers, arms, sticks, crest – with a wide variety of materials, tools and methods. Then combine these parts however you like into a pleasing, comfortable and sturdy chair.”
That’s 46 words and a little long. Oh well.
Then I vomited out the book’s TOC in less than an hour.
There are a dozen ways to make each chair component, from using a band saw down to a block plane. You don’t need riven wood. Straight grain is straight grain, no matter how you find it. You don’t need any special equipment to make a good chair. These disparate components can be combined in 1,000 ways to make 1,000 different chairs. And the geometry is easy once you realize that it’s the numbers and math that are holding you back.
I knew in a second that this book is something I’d gladly devote two years (or more) to. It’s the chair book I wish I’d owned in 1998.
— Christopher Schwarz
Read other posts from the “Making Book” series here.