The following is excerpted from John Porritt’s “The Belligerent Finisher.”
Porritt, who works from a small red barn in upstate New York, has been at his trade for many decades, and his eye for color and patina is outstanding. We’ve seen many examples of his work, and it is impressive because you cannot tell that any repair or restoration has been done.
His techniques are simple and use (mostly) everyday objects and chemicals – a pot scrubber, a deer antler, vinegar and tea. How you apply these tools – with a wee bit of belligerence – is what’s important.
The book is lavishly illustrated with color photos that clearly explain the process. With the help of this book, you’ll be able to fool at least some of the people some of the time with your own “aged” finishes.
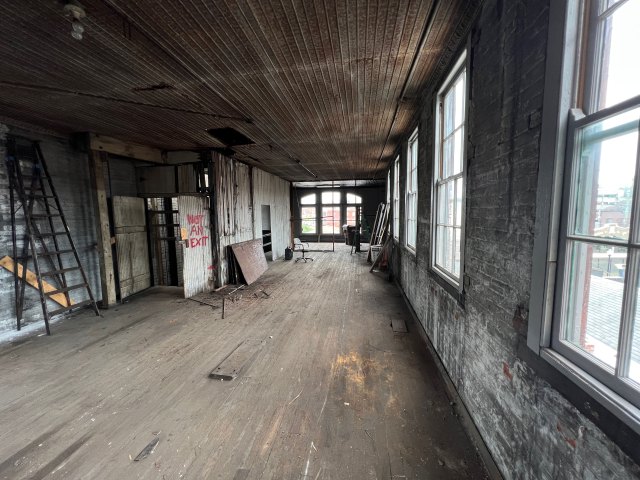
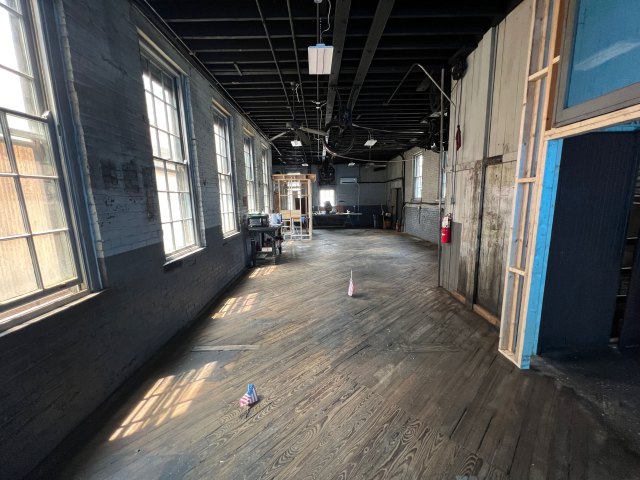
I have always loved pieces of country furniture that have come out of the hills – objects that have been touched by time with all its nuances but have never been cleaned or worked over. To my eye some of these pieces can possess a beauty not yet attained in a new, unfinished piece or one left with a simple paint, oil or wax finish.
Living in America, feeling somewhat cut off in the midst of the 2020-2022 pandemic, I found myself remembering and missing some of the things from the borderland of England and Wales, where I had my home. The light on the hills, the glorious landscape, the characters at the Welshpool Friday market.
And then Ian Anderson’s antique shop: there I would see, touch and enjoy some of the pieces he had bought at auction or come across by invitation throughout Mid Wales. Form, color and surface – he found some delightful things. I missed the joy of the old oak dressers, the tables and chairs with their marvelous well-worn surfaces. That is why I started playing with my chair finishes, to get some of that feeling into my newly made chairs. You see, I have no interest in making fake antiques. Instead, with my finishing techniques I strive to create chairs that I want to see, chairs that I cannot find or even if they were about, chairs that I couldn’t begin to afford.
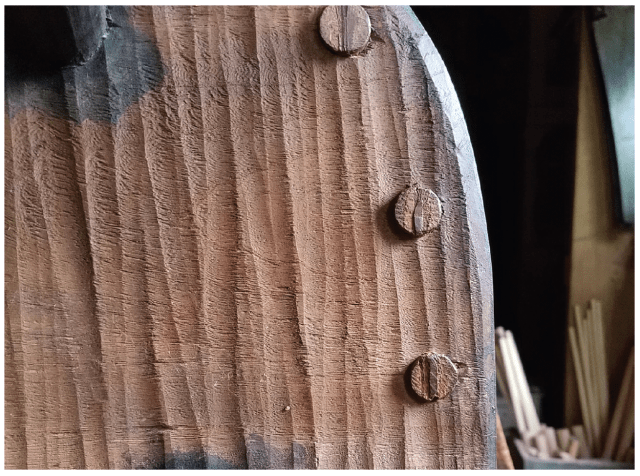
This book will take you through the steps and techniques I have used in my work as a chairmaker, and furniture and tool restorer, to simulate the textures, colors and the mellow glow that is prized in old work. It requires simple tools, such as a deer antler I found on a walk, some stones I picked up from a beach walk in Rhode Island and a chainmail burnisher/pot scrubber. Plus, some chemicals – some relatively harmless (cement dust) and some that require great caution (nitric acid).

These finishes also require a bit of “belligerence.” And by that, I mean mostly perseverance. Creating these finishes requires you to apply finish, wipe it off, burnish it, heat it or even gently burn it off (I definitely do not mean char it). Then stop to take a look at your progress. You may have to do it all again (and again) until all the parts of your chair are to your liking, and you have created a believable surface.
Like restoring furniture surfaces, this process is about “play” – working and reworking a surface until you get the desired result.
Should you feel somewhat nervous piling in with these techniques on a new chair, practice on small boards, chair legs and spindles. Using different woods, take notes of the effects you have come across and build yourself a parts library to refer to.
I do think these finishes are worth the work. I find that they inspire me and lift my spirits.
– John Porritt