On this day in 79 AD, Vesuvius erupted and forever changed our understanding of the early life of Romans and Greeks. The eruption caused a staggering loss of life, but it also preserved a snapshot in time at sites surrounding the volcano.
We have learned a lot about early woodworking because of the eruption, and my book “Ingenious Mechanicks” explores the early workbenches preserved in paintings at Pompeii and Herculaneum.
But my favorite Roman workbench from this era was preserved by water – not fire. Far north of Pompeii, the Roman fort at Saalburg (now Germany) has what I think is the oldest extant workbench, which was found in a well. I got to examine and measure it. And I reproduced it for the book.
To commemorate this important day, I am giving away the chapter on how to build the Saalburg bench.
Many people have dismissed my love of the low workbenches, but I use mine all the time in the shop and find it practical for many operations (particularly in chairmaking).
45. Of Saws in general. Pl. 13. Fig. 6, 7, 8, 9, 13.
A saw is a thin plate of steel indented on the edge for cutting, by a reciprocal change in the direction of motion, pushing it from. and drawing it towards you. The cut which it makes, or the part taken away in a board, is a thin slice, contained between parallel planes, or a deep narrow groove of equal thickness. Saws are of several kinds, as the ripping saw, the half ripper, the hand saw, the panel saw, the tenon saw, the sash saw, the dove-tail saw, the compass saw, and the key-hole or turning saw. The teeth of these saws are all formed so as to contain an angle of sixty degrees, both external and internal angles, and incline more or less forward as the saw is made to cut transverse to, or in the direction of the fibres: they are also of different lengths and breadths, according to their use. The teeth of a saw are bent alternately to each side, that the plate may clear the wood.
46. The Ripping Saw
Is used in dividing or slitting wood in the direction of the fibres; the teeth are very large, there being eight in three inches, and the front of the teeth stand perpendicular to the line which ranges with the points: the length of the plate is about twenty eight inches.
47. The Half Ripper
Is also used in dividing wood in the direction of the fibres: the length of the plate of this is the same as the former, but there are only three teeth in the inch.
48. The Hand Saw, Pl, 13. Fig. 6.
Is both used for cutting the wood in a direction of the fibres and cross cutting: for this purpose the teeth are more reclined than the two former saws: there are fifteen teeth contained in four inches. The length of the plate is twenty six inches.
49. The Panel Saw
Is used for cutting very thin wood, either in a direction of, or transverse to the fibres. The length of the plate is the same as that of the hand saw, but there are only about six teeth in the inch. The plates of the hand saw and panel saw are thinner than the ripping saw.
50. The Tenon Saw, Pl. 13. Fig. 7.
Is generally used for cutting wood transverse to the fibres, as the shoulders of tenons. The plate of a tenon saw is from fourteen to nineteen inches in length, and the number of teeth in an inch from eight to ten. As this saw is not intended to cut through the wood its whole breadth, and as the plate would be too thin to make a straight kerf, or to keep it from buckling, there is a thick piece of iron fixed upon the other edge for this purpose, called the back.
The opening through the handle for the fingers of this and the foregoing saws is inclosed all round; and on this account is called a double handle.
51. The Sash Saw, Pl. 13. Fig. 8.
Is used by sash makers in forming the tenons of sashes: the plate is eleven inches in length. The inch contains about thirteen teeth; this saw is sometimes backed with iron, but more frequently with brass.
52. The Dove-tail Saw
Is used in dove-tailing drawers. The length of the plate is about nine inches, and the inch contains about fifteen teeth. This plate is also backed with brass. The handles of the two last saws are only single.
53. The Compass Saw, Pl. 13. Fig. 9.
Is for cutting the surfaces of wood into curved surfaces: for this purpose it is narrow, without a back, thicker on the cutting edge, as the teeth have no set. The plate is about an inch broad, next to the handle, and diminishes to about one quarter of an inch at the other extremity; here are about five teeth in the inch. The handle is single.
54. The Key-hole, or Turning Saw
Is similar to the compass saw in the plate, but the handle is long, and perforated from end to end, so that the plate may be inserted any distance within the handle. The lower part of the handle is provided with a pad, through which is inserted a screw, for the purpose of fastening the plate in the handle: this saw is used for turning out quick curves, as key-holes, and is therefore frequently culled a key-hole saw.
Here is the window for our stick-chair livestream. You can also watch it on Vimeo via this link. After it’s complete, we’ll clean up the livestream, add some show notes and post it for those who couldn’t join us live.
Remember: We are Lost Art Press. Not Lost Art Podcast or Lost Art Videoblog. So it’s gonna be a little agricultural.
A reminder that at 1 p.m. Eastern tomorrow (Aug. 22), Chris will be livestreaming answers to your questions about stick chairs, and showing some key techniques in the making thereof (how he reams mortises in chair seats, and how to sharpen the reamer). I will also be there, mostly to laugh at Chris’s jokes.
We do still have room for a few more questions, so I’m extending the deadline to get those to me until 10 a.m. tomorrow morning (please send questions to fitz@lostartpress.com).
The livestream will be broadcast here. We will also provide a reminder tomorrow morning. After the livestream is over, we will archive it so anyone who missed it can watch it.
– Fitz
P.S. We are now offering a digital version of “The Stick Chair Book” for $25. We don’t normally release a book like this, but paper shortages are chapping our collective posterior (unlike the seats of Chris’s stick chairs).
My name is Jennie Alexander. Until 2007, my name was John Alexander. I thank all those who have been supportive and kind. Yes indeed, people change, times change, wood continues to be wonderful!
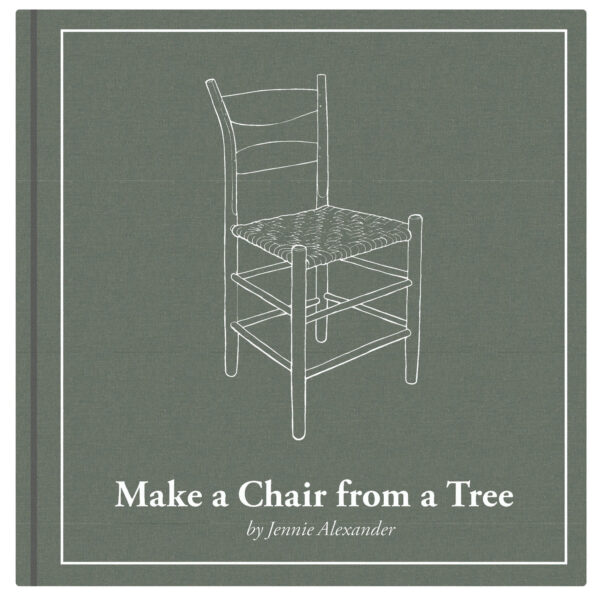
I am a chairmaker. I made my first post-and-rung chair in the late 1960s. My interest in chairs began much earlier when my mother, Dorothy Parker Lowe, gave me her two-slat post-and-rung chair. In 1978, I wrote “Make a Chair from a Tree: An Introduction to Working Green Wood,” a practical book about post-and-rung chairmaking to document what I had learned up to that time. I call this book MACFAT for short. In 1994, in a second edition I added an afterword showing some updated methods. The book has been a part of the growing interest in the practice of traditional crafts with hand tools and green wood. It led me to coin the word “greenwoodworking.”
By 1999, both editions of the book were out of print. With Anatol Polillo, a good friend and craftsman, I made a two-hour video of “Make a Chair from a Tree.” It is now available from Lost Art Press. The two books, the video, extensive teaching and research have led me to the wonderful world of kind and sharing traditional craftsmen and scholars. I have learned more than I have taught. Thanks to them I have grown both as a person and chairmaker. This third edition continues the process. The basic approach – working greenwood with simple hand tools, understanding how greenwood changes shape as it dries and taking advantage of those changes to construct a strong, long-lasting two-slat post-and-rung chair – remains the same.
Greenwoodworking is a traditional way of working a piece of wood that (initially) contains substantial moisture content by riving (splitting) and shaving. Saws are used only to cut across long fibers, not with them. In some greenwoodworking crafts not only is greenwood used in the initial stages, the shrinking and swelling characteristics of wood are employed and sometimes artfully avoided. That is true here. To make this chair, we need only hand tools. Tool expense is modest.
I use the phrase “post-and-rung chair” as a useful generic term for a crowded group of vernacular chairs: country, kitchen, ladderback, Shaker, Appalachian, Delaware Valley and so on. The basic post-and-rung two-slat chair described here has but four parts: four vertical posts, 12 horizontal rungs, two slats and fiber seating.
Where Did this Chair Come From? I became a greenwoodworker by accident. My mother was a single parent. I helped around the house. She told Jerry at Boulevard Hardware that she would pay for any tools or supplies I needed. Jerry – or his sidekick, Miss Erma – gave me a Stanley loose-leaf notebook full of descriptions on the use of Stanley hand tools. I attended the Baltimore Polytechnic Institute, where excellent shop classes were mandatory. At mother’s suggestion I framed and finished my apartment in our basement. She then sent me to St. John’s College in Annapolis, Maryland, where I repaired furniture in the abandoned woodshop. Through all this, first and last was the post-and-rung chair that Mother gave me! I grew up with it. It inherited me.
Before I made my first chair, I was a young lawyer reading books on woodworking and chairmaking and had collected some tools. My neighbor, Jack Goembel, let me use his shop. Later, another woodworking friend decided to stop woodworking to become a mail carrier and sold me his lathe, band saw and drill press. To buy them I had to take out our first-ever loan. It was at the insistence of my lovely wife, Joyce.
I joined the Early American Industries Association (EAIA) and met Charles Hummel, then curator of collections at the Winterthur Museum in Wilmington, Delaware. He brought out the best in me. Somehow, I wound up with a funny workbench, working seriously on furniture and visiting museum basements with Hummel to see broken pieces of furniture.
Hummel’s landmark book “With Hammer in Hand” (1968) catalogs an extensive collection of woodworking tools, equipment, account books and furnishings produced by three generations of the Dominy family of East Hampton, Long Island, circa. 1760-1840. Hummel once told me, “We have a Dominy chair that when the humidity is down you can disassemble.” We did so, and from this type of research I learned much of what I know about how old chairs were made. One example is a notch or groove turned in each tenon – the same notch I’ve seen in Southern chairs as well; hundreds of years and miles apart. I was fascinated and became an expert on busted chair parts.
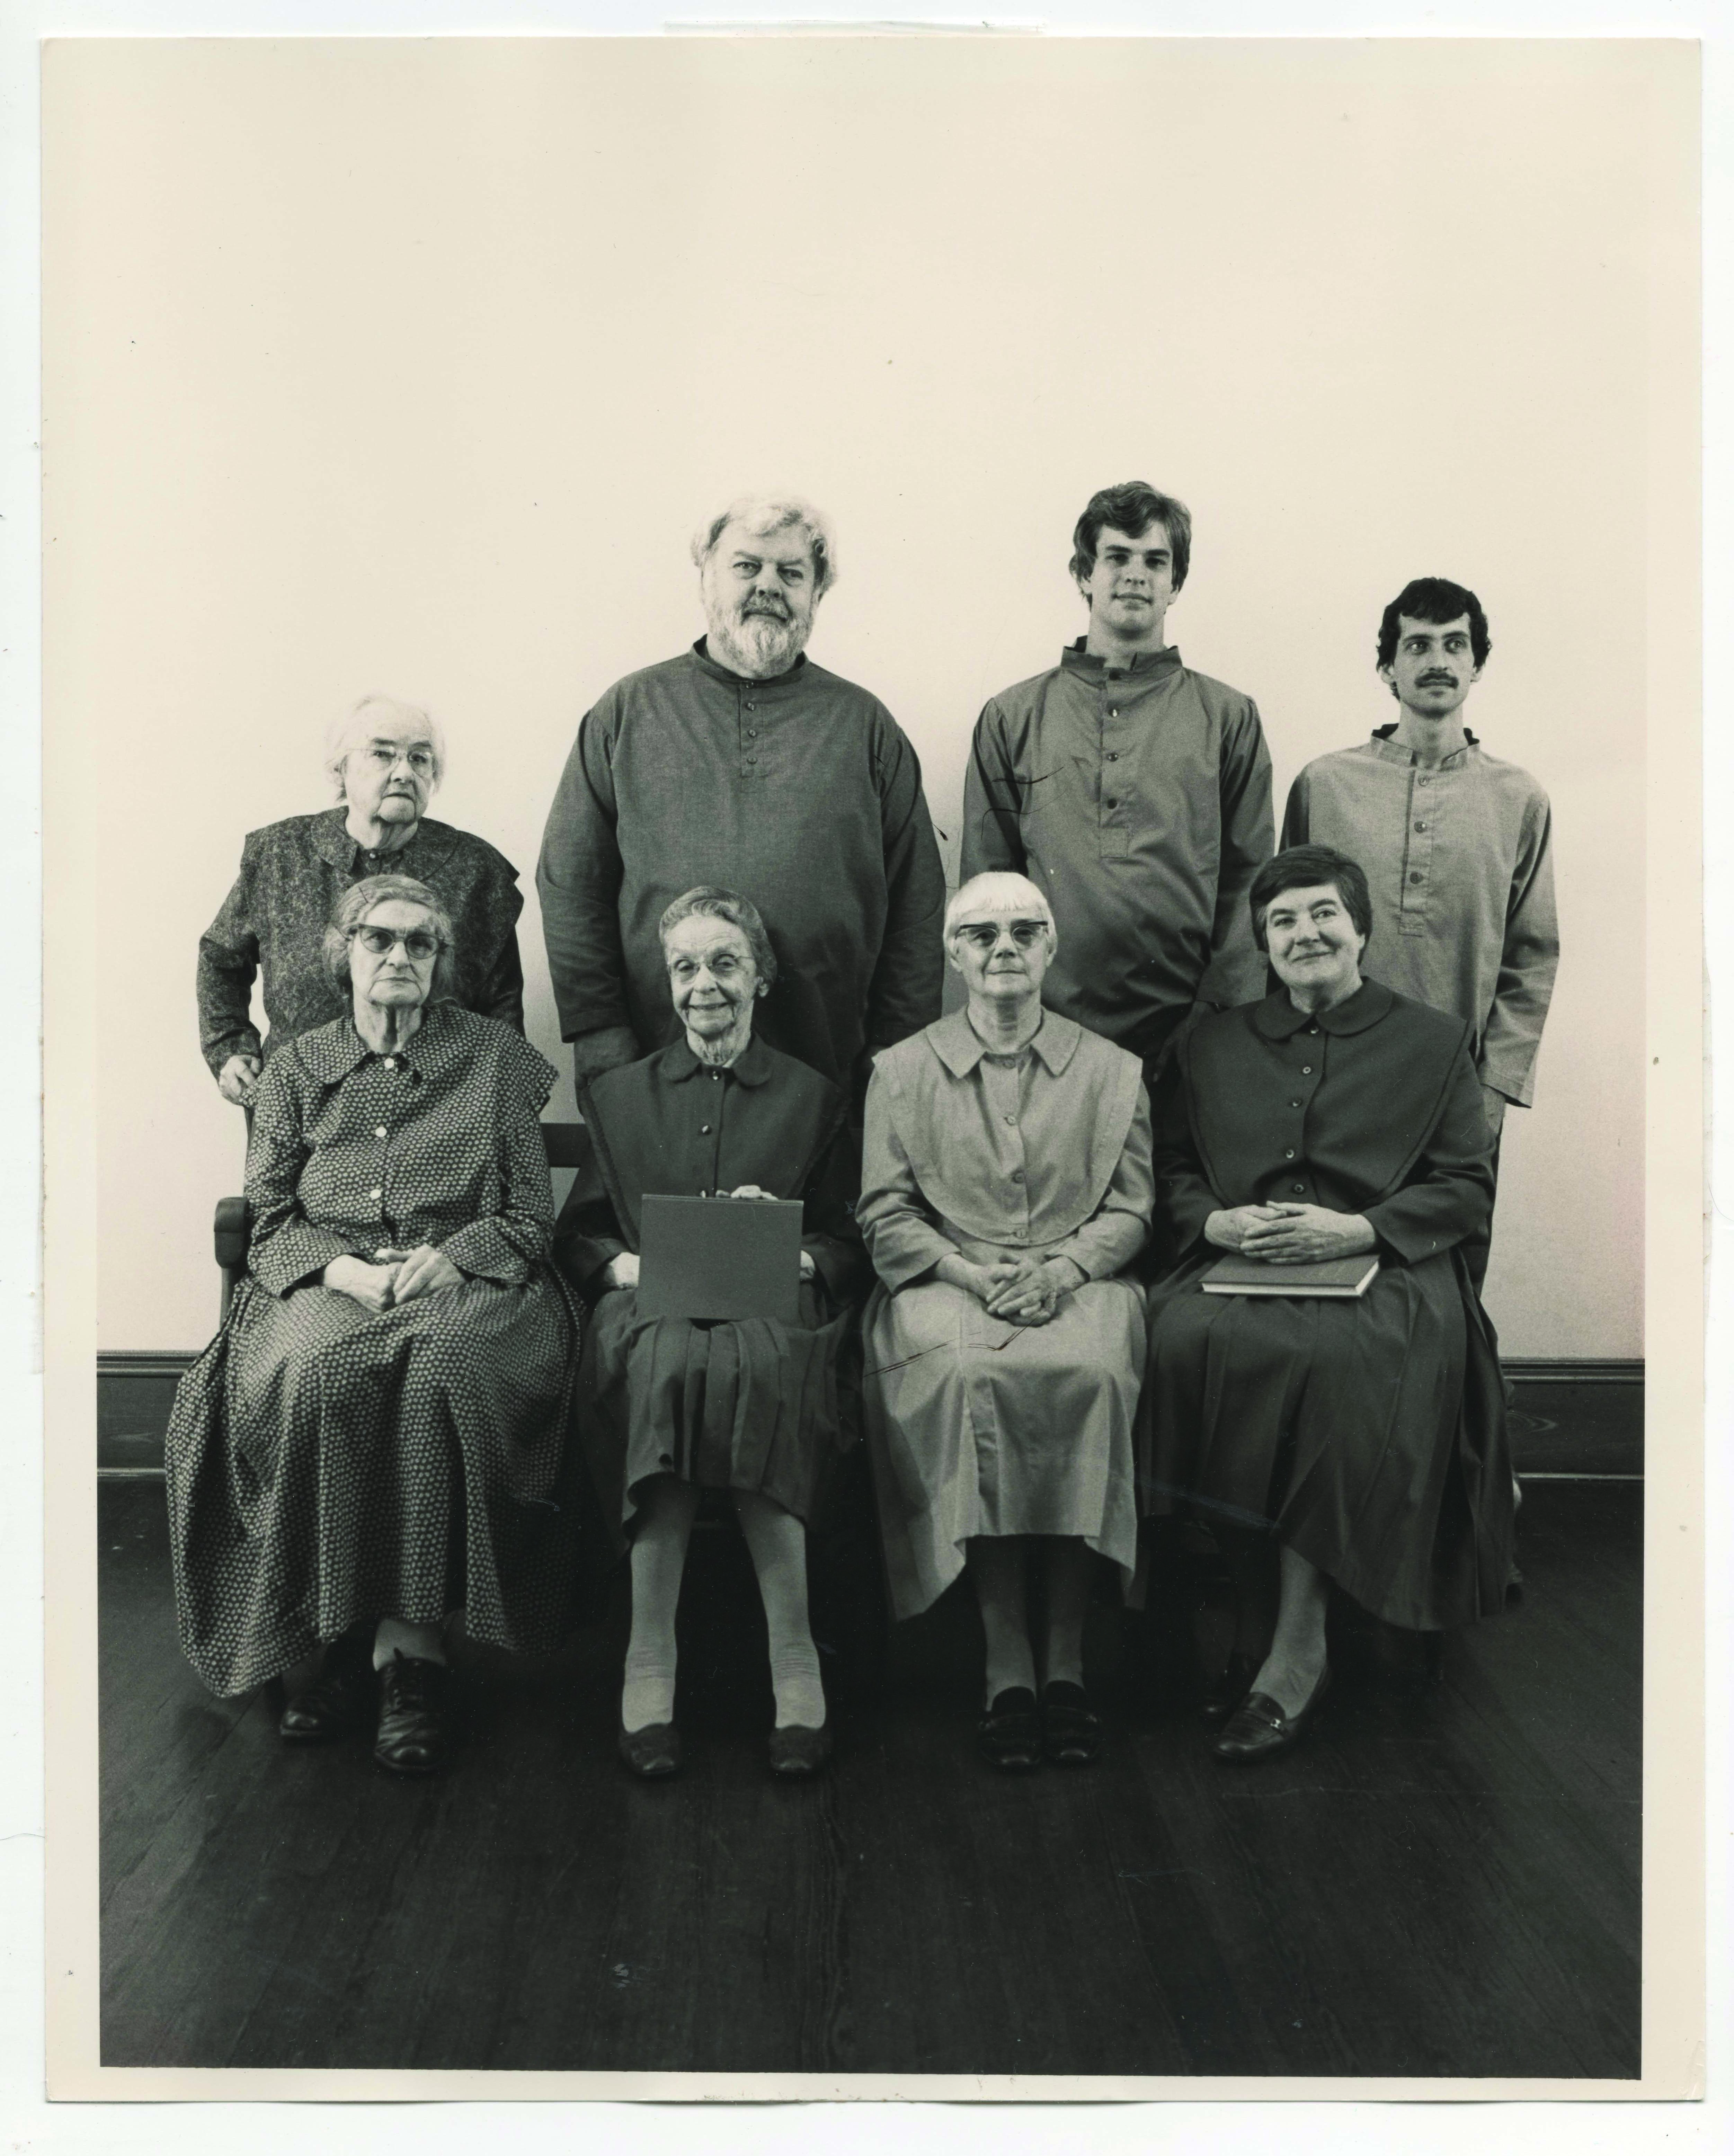
Sabbathday Lake Shakers, 1984. Front row: Minnie Green, R. Mildred Barker, Marie Burgess, Frances A. Carr. Back row: Elsie McCool, Theodore E. Johnson, Wayne Smith, Arnold Hadd.
Joyce and I made several trips to the Sabbathday Lake Shaker Community, where we met Sister Mildred. Our first visit was to see the chairs. Sister Mildred said, “You know, it’s interesting. People think we’re chairs.” We visited a couple more times to see the chairs and also learn about the Shakers. Soon, I decided that I wanted to build a Shaker one-slat dining chair and managed it with a few tools and a lathe.
What is a Jennie Chair? The chair in this book emerged from the study of the joinery in those busted chairs, Shaker chairs, Appalachian ladderbacks and the human body. The chair is especially comfortable because the back posts are bent and have a characteristic flat shaved on the front face, giving rise to the name “mule ear” for chairs like this. The rear posts also flare outward, enhancing the curve of the back slats for more comfort. The position of the lower slat supports the sitter’s lumbar spine.
At first, my slat backs were too heavy with hickory and big parts. I asked, can we lighten it up? Can we make it like a kitchen chair? Because that is a masterpiece. The mule ear is important to get the roundness of the post out of the way, and it looks good. I also asked: How many rungs and where are they? The wonderful kitchen chair I own is missing one rung compared to mine. Many, or even most, traditional post-and-rung chairs have just two rear rungs: the seat rung and the bottom rung. I want every rung to share the shock. It’s like grass in the wind. I came up with this idea early in the process.
Detail of slats/post. The flat, or relief, shaved on the rear post makes it easier to bend and more comfortable for the sitter than a fully-round post.
The chair is attractive, strong and comfortable. It looks like a traditional post-and-rung chair. However, its construction differs. When put in service, a post-and-rung side chair suffers its greatest stress in the fore and aft direction when sat upon, and when it is leaned back upon. Disregarding custom, we anticipate and respect these powerful destructive racking forces. Unlike “traditional” chairs, the side frames are constructed first. Then their rung tenons are firmly interlocked in place by the front and rear rung tenons. I have never seen nor heard of another post-and-rung chair so constructed. A cautionary note to myself: In a vernacular craft of long history, such as stick-chair making, it is all too easy to claim invention. With time we learn that there is little new under the sun. I suggest you make your first chair “by the book” then go on from there. These features make a Jennie Chair.
Cautionary Words to the Experienced Craftsperson This book contains all that you need to know about making post-and-rung chairs from shaved greenwood. My goal is to provide enough information for woodworkers of all levels to be able to make a chair from a tree.
But in ways this text is a bit pedantic, cautionary and repetitive. I envision my reader as a married homemaker in Cincinnati, Ohio, who plans to learn chairmaking in one-half of the family’s two-car garage. I wrote this for her. So please bear with us.