A woodworking friend of mine has the most boring tattoo ever.
It’s a single black dot – about 1/16″ across – on his hand. He put it there as a reminder. Whenever he sees that dot, he is reminded to stop messing around and get back to studying or working or some such.
This morning, I’m pondering a trip to the tattoo parlor myself. I need some totem to remind me to lay down my tools when someone is yakking at me.
This week I am in the heat of finishing a run of Roorkee chairs, and I’m down to the part where I am cutting and assembling all the leather bits. This involves hundreds (maybe a thousand) intense freehand cuts with a utility knife and punches. One miscut and the piece is spoiled.
For the last three days, I’ve been standing alone at my bench making these cuts. I have neat piles of hundreds of components. Zero mistakes.
Yesterday a neighbor came into the shop, asking me to make him a walking stick (he’s been using a tomato stake to help him get around lately).
First mistake: I kept working while we chatted.
Second mistake: I should have offered to simply buy him a walking stick at the drugstore a block away.
Third mistake: I installed a buckle on upside-down, and I had to then destroy and remake the piece.
Fourth mistake: I fixed the problem while he kept talking. My repair turned out to be half-assed.
Fifth mistake: I cut the belting for a chair’s thigh strap 1-1/2” too short, completely ruining an assembled $150 component.
I put down my tools and wished the neighbor a happy new year as he left, tomato stake in hand.
I know a tattoo can’t fix stupid. But you think I’d be smarter after working in group workshops for the last 23 years.
In my Amercian Welsh Stick Chair classes, we start with home center dowels that have been selected for dead-straight grain for the chair’s back spindles and sticks. They work great (wood is wood), but there can be a lot of luck and driving around necessary to get enough sticks for a class of six to 12 students.
In fact, last year, I denuded the Kentucky/Ohio/Indiana Tristate area of straight-grain red oak dowels for my March 2019 class.
For my classes in the coming year, I decided to find a way to reduce my driving and gathering.
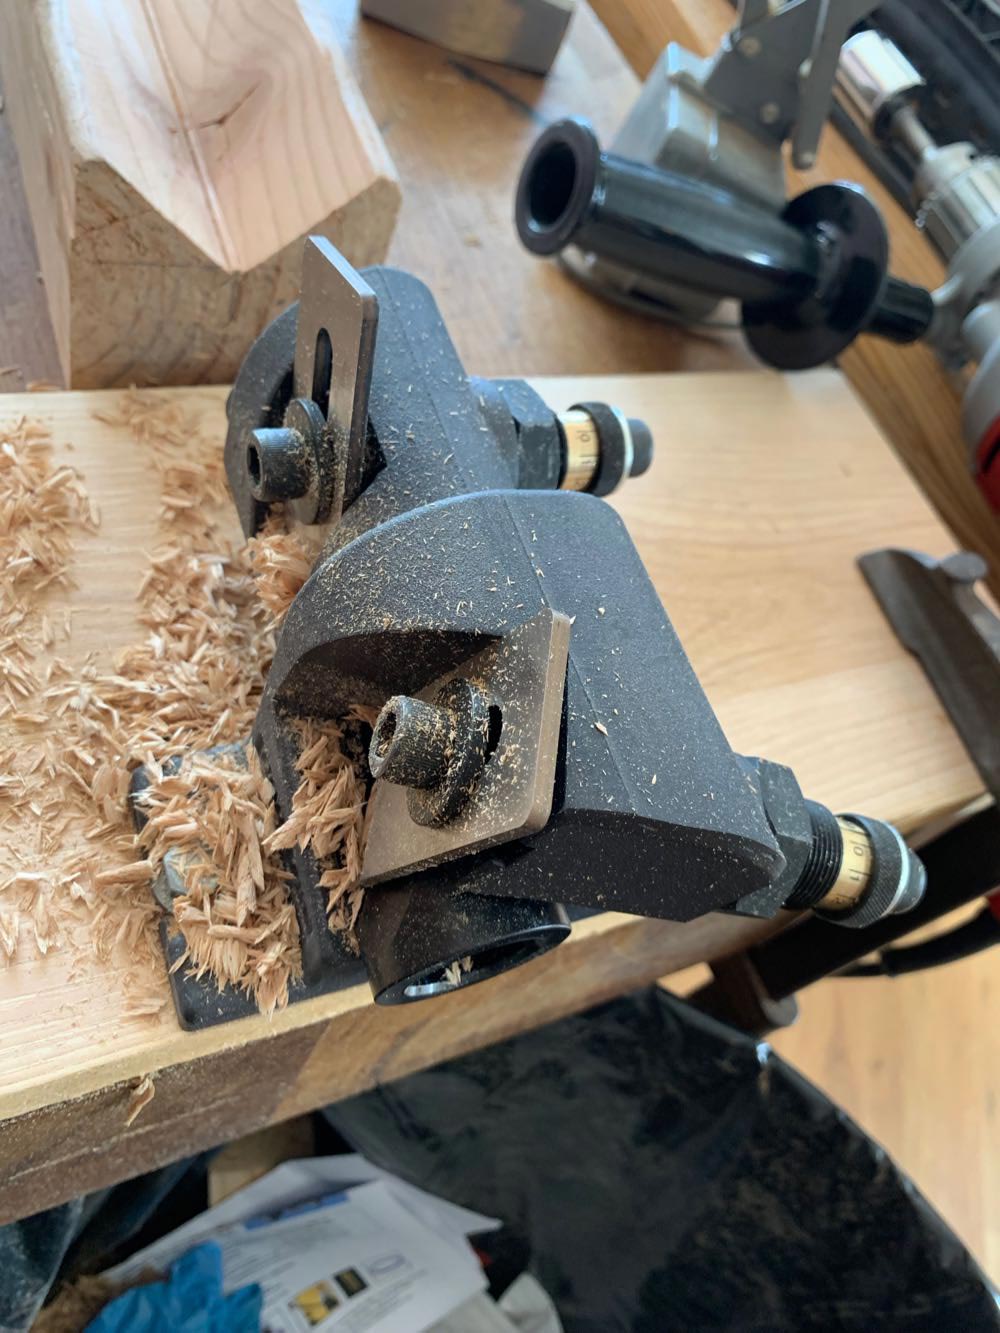
After trying many options (too many to list here without wanting to slap myself with a cold, dead mackerel), I settled on the Veritas Dowel Maker. I’ve used it before when making the sticks for Roorkee chairs.
The idea is simple: you spin square stock into the device. Two blades slice it down to size.
The only complication is that the device is a bit complicated to set up. After reading the instructions a few times, I went upstairs to see if the university had taken back my diploma. I simply wasn’t able to follow the instructions in a couple places. I needed a good video to understand what I’m missing here.
Sadly, there aren’t any really excellent videos out there on this tool. There are a lot of OK ones. After watching a few of them I was able to make the appropriate synapses and the device became crystal clear to operate.
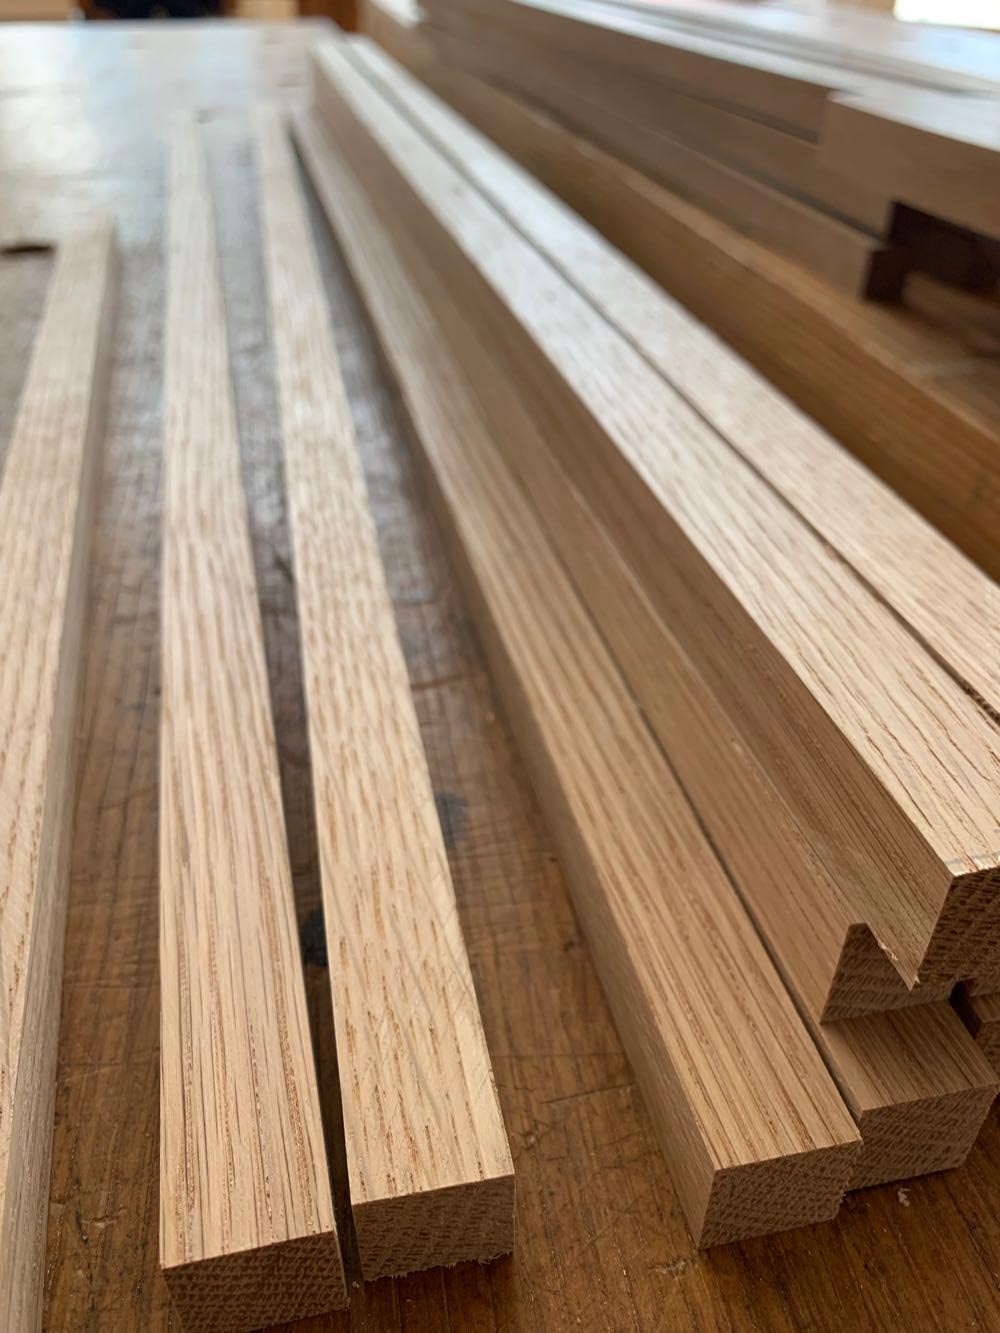
With my stupidity set aside (for the time being), I made the blanks for my spindles. This was the joyous part. I could select the straightest, clearest stock to make spindles that were super strong.
After that, you spin the blanks into the device – a drill powers the operation. The surface finish on the dowels was pretty good. A single swipe with a scraper was enough to remove the annular rings. Another plus: I could fine-tune the dowels to come out at exactly the dimension I wanted.
After running 100 or so sticks, I decided to sharpen the blades and see if that improved the surface finish. So I stoned them both up to #8,000 grit on my waterstones (they sharpen just like a plane iron). The improvement in surface finish was minimal – I still need to scrape them.
All in all, I believe the Veritas Dowel Maker will pay for itself with my first class. It saves me a tank of gas, and I can make the sticks for a chair using $10 in wood instead of $24 to $36.
If I made only an occasional chair, I’d make the sticks the old-fashioned way with a spokeshave or block plane. But you need 50 perfect dowels with dead-straight grain, the tool is a nice thing to have.
— Christopher Schwarz
P.S. Of course I paid full price for the Veritas Dowel Maker and the accessories. And the wood. And etc.
As the British military was forced to become more responsive and quick at the end of the Victorian era, traditional and bulky items were traded for furniture that was lightweight and compact.
Someone in the late 19th century invented the Roorkee chair, a Spartan design that was destined to influence generations of modern furniture designers in the 20th century.
The Roorkee, named after an area in India, has no fixed joinery. The legs and stretchers are joined without glue; when the chair is assembled, the seat and strapping hold everything together. Likewise, the back of the chair is but two sticks that are covered in cloth and held to the chair’s frame with bolts.
As a result of this shockingly spare design, the chair weighs little – 8 to 10 lbs. is typical. It folds into a small package. And despite all these details, it is remarkably comfortable.
The Roorkee is designed for lounging, not for dining or work at a tall desk. As a result, it is low to the floor, like a Morris chair or any other camp chair. Most Roorkee chairs were covered in rot-proof canvas. Today, reproductions are made in both leather and canvas.
The leather adds weight and stiffness. The weight is undesirable if you are portaging the chair through the mountains. But the stiffness of the back and seat is a good thing for your comfort.
Roorkees with canvas backs can feel like sitting in a flour sack (I’ve made several using military-spec canvas). So while leather might not be 100-percent authentic, I do think it is the superior material for this chair. After experimenting with hides of several thicknesses, my favorite is an 8 oz. hide, which is a full 1/8″ thick.
If you research this form yourself, you’ll find several versions of “improved” Roorkee chairs. These might have an adjustable headrest or sticks that you are supposed to drape your legs over, like a planter’s chair. I have yet to build an improved Roorkee.
Roorkee chairs show up in a variety of species, from ash to mahogany to teak. The way the stretchers are inserted into the legs can vary. One common method is a tapered mortise-and-tenon joint. This Windsor-chair joint offers a lot of surface area for the joint without weakening the leg in the way a cylindrical mortise would. Plus, the more weight that is placed on the chair, the tighter the joint becomes.
Some Roorkees are joined with a simple cylindrical mortise-and-tenon joint. Still others have some sort of hybrid joinery – the tenon might be a cylinder but it will have a square shoulder that fits into a shallow square mortise at the top of the cylindrical mortise.
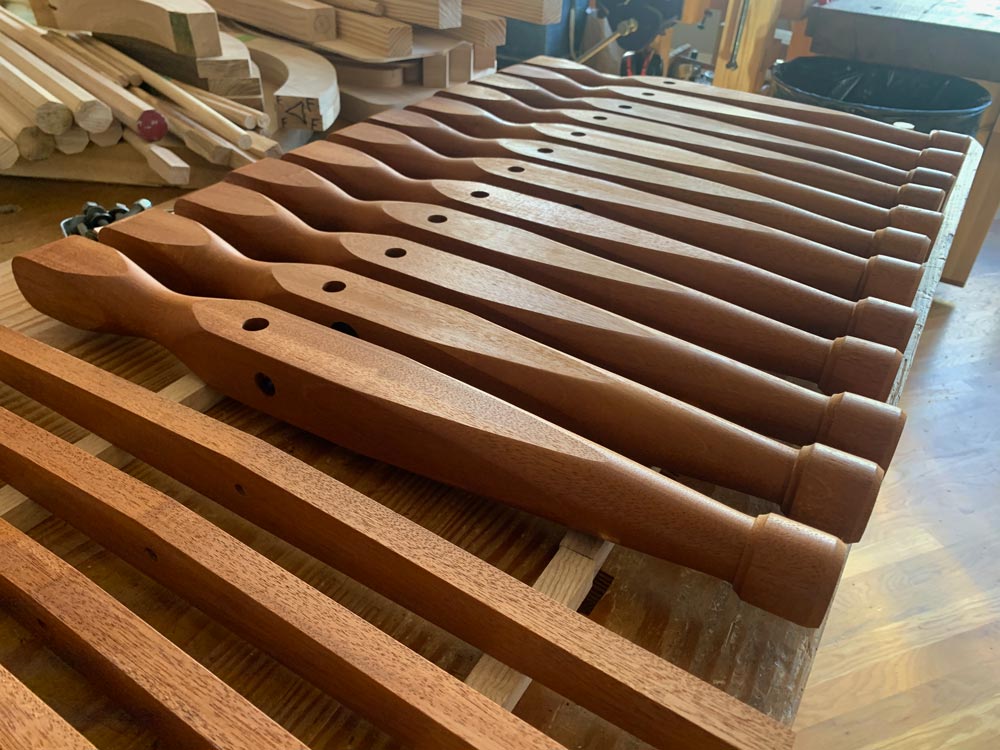
Turnings As you study the Roorkee chair, you’ll also find a variety of turnings used for the legs, everything from a simple taper to strong (but busy) coves and beads.
The classic Roorkee has a turned cylinder near the top of each leg that acts as a convenient handle for lifting an assembled chair. The foot of a Roorkee is typically a straight taper that ends in some sort of shaped foot. Some Roorkees don’t have a shaped foot and end in a thin taper.
The Influence of the Design The Roorkee chair was designed for the military, but its utilitarian core appealed to modern designers. Kaare Klint, one of the founders of the Danish modern style, directly aped the Roorkee chair for his famous “Safari Chair,” which was popular through the 1970s.
The influence of the Roorkee was more far spread than Denmark. Marcel Breuer’s “Wassily” chair (1925), Le Corbusier’s “Basculant” chair (1928), Wilhelm Bofinger’s “Farmer Chair” (1966), Arne Norell’s “Sirocco” chair and Vico Magistretti’s “Armchair 905” (1964) all owe a tremendous debt to the Roorkee chair.
The influence of the Roorkee for decades after its introduction has always been an important indicator that campaign furniture as a whole might be an underappreciated style. Like the Roorkee, campaign furniture was designed to impress you more with its utility than its fashionableness. Its only real ornament consisted of things that made it stronger. It used woods that resisted the tropics, joinery that didn’t rely on glue and brass that held everything together.
In many ways, campaign pieces have more in common with workbenches and tool chests than with delicate dining tables, carved sideboards and veneered highboys. And that is why I think the campaign style is worth reviving among woodworkers.
One of the biggest fears when you work for yourself is that the work will dry up. You will suddenly go from eating ricotta to ramen. And then you will call Mike Siemsen to get his recipe for “wiener water soup.”
As the last few days of 2017 drop off the calendar, I’m taking stock of the commission work I have booked for the coming year. I am pleasantly surprised at the amount of work I have in the works.
Most of the pieces are what you would expect: a couple Welsh chairs, a tool chest, a Shaker cabinet, some sawbenches, a Roorkee chair and a campaign secretary. But I also received a commission that is a gift for me as a designer.
A young customer asked me to build a chair that would further my work from “The Anarchist’s Design Book.” For the last 12 months I’ve struggled (and failed) to design a staked armchair that I’m happy with for the revised edition of “The Anarchist’s Design Book.” This commission will allow me to take a good three weeks of time to nail down a design that has remained slightly out of my grasp.
So it’s also a gift for anyone interested in staked furniture.
I know there will be lean years ahead. It’s the natural cycle of things. But I plan to fully enjoy every bit of 2018 and make the most of the salad days.