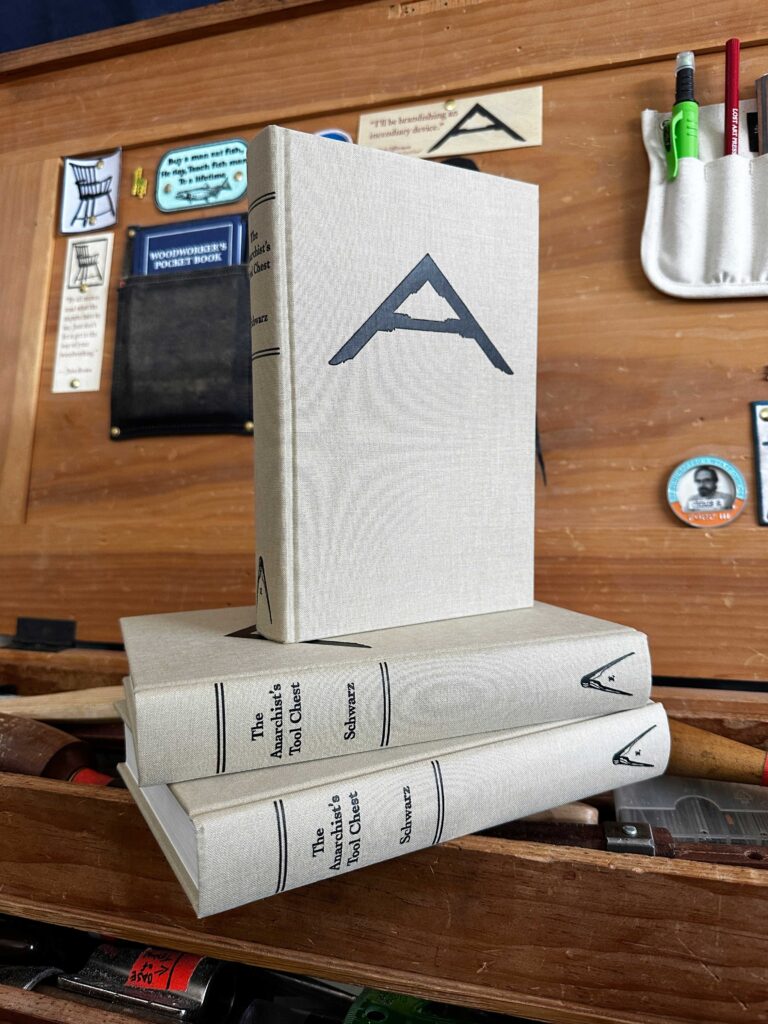
The following is excerpted from “The Anarchist’s Workbench,” by Christopher Schwarz. The book is – on the one hand – a detailed plan for a simple workbench that can be built using construction lumber and basic woodworking tools. But it’s also the story of Christopher Schwarz’s 20-year journey researching, building and refining historical workbenches until there was nothing left to improve.
“The Anarchist’s Workbench” is the third and final book in the “anarchist” series, and it attempts to cut through the immense amount of misinformation about building a proper bench. It helps answer the questions that dog every woodworker: What sort of bench should I build? What wood should I use? What dimensions should it be? And what vises should I attach to it?
“The Anarchist’s Workbench” also seeks to open your eyes to simpler workbench designs that eschew metal fasteners and instead rely only on the time-tested mortise-and-tenon joint that’s secured with a drawbored peg. The bench plan in the book is based on a European design that spread across the continent in the 1500s. It has only 12 joints, weighs more than 300 pounds and requires less than $300 in lumber.
And while the bench is immensely simple, it is a versatile design that you can adapt and change as you grow as a woodworker.
Oh, one more important fact about the book: You can download it for free – see the first sentence here.
There’s only one reason that the cheap-o workbench industry exists. And that’s because people think they need a workbench to build a workbench (or are truly delusional and think it will be fine for furniture making).
So many woodworkers I’ve met have spent $200 to $500 on a bench that isn’t worth the BTUs to burn. The things wobble like a broken finger. The vises hold like the handshake of a creepy vacuum salesman. They are too lightweight for even mild planing tasks.
You don’t need one of these benches to someday construct a “real” bench. In fact, I build benches all the time without the assistance of a workbench. It’s easy. Start with sawhorses. Glue up the benchtop on the sawhorses. Sawhorses + benchtop = ersatz bench. Now build the workbench’s base on top of that ersatz bench. Put the base and the benchtop together. You’re done.
If you want a temporary workbench until you build a “real” workbench, there are ways to get the job done with just a little money and a little frustration. This brief chapter seeks to give you some options.
I know that some of you will insist on buying something as soon as you anoint yourself a woodworker. It’s an instinct we’re trained into as consumers. Here are a few things to put in your shopping cart instead of a cheap workbench:
- Buy an industrial steel packing table with a hardwood top. You can get these from many, many suppliers (McMaster-Carr is one). These feature a heavy welded steel base and a wooden top that’s maple, if you’re lucky. These metal tables don’t rack like a cheap workbench and cost less (way less if you find a used one). You can screw thin pieces of wood to the top as planing stops so you can plane the faces of boards and legs and the like. And get a large handscrew clamp to stabilize boards when planing them on edge. These packing tables don’t come with any vises, of course, but you can fix that with your credit card.
- Buy a couple bar clamps (you’ll need clamps no matter what) that are long enough to span the width of the top of the packing table. Screw a 4×4 below the benchtop right at the front edge of the top – this will allow you to clamp your work to the front edge of the benchtop so you can work on boards’ edges and ends.
That’s one solution. How about a simpler approach?
- Use your kitchen cabinets, kitchen table or dining table as the workbench. You can clamp planing stops to the tabletop (you’ll need a couple F-style clamps for this). Don’t forget to buy a large handscrew clamp to help stabilize boards when planing them on edge on the tabletop.
- For working on edges and ends of boards, buy a commercial Moxon vise, which you can clamp to any tabletop or countertop. This vise will let you work on the edges and ends of boards. Even after you build a “real” workbench, you’ll continue to use the Moxon and the handscrews.
Is that still too much money? Do you have a public park nearby?
- Use a picnic table. Drive nails or screws into the top to serve as planing stops. With a picnic table you get both high and low working surfaces. You can drive some nails into the picnic table’s benches to act as a planing stop and use them like a Roman workbench.
- Buy a couple big handscrew clamps (every woodworker needs these anyway). Clamp or screw these handscrews to the picnic table so they work like vises so you can work on boards’ edges or ends.
Here are other time-honored solutions I have observed in the wild.
- Take four pieces of 3/4″ x 24″ x 96″ CDX cheap-o plywood and screw them together face to face to make a 3″-thick benchtop. Screw this benchtop to a used metal desk. The old metal desks that populated schools, warehouses and government offices are ugly, cheap and widely available. They are almost all 30″ high. Add a 3″-thick benchtop and you are in the right height range for most Americans. Some of these desks have MDF desktops. Some have sheet metal tops. Either way, you can screw your plywood benchtop to the desk. Bonus: The drawers give you tool storage. Add workholding as above.
- Conscript an old dresser/bureau. This is a three- or four-drawer cabinet for storing clothes. One 19th-century book I read showed how to turn this into a workbench. Attach planing stops to the top of the bureau/dresser. For sawing, keep it simple – use 5-gallon buckets as sawbenches (thanks for that tip, Mike Siemsen). You also could clamp a Moxon vise to the top. The lower drawers are for storing tools. The upper drawer can catch sawdust (not my idea – it was mentioned in the book).
The Apocalypse Workbench
When I teach or demonstrate woodworking on the road, the venue is occasionally luxurious and other times it’s more like “Lord of the Flies.” I’ve showed up at woodworking clubs where the workbench on offer was a folding table with metal legs and a particleboard top.
After years of encountering this problem, I learned to travel with an emergency kit of things that allowed me to work without bursting into sweat and tears in front of an audience. Here’s the kit:
- Two large handscrews
- Two 36″ bar clamps
- Two F-style clamps (usually with 12″ bars)
- Thin strips of plywood, usually 3″ x 24″ and in two thicknesses: 1/4″ and 1/2″
- Small clamping pads of scrap plywood, to prevent denting my work when I pinch it
- A few softwood shims
- A couple simple bench hooks for sawing.
This kit has converted many desks and tables into somewhat-functioning workbenches. The handscrews and bar clamps act as face vises. The plywood scraps can be made into planing stops for planing with the grain or across it. And the F-style clamps can clamp my work – or other clamps – to the tabletop.
To be sure, I’m always happy to return home to my workbench. But until I find a way to fit it in an airplane’s overhead compartment, this kit has become a way that I can work almost anywhere.
If You Buy (or Inherit) a Cheap Workbench?
Let’s say that all your friends warned you against buying a $200 to $300 “hobby” workbench and you went against their advice (“How bad could it be?”). This part of the book is for you. As an experiment, I bought one of these benches for $220 (total with shipping). Out of the box, it weighed just 57 lbs. That’s the sort of bench that you want to feed a sandwich.
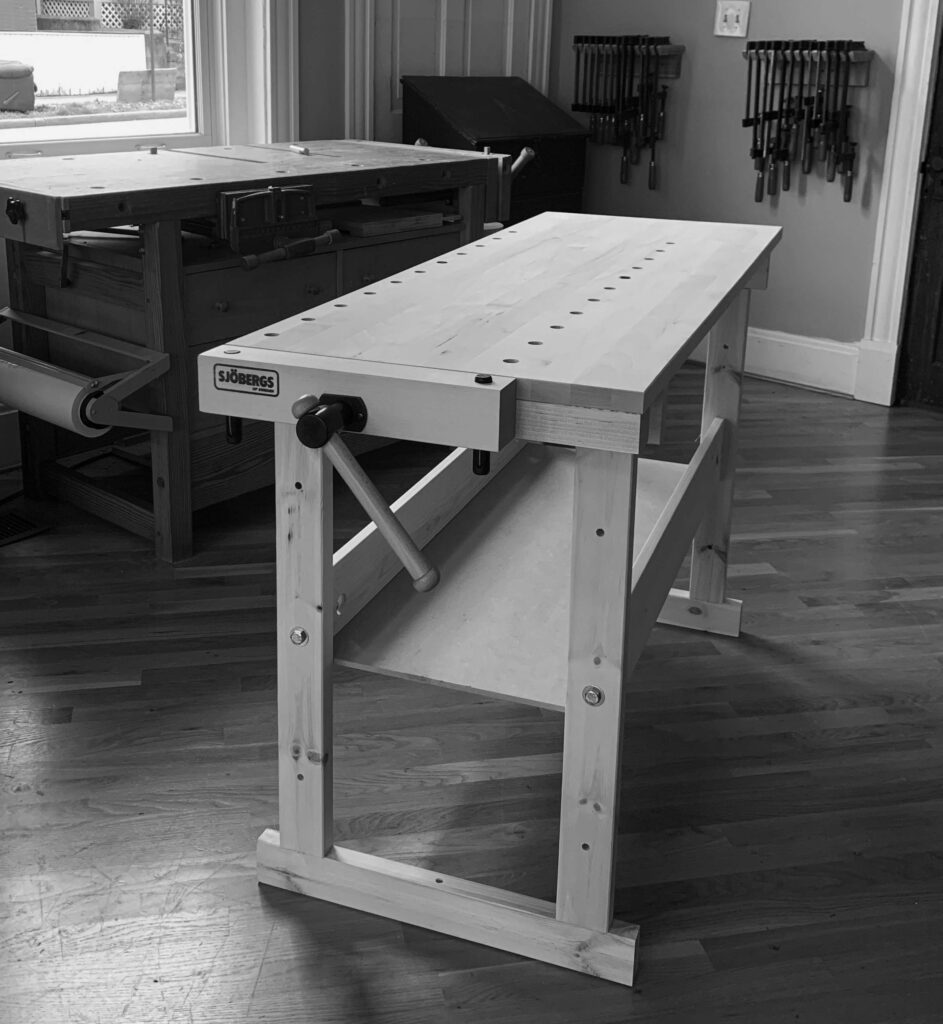
I decided to see if I could make it into a decent bench for about $50. I came pretty close. Here’s what I did.
The bench’s base was a lightweight white pine and was assembled with dowels and screws. The two end assemblies were joined with wide pine stretchers. Captured nuts and bolts pulled everything tight, like assembling a bed.
The first thing I did was to glue all the joints in the end assemblies as I put the bench together. The instructions didn’t mention glue, but I added it to the dowels and all the mating surfaces. I “sized” the end grain areas with glue and then re-applied glue if the gluing surfaces became dry before clamping the parts together.
Then I bolted the ends together. I added the thin shelf provided by the manufacturer then slapped three layers of scrap construction plywood on top of the thin shelf. This added much-needed mass.
To make the base even more rigid and heavy, I screwed 3/4″-thick plywood panels to the back and ends of the base.
The benchtop was maple and only 1″ thick. So I glued and screwed two layers of 3/4″-thick plywood to the underside of the benchtop. The new benchtop thickness of 2-1/2″ isn’t terrible. I had to drill out the dog holes through the new plywood layers.
The original benchtop was connected to the base with puny screws. I replaced those screws with four sets of 3/8″ hex-head bolts, washers and nuts. While I’m not wild about bolting together a bench, it is a step up from using spindly screws.
The workholding on the bench was a skimpy end vise. So I added holes for holdfasts in the benchtop. Then I drilled holes in the front legs so I could put holdfasts or pegs there. I added a crochet to the front edge of the benchtop. Planing edges of boards is now quite easy.
Then I restrained the bench to the floor with lag screws. You can bolt yours to the shop floor or screw cleats to the floor to fence in the bench’s feet. (While you’re down there, check out the bench’s feet. They might not sit flat and need to be planed, sawn down or shimmed up.)
With all my modifications, the bench weighed about 130 lbs. – a lot more than when it was born from its shipping box. When restrained to the floor it didn’t sway under planing pressure.
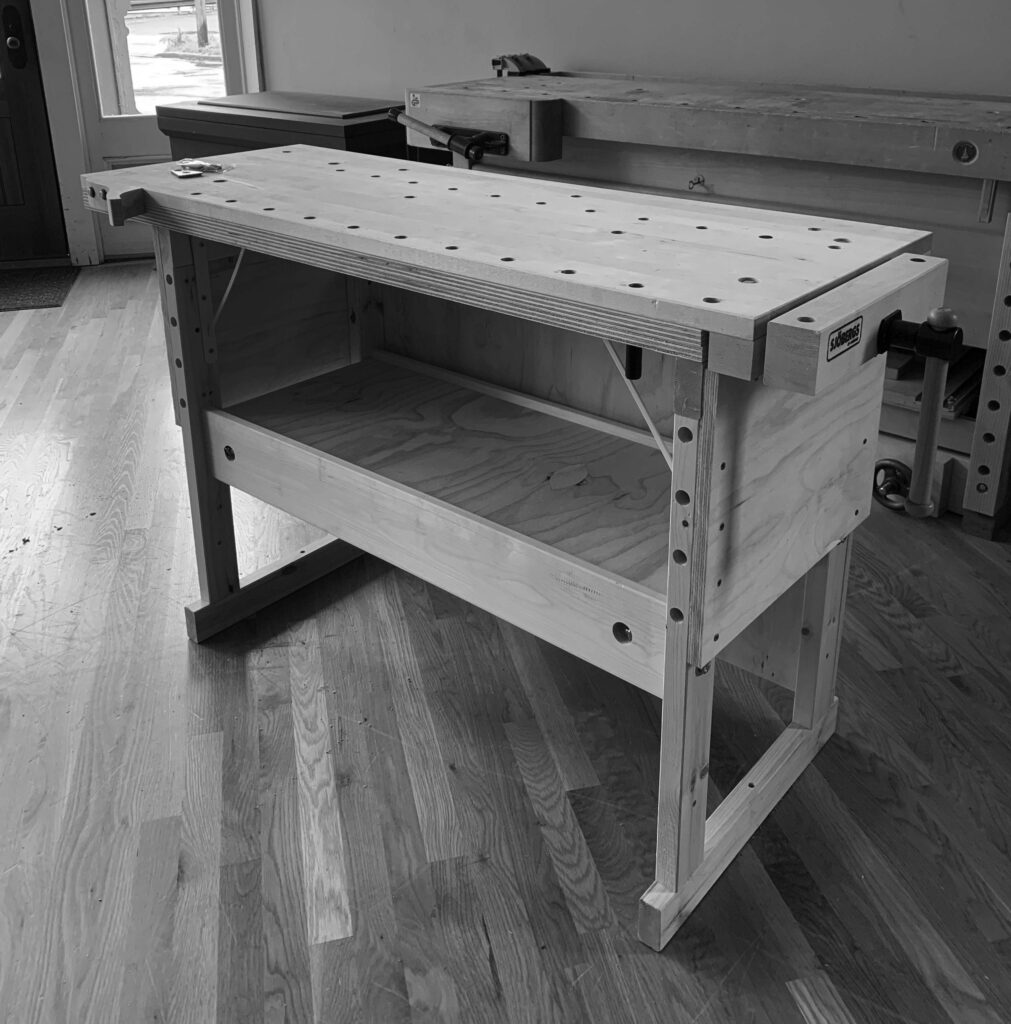
It wasn’t the worst bench I had ever worked on. (But, to be fair, I have built stuff on folding tables, a rotting porch and a loading dock. The bar is pretty low.)
I don’t, however, recommend this path unless you inherit one of these benches. Never ever buy a $220 commercial bench. Not even on a bet. That $220 could buy you more than 900 pounds of yellow pine.

