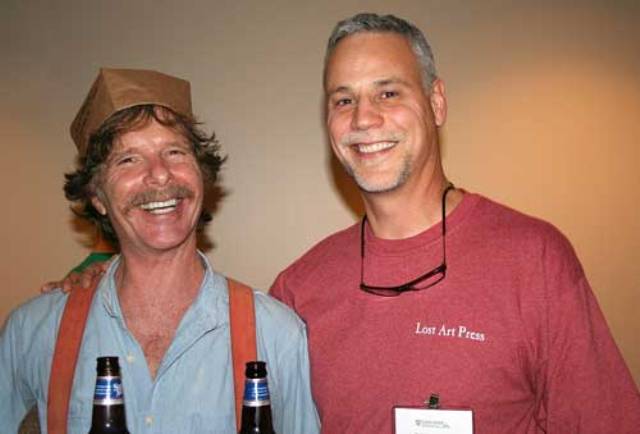
This is a picture that my wife told me to get or not come home! Nice to have that kind of support. I don’t know how the kids would feel about her statement since my youngest is the only one that has ever said “no mommy, don’t kick daddy out!” Why tempt fate? So I made sure I got the photo.
This picture is of the second night at the Woodworking in America conference. I was un-stressing from the day. My first assignment was to introduce Mr. Michael Dunbar. Yes, that Mr. Dunbar. A person of legend whom I have never met. I hope I didn’t mess it up. On Sunday, I was slotted to introduce Mr. Frank Klausz another legend I have never met. After hearing him answer a question with “because that is stupid!” I was glad I called him “Mr.” Klausz.
One of the great benefits of being Chris’s apprentice is being able to help out and go to these events. WIA was spot-on fantastic. It was hard to pick which seminar to go to. On day two, I was privileged to introduce Brian Boggs. Wow! I had no idea of how much there is know about wood. I sat in awe as he explained things about wood that I had never heard before. Hearing the meticulous way he monitors wood moisture and applies hide glue twice, it is no wonder his chairs don’t come apart. In fact one of the people asked him about joint failure on his chairs, to wit he said with sincere humility, I don’t know because I have never had a chair come back.
I got to hear about 18th century chisels from Adam Cherubini and watch him use his four-foot plus bowsaw. He had to look behind him before sawing so he didn’t take someone out. I watched an attendee from Idaho round the corner and spy Adam. Her mouth opened and her camera came out. I bet that picture was a keeper.
Last but not least is my new international drinking partner, Phil from Phillyplanes in the UK, which reminds me of the only downside to the event. The 8 a.m. starting time.…
— John Hoffman

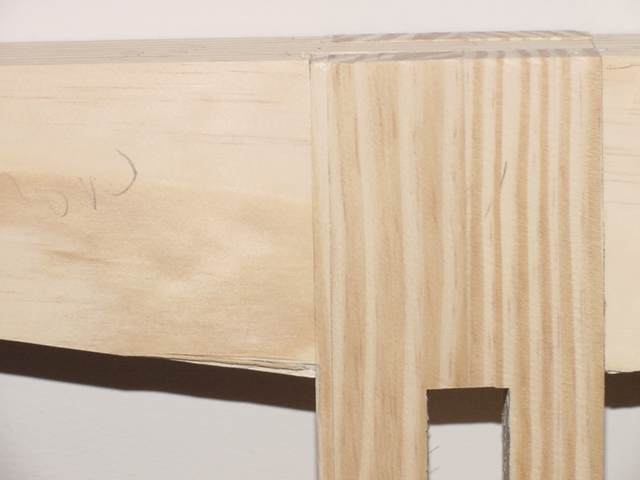
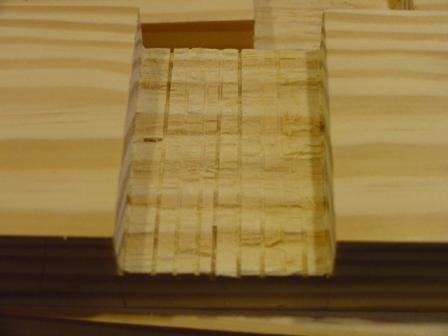
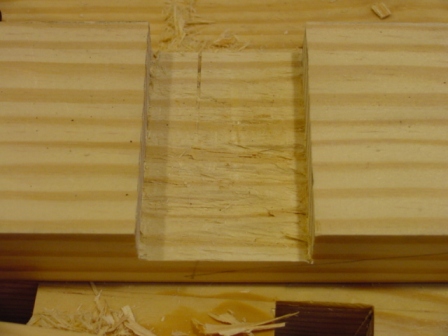
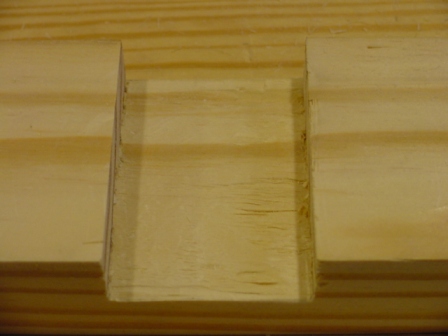
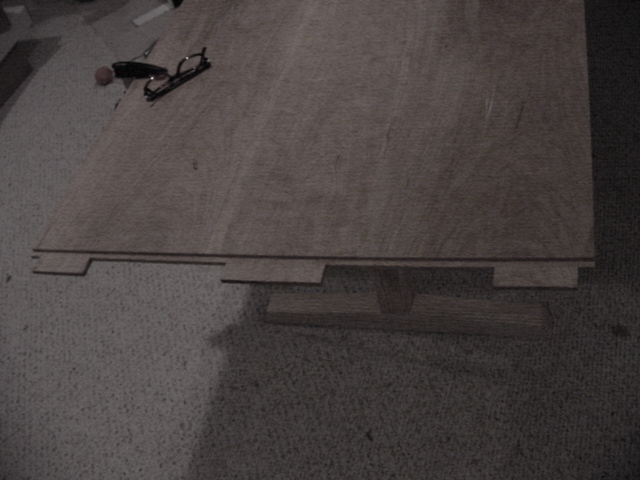
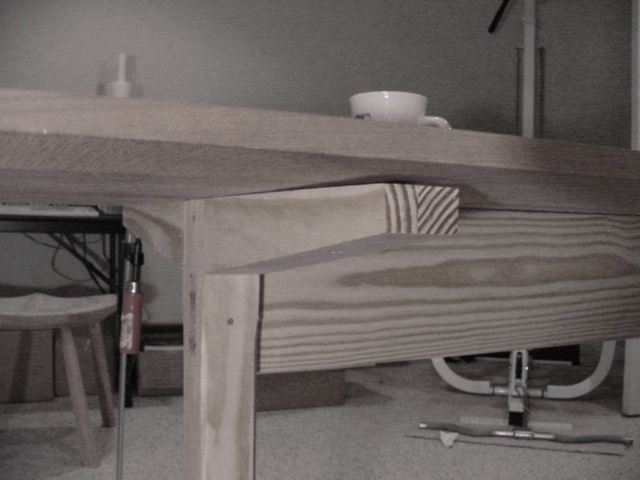 Now the bread board ends create a cross grain situation and wood movement becomes an issue. I like wood movement! There I said it. I like feeling the non flush edges that arrive with the seasons. My friend has a table from the great Christian Becksvoort and he insisted on bread board ends. He can feel with his fingers that the top has moved. I like these oddities and have added divots and ridges under the arms of chairs for a person to finger when sitting. These subtle aspects humanize a piece.
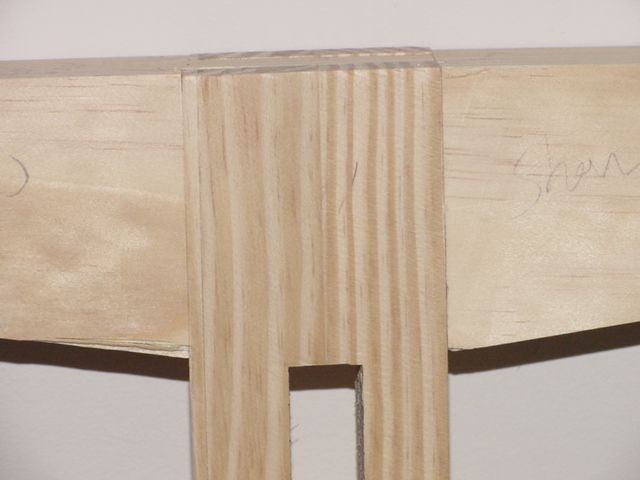 Can you guess which side has the wood glued to it? If you can, I will say that there is another learning experience in here. If you see a small glue line it is a result of that part of the piece not being clamped down to the leg. It could be that the piece was not flat or maybe the clamp is a bit off.Nonetheless, next time I will ensure the “show” side has a seamless glue joint, and yes I am already fixing that nice nick off the bottom edge. Fortunately this will be painted!