During the last few years I’ve sought out images of vernacular stick chairs from places other than Wales, Ireland and Scotland. Unsurprisingly, stick chairs can usually be found in any place where there was hardship and a strong desire to sit upright.
These chairs are likely user-made. And they are almost always dismissed by furniture historians as “crude,” “rudimentary” or “rough.”
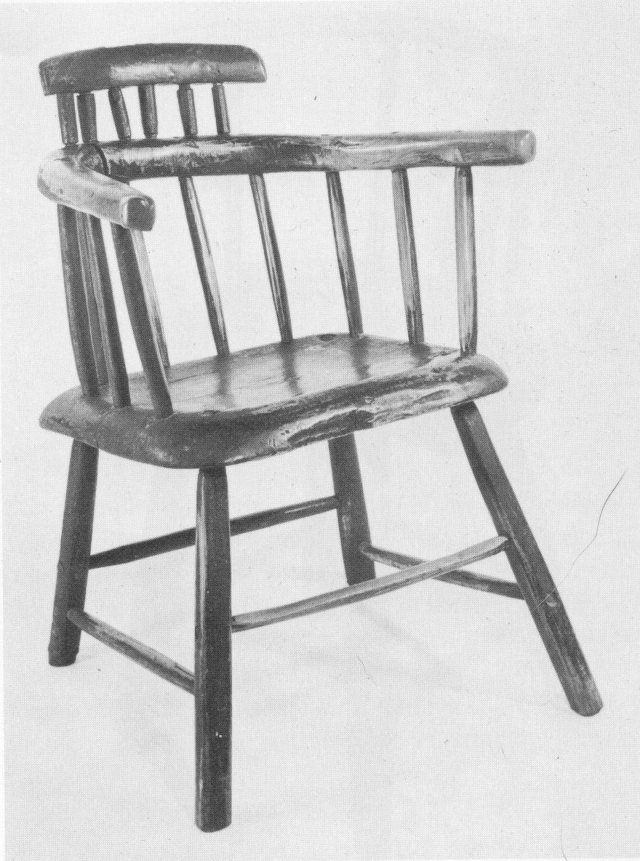
This week I hit the jackpot and found some nice Canadian stick chairs in “The Furniture of Old Ontario” by Philip Shackleton (Macmillan of Canada, 1973). Most of the book celebrates the glossy, curvy, carve-y stuff that makes me feel dead inside. But there are several pages of really good stick chairs.
The captions on the photos mostly discuss how roughly the chairs were built. Or they deliver a backhand compliment such as “Despite the crude qualities of the chair, its elm seat has been shaped somewhat in the saddle tradition.”
Oh well, thanks for the photos. (And thanks to John Porritt – I first found this book in his chair library.)
— Christopher Schwarz