One of the difficulties students have when making Irish stick chairs is drilling the mortises for the two back sticks that also pass through each arm (we call these particular back sticks “posts”).
For a recent class, I made a jig that makes it easier to drill accurate mortises. While no jig is foolproof, this one is close.
If you know me, you know that I avoid jigs. For my work – especially with stick chairs – I would rather rely on skills than gizmos. This jig is simple (two pieces of wood screwed together) and actually removes the need for another simple jig I use when drilling mortises in the arms and seats. So it’s a bit of a wash when it comes to counting the jigs I use.
If you’re lost (“Martha, what the heck are ‘stick chairs!’”), then take a look at this book: “The Stick Chair Book.” It’s a free download.

About the Jig
Essentially, it’s an oversized doweling jig that lets you drill 3/4”-diameter mortises at exactly 20° off 90°. You simply clamp the jig over the mortise location, place a 3/4” bit in the jig and drill. The only thing that can go wrong is that you lean sideways as you drill and waller out the hole in the jig.
The jig is made from two pieces of wood: a 1/2” x 6” x 6” base and a 2” x 2” x 6” drilling block. You can use any old thing for the base, but I recommend a stout wood for the drilling block.
To make the jig, bore a 3/4” hole through the block. The hole should be centered on one edge. Cut off the bottom of the drilling block so it’s a wedge with a 20° included angle. (It will look like a doorstop with a hole bored through it.) Then glue and screw the drilling block to the base.
Next drill out the 3/4” hole that passes through the base. You are almost done.
I added some lines to the base that indicated the centerpoint of the hole through the jig. These allow you to place the jig accurately on your layout lines.

Using the Jig
All the sightlines for the five back sticks of this chair are at 0° – or straight ahead. Draw them on the seat, plus the locations for the mortises for the back sticks. Put your drill bit through the hole in the jig and position the bit’s point on the location of a mortise. Allow the jig’s base to rest on the seat. Rotate it until the jig’s centerlines match up with the sightlines. Clamp the jig down.
Now run the spinning bit through the seat, guided by the jig. Repeat this process for the other four mortises for the back sticks.
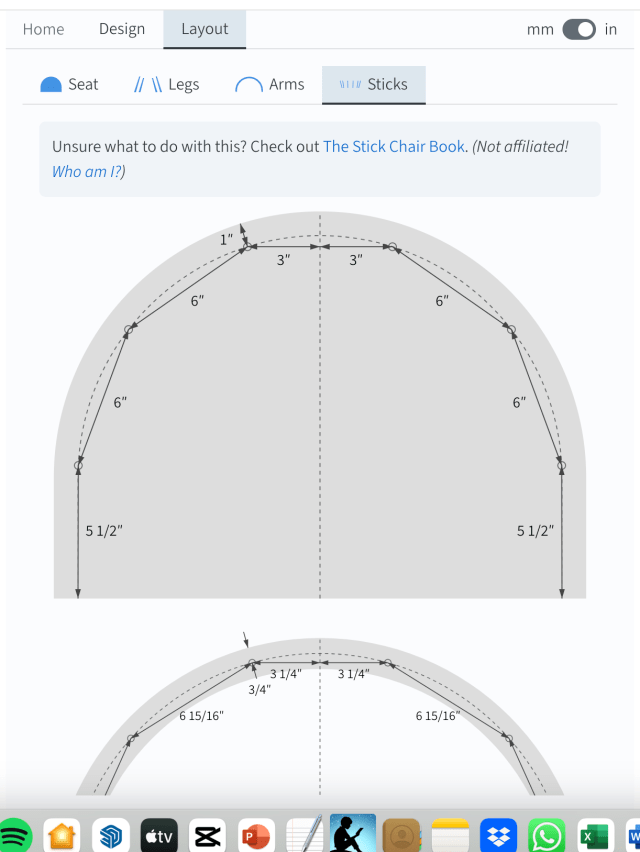
Drilling the mortise through the arm for the post is a bit of a trick. I had to figure out where the sightline was on the arm so that the arm would end up in the right place in space. This was done with a drawing (see below).

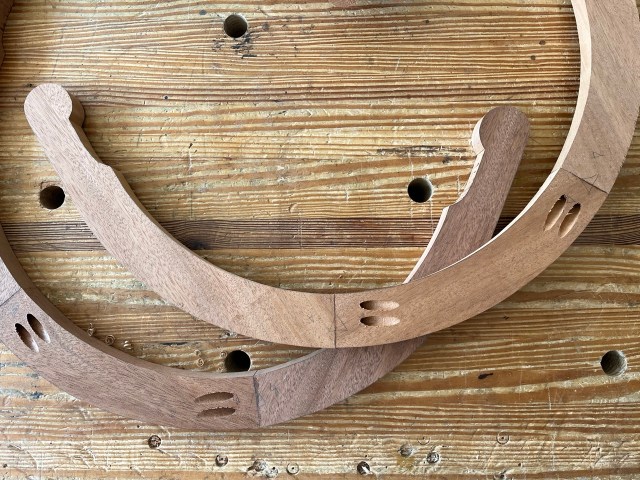
Once I marked this sightline on my arms, it was easy to place the jig on an arm in the right place. To drill the mortise, I clamped the jig and arm together in a vise (this was easier than adding clamps).


With the holes for the posts drilled in the arms and seat, I put the posts in the seat, threaded the arms over the posts and held them 8” above the seat with the drilling rig I use for almost all my chairs (which is shown in “The Stick Chair Book” about 100 times).

Of the nine chairs we built in class with this jig, a couple students had mortises that weren’t aligned. After some investigation I realized it was human error. The student had driven the bit sideways and cut into the jig with the bit’s side flutes.
This problem can be minimized by sanding the sharp flutes of the bit that allow this side-cutting. I used #220-grit paper and only sanded the flutes – not the cutting edges of the bit at its tip.
This type of jig also works great for making a Gibson chair – you’ll just have to make a separate jig for the 30° lean of its posts.


