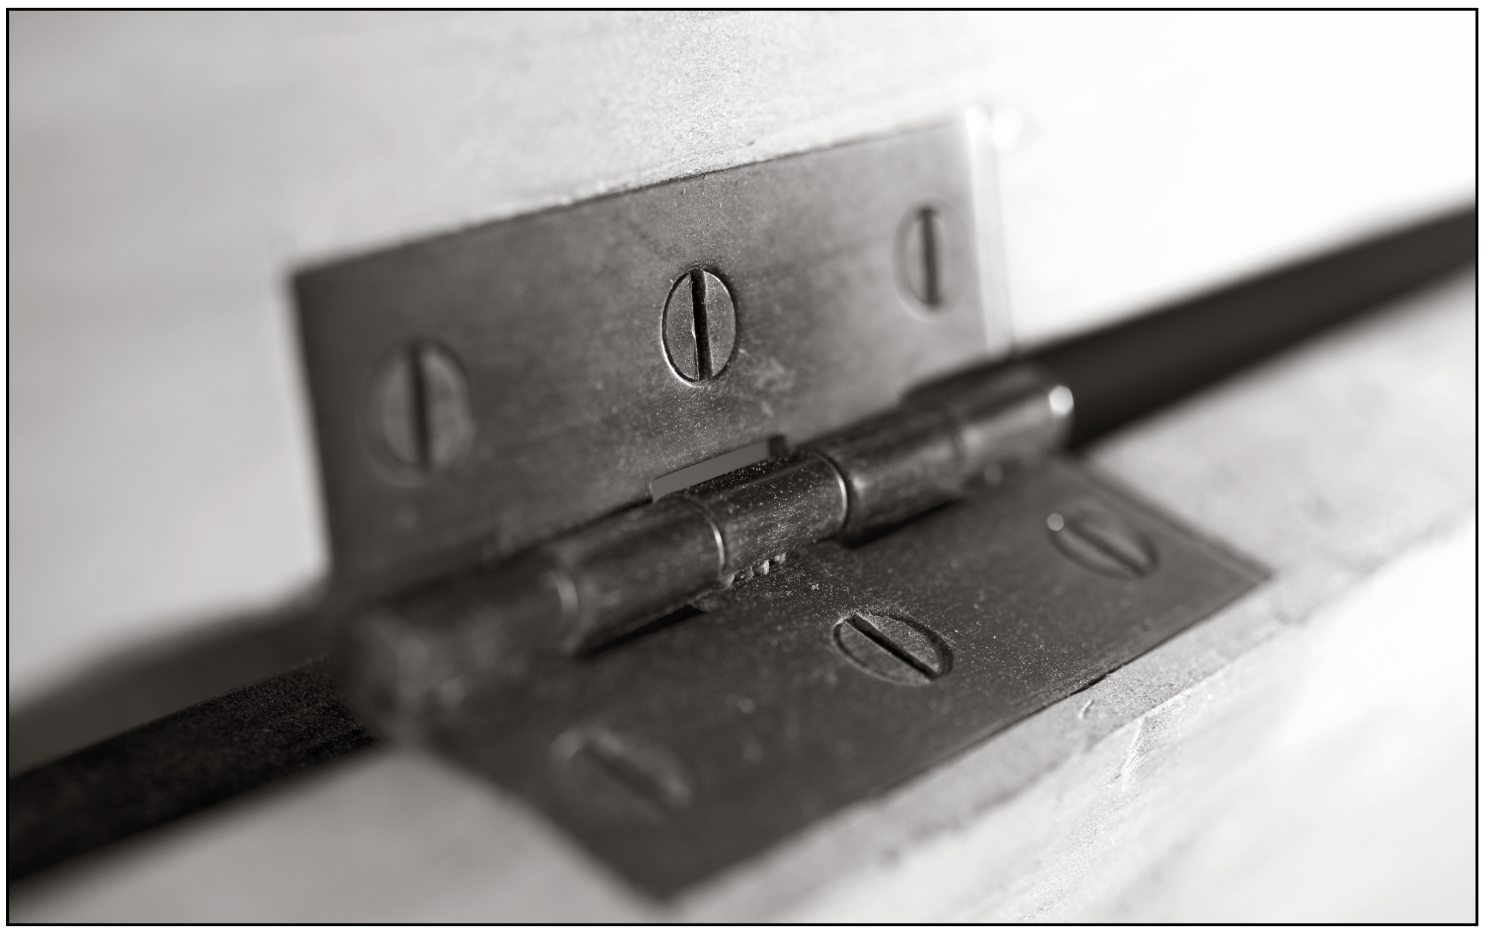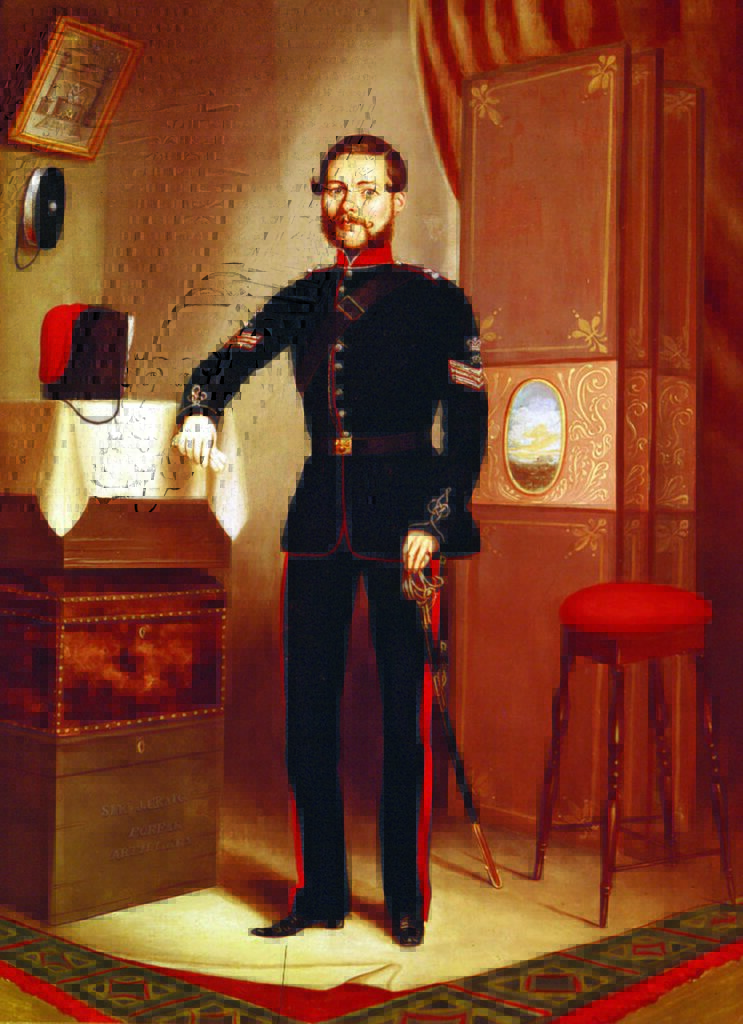
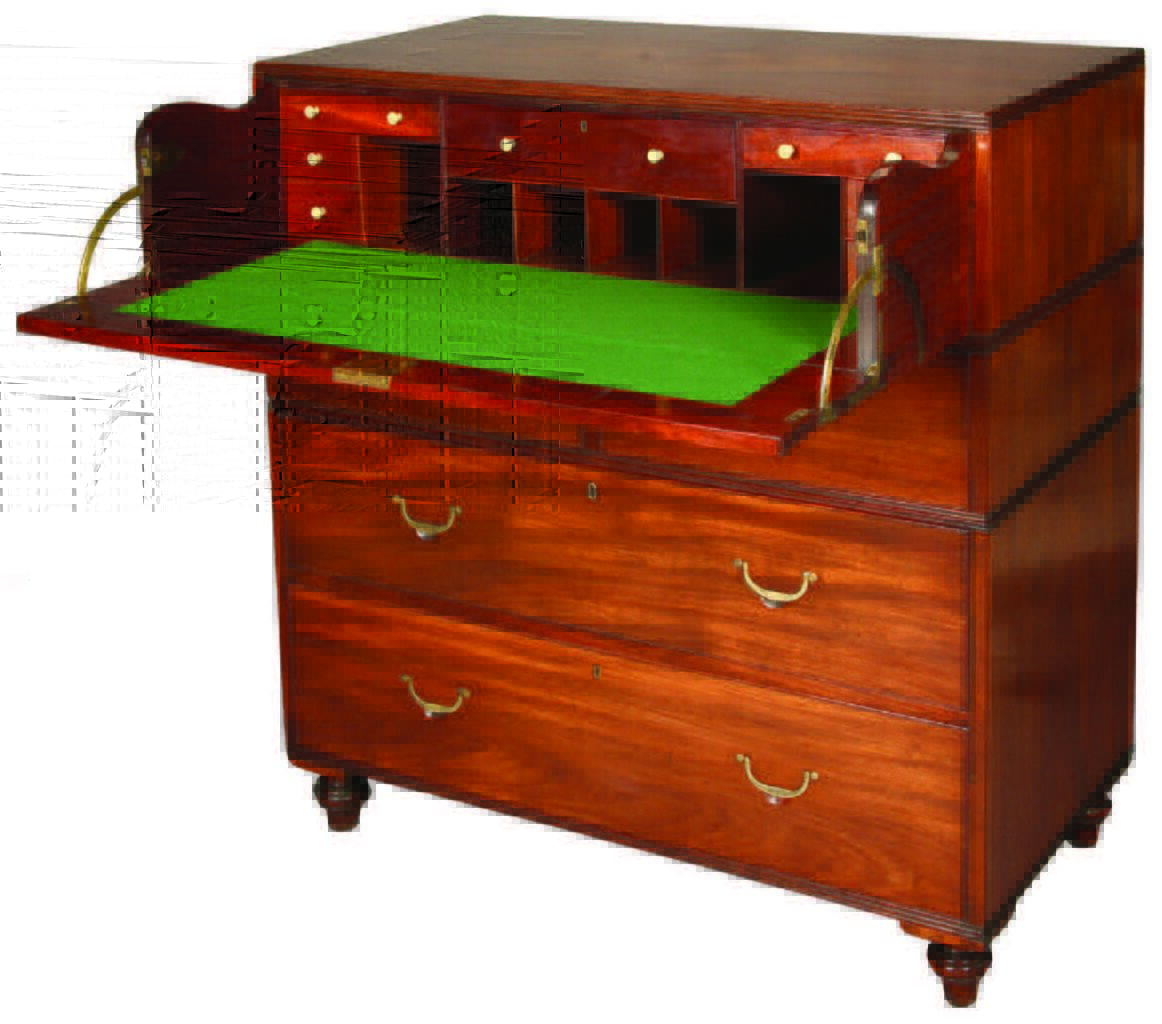
(Courtesy of the Council of the National Army Museum, London)
The following is the preface of “Campaign Furniture,” by Christopher Schwarz.
For almost 200 years, simple and sturdy pieces of campaign furniture were used by people all over the globe, yet this remarkable furniture style is now almost unknown to most woodworkers and furniture designers.
“Campaign Furniture” seeks to restore this style to its proper place by introducing woodworkers to the simple lines, robust joinery and ingenious hardware that characterize campaign pieces. With more than 400 photos and drawings to explain the foundations of the style, the book provides plans for nine pieces of classic campaign furniture, from the classic stackable chests of drawers to folding Roorkee chairs and collapsible bookcases.
Like a dormant case of malaria, my fevered love for campaign furniture began many years ago without my knowledge – probably during some hot Connecticut summer.
My maternal grandparents’ home (and ours) was full of campaign furniture. When you drank tea with grandmother West, it was on a folding coaching table my grandfather had built. My grandfather, an enthusiastic woodworker, had brought back campaign brasses from his trips to Asia, some of which I still own. So his pieces definitely had an Anglo-Indian campaign feel to them. And when you visited the West’s house for the summer, you put your clothes in a campaign chest.
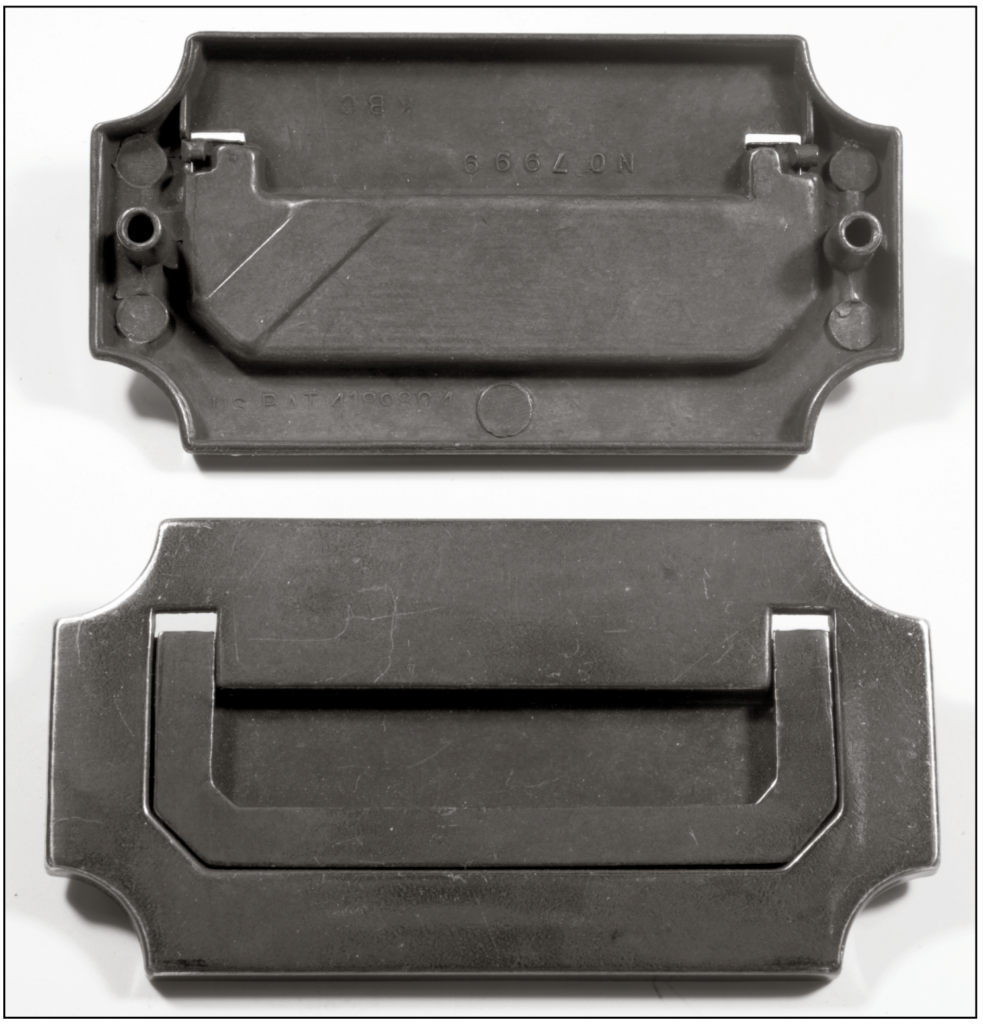
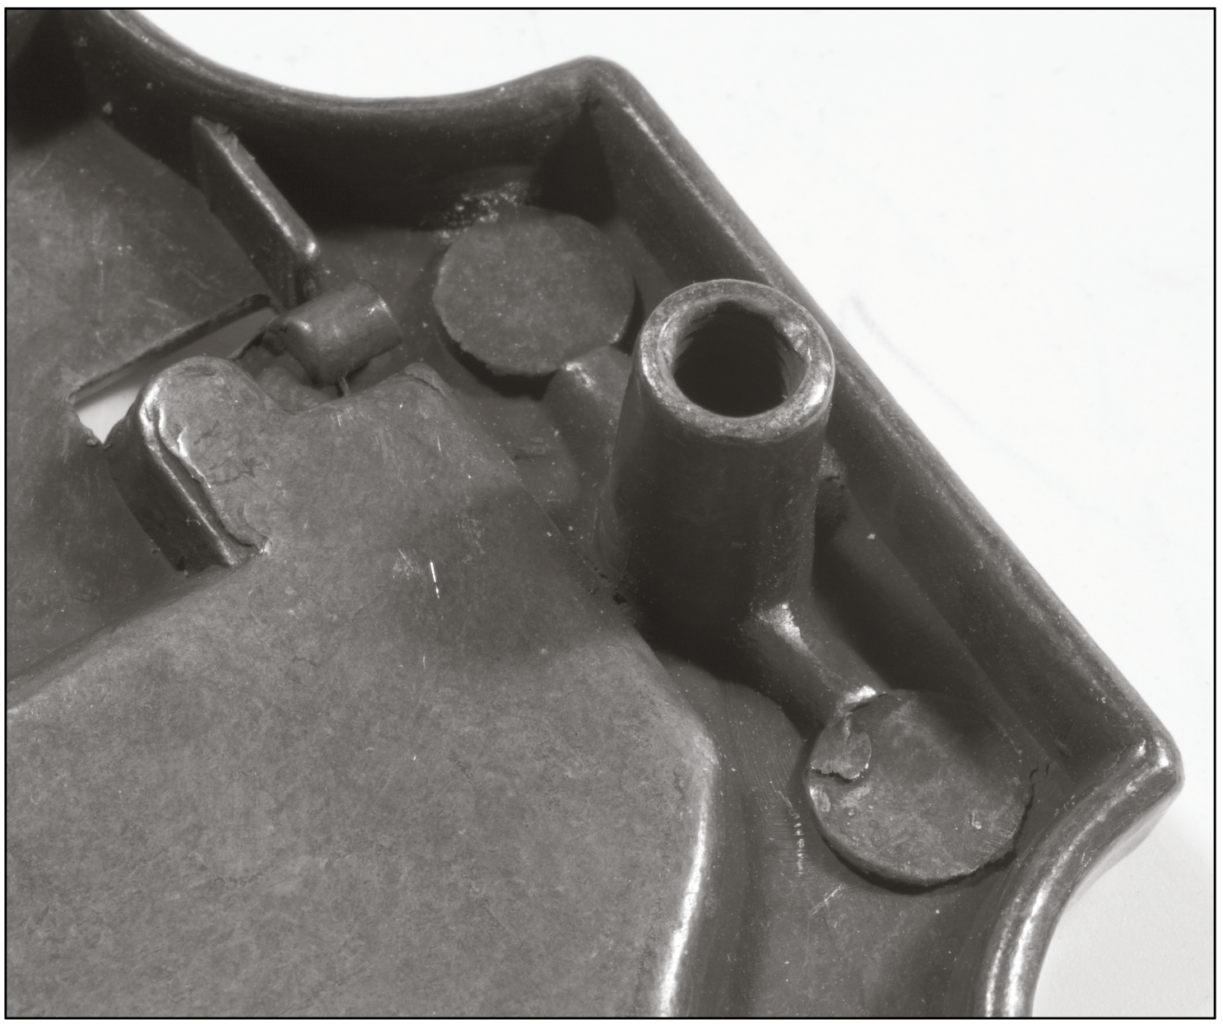
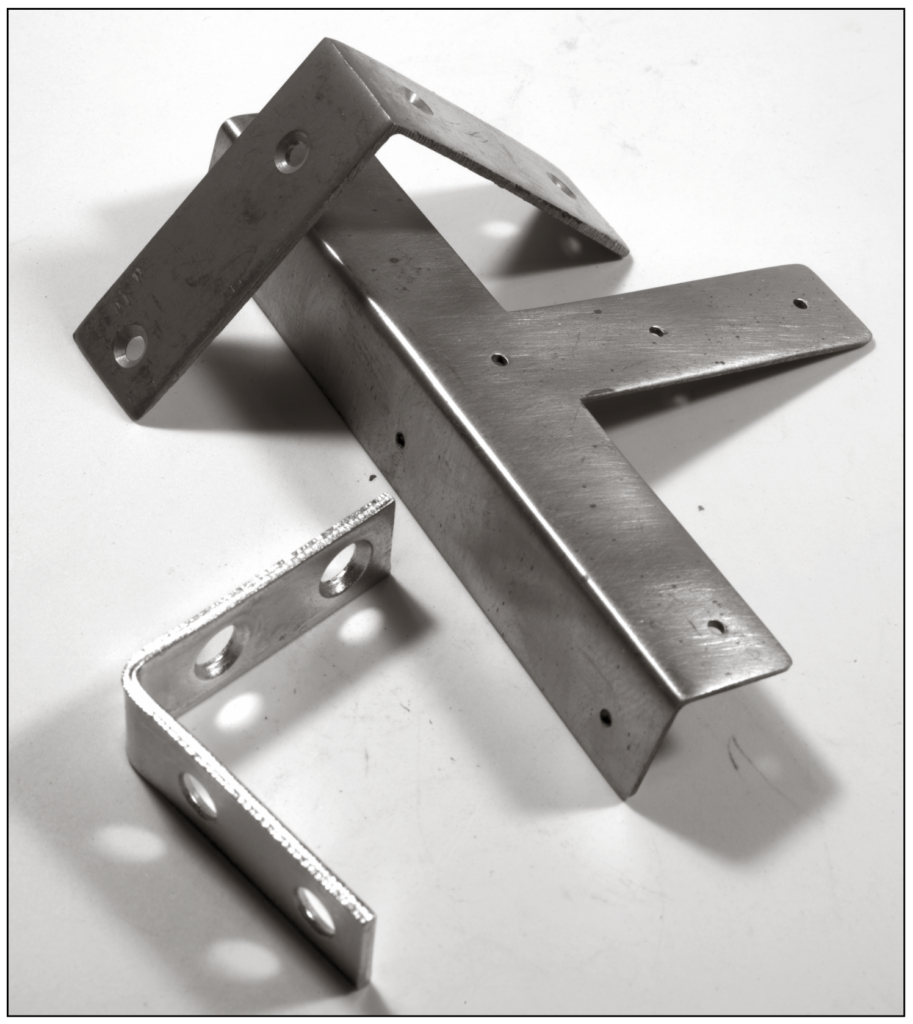
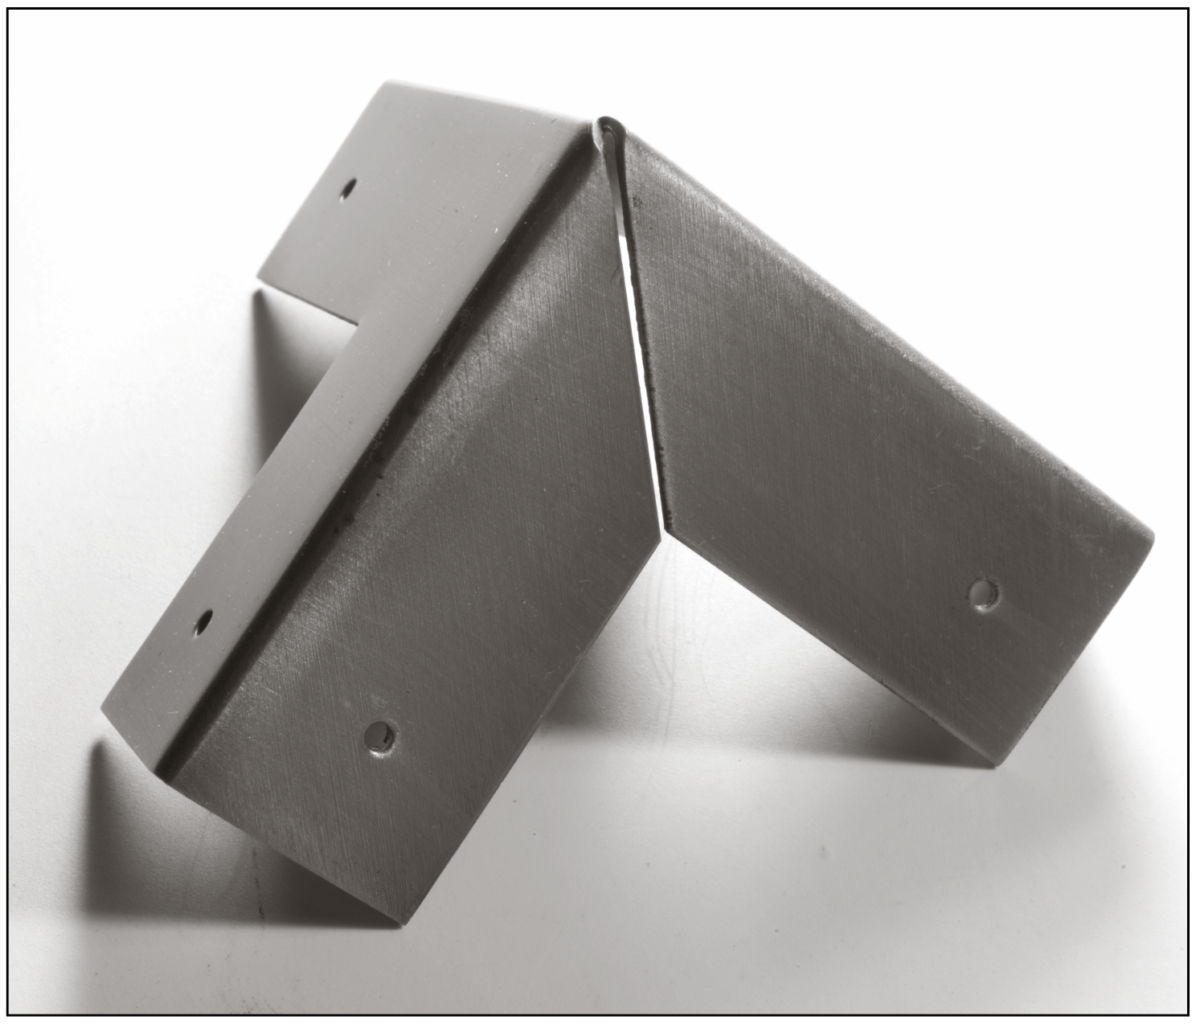
My father and mother were fond of the furniture as well. And when my dad built pieces for our home they were at times festooned with brass corner guards, brackets and flush-mount pulls.
As a child, I didn’t think much of the provenance of all this furniture. In fact, I assumed it was Chinese or Japanese furniture because my grandparent’s house was also awash in tansu, Chinese chests and ink paintings of landscapes and animals.
Eventually I wised up and sorted out the furniture record of all our households. The campaign style became a favorite of mine, and I wanted to build pieces of it for the magazine I worked for at the time, Popular Woodworking.
My fellow editors, however, were inoculated against the bug. There was almost nothing written about the style of furniture. And whenever we surveyed our readership, subscribers told us that there were three furniture styles they preferred: country (anything with a duck or pineapple on it), Shaker and Arts & Crafts. “Campaign furniture” was somewhere down the list near “narwhal nose guards” in popularity.
I persisted. I was rejected again. And after I stepped down as editor in 2011, I asked them one last time to publish two articles – one on campaign chests and a second on Roorkee chairs. After some wrangling and veiled threats, they said OK.

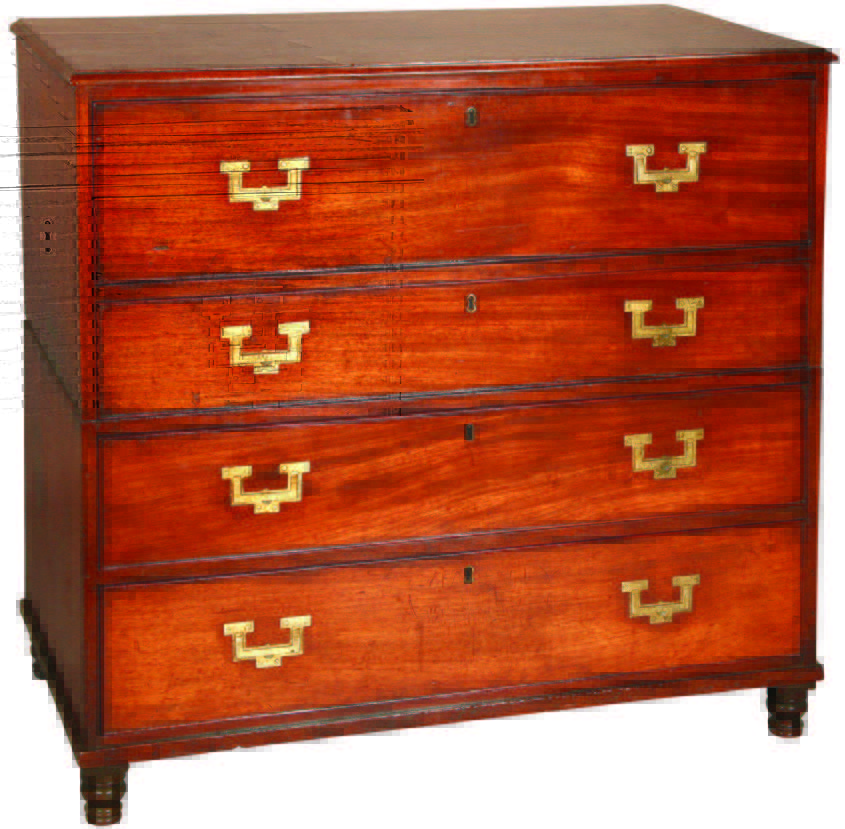
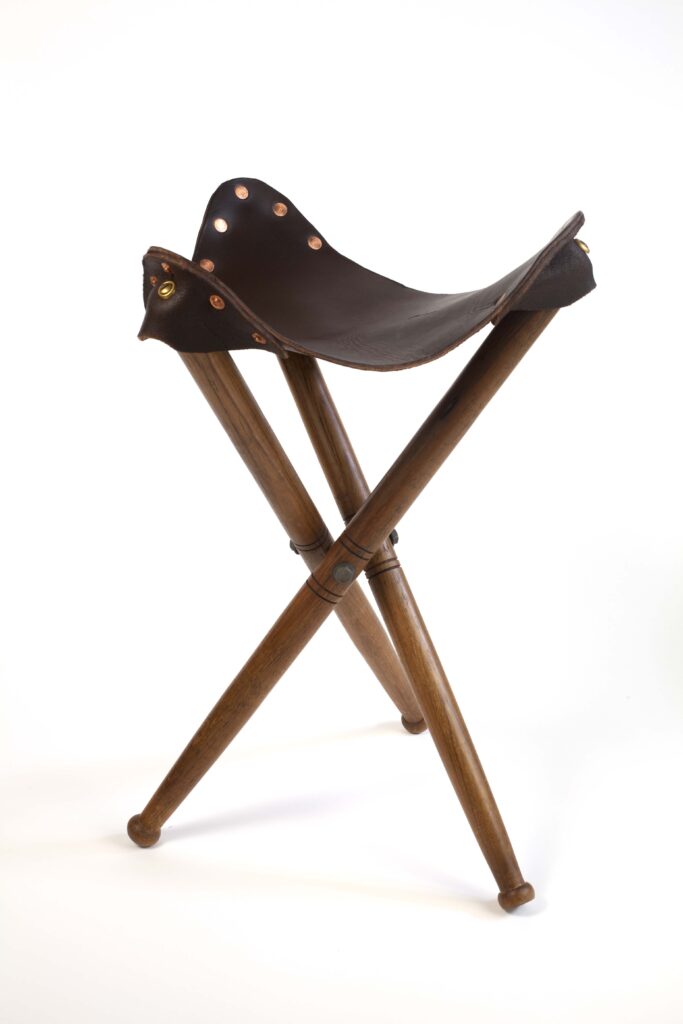
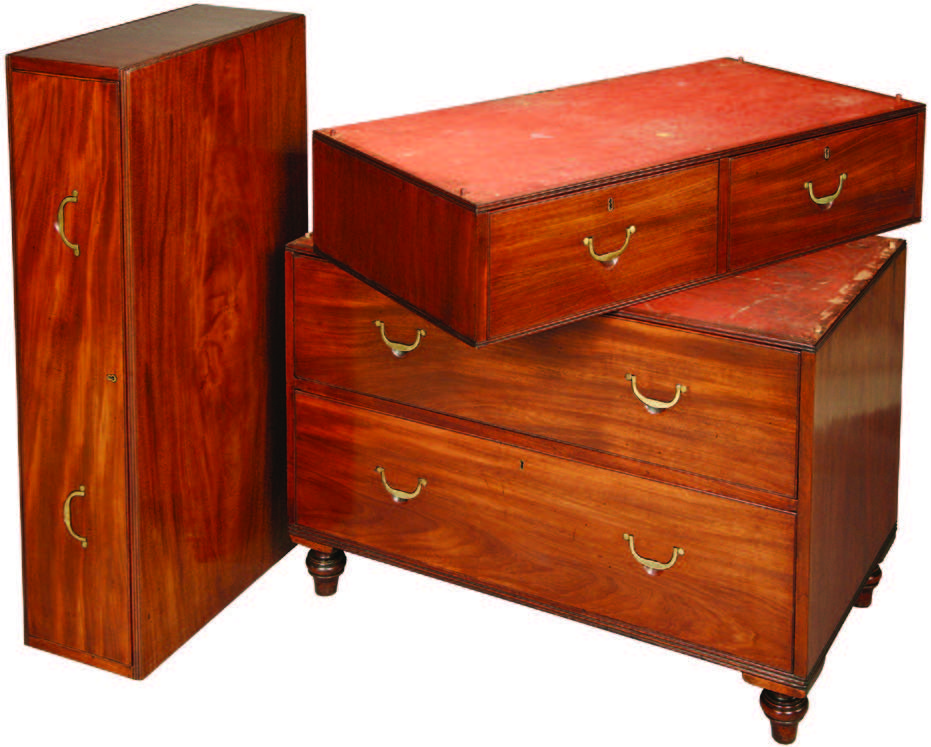
(Courtesy of Christopher Clarke Antiques)
That was the start of my obsession with researching and building campaign furniture. Since 2010, I have been neck-deep in researching the style of furniture that I cannot remember living without. During the last 200 years, there has been surprisingly little written about campaign furniture, which also goes by the name of “barracks furniture,” “camp furniture” or sometimes “patent furniture.” There’s an excellent book by Nicholas A. Brawer that is the single reference work for collectors and dealers, but it is out of print. Plus there are some magazine articles.
Most of the knowledge out there on campaign furniture is in the hands of auctioneers, antique dealers and restorers. So my research began with their sales records, and that led me to the catalogs of the British furniture makers of the 19th and early 20th centuries. Plus I dug up several helpful 19th-century books that sought to prepare a British citizen for a long trip abroad.
The real surprise from my initial research was that these pieces of beautiful “military” furniture weren’t just for the military. With the incredible expansion of the British Empire in the 19th century, there was an urgent need for a bureaucracy to manage the Empire’s colonies. (Brawer writes in his book that by 1897 the British Empire comprised one-quarter of the world’s land surface.)
So these campaign chests, folding tables, collapsible chairs and writing desks were in use by bureaucrats, writers, doctors, merchants – plus their families – all over the globe.
Even more interesting: The knockdown aspect of the furniture made it popular with city dwellers who were crammed into tiny city flats – it allowed them to convert a parlor to a dining room to a bedroom. And if you left England on a ship to colonize an island, such as New Zealand, this type of furniture filled your stateroom during the journey and your home when you arrived.
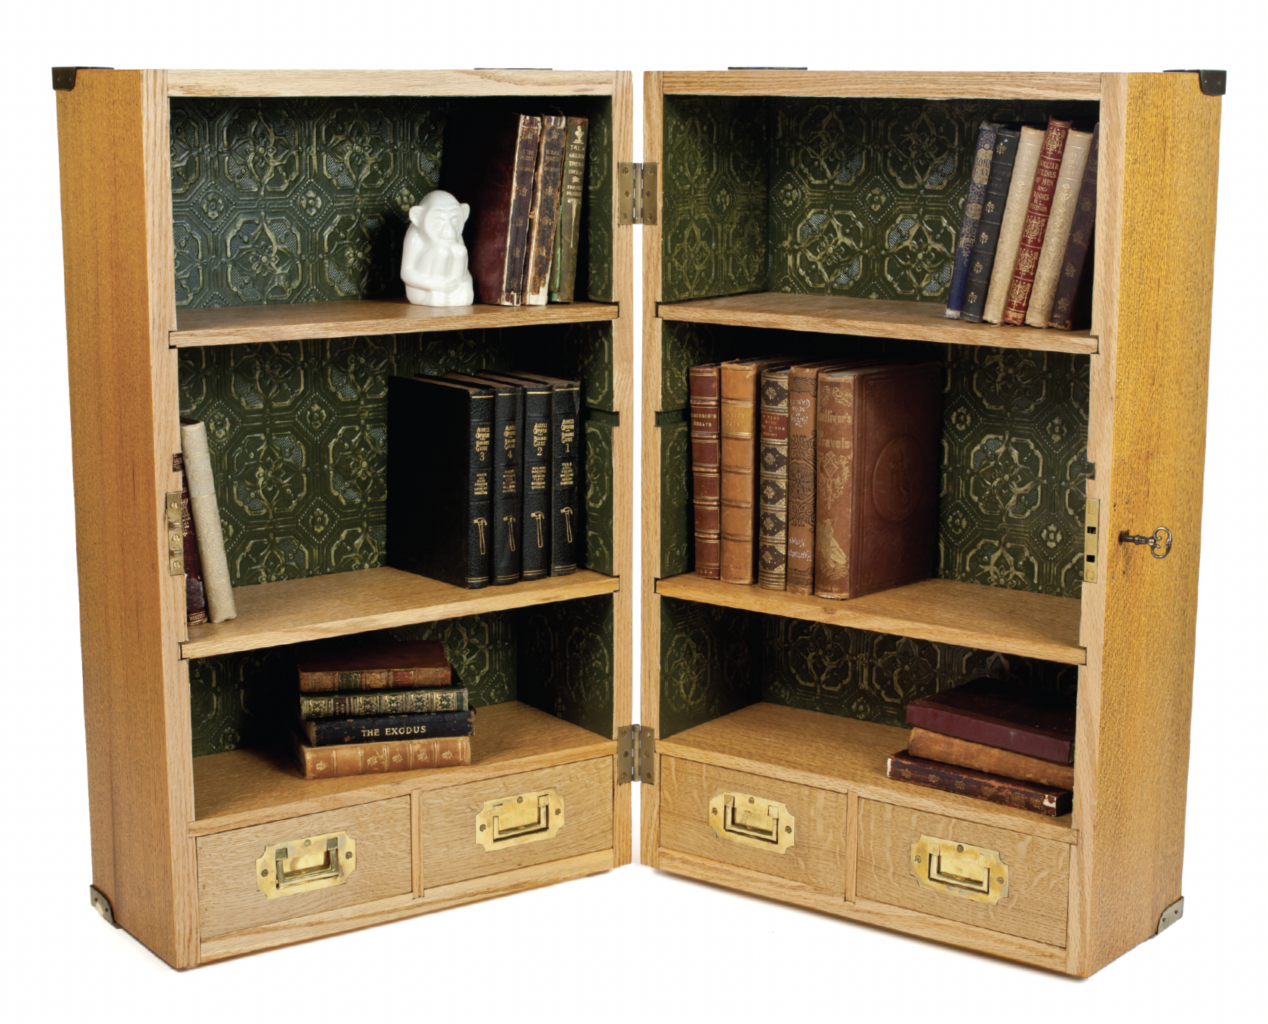
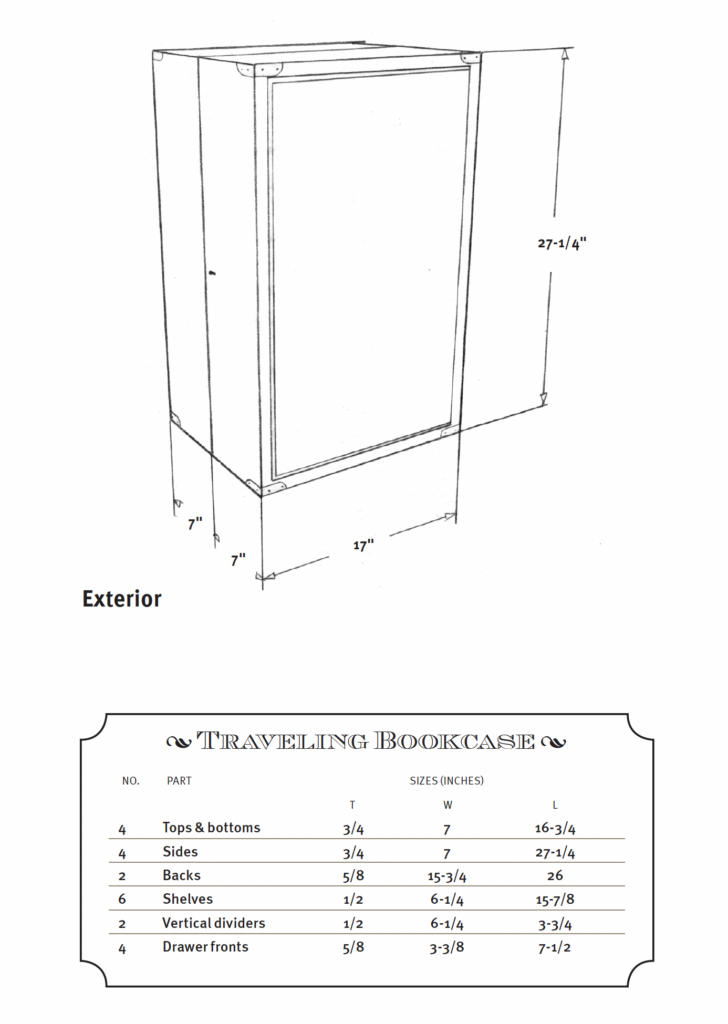
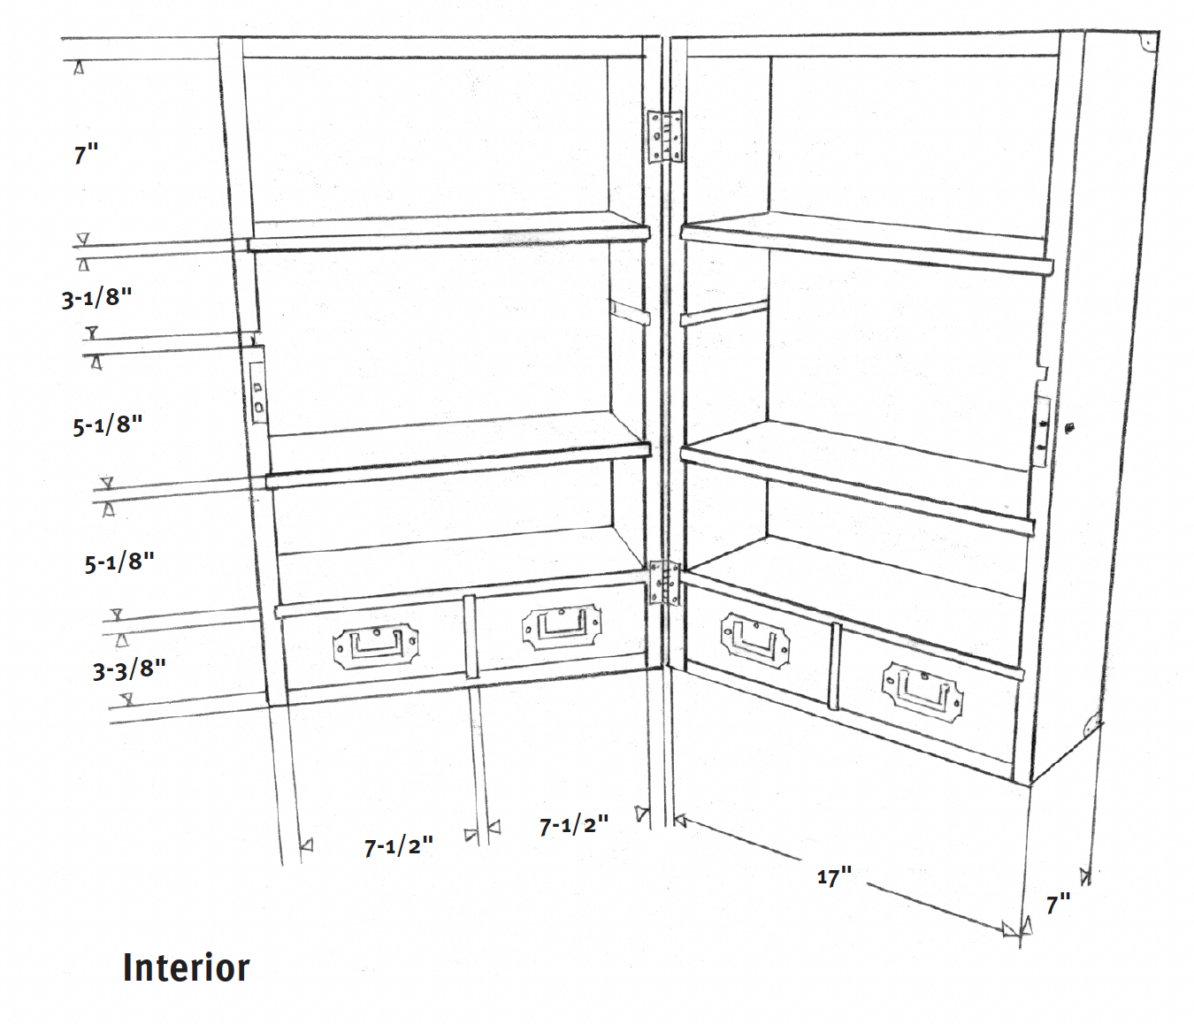
Oh, and if you were a student who left home to go to school, you might tote along some of these items, such as a folding bookcase and a writing slope.
In fact, the romantic idea that all of these pieces of campaign furniture were portaged on the backs of elephants through the jungle is mostly off the mark. In truth, most of these pieces of furniture were the workaday backbone of furniture for people who needed stuff that that was rugged, simple and a bit stylish.
And that idea – rugged, simple and stylish furniture – is what kept me coming back to the belief that campaign furniture is a sorely underappreciated furniture form.
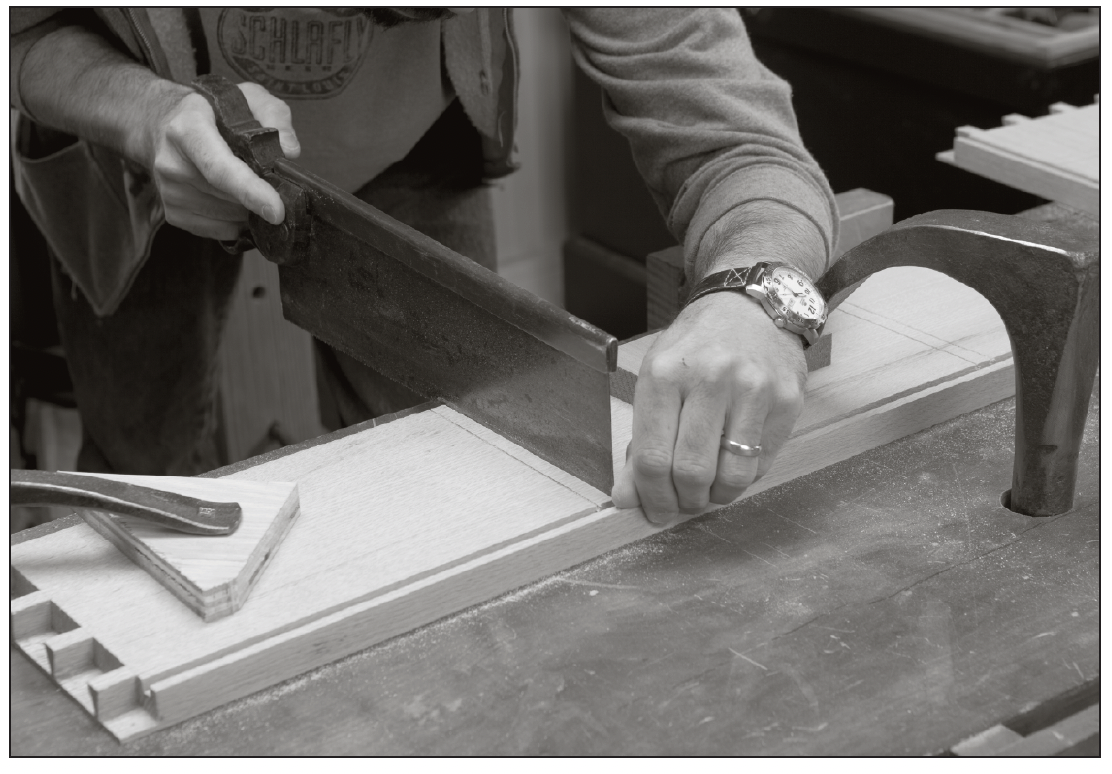
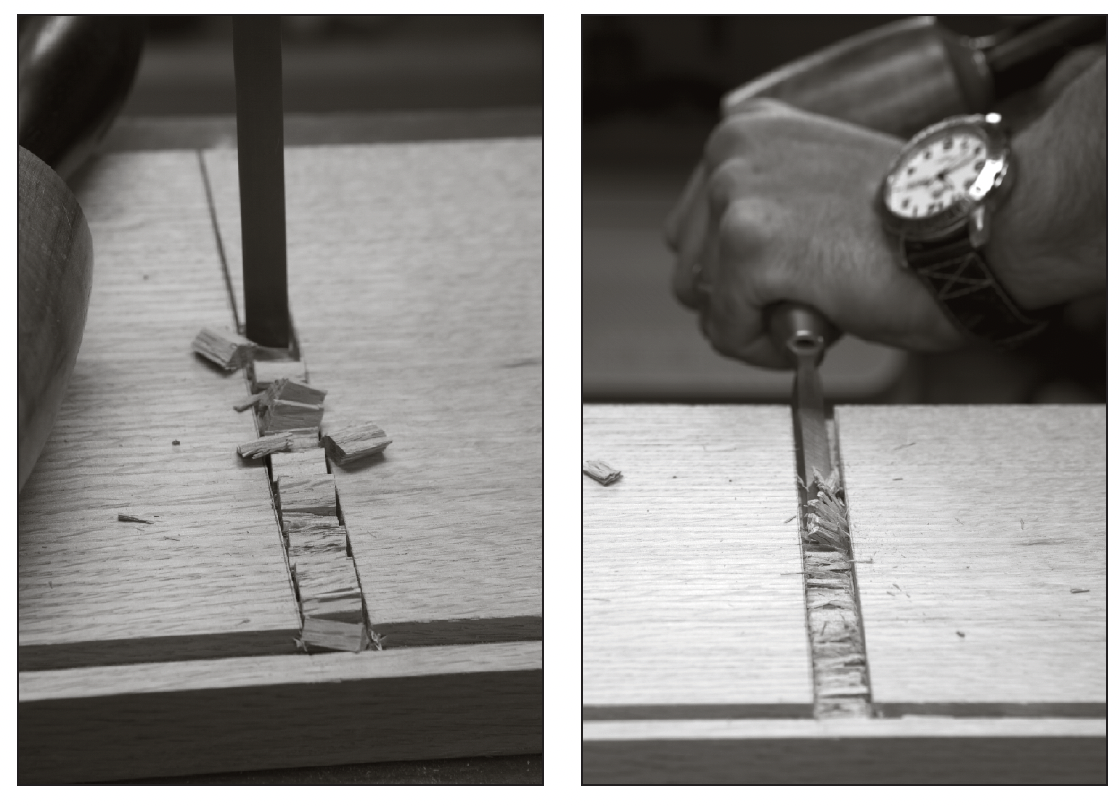
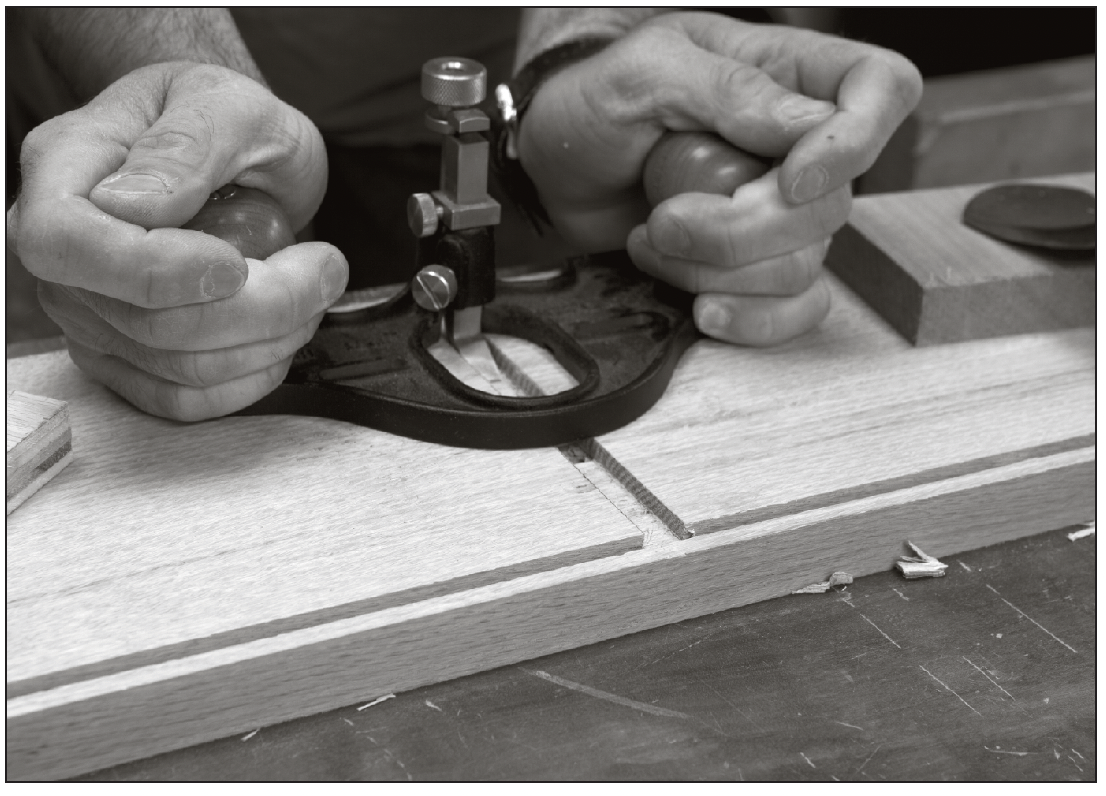
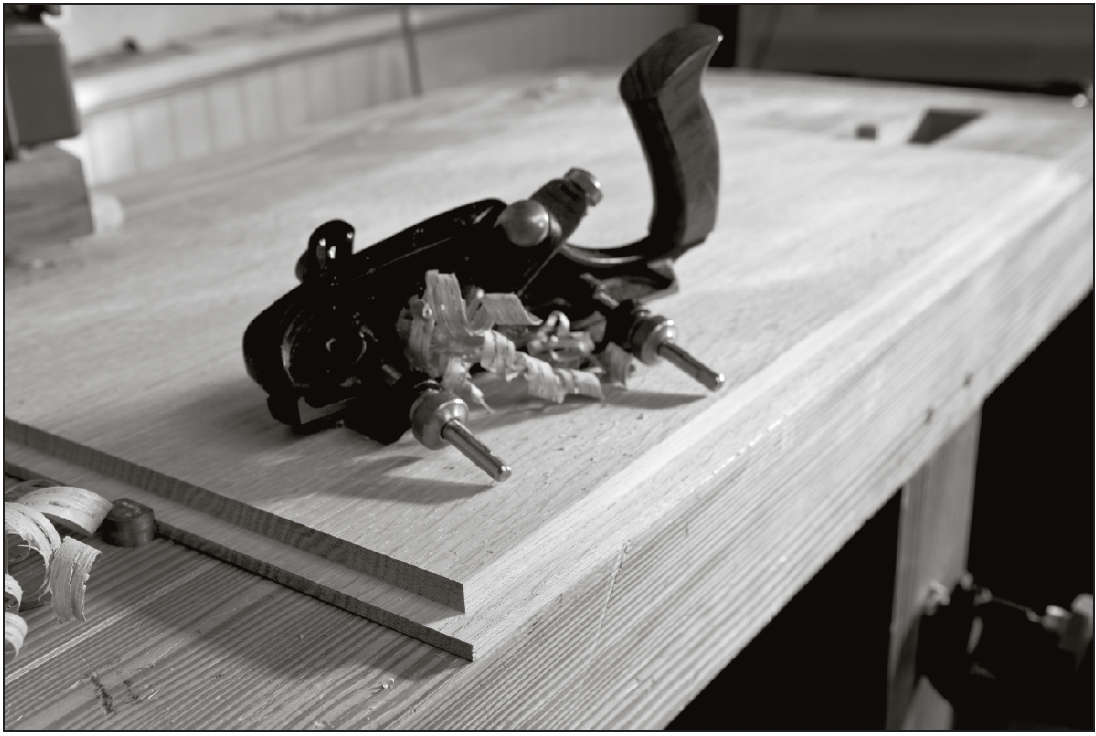
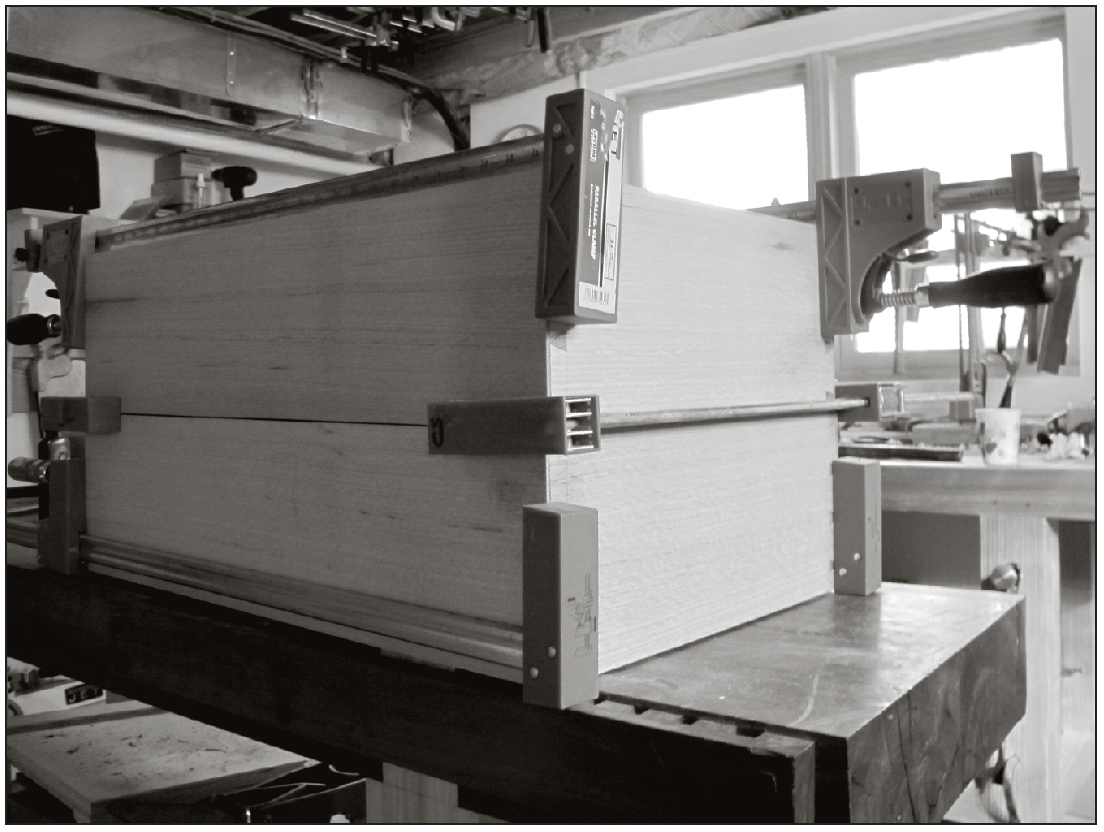
As a woodworker, I love the first-class joinery: dovetails plus mortise-andtenon joints. The simple and rectilinear lines are easy for beginners to make and are as familiar as Shaker or Arts & Crafts items. If you’re not a woodworker, I hope you can appreciate the simple forms and clean lines that look good in almost any room, whether you fill your rooms with 18th-century stuff or Bauhaus. Campaign furniture fits in everywhere, across the globe and in every time period.
I think that’s true in part because it was truly an international furniture style. The roots of the style might indeed be related to tansu, as some have suggested, or in Chinese traveling forms, as others contend. But what is certain is that when Asian craftsmen saw these British forms they reinterpreted them for their customers. When their customers took these pieces back to England, the cabinetmakers there were influenced by the changes made by their far-flung brothers. And so forth and so on.
When I finally made that last connection to that circle, I didn’t feel so stupid about assuming that my grandparents’ campaign furniture was from Asia.
It is my hope that this book opens your eyes to a style of furniture that was around for about 200 years – 1740 to World War II by some reckonings – and remains sturdy and stylish (if somewhat underappreciated) today.
This book is not an academic investigation of this furniture style – I will leave that desperately needed task to more capable researchers. Instead, this book is a too-short look at the furniture style from a builder’s perspective. My interest is in the wood, the hardware, the joinery and the different forms themselves.
I think that if you put your hand to building these pieces to the high standards of the 18th and 19th centuries, you will become fascinated – might I say “infected” – by their cleverness and soundness of construction.
Campaign furniture was meant to endure a mobile existence and do it with a bit of grace. To be sure, we are a more mobile society now than we were 200 years ago and sorely need furniture that is easy to move. And if you have bought any furniture in the last 50 years, you also know that most factory furniture is doomed to self-destruct within a few years.
We need campaign furniture more than ever before. Fill your house with it, and the ideals it embodies – sturdiness, simplicity and beauty – might just seep into the unconscious minds of your children or grandchildren as it did for me.