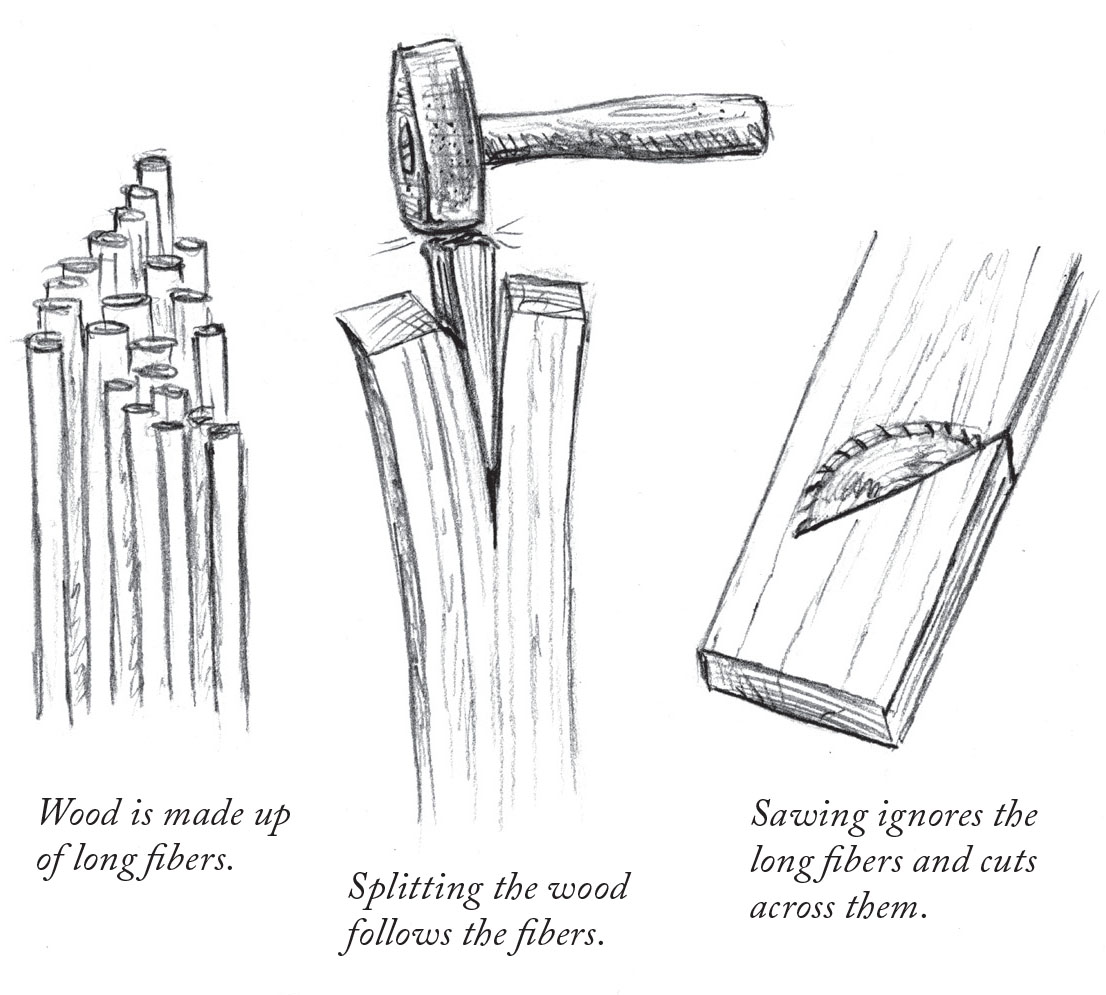
For the last seven years or so I’ve been working with kiln-dried wood that I have rived to help straighten out the grain in my components. But I haven’t really written about it because – I’ll be honest – I was uneasy about presenting the process.
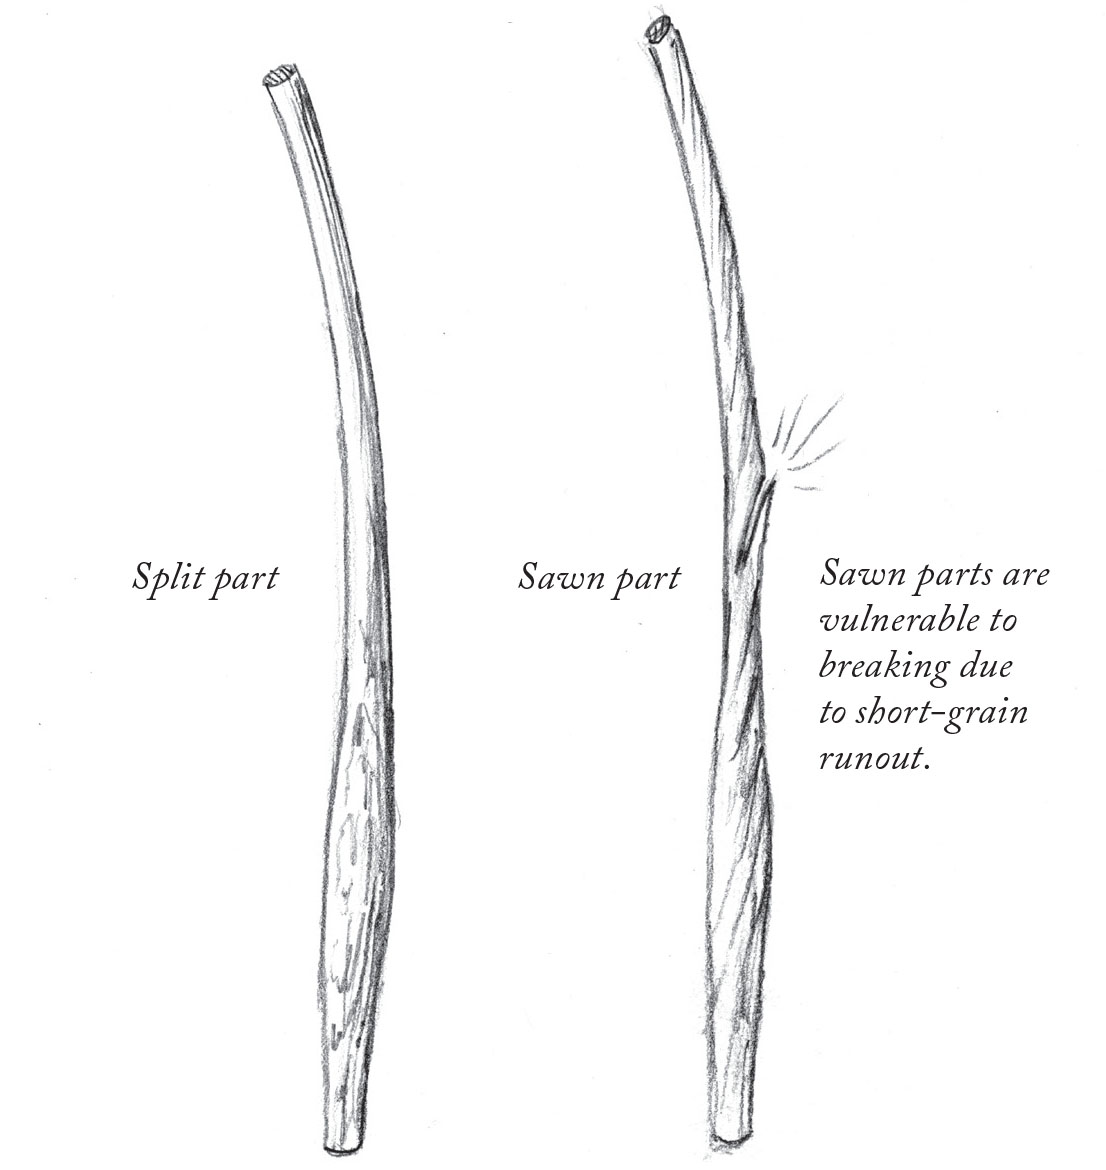
It works really well. It’s not as perfect as riving green stock – that’s the gold medal technique. But it can greatly improve the strength and working characteristics of your parts and allow you to use plain-old lumberyard wood.
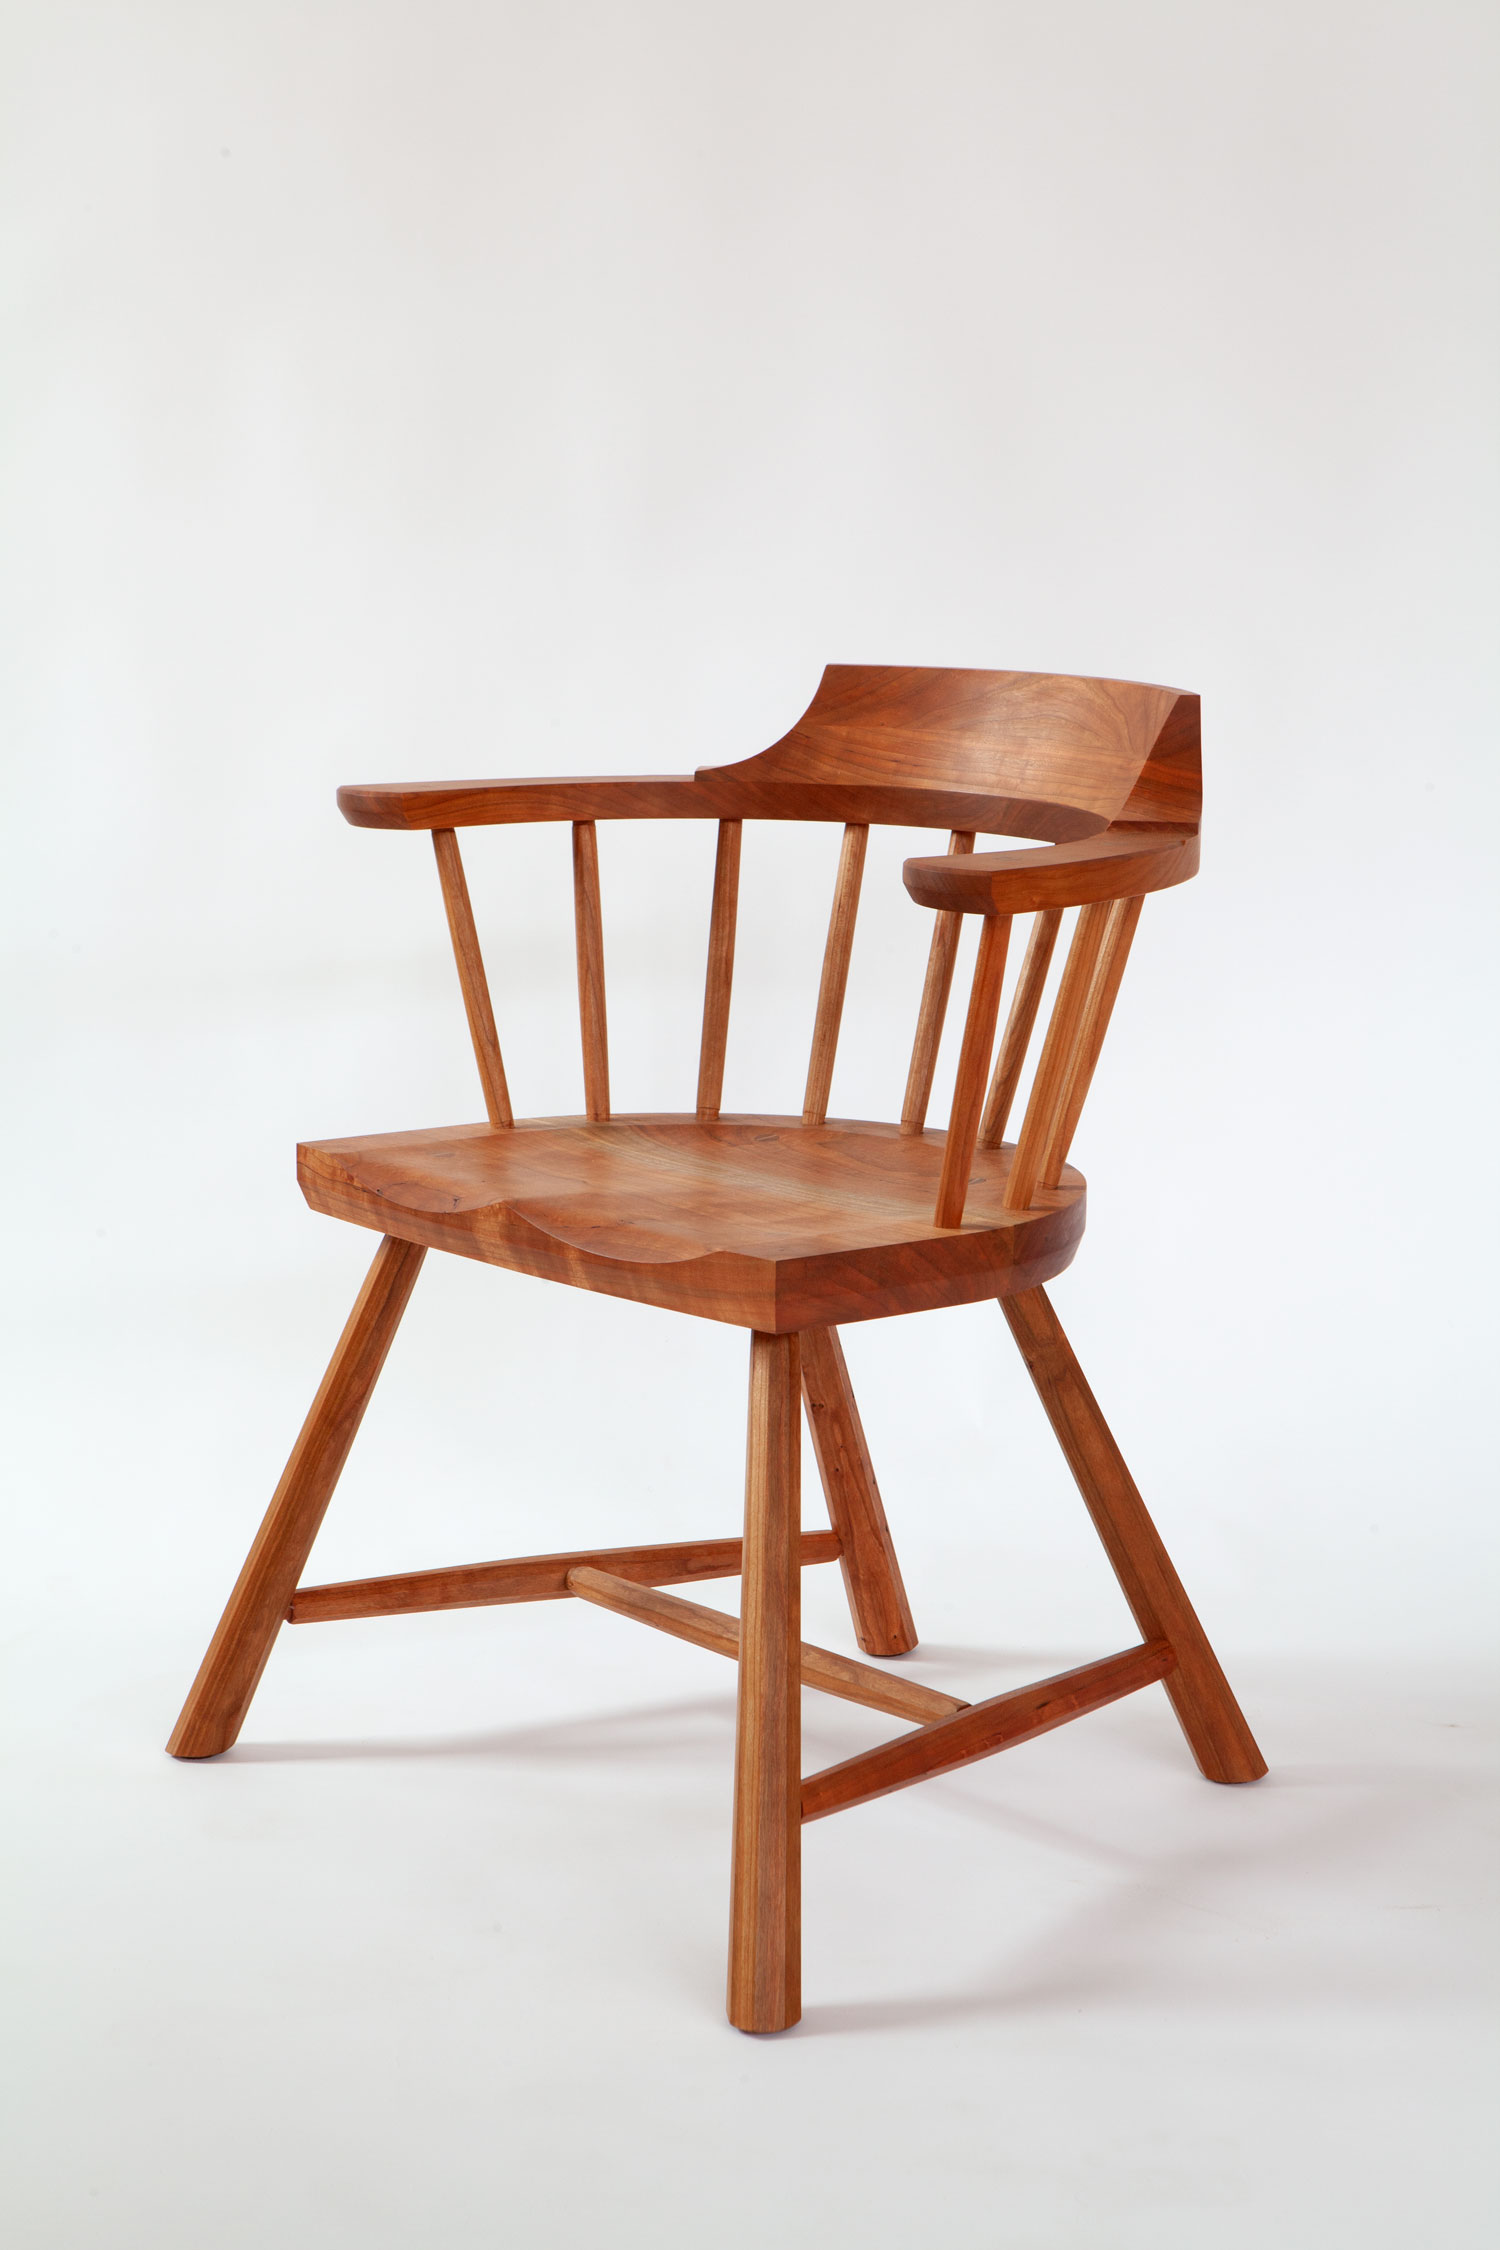
As this is one of the core techniques in “Guerrilla Chairmaking,” I thought I’d begin the discussion about it here on the blog and take my spanking.
Here’s how I do it.
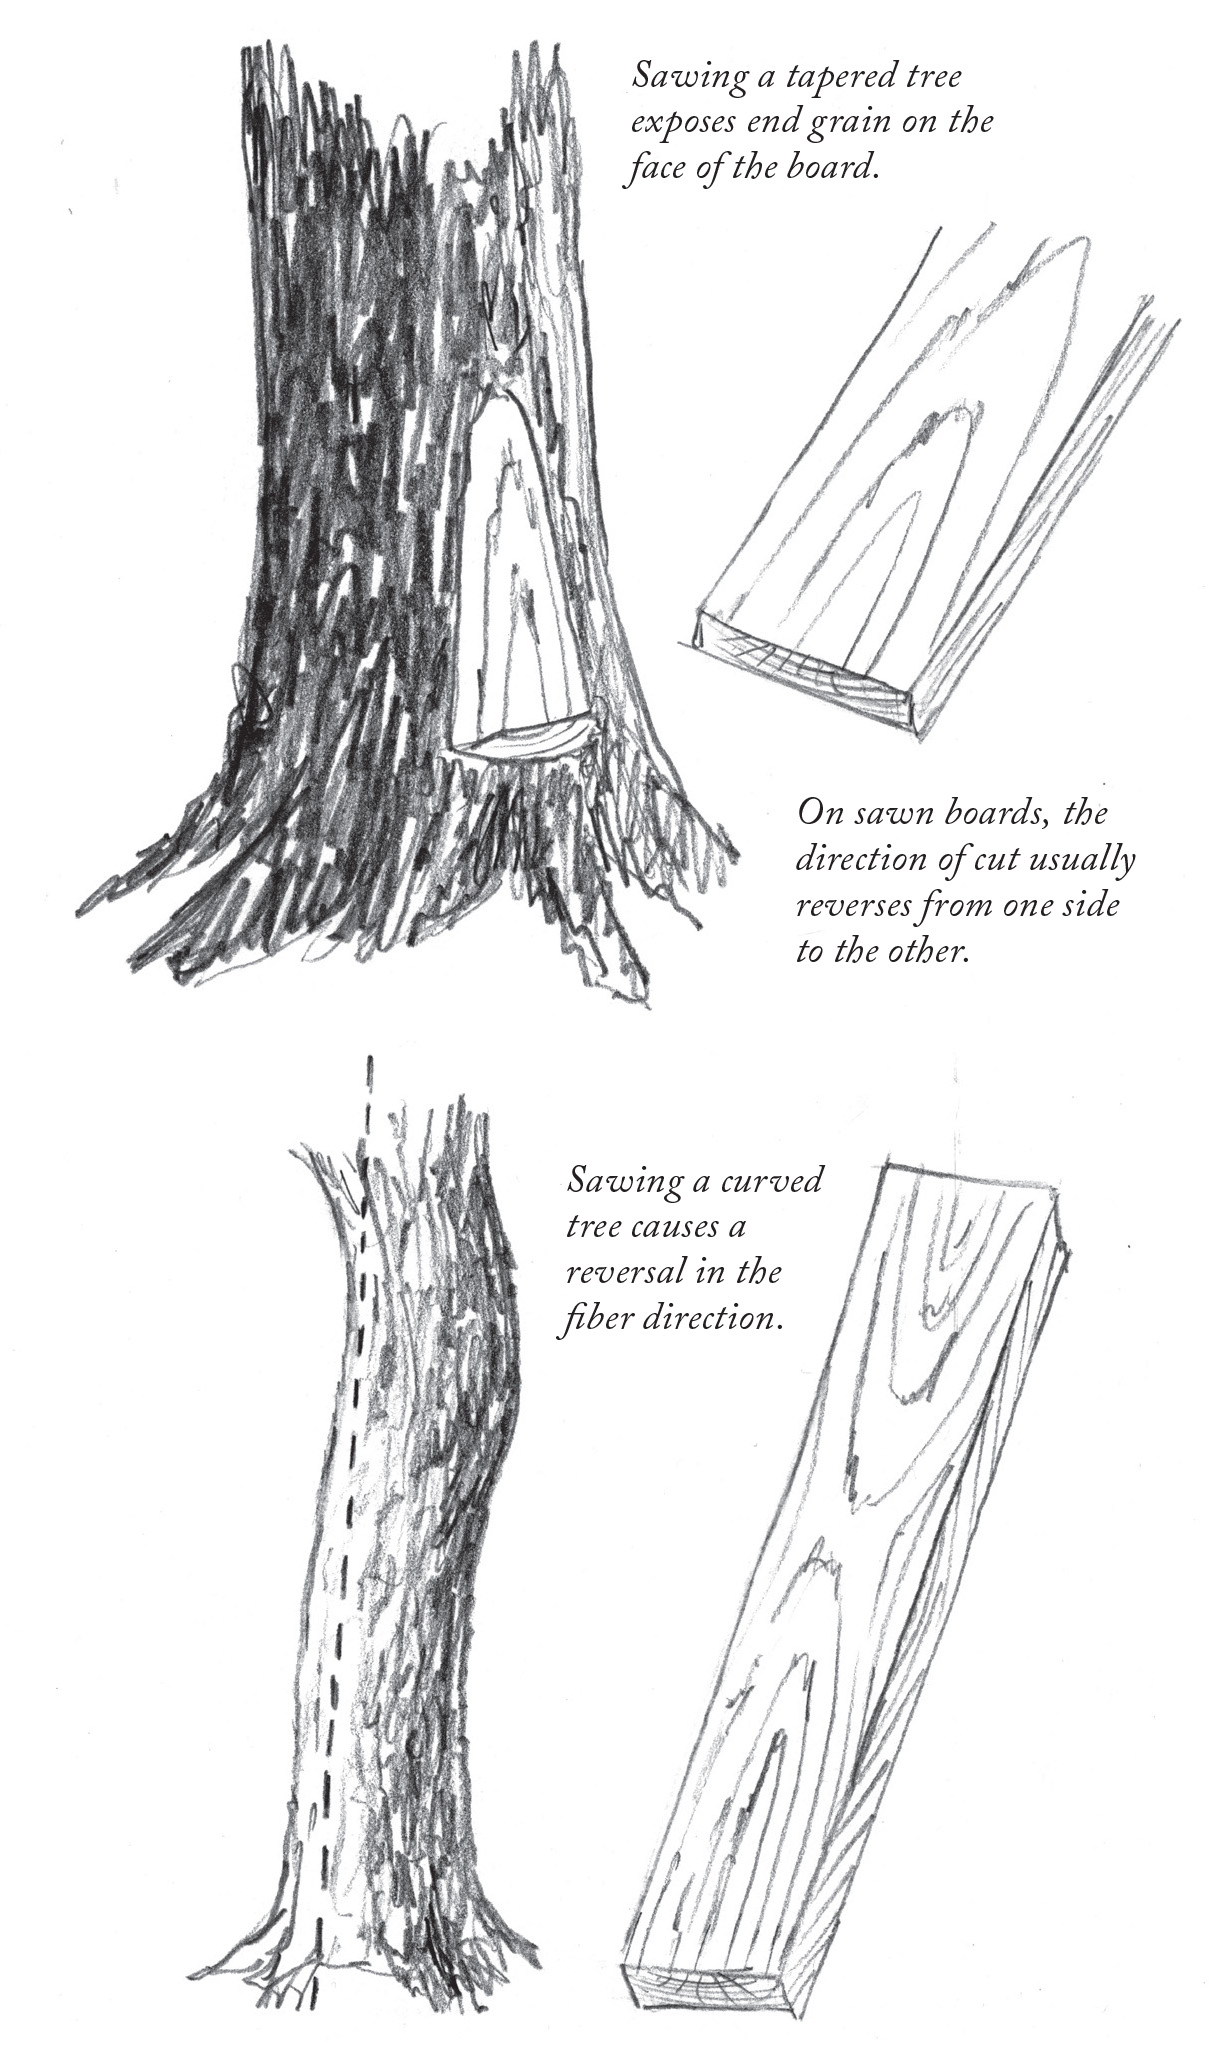
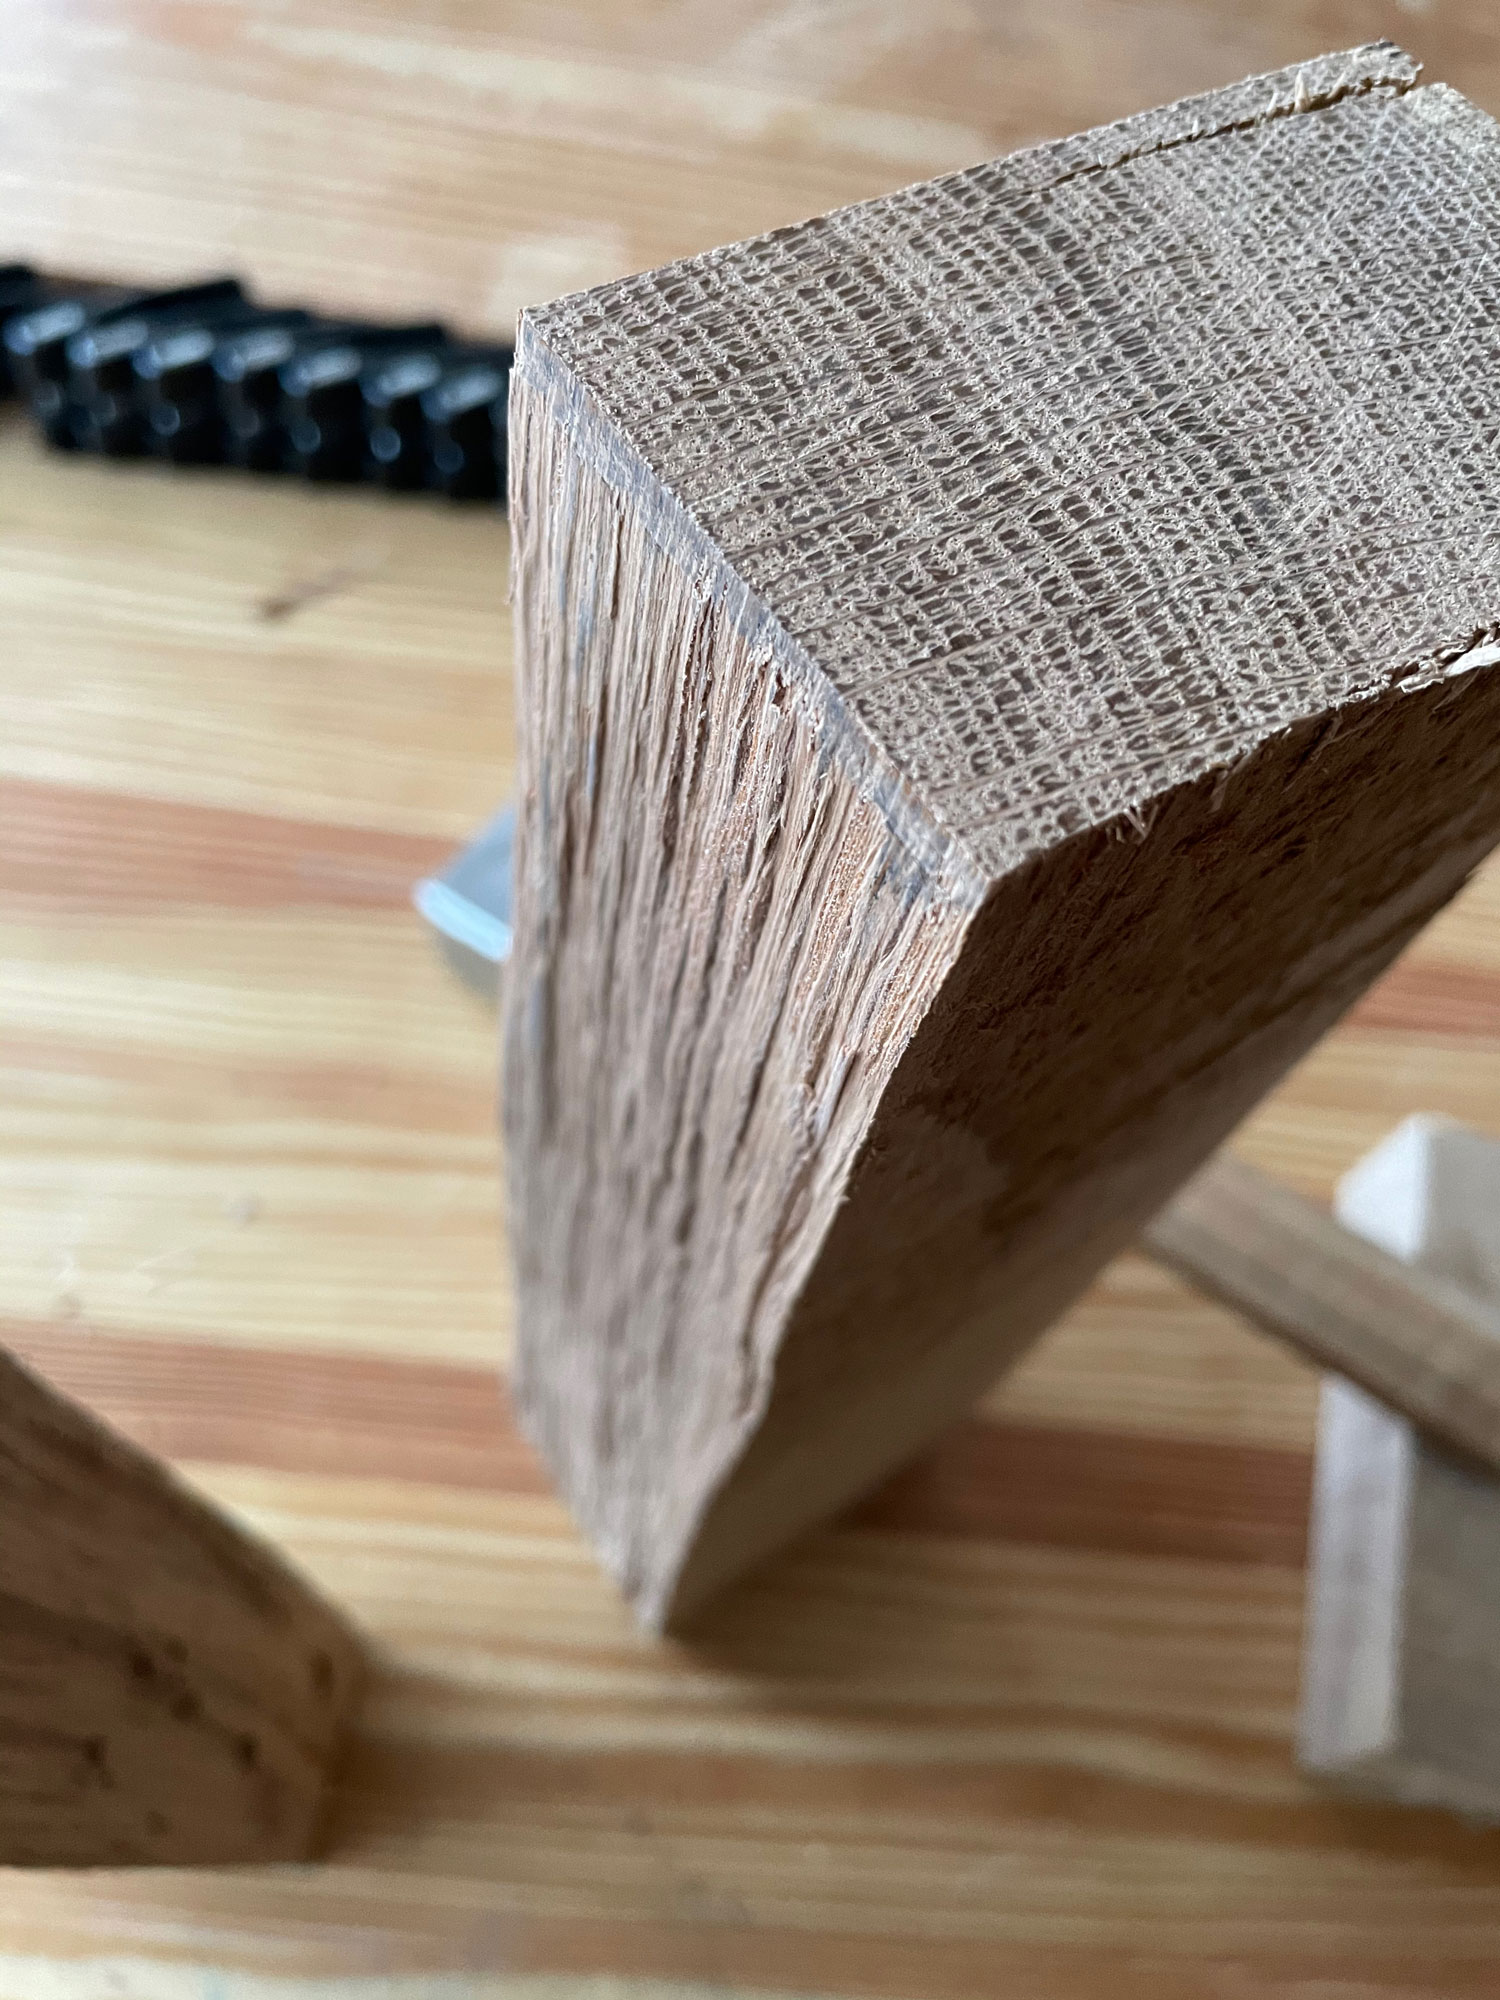
I use 8/4 quartersawn white and red oak when I go “dry riving.” I’ve done it with walnut and maple, but oak splits the best among the species I can get here. At the lumberyard I look on the edges of the boards for the straightest grain possible. Most quartersawn boards will have pretty straight grain on the edges and faces. The boards might have some curvy grain near one end – likely the beginning of the tree’s root mass. That’s OK – the curvy stuff comes in handy.
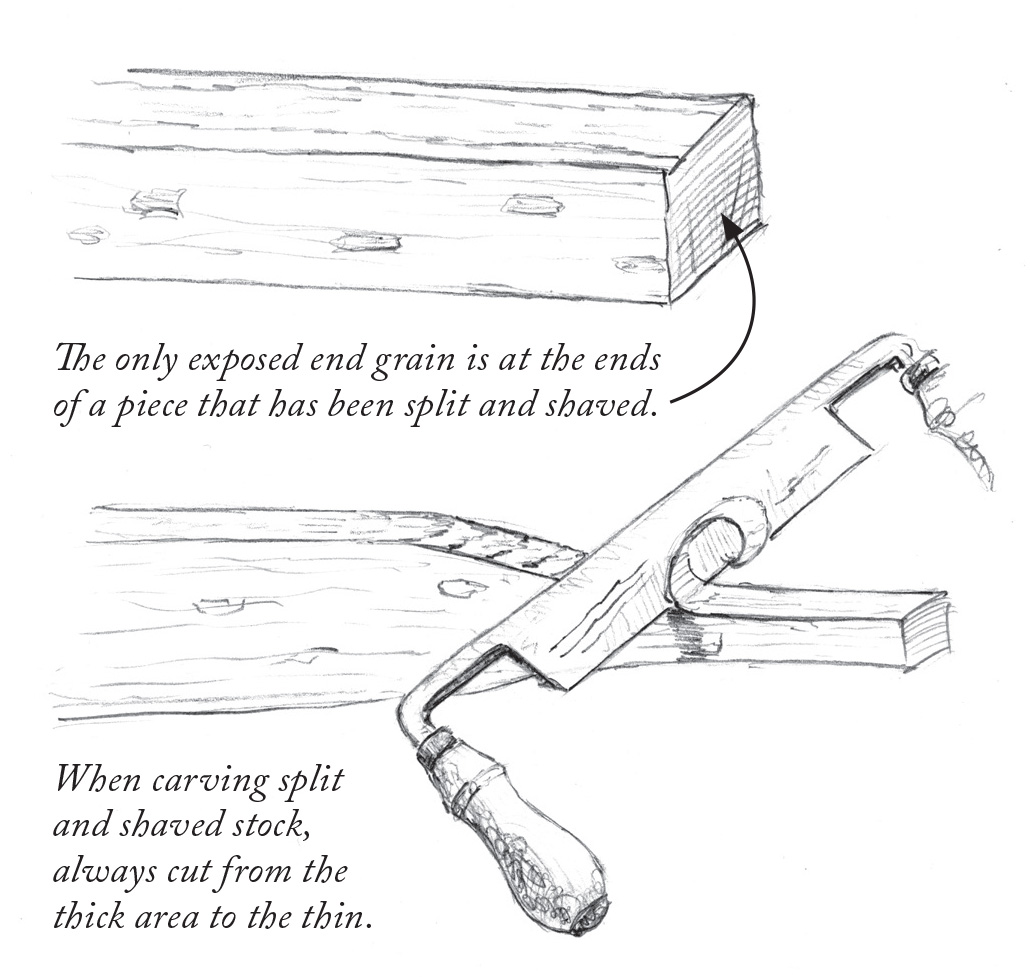
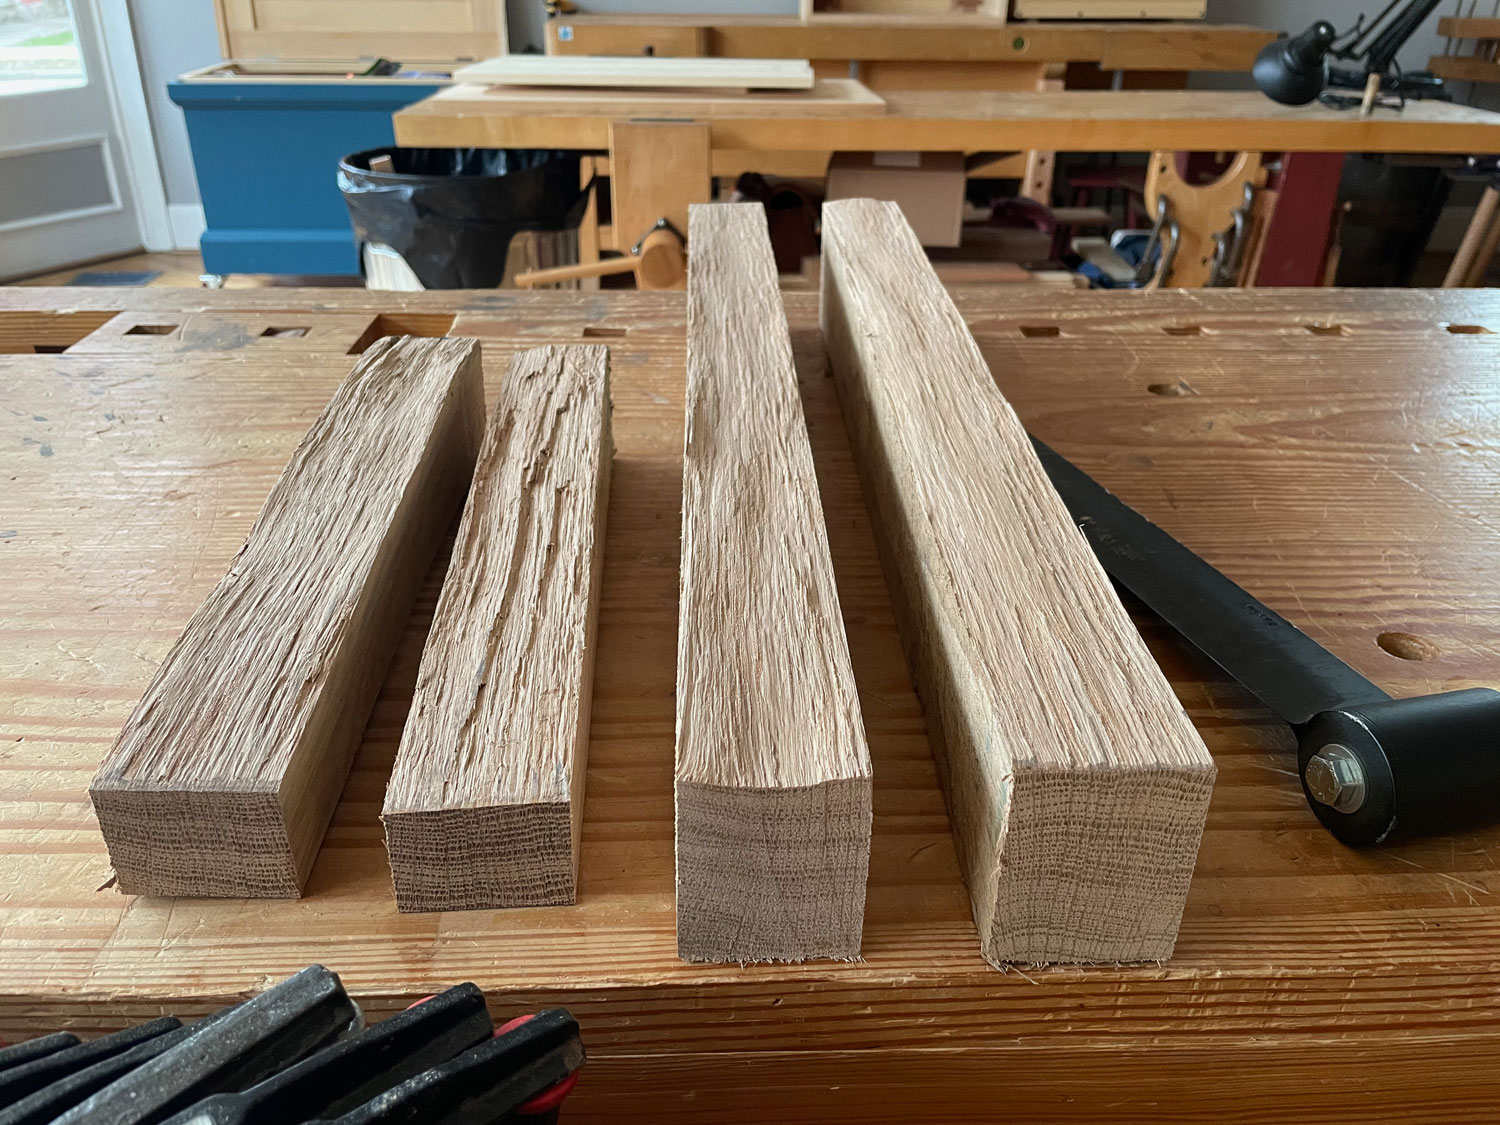
Then I crosscut the boards to the lengths I need. That’s 23” for legs and long sticks and 13” for short sticks. I mark out my parts on the end grain and plan the splits to follow the annular rings. Then I put the stock on my workbench (over one of the bench’s legs) and rive it out with a froe and a mallet – just like green stock. With dry stock, I haven’t found as much need to rive the stock in half and then rive it by half again. I just pop the parts off the board.
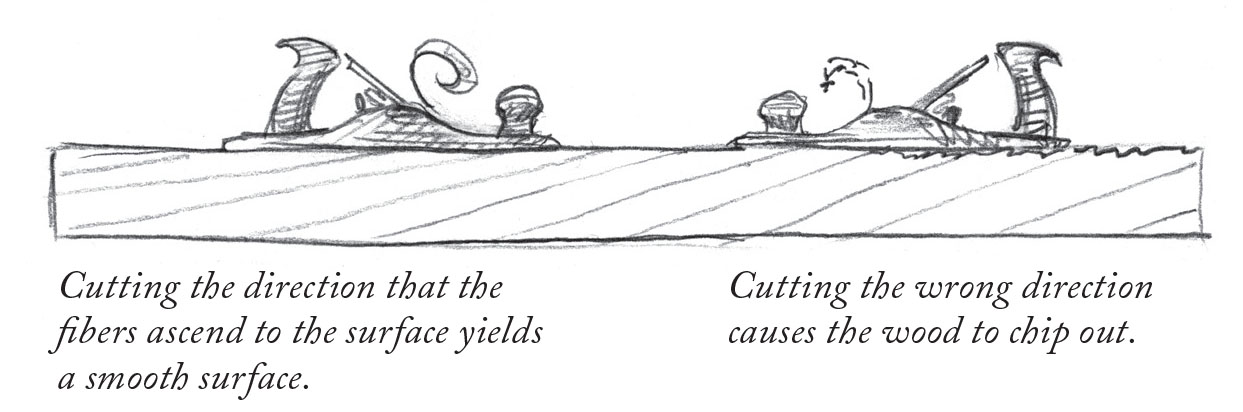
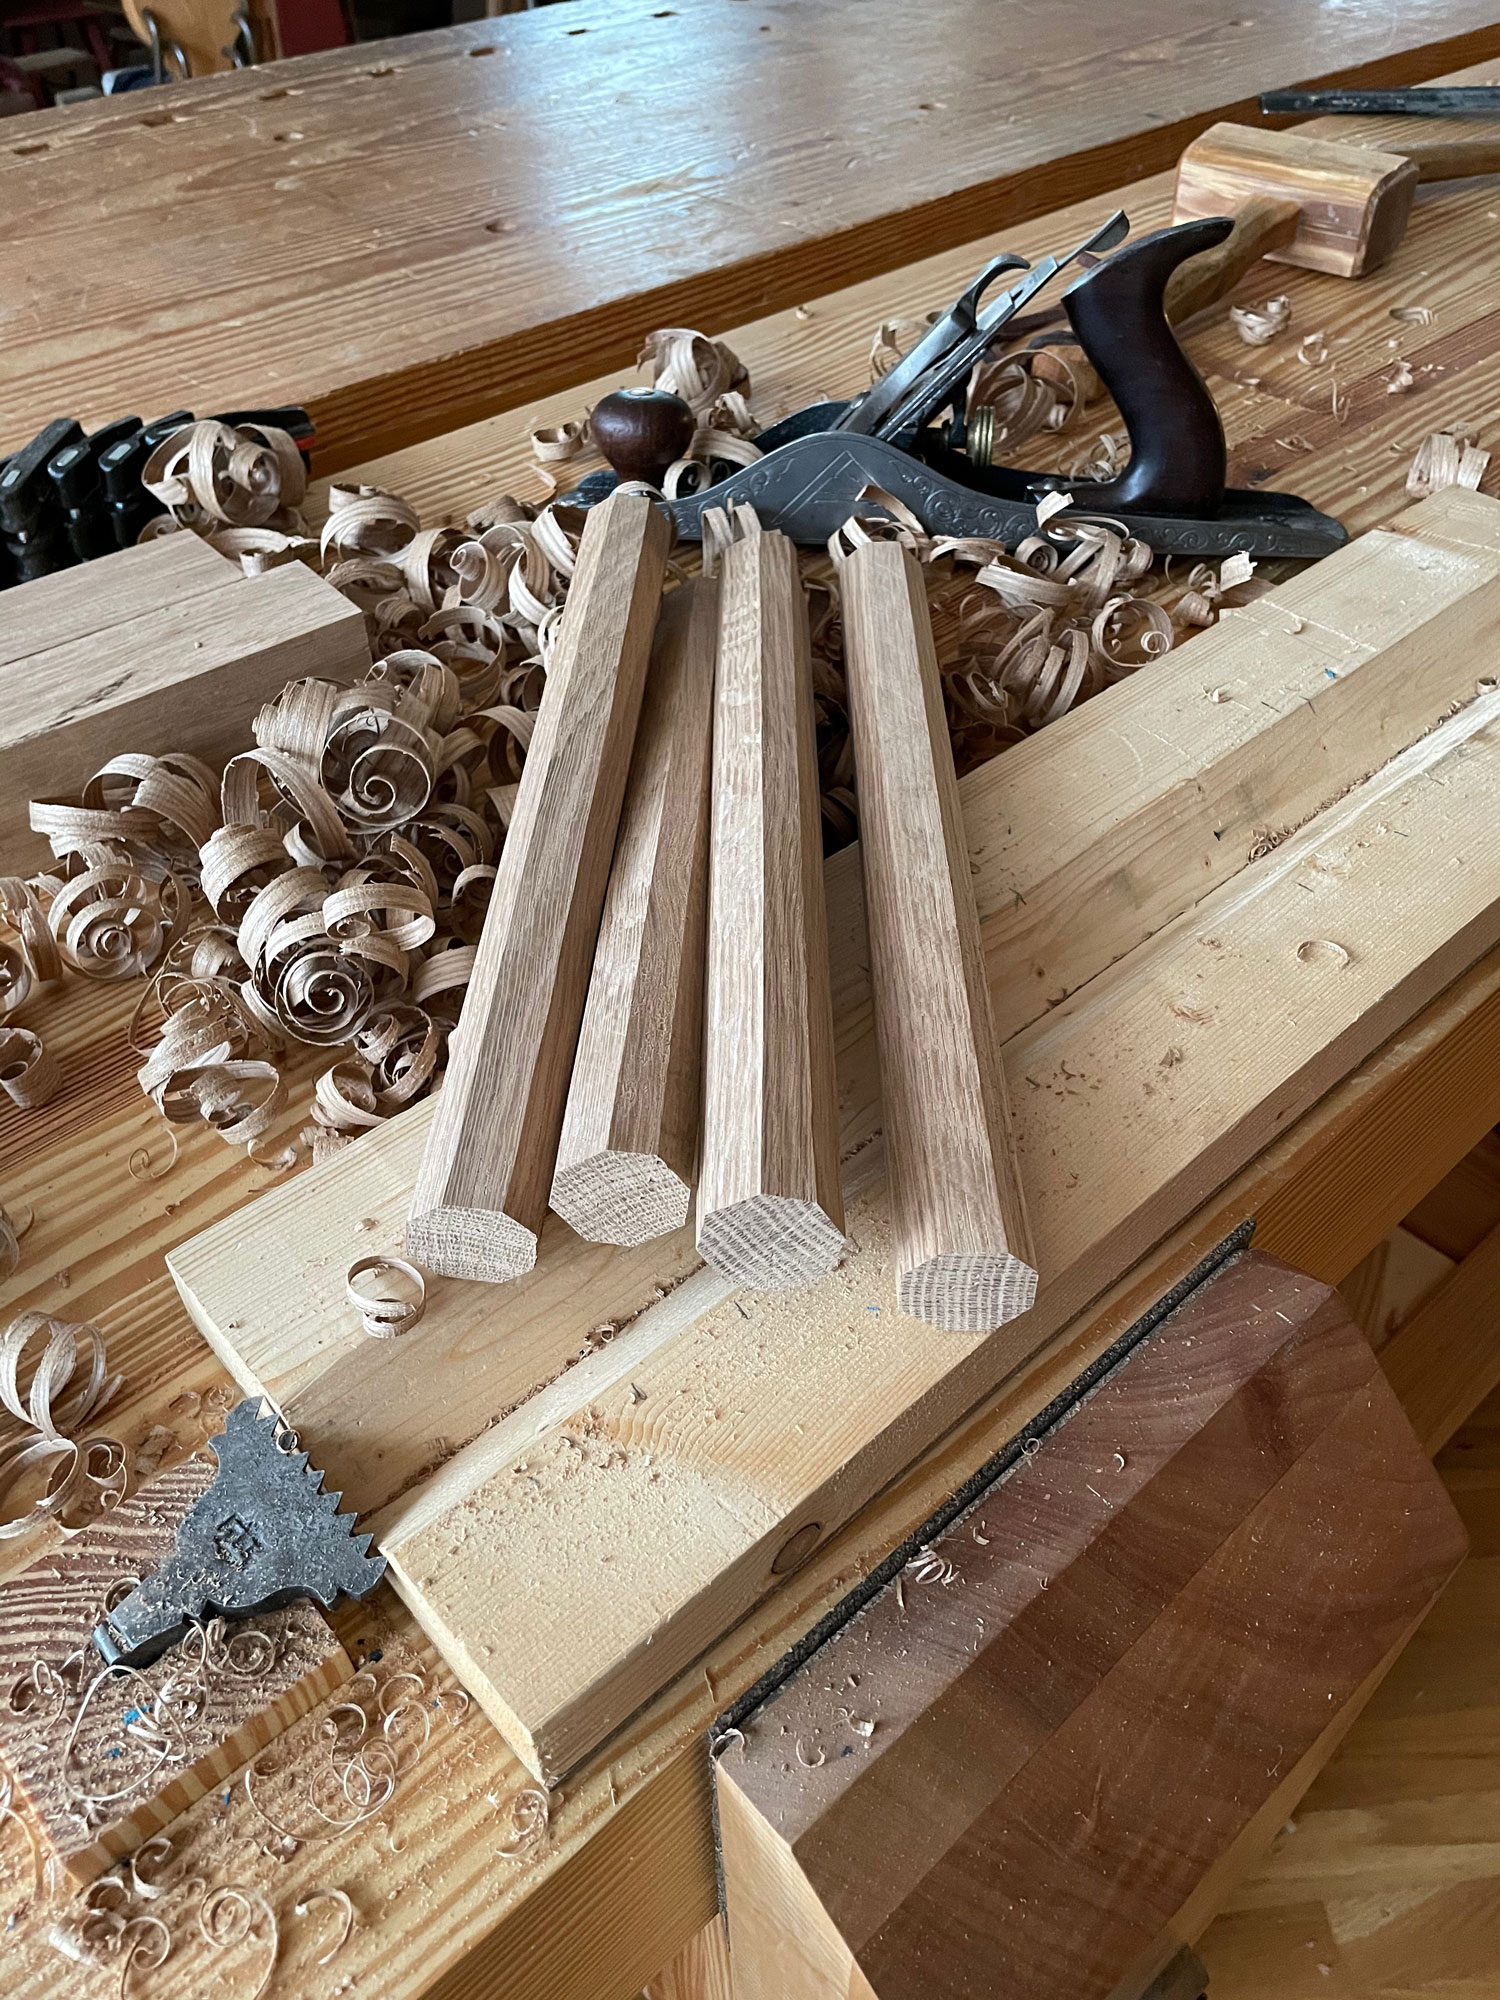
If I purchased straight-grained boards, I’ll get a flat surface along the split. I dress that with a jack plane and then work from there to true up the stick off that riven surface. I use a jack plane for most of this work, working either in a cradle (as shown) or against a stop a la Chris Williams and John Brown.
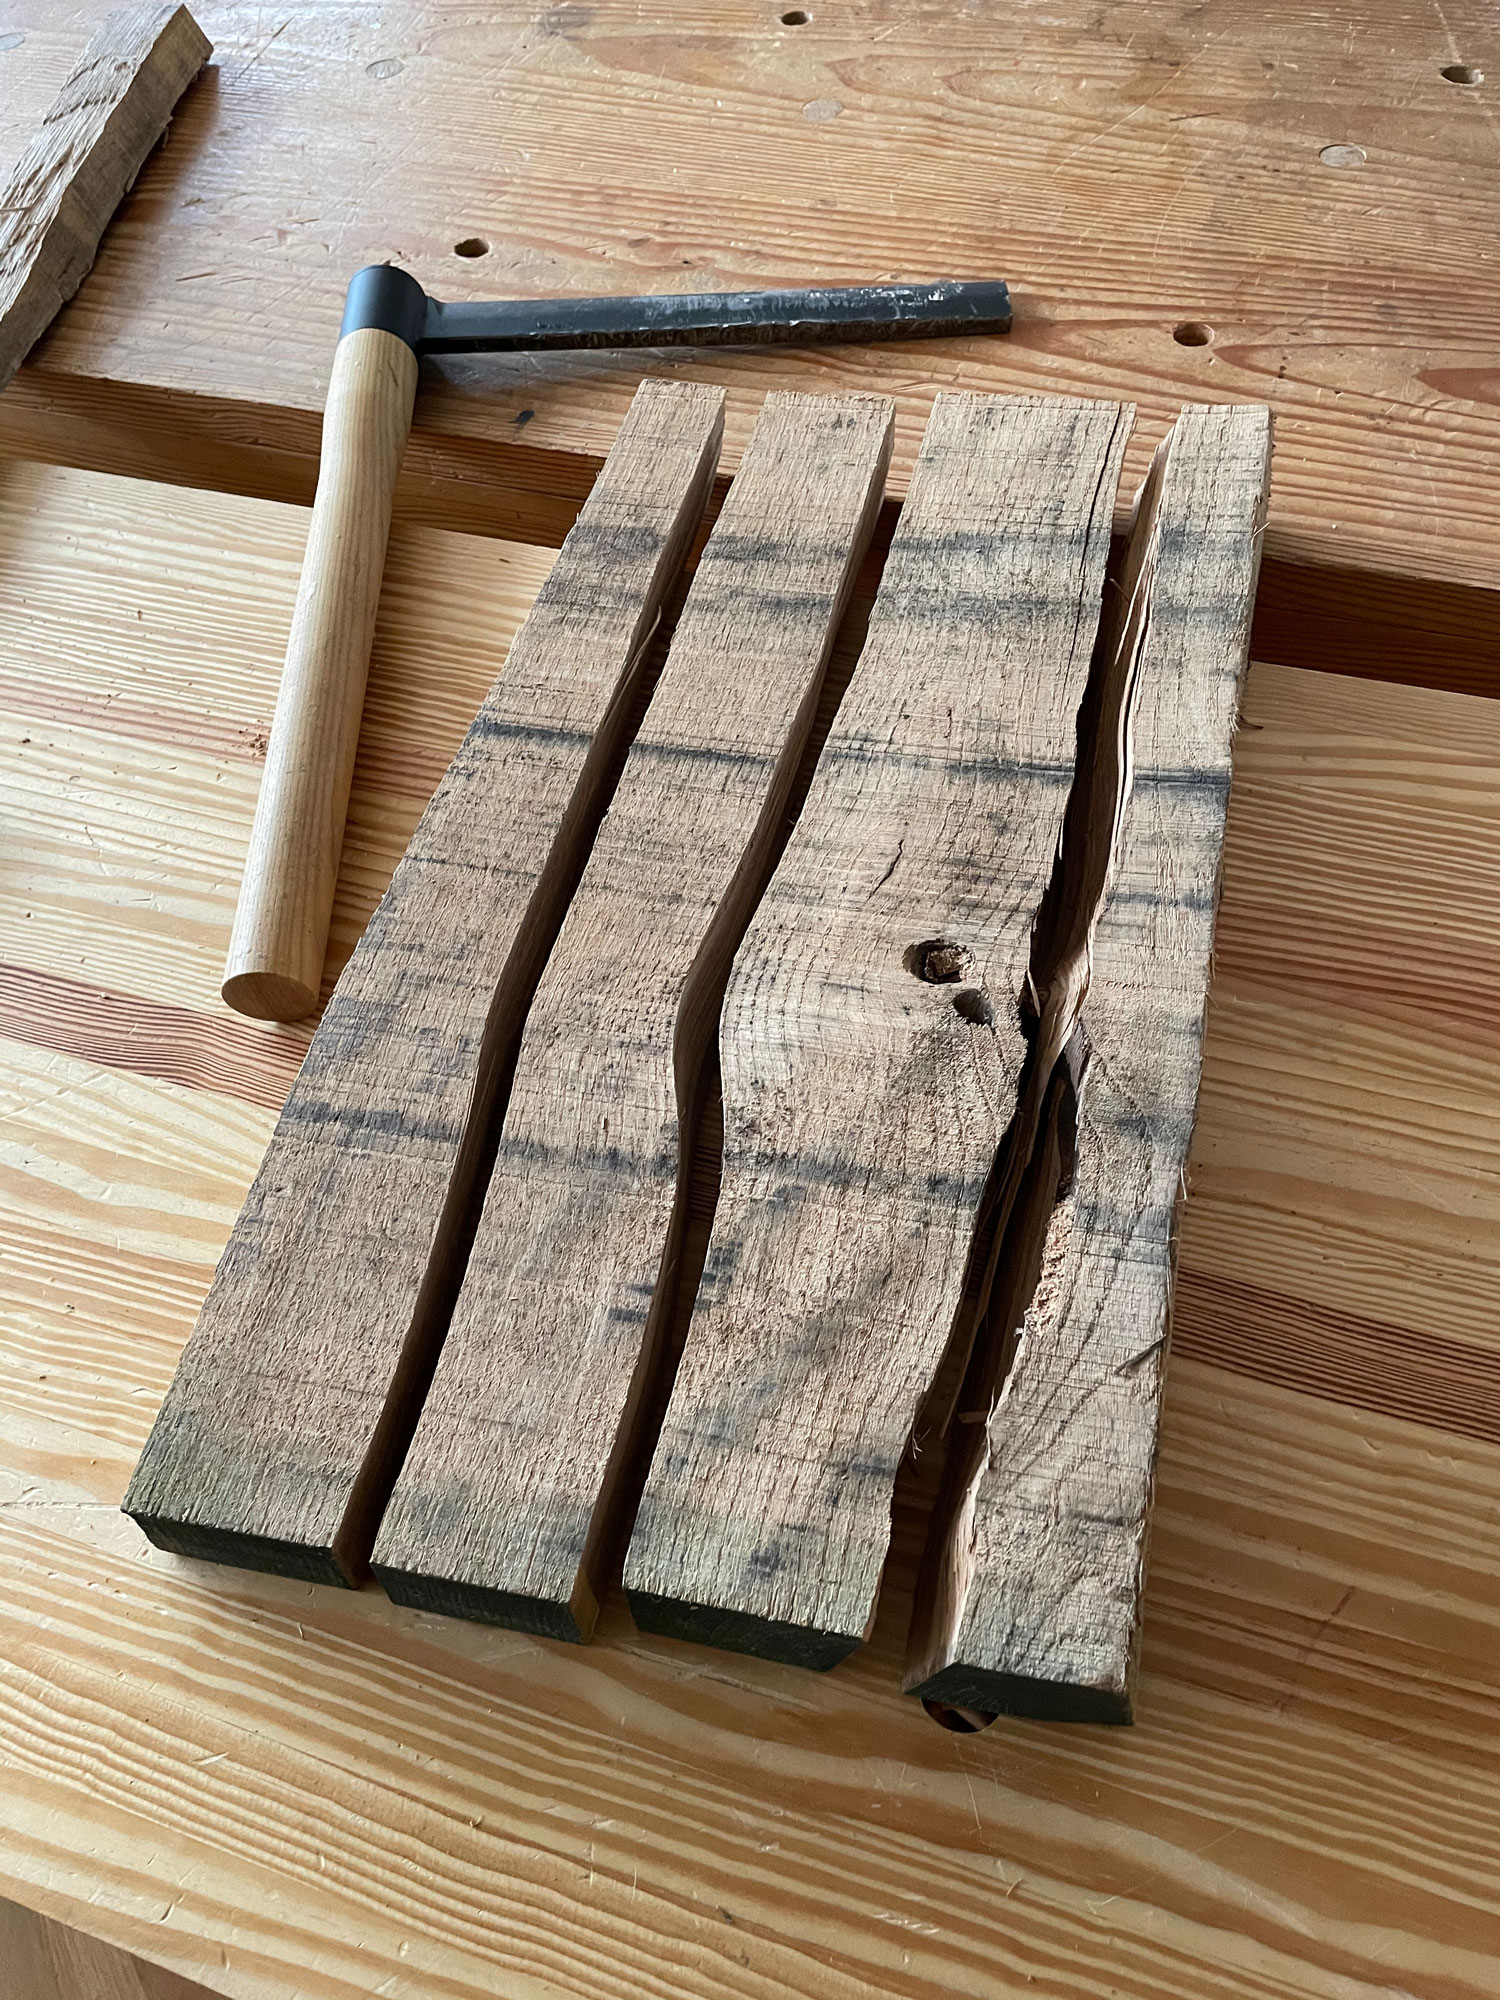
When the grain curves, I don’t throw that stock away. As you can see in the photo the top section is straight, but the bottom is radically curvy. I have a couple choices: crosscut the straight section and use that as a short stick. Or use the curved shape as an arm or crest.
The parts I make seem strong as hell. For the book I’m going to test them against green rived stock (that has been air-dried). Chris Williams has a torture test for brash wood that also weeds out blanks with short grain.
In the book, I’ll go into a lot more detail than is possible with a blog entry, but this entry has enough for anyone to give it a try.
— Christopher Schwarz