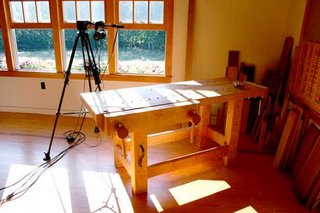
Last summer we filmed a new DVD on workbenches. When I say “we” I mean Chris Schwarz, Jeff, AJ and Mandy. I helped as I could, moving benches (three benches were used and rotated through), turning on and off lights, chiseling an area of a workbench and whatever else I could do. I also learned what a “Grip” is. You know when watching the credits at the end of a movie you see the term “Grip”. In order to fix a light issue, AJ came up with the idea to hold a blue cloth behind Chris. It worked and I stood there and gripped the cloth.
Making a woodworking DVD is a lot of work. Many different shots were taken to show something from different angles. There was pausing to wait for the passing of a loud truck, voice overs, changes in the sun glare through the windows, reflections from a camera tripod and other issues. The crew did a great job noticing anything that interfered with the shot or the sound. Then there was the heat. We had all the windows shut and turned the A/C off because of noise. When they turned the lights on it felt like putting your hand in front of a roaring fire!
Now that Chris is done, there will be more hours spent watching the video and selecting the best takes to put on the final DVD. All is all it was a lot of fun for me, and Maine in the Summer is hard to beat. And yes, I went to Lie-Nielsen Toolworks and bought some new tools. I bought two chisels, a 1/2 inch and a 3/8 inch for dovetailing. I have been using Marples blue chip chisels which are great but the sides are quite thick and as Chris has written, the wide chisel sides tend to monkey up the area where the bottom of the tail meets the baseline. So, after trying to save money and avoid buying more tools I splurged on two chisels. If you haven’t been to Maine it is a great place to visit and see the Toolworks.
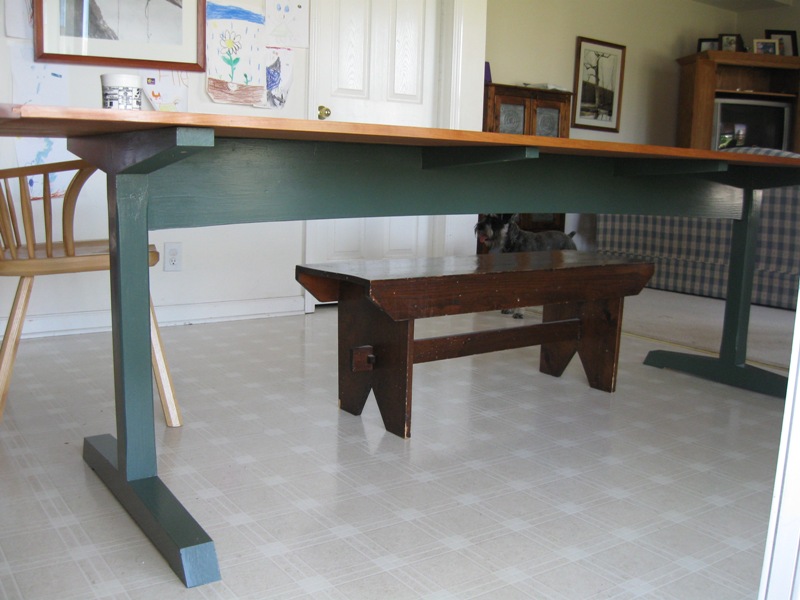
I must admit that I do not like the corbels on Chris’s trestle table. I don’t like the way the ends look rounded. Being a smart guy, I just incorporated the width that the corbel adds to the stretcher to get the total width of my version. My finished stretcher was 7” wide instead of 6” that Chris stated in the plan. That said I was ready to paint the base and put a finish on the top.
Then I got a chance to speak to Chris and proudly told him my artistic change. His response caused a pit in my stomach. He said there was a reason for the 6” width. It was to avoid hitting your shins on the stretcher when you extended your legs or hitting you knees when you pushed your chair in. Gee Whiz! I acted calm and as soon as I hung up the phone I grabbed a chair and shoved myself under the top. I was ok with the shins test but hit my damn knees on the stretcher. Yep I only needed an inch more of clearance.
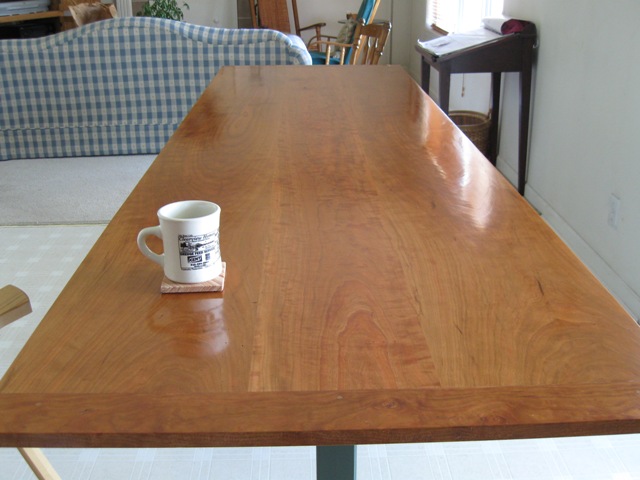
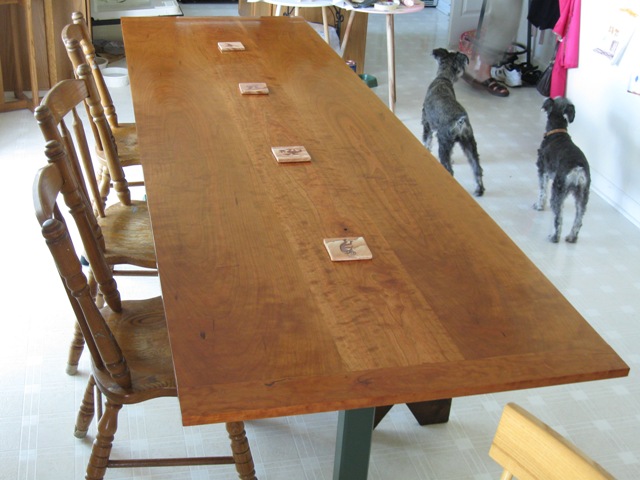
There is a reason for some things in a plan. I seem to never follow a plan exactly but within a plan there are usually a couple of hidden reasons that may not come clear until a mistake is made. To remedy my situation I cut a slow curve on the base that reduced the width by an inch at the center of the stretcher and curved out to 7” where it met the leg braces. You can see in the picture what it looks like. I put two coats of black paint on the based then two coats of a dark green. I covered the top in Boiled Linseed Oil and wet sanded it with 600 grit sandpaper. I then used six coats of an oil based varnish. Six coats because of the continued difficulty in getting a perfect streak free finish in a top this long. It is still not right but I threw out the old table and the wife and kids returned from vacation. Oh well, it can be put on the “to do when I have spare time” list.
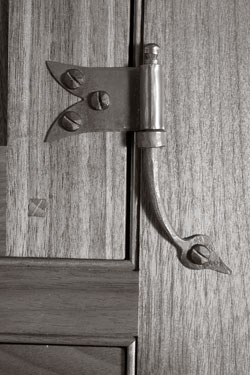
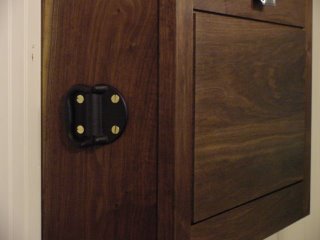
I was able to get a resource for the ramped mortis I used when installing hinges on my plane cabinet. As you recall I ramped one side of the mortis to accomodate the non-swaged hinges. This of course was not an original idea of mine and it generated some great thougths on the blog.
Below is a page from Charles Hayward’s “Carpentry
for Beginners”. If you look at figure 2 you can see that he is showing a ramp for one side of the non-swaged hinge. The file is a word document. I was unable to post the picture directly onto this blog, sorry about that. If you have any trouble opening it please let me know and I can email it to you.
When you design a piece of furniture to build, there are three well-worn paths (some might call them ruts) to follow.
The first path is to design a piece in a wholly original style. This actually happens about once or twice a century, and its rarity is why we don’t have furniture styles such as “Early Bill,” “Middle Chuck” or the “Late Butch Period.” Few people alive can claim they have successfully launched a style, but don’t let that stop you from trying.
The second approach is to build replicas, either spot-on or with mild alterations, such as an additional drawer, or substituting a square ovolo moulding for a bead. This is a good way to learn the vocabulary of different styles, though it is time-consuming to learn everything by the doing. Some woodworkers (even professionals) might build only six pieces in a year.
The third approach is to design a new piece with vintage parts, like rebuilding an old car. With this approach, you expose yourself to hundreds of images of the form. You could look at tables, cabriole legs or Arts & Crafts desks, for example. Then you select your piece’s dominant element from the library – say a leg, a door or a bonnet – and design your piece around that. (However, you can’t easily mix parts from different genres. It might seem like a good idea to put a Honda push rod in a Chevy, until you hit that metric barrier.)
When asked the secret to good design, Steve Hamilton, a builder at Mack S. Headley & Sons (headleyandsons.com), boiled it down to two words: “Picture books,” he said. “Get a bunch. Look them over.”
Design on the Run
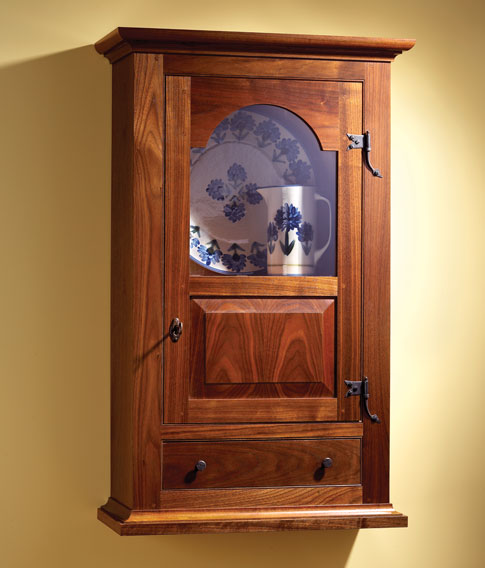
Designing a suitable early American wall cupboard for Woodworking Magazine began with a day in our collection of books and images. You don’t need to spend a lot of money to build a book collection, most of the resources you need are at the public library and on the Internet.
My first stop was Wallace Nutting’s “A Furniture Treasury.” This book is available in many different forms, and it’s common to find copies for about $25. The book is as-advertised. It’s hundreds of pages of images of early American stuff that has been organized into categories such as “chests” and “Windsor chairs.”
The second source was auction catalogs from Christie’s (christies.com) and Sotheby’s (sothebys.com) auction houses. The catalogs these houses publish for their Americana auctions are outstanding. Good images. Good overall dimensions. And good history lessons as well. These catalogs can be pricey at $50 or more, but you can usually browse the catalogs on the Internet for free, though sometimes you have to register with the auction house (registration is free).
The third source was an old favorite of mine from my grandparents’ library: “Fine Points of Furniture: Early American” (Crown) by Albert Sack. This common book can be had for about $10 – the new revised edition is much more expensive and rare. Sack’s book compares different kinds of pieces and ranks them as “good,” “better” or “best.” This book helps hone your tastes in mouldings, proportion and turnings.
After a day of reading, I chose a fetching tombstone door from Nutting’s book and found many tall and skinny shapes for wall cupboards that looked like pieces I had seen at Winterthur, the DuPont’s Delaware estate and museum.
My design firmed up when my doctor got too busy for me one Wednesday. After showing up for my appointment, I was told there would be an hour delay. So I sat in my car and sketched about 10 wall cabinets. I didn’t worry about dimensions or joinery, just the overall look and feel of the piece. Each sketch took about five minutes and tried out variations on the door (one or two?), the drawer (one, two or none?) and the width of the stiles and rails (chunky or light?).
After those sketches, I chose the best two designs, sketched them again and showed them around to woodworkers and friends. It sounds like a lot of work, but I have found that good design is like making stir fry: You first chop vegetables and mix sauces for a long time. The active cooking time is real short – if you’ve done your prep work.
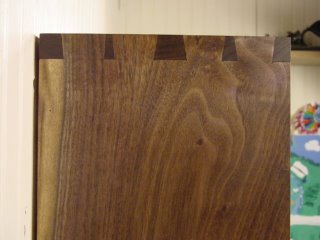
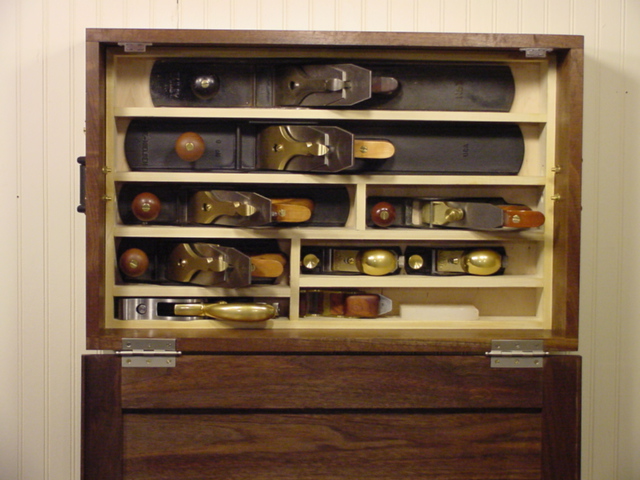
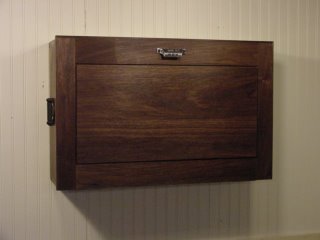
Here are pics of the completed Plane cabinet. I haven’t forgot the issue that was raised in the comments section related to “ramping” the mortis I will get back to that when I have something intelligent to say. Here are some “learning points” I got from finishing this project.
I had a problem installing the molding around the lid. The problem started when I discovered that the lid was a hair too narrow in width, meaning the molding would not go over the box. As with most of my mistakes I have no idea how this happened. No problem, I figured I would plane a shallow rabbet into the area of the molding that went over the box. This worked. Great, on my way to my next mistake.
When making the molding for the lid of the plane cabinet, I thought it would look cool to angle the outside edge of the molding. Not a big deal, just run a plane on half of the molding along it’s length. The result, the molding is thick where it is nailed to the lid and tapered where it covers the box. Being very proud of my use of my planes I cut the mitres for the corners and put my new shooting board to work.
That’s when my next mistake appeared. When trying to plane the mitre I could not get a perfect 45 degree joint. I would run the plane on the mitre and it made a nice cut. I put the two pieces together which did not result in a tight joint. I continued to repeat this process getting the same result. As much as I tried to get a straight mitre, and as much as I checked and rechecked the trueness of the shooting board I could not get the damn thing right! Then I realized that I had created a compound mitre by tapering the molding before making the mitres. The molding sat on the shooting board at a non 45 degree angle causing the problem.I am sure there are a number ofpeople saying “no kidding” or some variation… I should have waited until the molding was attached to the box then used the plane to taper. Once again a time consuming mistake but lesson learned. And once again, it wasn’t the tools.
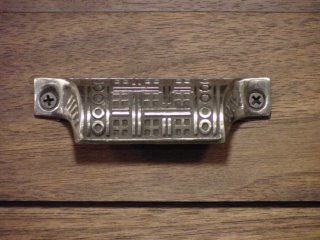
I got cast iron handles from Lee Valley that came with wood screws. I was concerned that the weight of the cabinet full of planes could be too much for the screws. I consulted Chris who said “since they are not my planes…Go for it!” I chose instead to use brass machine bolts with nuts and washers.
Oh, one last thing. The raised panel moved inside the lid frame. To solve this issue, I shot a brad into the center bottom area of the inside side of the lid, stopping this movement. I put a coat of oil onto the walnut then took 600 grit sandpaper and sanded a second coat of oil into the walnut. This leaves a touch-ably smooth surface. When the oil is completely dry I will add two coats of varnish.