I know this is short notice, but if you can make it, you are guaranteed lots of fun, hard work and the general mayhem that is building a workbench in five days. Of course, there is also beer to be had by all at the bar next door – after class only (sorry). The sign-up page is here.
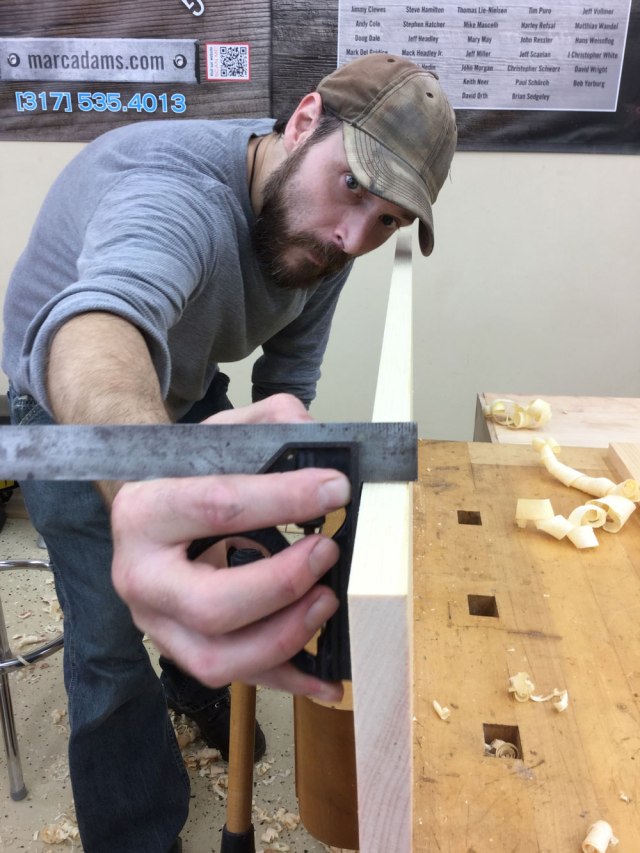
A handful of new woodworking class sessions from Daniel Clay, Brendan Gaffney and me will go on sale Wednesday, May 9, 2018 at 9 a.m. EDT on Eventbrite. Classes are limited to six students – the number of benches (plus one for the instructor) we have available in the front room of the storefront, which is filled with natural light. And the mechanical library, Electric Horse Garage and biergarten are all open for inspection.
If you’re one of the first six to register, the instructor will be in touch regarding payment and tool lists. If you’re number seven or after, you can choose to be added to the waitlist (for which I encourage you to register – I filled an empty slot in my last class from the waitlist, and Brendan has added the sector sessions below as a result of robust demand).
All proceeds go directly to the instructor; they are not a money-making enterprise for Christopher Schwarz or Lost Art Press. He’s let those of us who are teaching use the space for free as a way to help build and get the word out on the local woodworking community, and because he is incredibly generous. (Note: He is also an excellent teaching assistant, and will likely be around for at least a little while during the classes.)
In this two-day class, students will receive comprehensive instruction in the fundamentals of chip carving, a decorative technique in which faceted “chips” are removed from a wooden surface to produce geometric patterns, stylized images, lettering and ornamentation. Through demonstrations, guided practice, skill-building exercises, and the completion of a decorative wall hanging, students will leave class with all the knowledge, experience and confidence to pursue chip carving on their own. One of the most attractive aspects of chip carving (especially for beginning woodcarvers) is that it can be accomplished at a high level with minimal tools and materials; all you need to become a great chip carver is a sharp knife, some suitable wood and a little practice.
No prior woodworking or carving experience is necessary to take the class, but all are welcome! This class is best suited to those with little or no chip carving experience.
The instructor will provide the wood and other necessary materials for the class. Students must supply their own chip carving knives. If you don’t have a chip carving knife it is strongly recommended that you start with this knife, or this two-knife set. Additionally, it is recommended that students bring a pencil, a sheet of 220 sand paper, a 12” combination square, and, if you have one, a sharp block plane.
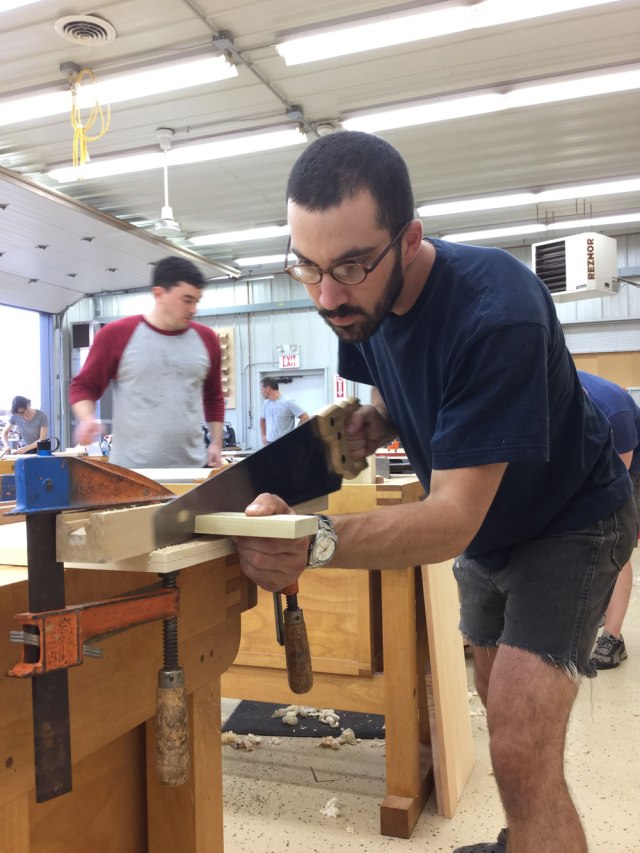
Learn how to cut dovetails by hand, and cut and refine curves with hand tools, as you build a classic Shaker two-step step stool (out of cherry) that will withstand decades – lifetimes, really – of use. This one is based off the classic stool in “Making Authentic Shaker Furniture,” by John Shea (Dover, 1975). You’ll also get to listen to me wax prolific about liquid hide glue, use it, and take home a bottle of Old Brown Glue courtesy of Patrick Edwards.
In this two-day class, students will build their own Cabinetmaker’s Sector, my modernized design for the ancient geometer’s tool, used for drawing, drafting and (in my shop) the layout of dimensions and joinery on woodwork. The class will revolve around the skills of modern hand-tool makers, including careful marking and measuring, mixing metal and wood, hand shaping, finishing and (of course) how to use the tool.
Each student will be provided the wood and the necessary brass hinges and pins, everything needed to produce the sector. The first day will revolve around affixing the brass and wooden tabs into the tools, riveting the leaves together, flattening and lapping the tools and reviewing the principles behind the geometry of the sector. The second day will revolve around shaping the sectors, stamping and inking the sector marks, finishing the sectors and learning to use them in the shop. Every student will leave with a completed sector, plus the knowledge of how it works and how to use it.
Build the Boarded Bookshelf from Christopher Schwarz’s “The Anarchist’s Design Book” as you learn how cut dados and tongue-and-groove joints by hand, and drive tapered, square-shanked nails without splitting your work. And of course, plane up your work for a perfect finish. The bookcases will be built in pine…and we might even have time to give them a first coat of General Finishes milk paint (or casein-based milk paint, if that’s your preference – the tool list will include links and pros/cons for both finish treatments).
In this two-day class, students will build their own Cabinetmaker’s Sector, my modernized design for the ancient geometer’s tool, used for drawing, drafting and (in my shop) the layout of dimensions and joinery on woodwork. The class will revolve around the skills of modern hand-tool makers, including careful marking and measuring, mixing metal and wood, hand shaping, finishing and (of course) how to use the tool.
Each student will be provided the wood and the necessary brass hinges and pins, everything needed to produce the sector. The first day will revolve around affixing the brass and wooden tabs into the tools, riveting the leaves together, flattening and lapping the tools and reviewing the principles behind the geometry of the sector. The second day will revolve around shaping the sectors, stamping and inking the sector marks, finishing the sectors and learning to use them in the shop. Every student will leave with a completed sector, plus the knowledge of how it works and how to use it.
During this intense two-day class you’ll build a Dutch tool chest (from either pine or poplar, depending on what’s good, available and inexpensive that month) using dovetails, dados, rabbets and nails (or screws). Because of the demands of the project, this class will likely run into the early evening to ensure everyone completes the chest. The Dutch chest is an excellent introduction to handwork and the result is a fine place to store your tools.
Hinges and lifts are up to the individual makers, but I’ll provide some suggestions/links for both commercially available and handmade options.
Make a Coffin-Shaped Bookcase…for use Now & Later with Megan Fitzpatrick October 20 & 21, 2018 (just in time for Halloween!) Cost: $340, which includes all materials. (Click here to register: Will go live on 5/9/18 at 9 a.m.)
Build a traditional kerf-bent and nailed pine coffin (which we’ll then make into a bookcase for interim use). Note that at the bookcase link, you can download the coffin chapter from “The Anarchist’s Design Book,” free. But it doesn’t come with fun, frivolity or candy corn (all of which you’ll get in this class!). As tempted as I am to build the fire-bent version…my health care exchange insurance just isn’t good enough to chance it! (Apologies to John Hoffman for the coffin image – it makes me chuckle every time!)
Build an accurate reproduction of an icon of American furniture with Will Myers during an Oct. 6-7, 2018, class at our Covington, Ky., storefront.
Will has spent years researching Shaker design by measuring the actual pieces in the Shaker communities. His careful work has resulted in measured drawings for this table that result in a true reproduction. (Will was shocked to discover that none of the published plans available were exact reproductions.)
During this intense two-day class, you’ll build a reproduction of this beautiful table and learn:
History and details of the three original candle stands of this style that I have examined.
Why this table is not as simple as it first appears, and how many small details contribute to look of the table as a whole.
Layout and cutting of sliding dovetails on a cylinder, to join the legs to the spindle.
Shaping the legs, using spokeshaves and card scrapers.
Turning the spindle to final shape.
Shaping the top support with planes and spokeshaves.
Shaping and smoothing the edges and faces of the round top.
Why you need a metal “spider” (and how to make one) to reinforce the leg-to-spindle joinery.
Registration for the class is free. Registrants will be invoiced for the $300 class fee and additional materials fee (which will likely be around $100). Attendees at this class should have some woodworking experience. While no turning experience is required, it will be helpful.
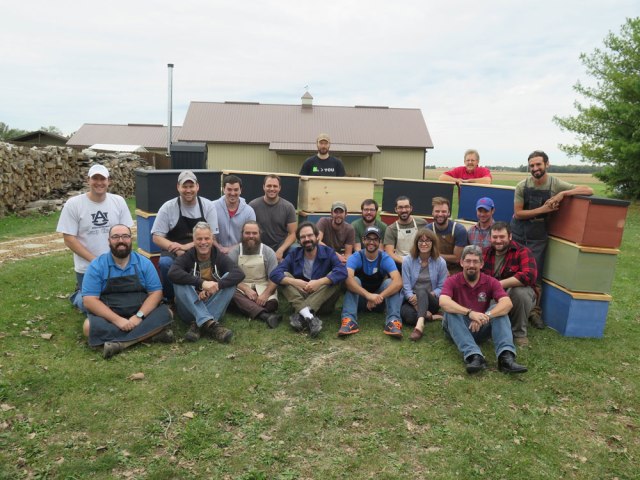
These classes are are limited to six students led by Will (plus me as an assistant). That’s why we can tackle such ambitious projects.
Register for the class here. After you register, you will receive an invoice for the class plus a tool list. Any student looking for a place to stay or eat near our storefront can get full details here.
As I’ve mentioned before, these classes do not benefit me or Lost Art Press. All proceeds go to the instructor. If you’ve ever met Will (or seen any of his videos) then you know he is a skilled woodworker and excellent instructor. We are thrilled to have him teach here.
The 2018 class schedule is now live at The Woodwright’s School website. Roy Underhill has been diligently working on the new calendar of classes for the upcoming year and it is finally complete. Most of the regular classes are back with many new classes added as well. You can check it out here.
As most of you know, if there is a class you are interested in get signed up ASAP, they fill up quickly.
One of the things I miss the most by not teaching is the hand-tool immersion classes for younger woodworkers. These low-cost classes are a fantastic way to jump-start the woodworking skills and tool chest of young adults.
After I canceled my teaching schedule, Mike Siemsen picked up where I left off with the hand tool immersion class. Mike will be teaching a discounted class in June 2016 for young adults at his school north of Minneapolis. He has received many offers of assistance – everything from cash to tools to food.
Below is his Mike’s note on how you can help.
— Christopher Schwarz
First off: Thank you. Your generosity is much appreciated.
Here’s how you can help
Tuition: If you wish to sponsor a student taking the class, you can send a check made out to the Mike Siemsen’s School of Woodworking. You can send the check to Mike at:
Mike Siemsen
9912 Green Lake Trail (County 23)
Chisago City, MN 55013
Simply write in the memo section of the check that the donation is for the Hand-tool Immersion Course. Sorry but this donation is not tax deductible. If you have any questions about donating tuition money for students, call Mike at 651-257-9166.
Tools: If you would like to donate some of your tools to the class that will be given to the students, you can send them to Mike at the same address above. Below is a list of the tools we hope to supply for all 16 students with details of what we are looking for in the tools.
Tool Kit for the New Anarchist
Planes
No. 5 jack plane, such as a pre-war Stanley with a clean iron (no rust) and a tight chipbreaker.
Low-angle block plane, such as Stanley 60-1/2 with a clean iron and movable toe piece.
Wooden rabbet plane (skew or straight iron). Wedge needs to work.
Large router plane, such as Stanley No. 71 or No. 71-1/2.
Card scraper.
Boring
Hand drill, sometimes called an “eggbeater,” such as a Millers Falls No. 2 or 5 with a 1/4” chuck and intact chuck springs (i.e. the jaws are spring-loaded and work).
Brace with a 10” sweep. Good chuck with its springs still intact and a tight pad.
Striking
Bevel-edge chisels with wooden handles (1/4”, 1/2” and 3/4”).
16 oz. hammer with a wooden handle. Striking face should be smooth and slightly crowned.
Square-head joiner’s mallet.
Marking/Measuring
12” combination square that is square, locks tight and has clear markings.
Marking gauge. The metallic ones, such as the Stanley No. 90, are preferred.
Sawing/Rasping
Backsaw with a 10”- to 14”-long blade. Straight sawplate, comfortable wooden handle and little or no rust.
Coping saw that takes pin-end blades and locks tight.
10” cabinet rasp (older and sharp is better).
A few people have asked if they can donate food or tutoring assistance during the class. I’m going to try to come up with a plan for those aspects of the class early in 2016. So stay tuned.
If you have any questions about helping out with these classes, drop me a line at:
Mike Siemsen
9912 Green Lake Trail (County 23)
Chisago City, MN 55013
651-257-9166


 A handful of new woodworking class sessions from
  Chip Carving Class with Daniel Clay
 Dovetailed Shaker Step Stool with Megan Fitzpatrick
 Build the Cabinetmaker’s Sector with Brendan Gaffney
 Boarded Bookshelf with Megan Fitzpatrick
 Make a Coffin-Shaped Bookcase…for use Now & Later with Megan Fitzpatrick