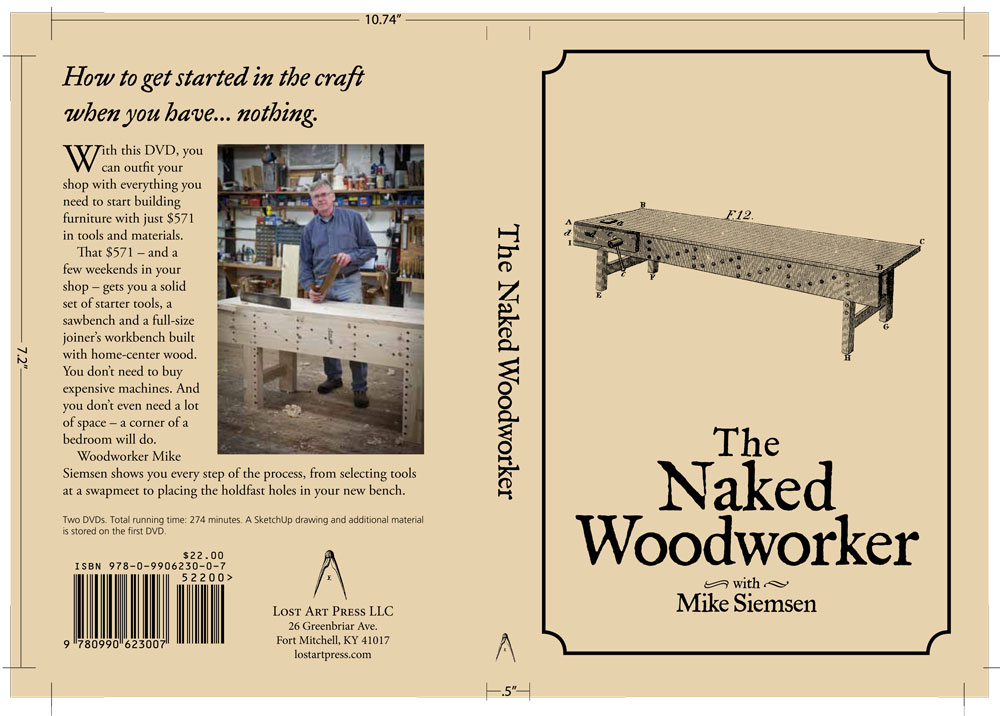
Last night I processed image files until the wee hours as I waited for word that Mike Siemsen’s new DVD “The Naked Woodworker” was ready in our warehouse. We’re still working out a few little bugs, but it will go up for sale in the store no later than Monday.
Meanwhile, I woke up this morning with crossed eyes – I couldn’t bear to look at a computer screen. So I got a jump on the knockdown Nicholson I’m building this weekend. It’s based loosely on Mike’s design in “The Naked Woodworker,” but it incorporates some knockdown bolts that are both super-easy to install and robust.
Judging from the comments on an earlier post about this bench, there is some confusion about how these work. They aren’t like threaded inserts. I’ll have more details tomorrow or Sunday when I get to that part of the project. I think you’ll see why these tee-nuts are superior to other solutions out there.
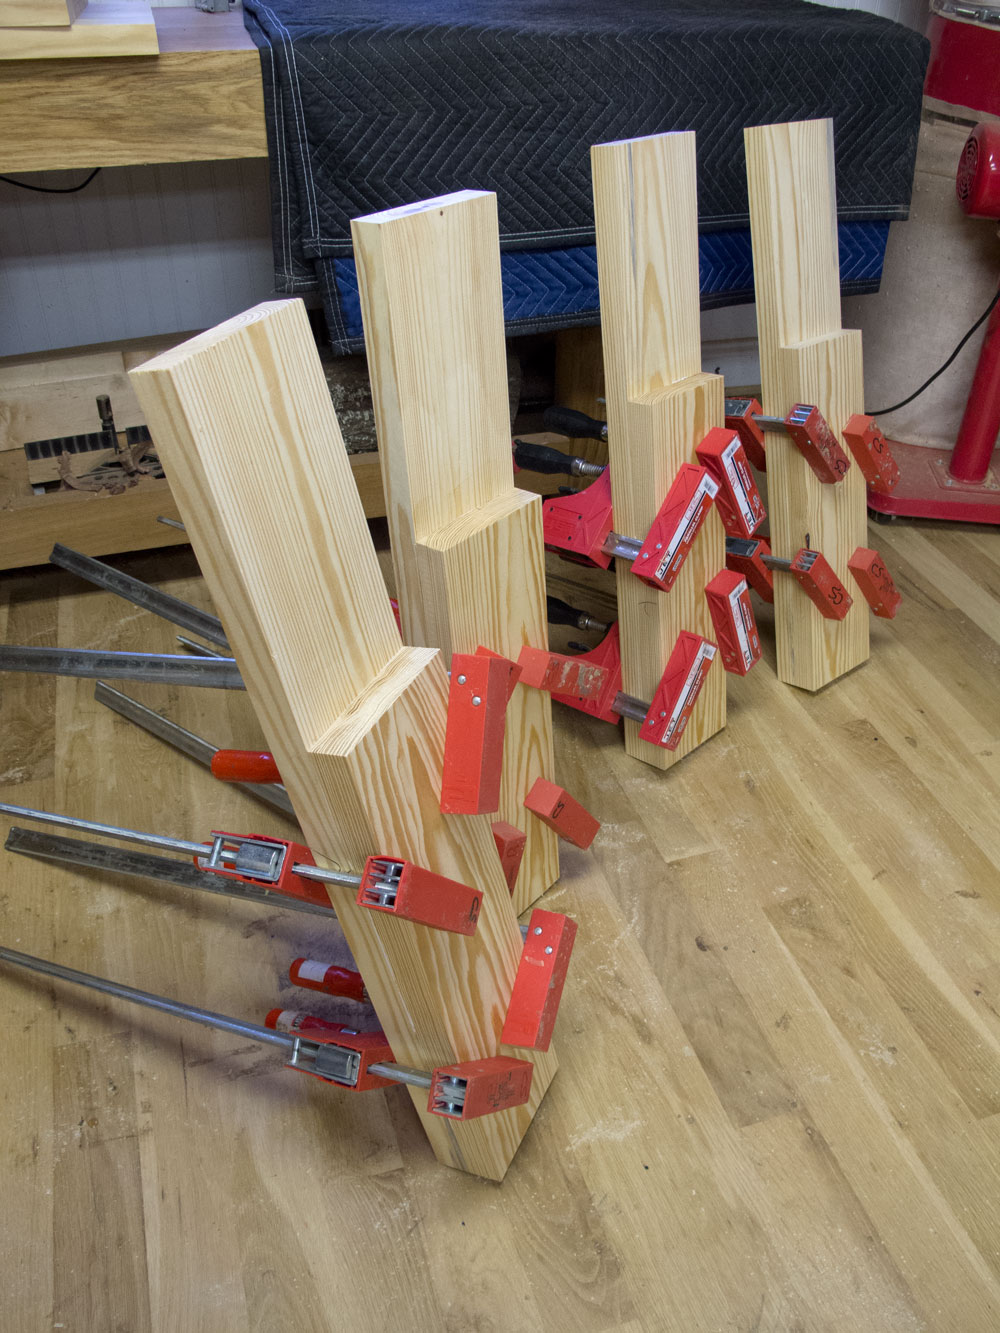
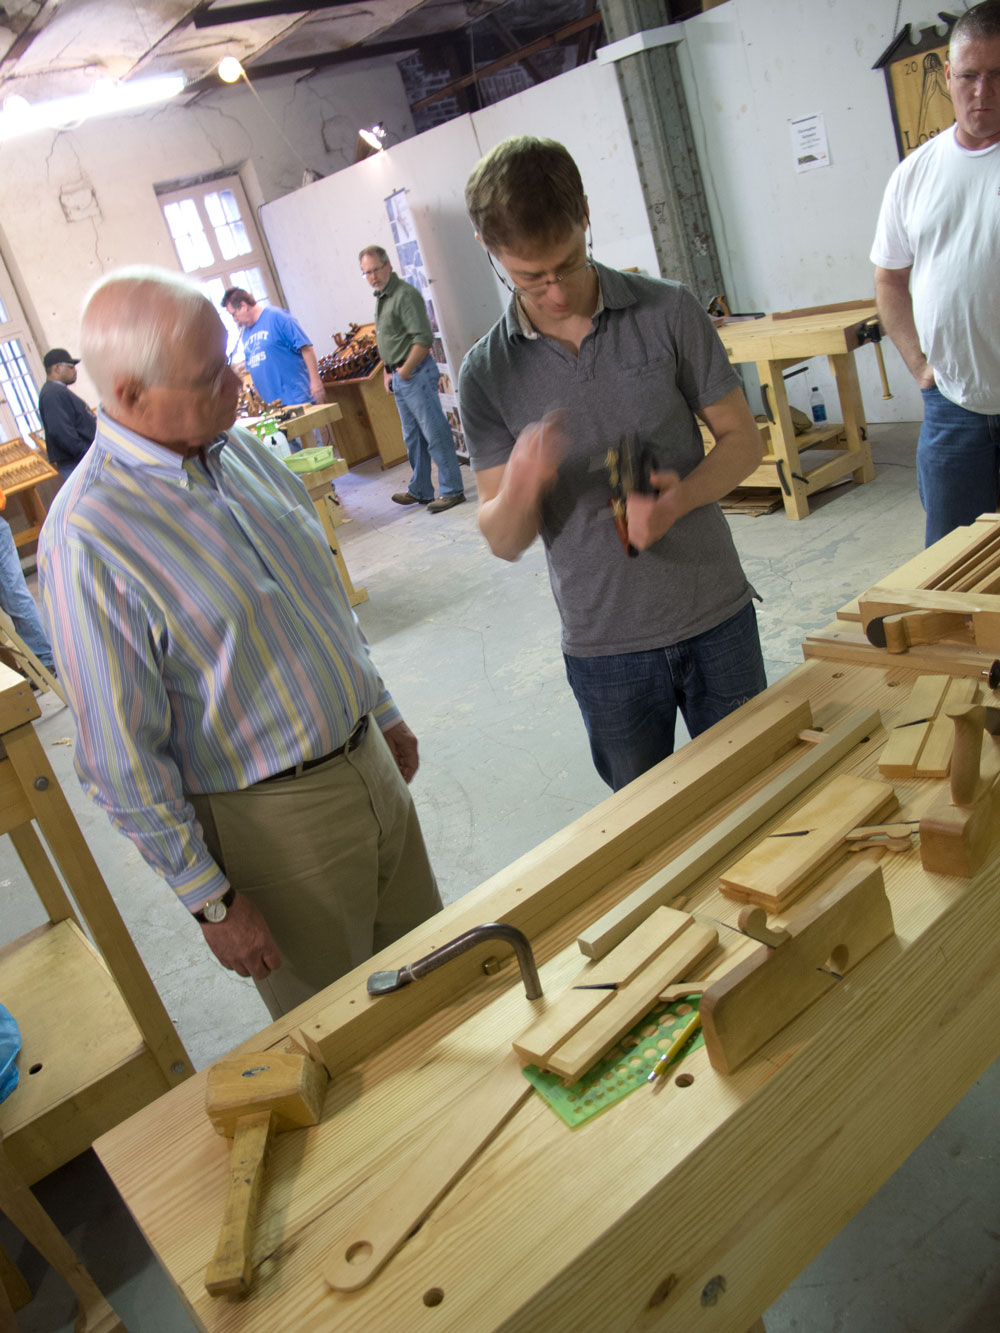
I’m not doing everything like Mike does on his DVD, as you can see in the photo above. Mike assembles the legs with screws so you don’t have to have clamps. I have clamps, so I put those to use this afternoon.
So I’m not fully naked. To the great relief of my neighbors.
“The Naked Woodworker” DVD is off to the pressing plant in Virginia, and I am uploading the massive movie files to our store’s servers as I type. So here are details on the project, when it will be available and pricing.
“The Naked Woodworker” is unlike any woodworking product I’ve worked on. It started last May when Mike Siemsen and I were talking at Handworks in Amana, Iowa. While examining his workbench there, we began throwing ideas back and forth about how to capture his bootstrapping methods and bring them to a wide audience.
The core principle: Buy a few good vintage tools, fix them up, build a sawbench and a workbench. Do it fast, well and with no machinery or woodworking power tools.
In February, John Hoffman and I drove up to Siemsen’s shop in Minnesota to film the DVD, the first for Lost Art Press. On Saturday morning we hit the Mid-West Tool Collectors Association’s regional meeting where we filmed Mike sifting through, evaluating, haggling and buying the tools we’d need. (Personal note: If you like handwork, join MWTCA. It’s inexpensive to join, and the rewards are extraordinary.)
After lunch with some of Mike’s buddies, we drove to his shop and began fixing up the tools we bought. Mike rehabbed the planes, sharpened the saws and fixed up the braces – all on camera.
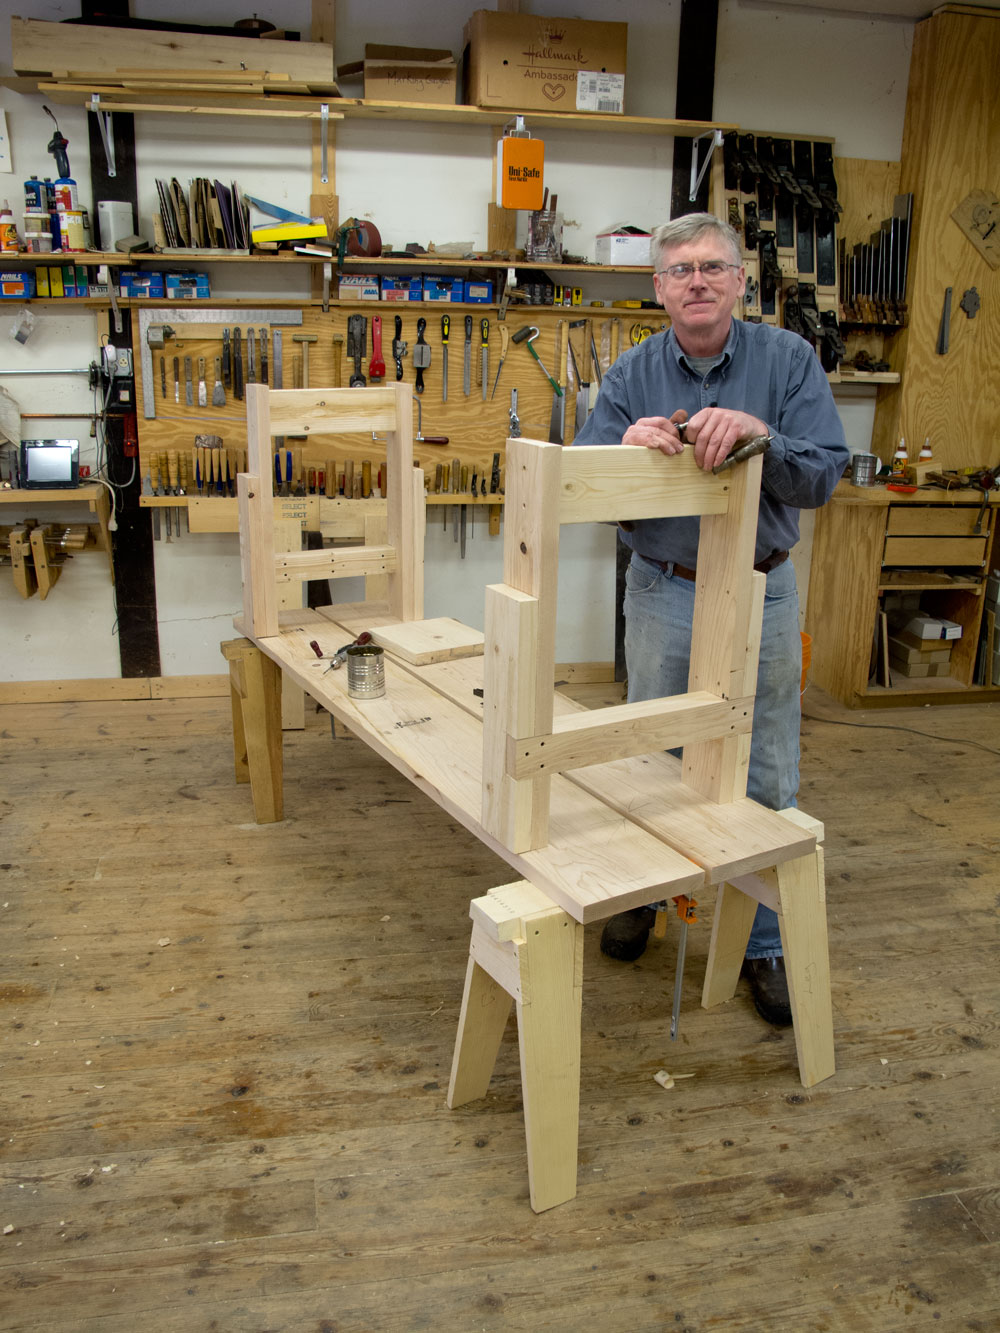
On the second day, Mike built a sawbench and a fully functional workbench using home-center materials. Both the sawbench and workbench are amazingly clever. You don’t need a single machine or power tool to make them. And they work incredibly well.
Mike finished up work on the bench just as his friends were showing up for his birthday party (hence the beers in the background during the final shots of the DVD). Everyone ate chili (at least, that’s what they were calling it) while sitting on the new bench and playing with the tools.
This spring, I edited the footage down to two short DVDs. One on buying and fixing tools. The other on building the sawbench and workbench. We also commissioned a very nice SketchUp drawing of the bench. And, most telling, we made a spreadsheet that details every tool, screw and stick of lumber we bought for the project. Both the SketchUp drawing and spreadsheet come with the DVDs.
We spent $571.40 for everything. Then Mike sat down and figured out what the prices would be if you paid for your tools more on the high side of things. That price: $769.40.
We hope this project will inspire new woodworkers to just dive into handwork and get started. I talked to too many people who are hesitant about where to begin, how to begin or think they have to buy every tool in the catalogs to begin. You don’t.
We also think “The Naked Woodworker” will be a great thing for experienced woodworkers who need a quick workbench and some sawbenches.
“The Naked Woodworker” will be available in August in two forms: A DVD set for $22, or a download for $20. The download will be available for international customers. We don’t know if any of our retailers will carry this product as of yet. If they pick it up for their catalogs, we’ll let you know.
Next month I’ll post some video samples from “The Naked Woodworker” so you can get a taste of the project.
— Christopher Schwarz
P.S. There is no nudity in “The Naked Woodworker.” Thank goodness.
In this segment, we visit The Naked Woodworker, the oracle of east-central Minnesota, to ask his advice on the following important questions.
1. Oh Naked Woodworker, tell us the truth about safety advice. It’s mostly legal, cover-one’s-behind stuff, no?
The Naked Woodworker speaks: Avoid injury! There is no greater loss to a woodworker than an injury; while most injuries are small cuts that are fairly easily taped over, you still get blood on your work and have an annoying sore spot to take care of until it heals. The bigger wounds might require stitching, which involves time away from your shop to get sewn up, time lost to heal if the wound is in a bad place, and money out of pocket to pay the doctor. We won’t talk about more severe wounds, which have more severe repercussions, such as the loss of the ability to count to 10 or pick your nose. Be careful, read instructions, follow them, wear safety glasses and dust masks, listen to your “gut” if the voice in your head says, ”Don’t do that.”
2. Oh Naked Woodworker, where will I find tools and wood to make things? For we are naked and have no such objects.
The Naked Woodworker speaks: You will need tools, wood and a place to work and store your tools and materials. Be creative. Perhaps you’ll have to work outside and store everything in a garden shed; if you don’t have a shed, that could be a good project. Figure out how you want to work; both hand tools and power tools can be found on Craigslist. Be patient and watch for a good deal.
It is a good idea to have a small trailer for getting materials and machines. Small trailers can be found on Craigslist as well. If all you have is the back seat of a Miata or a bicycle, you will be severely limited in your ability to jump on deals when they arise. Though I have been able to pick things up via motorcycle as well. Many items will easily fit in the trunk of a car, but lumber can be tricky. Roof racks are good but be sure to tie things down well; be creative.
Keep it simple at first. Build a sawhorse and a workbench of the type that suits you and your method of work. I find the English joiner’s bench to be inexpensive, very functional and easy to make. Workmates and sheets of plywood on sawhorses work as well.
3. Oh Naked Woodworker, what is the most important tool in the shop?
The Naked Woodworker speaks: Without knowledge of your tools and material, you will be lost. Learn the basics, put down a solid foundation of how tools work and how wood behaves, or misbehaves. Learn to sharpen and maintain your tools and equipment quickly and efficiently. Your brain is your true power tool, make sure it is turned on before you enter the shop. You don’t want to say, “I knew better” or, “I just wasn’t thinking.” Your mind is where you keep your most important tools, make sure it is full and well maintained.
Take a class and try other people’s tools. Learn how to sharpen and tune any tool you own, power or hand tool. Buying tools will not give you skills! Skills come with training and practice; they are earned! Many machines are very dangerous; learn how to operate them safely by reading the manuals that come with them. Know what makes a tool or machine “good.” Price is not always an indicator of quality. Buy the best tools and machines you can afford.
The broom is the second-most most important tool in the shop. Keep your shop clean, and when you drop a tiny screw or break a chip off of a dovetail you might be able to find it. When you hit a tough spot in a project and don’t know how to progress, or you had an upsetting phone call and are stressed out, sweep the shop to music. Put things away and tidy up. Soon you feel better and can get back to work. You may even come up with a solution to your tough project. You will get far more work done and have fewer tools fall off the bench and break in a tidy shop. If you can’t find a tool in the shop, start putting things away until it turns up. Don’t simply search for it. When you go into your shop, always put 10 things away.
4. But Naked Woodworker, we did not ask about the second-most important tool, for we are slovenly. But where can we purchase such knowledge and skills?
The Naked Woodworker speaks: Take classes to gain skills. Create or join a group of like-minded people, SAPFM, M-WTCA, PATINA, or local guilds and learn together. Bring in a teacher and create your own class. Knowledge is your best tool for saving money. Learn, practice, learn some more and improve by practicing. Do not practice poor technique.
I hate hearing someone say: “I would get in to woodworking but I can’t afford the equipment.”
Woodworking does not have to be an expensive hobby. It can be, but it doesn’t have to be. A simple workbench can be built in a day with hand tools for about $100. Many tools can be picked up at garage sales and at tool meets. Online auctions or classified sections of woodworking lists such as WoodNet are another great source, as are Craigslist and e-bay.
Do you really need stationary equipment for your hobby? Machines can be expensive – moving them, getting your shop wired, dust collection and etc. will add up quick. Many times it is quicker to do something by hand than to set up a machine or design jigs for machines to do the job.
I find that machines pay off when making multiples. It is the skills that are hard to come by. Lack of skill is what really costs us time and money. The $5 handsaw is rusty and dull, so you need to know how to clean and sharpen it. Find someone to show you how or take a class; learn to do it properly and well. You may have $100 invested in that first saw when you are done, but you also will have a new skill. While your next rusty saw will be $5 plus your time to clean it up, you will also know if it is any good before you buy it.
Learn how to saw. Many of the tools we buy are created to replace a skill, to make a task so easy a child could do it. They very seldom live up to their hype. How many of you have purchased a tool to improve your dovetails or to enable you to saw better?
The chisel needs to be used and understood before you move on to the saw and plane. You probably don’t need a new chisel; you need to learn how to efficiently sharpen the one you have.
You need to know the properties of wood before you can work it properly, including how to read grain direction and plan for wood movement. Knowledge is the thrifty woodworker’s friend. Knowledge will ensure your materials are stored properly, tools and equipment are maintained, the shop is clean and organized and layouts are done efficiently for both time and materials.
Knowledge of power tools, if you choose to use them, can save you time, money and pain; know how to safely use them. Using a power jointer and planer can save a lot of preparation time if you don’t get your hand in there. Power tools are also efficient at spoiling material if you don’t really know what you are doing. “Knowing” that you need a tool to be more efficient at your work is better than “hoping” that a new shiny gee-gaw will make you a better woodworker. Don’t buy a tool that you can’t maintain unless you plan to pay to have someone else do the maintenance. You cannot buy your way in.
Say you buy a shop full of tools and equipment and a pile of wood, now what? Buy some plans? Hire somebody to come in and do the work?
If you want to get more tools into your Dutch tool chest, check this out.
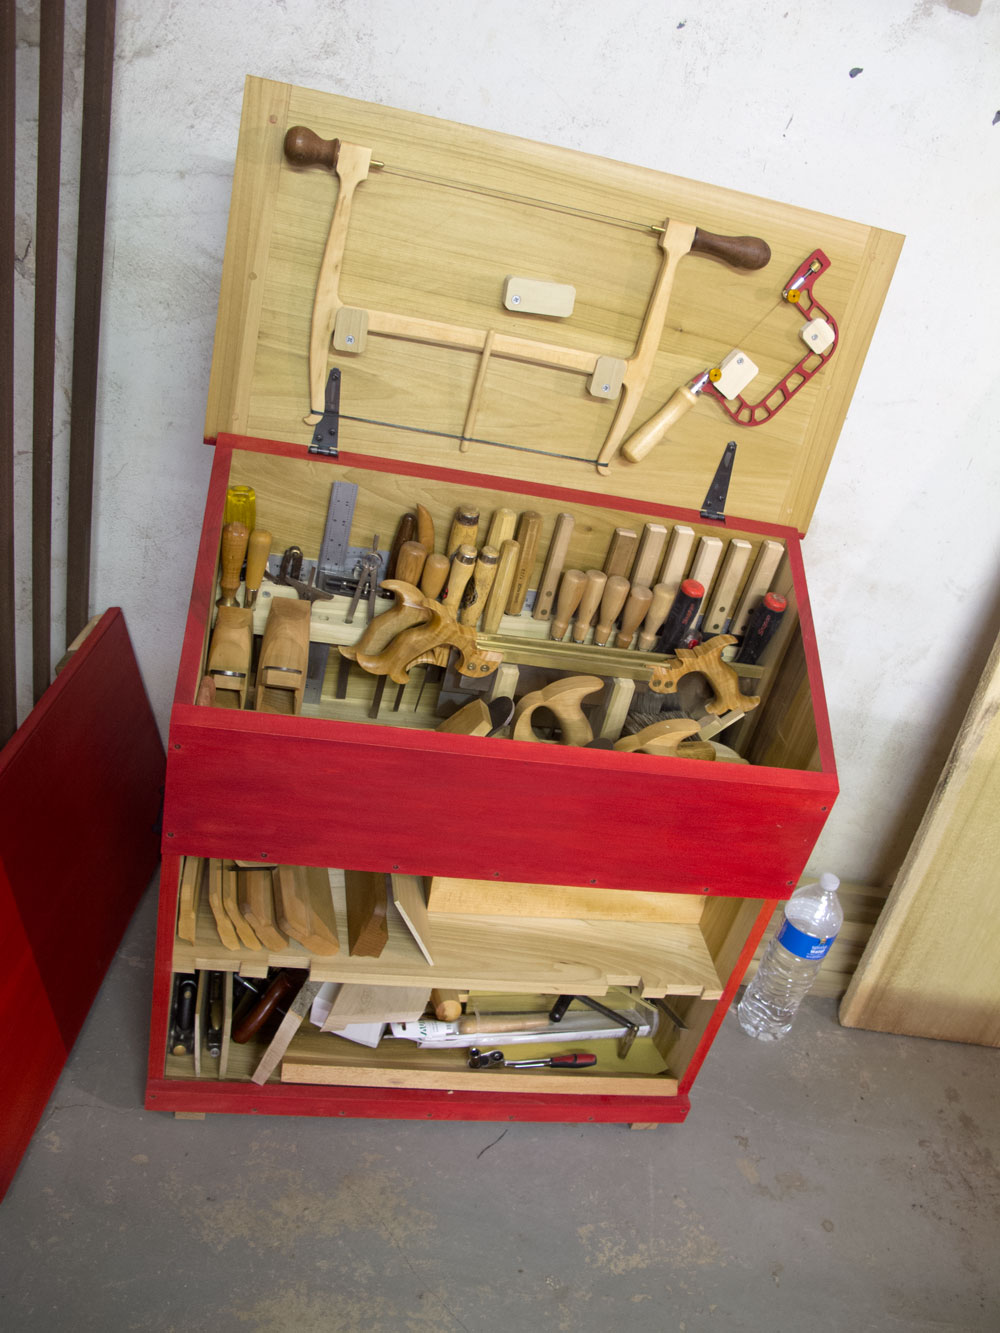
Mike Siemsen, host of the forthcoming “The Naked Woodworker” DVD, built a Dutch tool chest with (at least) two interesting twists.
1. He added an extra tool rack to the fall-front of the chest to hold small tools. Many students have threatened to transform their fall-fronts into something useful, such as a shooting board or bench hook. But I have yet to see any who succeeded. Mike’s idea definitely works. (So far, the only other successful adaptation has been to use the fall-front as a cheese board.)
2. Mike transformed his two sliding locks into winding sticks. Actually, they always were winding sticks. But he painted one stick black to make them easier to use.
Caleb James, a planemaker, chairmaker and (I hope) soon-to-be-author, made a nice Dutch chest that he brought along to the Lie-Nielsen Hand Tool Event in Charleston, S.C., this spring. (He also brought along a knock-down Nicholson workbench that I didn’t get to photograph. Curses.)
Caleb did something very cool with his sliding locks. He made them into notched battens that he could use with holdfasts on his workbench. You can see one of the sliding locks on his workbench in the photo above, but the notched section is covered by a handplane.
If you cannot visualize a notch there, check out this entry that explains things.