One of the ideas that’s been crashing around in my head for years is that vernacular furniture – what I call the “furniture of necessity” – is divorced, separate and independent from the high styles of furniture that crowd the books in my office.
This idea is not commonly held.
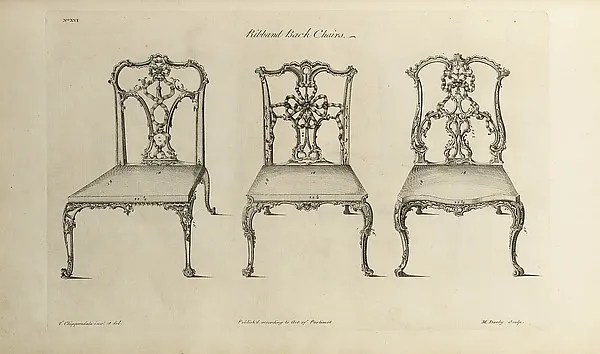
The conventional wisdom is this: Chippenton Sheradale invents a style of furniture that is Neo-Classical Chinese. So he publishes a pattern book to illustrate his new pieces, and the style becomes all the rage. All of the rich people want pieces in Neo-Classical Chinese to replace all the pieces in their houses that were Neo-Chinese Classical.
So the local cabinetmakers oblige and (as a result) can all afford new chrome rims for their carriages.
Rich rural farmers see the pieces in the new style and return home with the crazy idea that they should also have pieces in the latest Neo-Classical Chinese style. So they get Festus, the local cabinetmaker, to build them a Neo-Classical Chinese chair. But Festus uses Redneck Maple (Holdimus beericus) because Festus can’t get New Money Mahogany (Stickusis inbutticus).
Oh, and Festus takes some liberties with the new furniture style to please his rural customers, who want a series of cupholders in the arms that can accommodate a Bigus Gulpus.
Then the poor farmers see the Redneck Maple Neo-Classical Chairs owned by the rich farmers and ask their local carpenters to make copies, who also make changes to the design (a gun rack on the back). And then the dirt farmers see that chair. And so on.
Meanwhile, back in the city, a furniture designer draws up a pattern book for Neo-Gothic Romanian furniture. The cycle begins again.
All this sounds plausible because it has been written down in almost every book of furniture history ever published. The rich make something fashionable, and the poor imitate it until the rich become annoyed or bored. So then the rich find a new style, which the poor imitate again.
The only problem with this theory of degenerate furniture forms is that the furniture record doesn’t always go along with the theory.
I think there’s furniture that is divorced from the gentry. Furniture that is divorced from architecture. Instead of beginning with a pattern book, it begins with these questions: What do I need? What materials do I have? What can I make that will take little time to build but will endure (so I don’t have to frickin’ build it again)?

For several months now I have been plowing through “Welsh Furniture 1250-1950” (Saer Books) by Richard Bebb and have been thrilled to find someone who thinks the same way. Bebb has done the research on the matter when it comes to Welsh furniture. And he has convinced me that I’m not nuts.
In the first section of Vol. I, Bebb deftly eviscerates these ideas like a fishmonger filleting a brook trout. It’s an amazing thing to read. I’ll be writing more about Bebb’s research in future entries, but if you want to get right to the source, I recommend you snag your own copy of this impressive work.
— Christopher Schwarz


