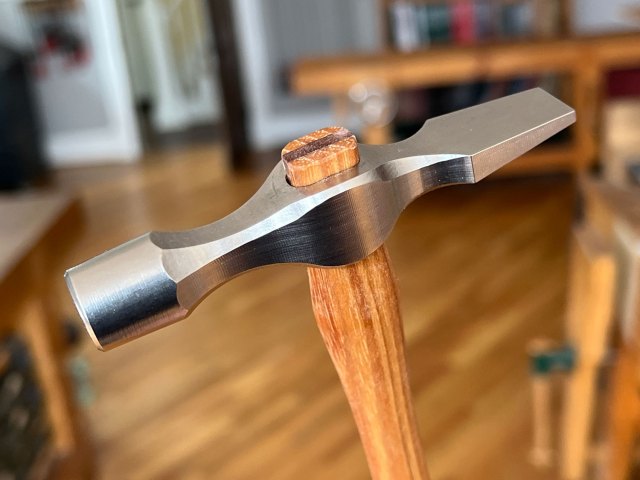
We have our first batch of Warrington hammers in stock here in Covington and ready to ship. The heads are made in Nicholasville, Kentucky. The oiled hickory handles are made in Tennessee. The hammers are hand-assembled – glued and wedged.

They are $97 each. You can place your order here. You can read all about the hammer in our stor, including what the hammer’s cross-peen is used for.
If you are coming to our open day on Saturday morning (July 29), we will have a couple dozen of the Warringtons for sale as well.
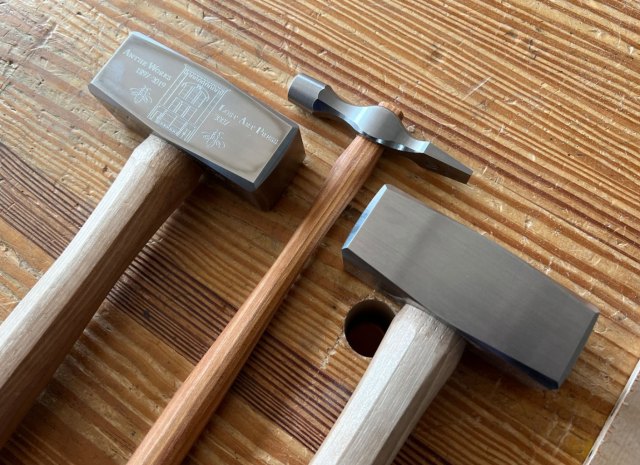
The Warrington is our second hammer. It took us a while to get to it because our lump hammer has been so damn popular (did you see that Natalie Portman uses one for climbing?). We love “lumpy” so much that we have made a special edition version that features an engraving of our new headquarters building on it. These special edition hammers are more expensive because the proceeds go to help fix up the Anthe building.
What’s next? A claw hammer. This is a project we have been building up to for a long time. We now have the design of the head complete and are working on the handle.
— Christopher Schwarz


