Two comb-backs in red elm on my workbench this morning.
I’m back in Covington after a two-week trip to Scandinavia. So after a couple weeks of guest hosts at the Open Wire (thanks, Monroe and Joel), I’m here today to answer your questions about woodworking or stuff that is going on at Lost Art Press.
Warning: My head is full of cheese. I arrived in America with a bad head cold and an unusual case of Traveling West Jetlag. So I might be a little slow on the uptake
Despite all that, I am happy to be home and back at the LAP HQ.
Here’s how it works: Type your question in the comment field. I will attempt to answer it. It is that simple.
So here we go…. Note that comments for this entry will close about 5 p.m. Eastern.
Last week I got to examine two Scandinavian workbenches, presumably from the 1600s, that were on display at the Skokloster Castle museum outside Stockholm. Both benches had some interesting details that I had never seen before on workbenches.
A Different Pinch Dog (& Bench Nipple)
The bigger workbench at Skokloster had a massive shoulder vise that has a curious round protrusion as part of the face vise. We got to calling it the “bench nipple.” It looked like a huge bead, and I strongly suspect it was purely decorative.
But you always wonder, did the owner find some use for the nipple? The thing had lost a lot of fights with a saw blade during its life. Though, to be fair, the entire bench was covered with tool marks. These woodworkers were not precious about marring their worksurface.
The other unusual feature of this bench was a forged metal dog that we came to call the “pinch dog.” It fit into the dog holes of the workbench, but it had two peculiar characteristics. It was much longer than the other dogs. And the metal spring of the dog went all the way to the top of the dog. When the dog was pushed into its dog hole, the leaves closed like the jaws of a vise. But they did not close all the way. I suspect the dog was used to pinch thin stock so it could be worked on its edge – planing it or grooving it, perhaps.
The dog could also be used like a standard metal bench dog. It was quite clever, and I might need to chat with a blacksmith about making one.
A Different End Vise
The second bench was much shorter than the first and was equipped with your standard stuff: shoulder vise, tail vise, tool well and a storage locker below.
The curious part of this bench was a third vise located up by the face vise. The vise had a small screw compared to the face vise and tail vise screws. It had a small chop that was fitted with a small dog hole. A matching small dog hole was mortised into the frame. Clearly a piece was missing from this vise that might have answered some questions.
After some thought, I suspect this vise could have been used to pinch wide boards between the small dogs for face planing. As I mentioned, the bench is shorter than I would like. So this would be a way to handle longer boards. Both of these benches were used primarily by joiners who were fitting up the castle with wooden hearths. Plus frame-and-panel trim throughout the structure.
If you have seen a vise like this on an old bench, leave a comment.
We will open our doors to the public on Saturday, July 29, from 10 a.m. to 5 p.m. at 837 Willard St. in Covington, Ky. We’ll be selling our complete line of products, signing books and – most of all – talking about woodworking.
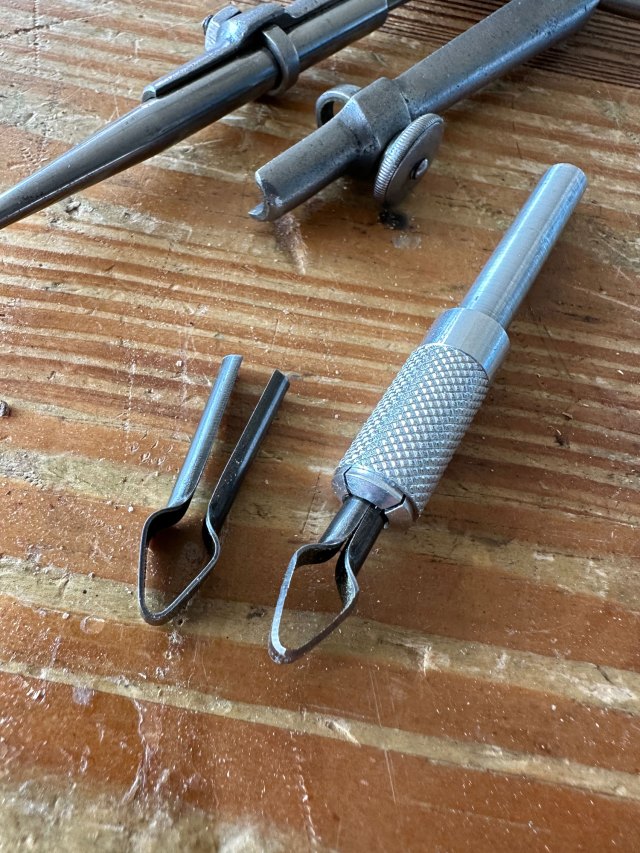
I’ll display a bunch of the furniture I’m building for my next book, “The American Peasant.” Plus, I’ll be happy to demonstrate the grooving cutters I use to add spells and wards to the furniture.
We’ll also show off the Anthe building – the 1890s-era factory we are restoring to become our new headquarters. If you would like a tour of the Anthe building, we’ll lead walking tours that leave from Willard Street to 407 Madison Ave. The tours begin inside 837 Willard St. (our current building) at 1 p.m. and 3 p.m.
If it’s too hot for you to walk (or you have mobility concerns), you can drive your car the 0.7 miles to the Anthe building and meet us there.
Please keep in mind that Anthe is under construction, so be sure to wear comfortable shoes with good traction. There is, however, electricity, plumbing and HVAC there. Other than the two tours, the Anthe building will not be open to the public that Saturday. Our fulfillment employees don’t work on weekends. So if you show up there (outside of the tours mentioned above), you’ll find the doors locked.
One of the tool chest forms that has been on my list to explore is the Swedish chest, which I’ve encountered a few times both in the United States and Europe. It’s similar to the Dutch tool chest, with its slanting front lid. But the Swedish one is in many ways simpler.
The chest shown here came from the family of Johan Lyrfalk, who owns Rubank Vertygs AB, a woodworking supplier in Stockholm, Sweden. Last Saturday, he brought it out for us to inspect and measure during a visit to his store.
Note how the bent hasp holds the lid open and accessible.
The chest is most likely pine and it is assembled with through-dovetails at the corners. The top and bottom are screwed to the carcase. The slanted lid is kept flat with two battens that are neatly joined to the lid with blind sliding dovetails. The steel hinges are let into the carcase and are screwed through the lid and into the battens, increasing the reach and strength of the screws.
The interior of the chest is fairly open. There are openings for three drawers (this chest had only two of them remaining). The drawers are assembled with half-blind dovetails (two dovetails per corner). One nice detail of this chest is the top edges of the drawer sides are beveled to the inside. That reduces the number of corners you will bump into when you reach for a tool.
The middle drawer. Note the bevel on the drawer side.
The drawer frame and dividers appear nailed and screwed to the chest from the outside, keeping with the aesthetics of the chest.
The interior walls of the chest are lined with tool racks. And there’s a tool rack on the lid.
How the tool rack on the lid was used was a question among the woodworkers looking at the chest. The lid is propped open by its hasp, which allows the tool rack to be handy. But you’d have to remove the tools to shut the lid. Some speculated perhaps this chest was rarely closed and used mostly in a workshop environment.
Dimensions are: 32” wide, 18-1/2” high and 19-1/2” deep. The top is 11” wide, as is the drop lid. Most of the stock for the carcase is 7/8” thick.
The interior tool racks.
This chest is definitely one on my to-build list. We are always looking for tool chest classes that teach a variety of good lessons for classes (or for publication). The Anarchist’s Tool Chest is my personal favorite to work out of; but as a class, it is mostly about through-dovetails and nails. Even in a one-week class working flat out, it is difficult to get to making the lid, much less the rest of the interior bits.
The Dutch tool chest, as a class, is a more balanced experience. You get some dovetails, dados, rabbets, maybe some tongue-and-groove.
The Swedish tool chest could be a primer on through-dovetails and half-blinds, for the drawers.
I’ll have to build one to find out.
The tool chest at the Vasa.
After we spent an hour poring over Johan’s tool chest, he returned it to its resting place. The next day we went to see the Vasa exhibit. And there, right next to one of the workbenches from the Vasa, was an almost-identical chest (just a little longer). Perhaps the universe is sending me a message.
One of the other suggestions for a replacement for the beloved Hold Heet glue pot is to use a coffee mug warmer, such as this one. I chose this particular model because it has two heat settings that are ideal for heating glue (122°F and 140°F), plus it has a timer and an automatic shutoff.
I’ve used it a few times, but the limitation of this kind of glue heater was obvious from the start: It’s too small to heat more than a little bit of glue. If you work on small projects and need only a few ounces of glue at a time, a mug warmer is ideal. But I had trouble heating enough glue for a chair class and had to break out the Hold Heet.
Honestly, it’s a lot to expect from a $20 appliance that is supposed to keep 8 ounces of coffee warm. It just doesn’t put out enough heat to warm a water bath and a plastic glue bottle. (You can’t put the glue bottle directly on the warmer; it will melt.)
One possible option would be to store your glue in a steel container, which could go directly on the appliance. I tried using a large ceramic vessel but couldn’t get the water above 100° F. The thing likes to heat metal.
So the best option was a steel vessel filled with water and a glue bottle inside.
So, bottom line: It’s great for people who need enough glue for a few crackers. But if you need enough for a big piece of casework, look elsewhere.