The following is excerpted from “Chairmaker’s Notebook,” by Peter Galbert. Whether you are an aspiring professional chairmaker, an experienced green woodworker or a home woodworker curious about the craft, “Chairmaker’s Notebook” is an in-depth guide to building your first Windsor chair or an even-better 30th one. Using more than 500 hand-drawn illustrations, Peter Galbert walks you through the entire process, from selecting wood at the log yard, to the chairs’ robust joinery, to applying a hand-burnished finish.

Wood finishing is an art completely separate from the craft of woodworking.
Sadly, this does not mean that all of us woodworkers who rush through the process as amateur finishers are off the hook. The problem is that we still need to learn the craft of finishing if we are going to practice it.
Too often, flushed with the desire to see our labors complete, we hurry through the process. But the finish is the first thing viewers see. And whether we like it or not, it can elevate our work – or cruelly diminish it.
One solution is to work only with attractive woods and to use clear finishes. This imposes a design limit because certain chair forms get too visually chaotic when the wood grain is visible. The chairs that I make with clear finishes have more subtle shapes to keep from muddying or competing with the images on the surface of the wood. The finish process for these chairs is less daunting. But for the traditional chairs, which are made with woods chosen for their varying strengths rather than their beauty, a unifying finish is, in my opinion, essential.

The most common concern with painting a chair is that you will diminish its beauty by cloaking the natural surface. But in looking through history, this wasn’t always the attitude; each era has a different and complex relationship with wood as a material and paint as a finish.

In the times of the original Windsors, paint and bright colors were a luxury and sign of wealth. Just as the restoration of the Sistine Chapel exposed the rich, saturated colors of the original fresco, which shocked and even offended some modern onlookers, we are accustomed to the mellowed and patinated chairs of old. So our solution is to stain or paint our chairs muted colors to match our impressions of these venerated pieces. But an exploration of the real paints of old, with verdigris, lead and linseed oil, reveals a green so intense that it would make dayglo appear a subtle hue.
As paint technology advanced and cheapened, coloring furniture with paint became a means to give the masses their shot at glamor, and it was often used to hide cheap wood and inferior construction. Once paint became associated with cheap furniture, then unpainted pieces, using exotic or aesthetically pleasing woods, became the sign of wealth. Flash-forward another century and we have the reaction of the late 20th century against the influx of plastics into our world. In contrast to the uniform, artificial surface of plastic goods, all things natural and earthy were seen as beautiful. Any attempt to cover them was an affront to the material. This elevation of the wood as a material led to lots of garish wood grain becoming the central feature of the furniture, as opposed to a contributing component of the overall design.

Of course, we are all of our time, and each of us has a personal preference and bias. Initially, it was a stretch for me to paint my first chair, but after I witnessed the transformation and enhancement, I was committed to mastering the process.
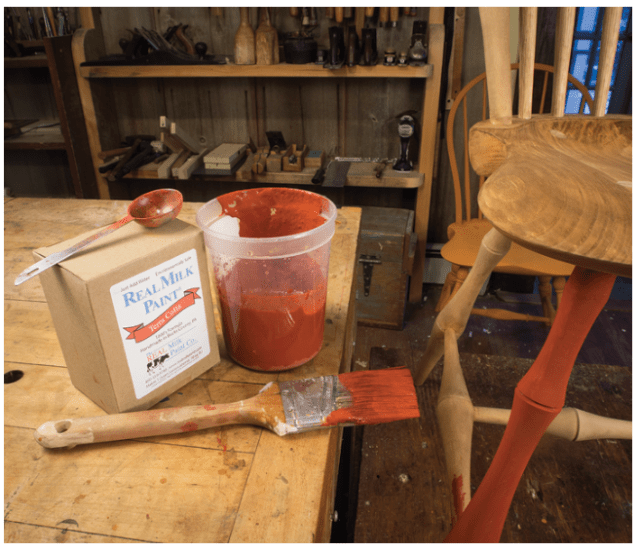
Paint has come a long way from the toxic lead paints of the original Windsors to the stringy enamels of the 20th century. I paint my chairs with milk paint, and while it was not the traditional finish for Windsors, it does a great job of coloring the wood without obscuring the texture. One problem with milk paint is that its manufacturers tend to describe mixing and using it in a way that creates a crude “country” finish. I don’t want this for my chairs, so I mix the paint thinner than recommended and follow a multi-coat process to get the refined look I want.

When done properly, the grain and texture of the wood are clearly visible, and the desirable tool marks and edges are sharp and crisp. Not only is the warmth and depth of the wood present, but it is deepened. Over time, normal use will wear the paint, exposing the edges of the chair and highlighting the shaping. The overall effect is far more striking than one dominated solely by the surfaces and colors of the wood.
Before launching into surface and paint preparation, I feel compelled to talk about samples. Committing to making sample boards might just be the toughest lesson in all of woodworking. But until you have a sample – and I mean a completed sample – that you are pleased with, it is more than likely that you will be disappointed in the results on the actual piece.
When working with a new finish, I make samples on the various woods and surface preparations of my piece. I observe all the normal drying times, steps and layers. Lots of notes will help you remember the steps and measurements. Once I love the results, it’s time to work on the actual piece.

Surface Preparation
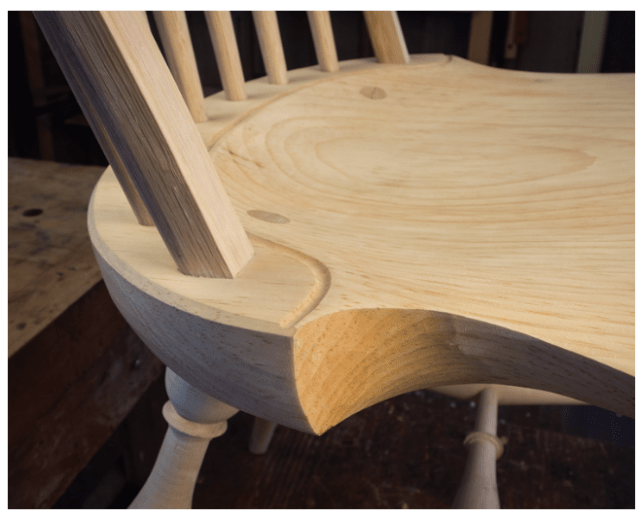
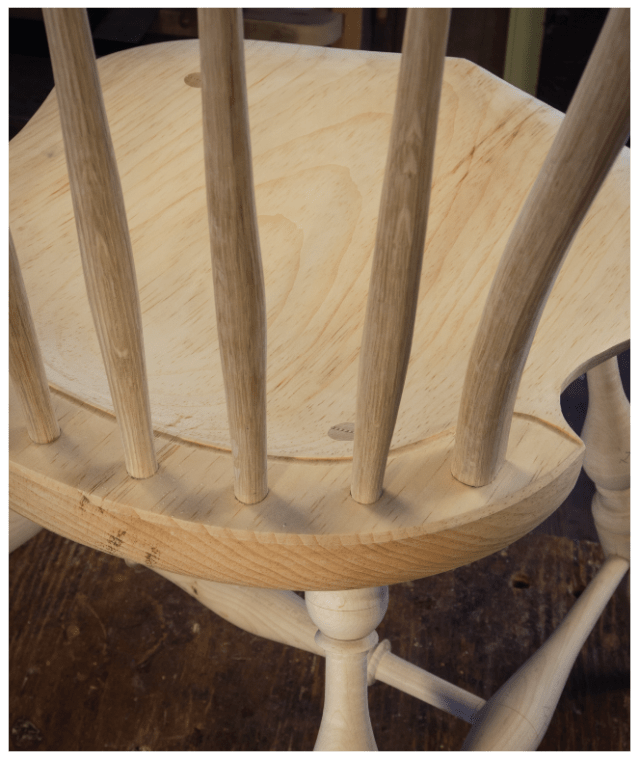
Surface preparation is vital to getting good results. Any surface that was shaved with a sharp blade, such as a drawknife or spokeshave, is ready for finishing without any further preparation – save making sure that it is free from dirt or grime. This is because the cutting action shears the fibers cleanly without compressing the grain. Even parts that have been put through the steamer will show no raised grain where they were shaved with a sharp tool.

Areas that have been scraped and sanded will have some degree of grain compression that will show up as raised rough fibers on the surface once they contact either water, water-based stain or water-based milk paint. For these areas, I sand to #220-grit, then wet them to raise the grain. This is often easier to do before assembling the chair.
It’s important to let the surface dry and harden; letting it sit overnight is best. Then I lightly sand with #220- grit paper, being careful not to apply too much pressure. Instead, I let the sandpaper cut the fibers with multiple light passes. These areas will most likely show raised grain again, but I sand them after the first coat of paint has soaked into them and hardened the fibers. One sanding after the first coat of paint is usually enough, but I inspect those areas carefully to ensure that I am happy with the surface after paint is reapplied.

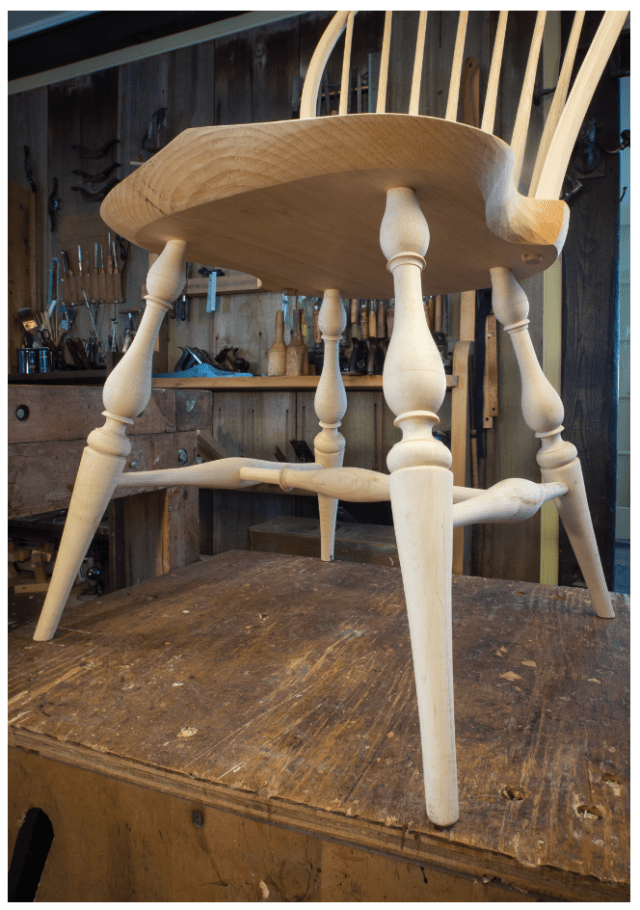
My turnings in the undercarriage are finished with a skew, but because any burnishing that takes place may resist the paint sticking, I sand lightly with #320-grit while the piece is on the lathe. Be sure to remove the tool rest and any loose clothing before sanding. I also wear a respirator because the fine dust is dangerous. There should be no surface preparation required after that.

The seat is perhaps the most critical place for surface preparation. Pine tends to compress when scraped, and it might also contain considerable sap or pitch. It is difficult for paint to adhere to sap, so I heat the surface of the seat with a heat gun until I can see the pores with sap in them liquify. Then I rinse the seat with naptha or grain alcohol. Always wear gloves when handling solvents. I repeat this if the seat seems quite pitchy. Some manufacturers suggest sealing the seat with a coat of shellac or using an acrylic additive to the milk paint to encourage solid adhesion. I have done both, but have found that the brand of milk paint that I use, from the Real Milk Paint Company, doesn’t require help sticking to the surface. If I do use an additive, I only use it on the first coat on the seat and nowhere else on the chair.

If your chair has been sitting around for a while unpainted, oxidation and dust will have contaminated the surface and you might consider wiping the whole chair with solvent such as grain alcohol or naptha before painting.

Stain
Once the initial surface preparation is complete, I can either go straight to painting, or to staining. Staining is a good way of mellowing the raw wood so that when the paint wears away, you won’t see the bright white of raw wood. The stain will also help you to see any areas of roughness you might have missed.

I stain my chairs with a simple stain made from crushed walnut hulls soaked in hot water. Wear gloves when making or handling this stain or you will have orange fingers for a week or so. There is a commercially available stain called Van Dyke Crystals that is basically the same thing.
An alternative is to combine a shellac sealer with stain by simply adding a little alcohol-based dye to the shellac.

Either way, I mix and strain the stain and rub it on with a soft cloth. I never paint or stain the bottoms of my chairs, preferring to just oil them and let the natural pumpkin patina of the white pine show.
As the stain dries, I mix my first coat of milk paint. Each color of milk paint mixes and applies differently. So again, make a sample to be sure that you like the mix. Just because you successfully used proportions and steps to get a good green finish doesn’t ensure that your yellow one will work.
Milk Paint
Milk paint is basically a mixture of lime, pigment and milk protein. I think of it as a very thin layer of colored plaster, rather than a paint. It wears beautifully and it is colorfast. Plus, the textures, tool marks and grain of the wood show through the thin, hard layer of paint. One very popular and successful way to use milk paint is to layer different colors, which creates beautiful wear patterns as the chair is used. I’ll describe painting my most popular finishes: black over red and peacock over stained goldenrod. If you wish to paint a solid-color chair, with no undercoat, just follow the instructions for the red undercoat, perhaps adding one more coat before rubbing it down. The concept of creating these layers is simple. A base coat of solid, thin paint is applied first. The key to this layer is that it not be “caked up” or too thick so that it masks the grain of the wood. Milk paint tends to go on a bit thick and uneven, so extra steps are needed to get the best finish. I usually take two coats to apply the base coat, rubbing the first layer with a Scotch-Brite pad and sanding areas with raised fibers. Then I paint the thin areas or areas that have been exposed through sanding or rubbing with a slightly thinner pot of the same color. Again, the goal is an even thin coat of a solid color. Then I either seal the base coat with a thin layer of shellac, or I go directly to the top coat. I follow the same process of painting on and rubbing down the top-coat color until I am happy with the results. Then I seal the paint with oil. You will find that sharp edges and facets tend to “burn through” to the undercoat, which can be avoided or exaggerated, depending on your taste.


