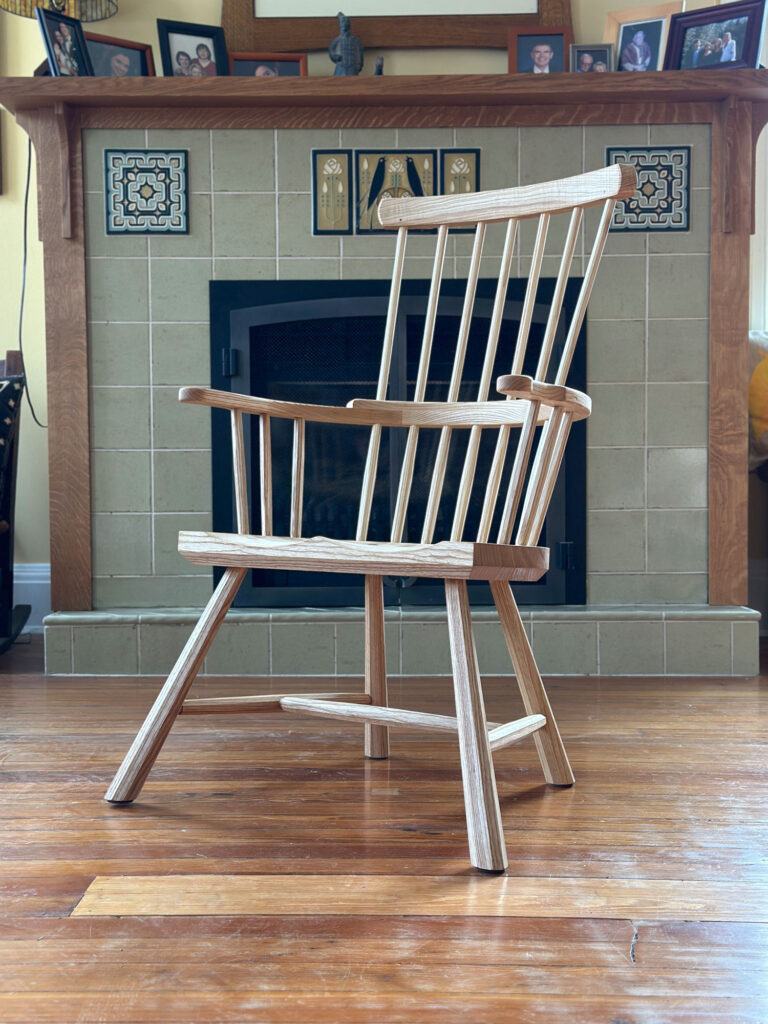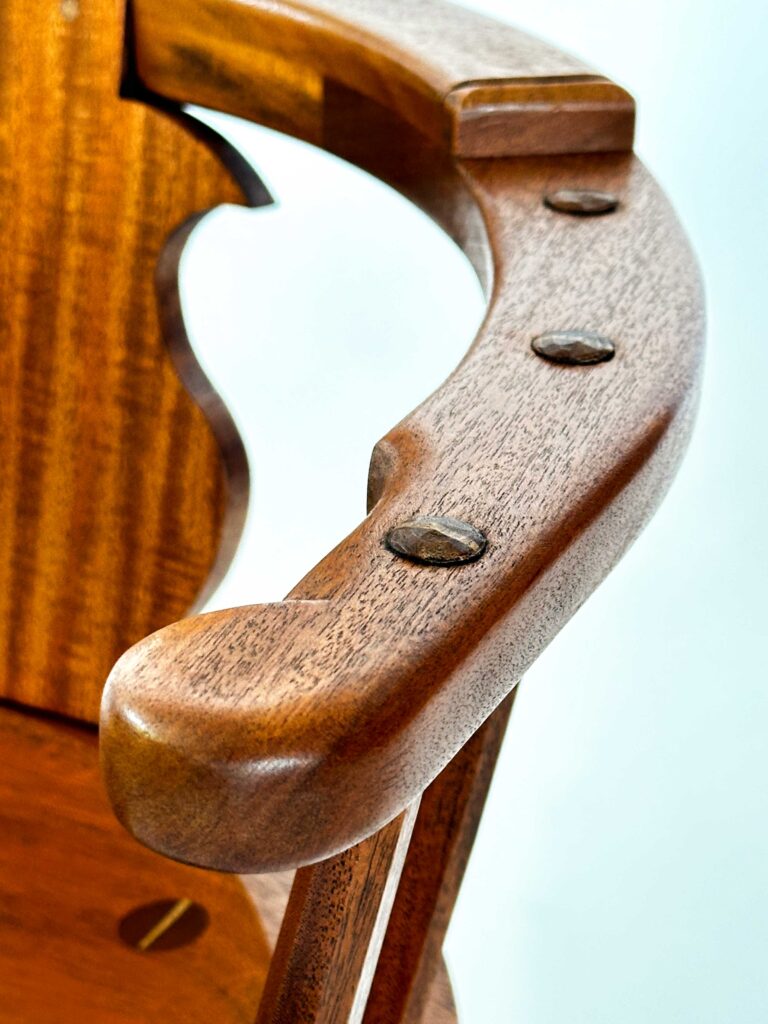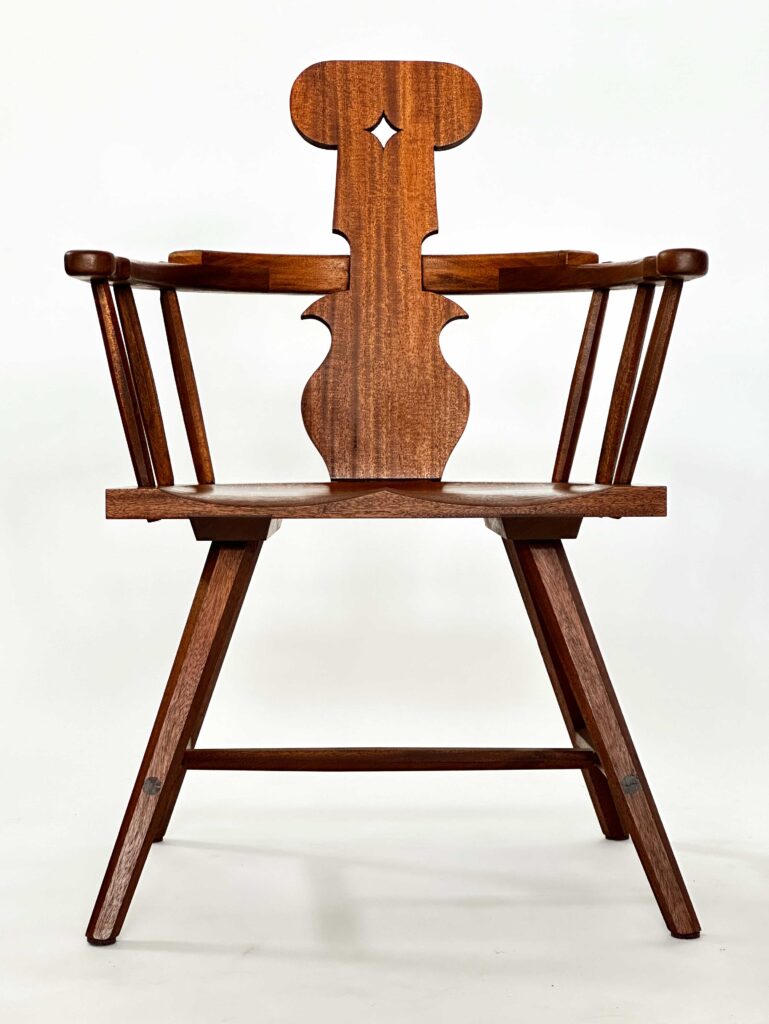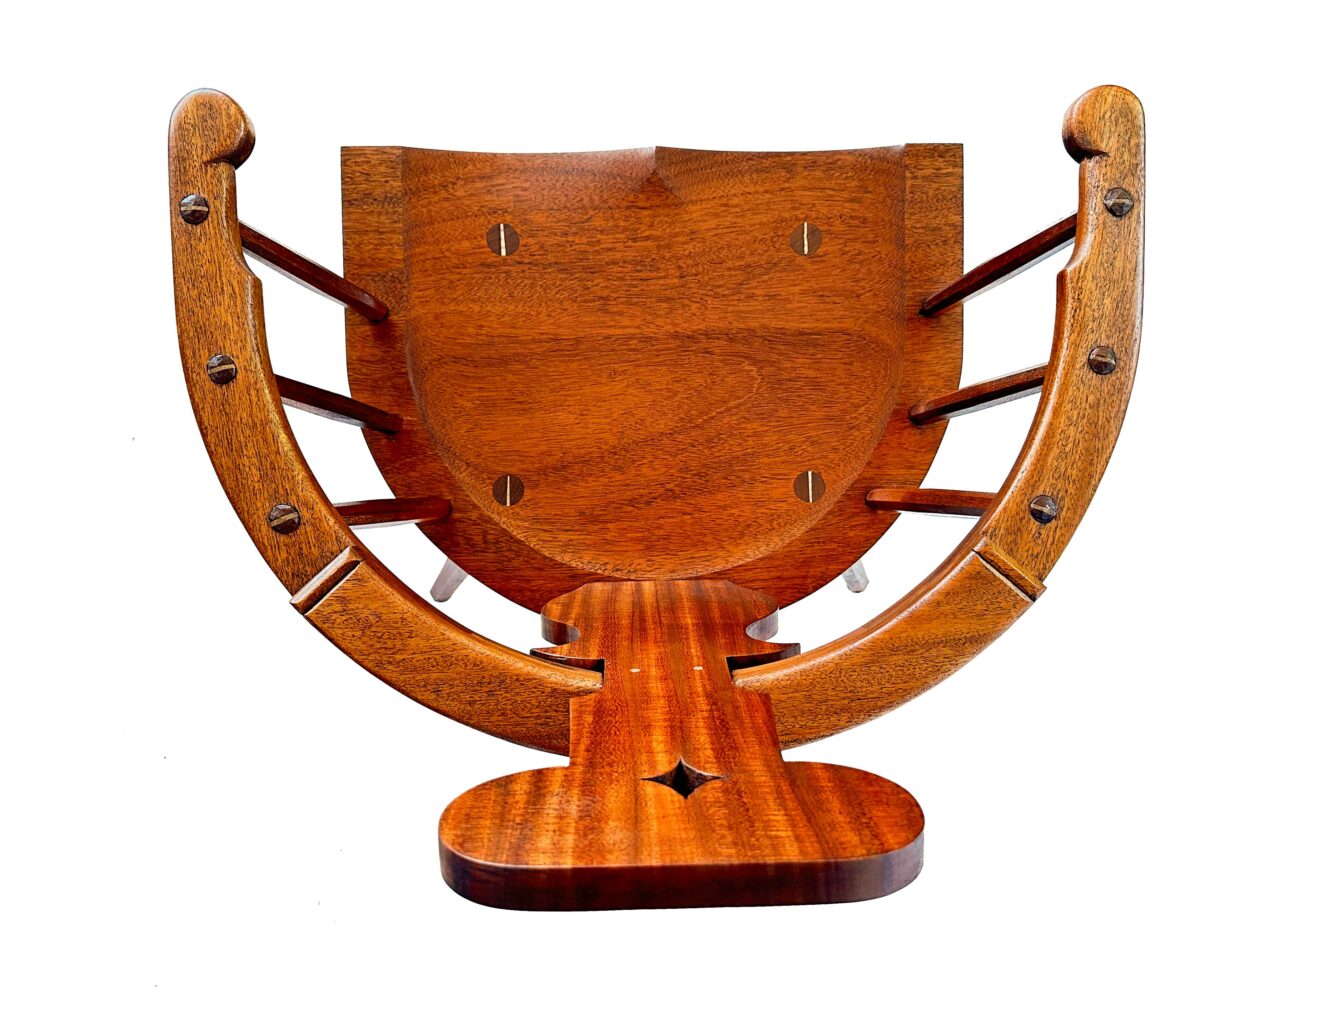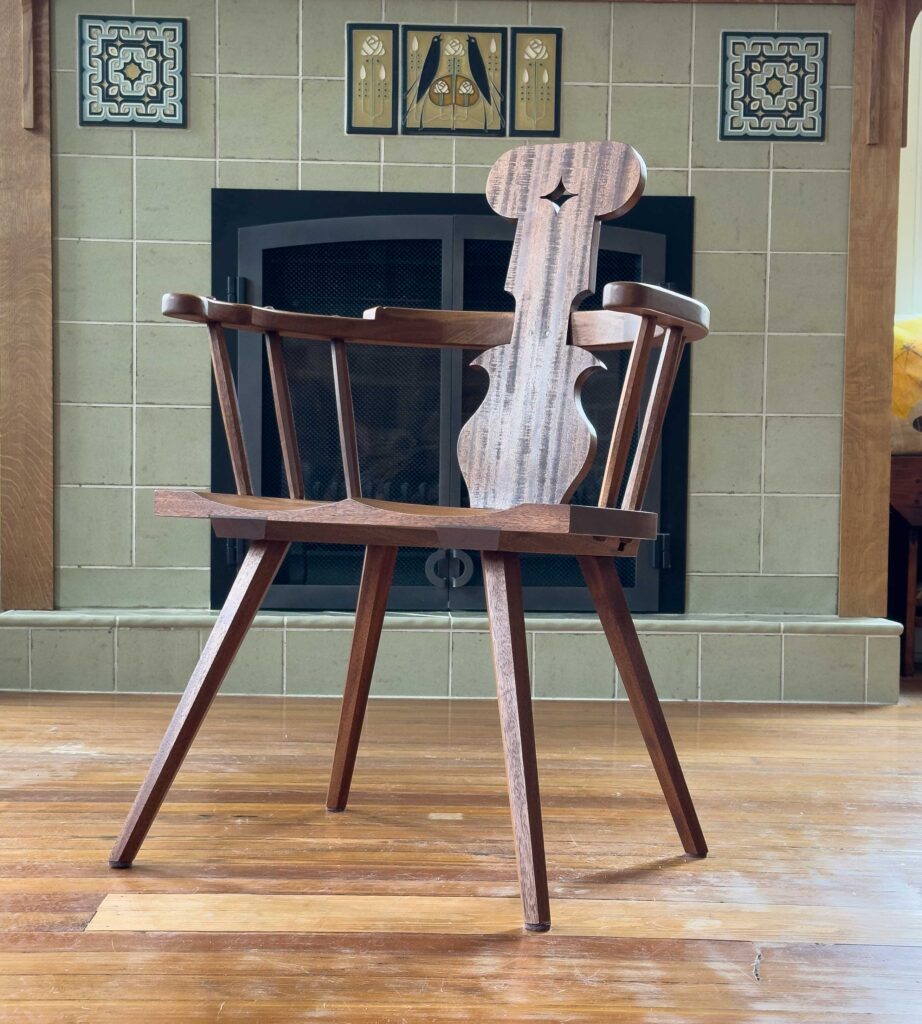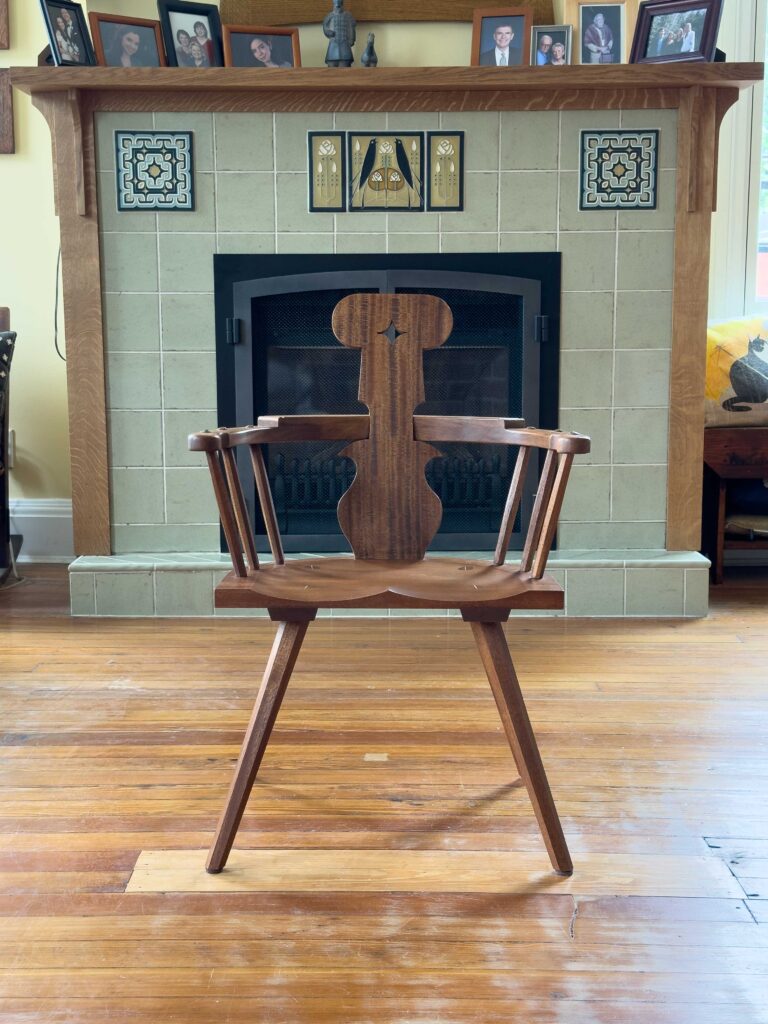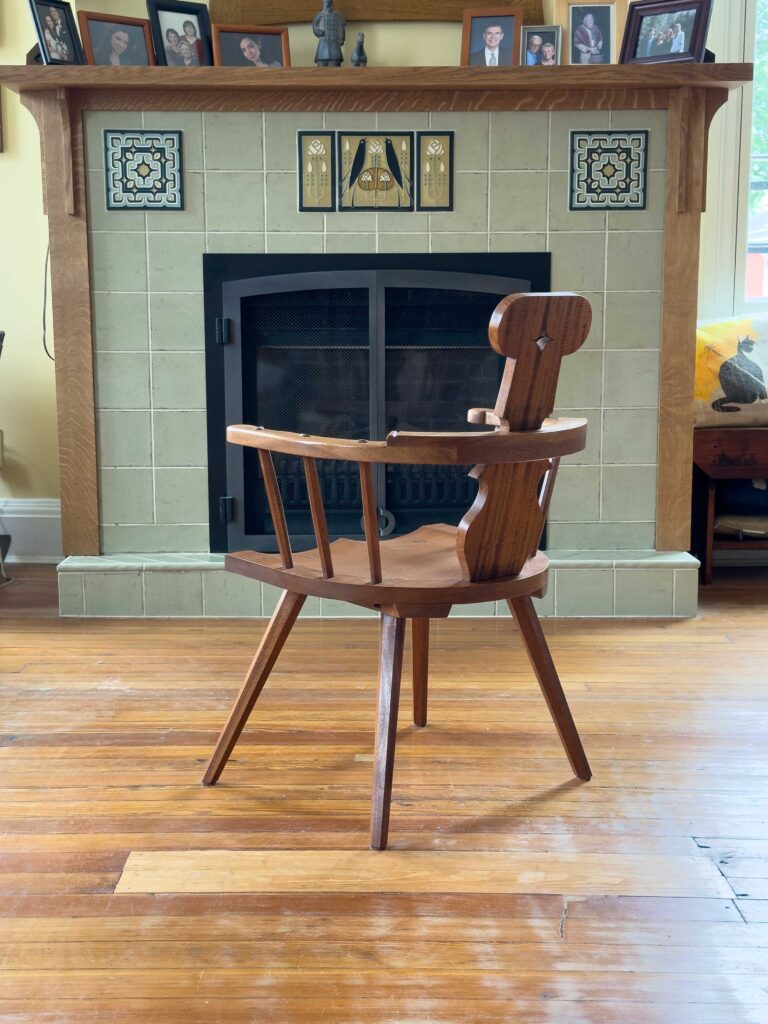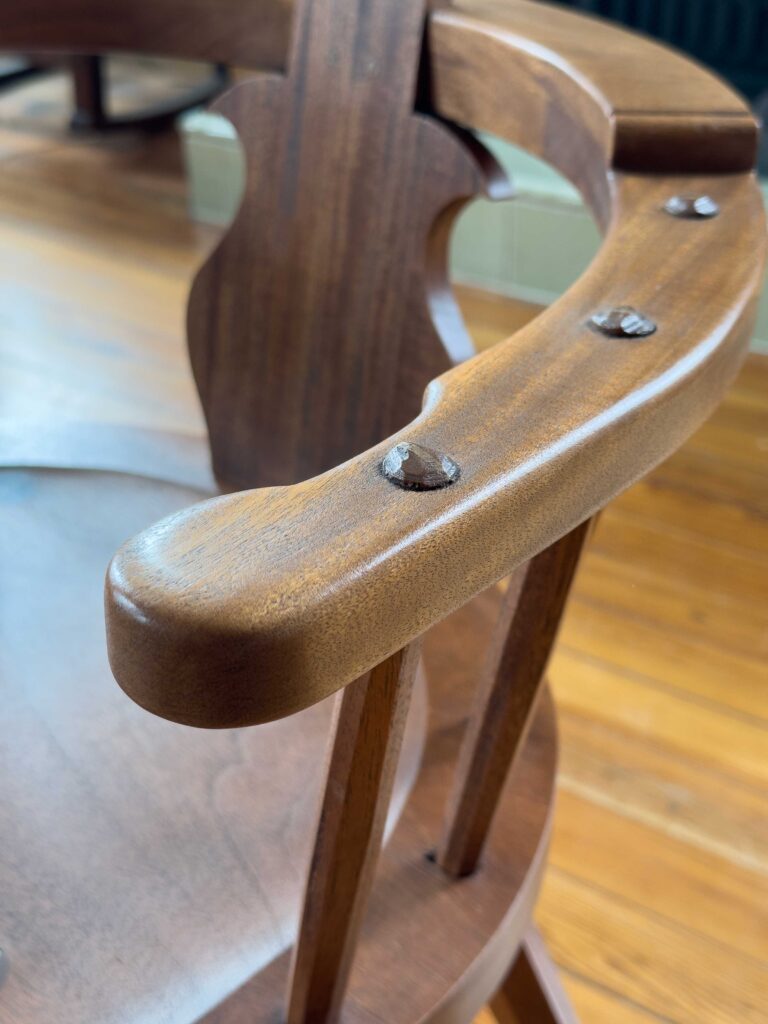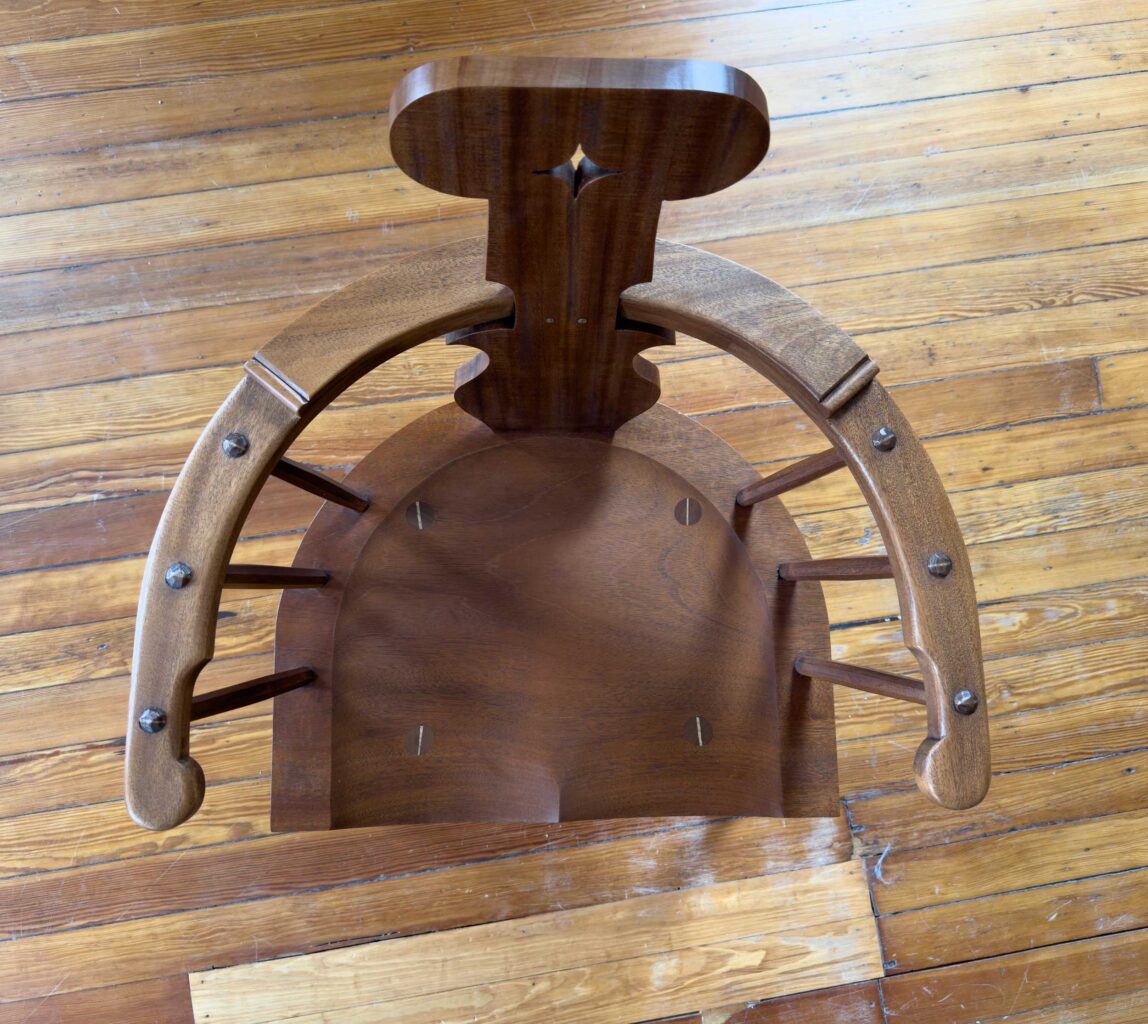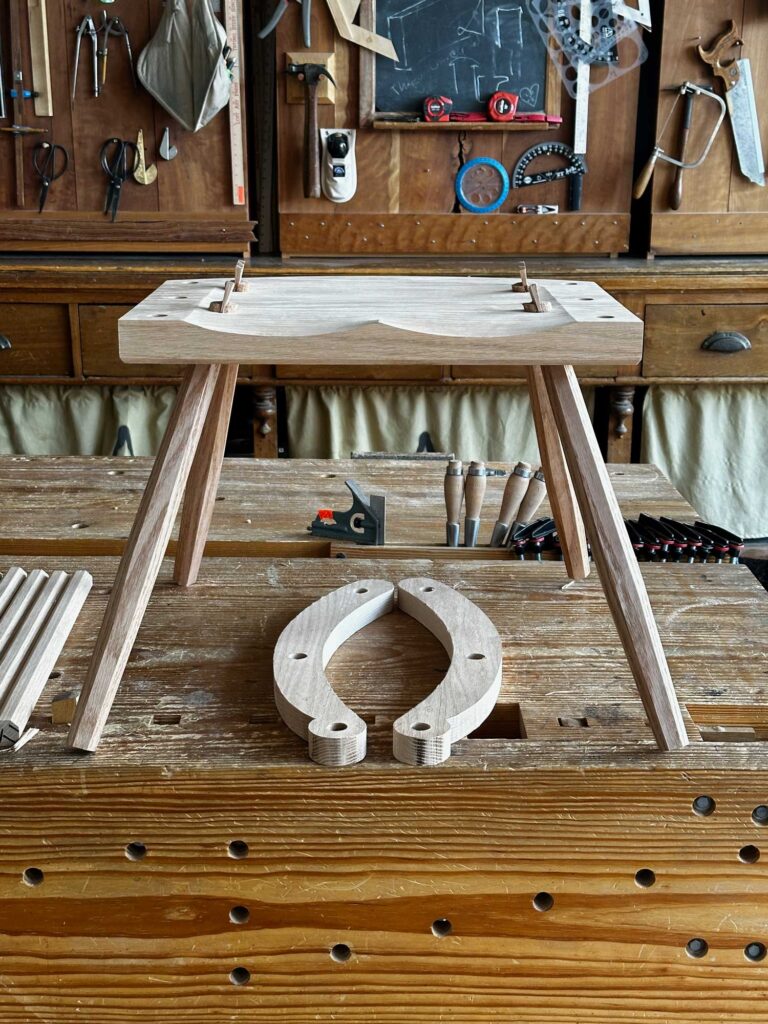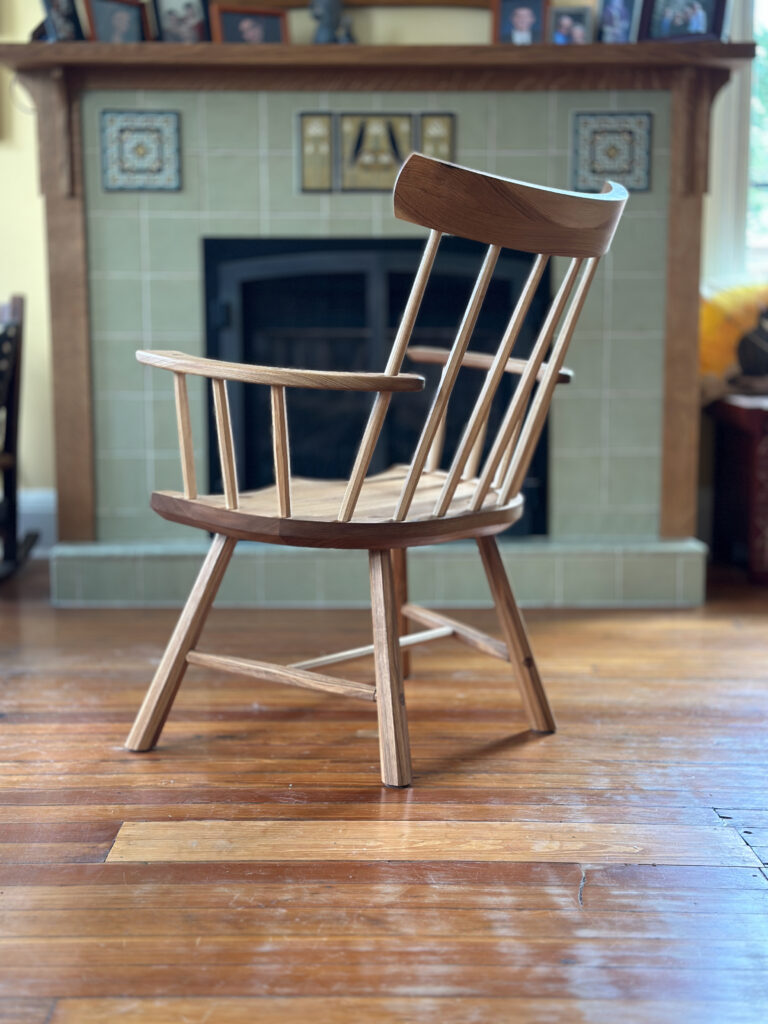
Choosing the wood for your first stick chair can feel paralyzing. You might think that the wrong species will doom the chair. Or the boards’ grain orientation will make things split. Or that you need wood that is green or air-dried.
I know you won’t believe this, but Rule No. 1 with stick chairs is this: Use what you have. And use it to the fullest.
If you have only construction lumber, you can make that work. If you have purpleheart, ditto.
This blog entry is about the species readily available to woodworkers in North America. We have lots of woods that work well for stick chairs. If you have a choice of species when you shop, here are my thoughts on what woods will make the job easier and perhaps less expensive.
You can make a stick chair using only one species. I do this all the time. But you can make the job easier if you separate the project into two parts:
- Use woods that don’t readily split for the seat, arms and comb/backrest.
- Use ring-porous woods that split easily for the legs, stretchers and sticks.
Mixing species might horrify you. And it can look horrifying if you don’t take care. But if you take the long view, most darker woods get lighter in time, and most light woods get darker in time. In other words: Everything turns brown. But if you don’t want to wait 20 years for this to happen, paint can also do the job of unifying things.
Woods that Don’t Split Easily
Here are some woods that are readily available in North America that are ideal for seats, arms and combs.
Tulip poplar: Inexpensive but a bit unattractive. Great for paint. Carves beautifully, so it’s a great wood with which to learn to saddle a seat.
Sycamore: If you can find it in your area, this is a great choice, especially when quartersawn. It carves easily, looks nice and can be some of the cheapest commercial wood out there. It’s also available in wide widths.
Soft maple: Another great wood for the seat, arms and comb. Soft maple is a little more expensive than the above woods, but is fairly cheap overall. Its cousin, hard maple, is more expensive but is also fine.
Black cherry: These days, cherry is out of favor and is cheap (and beautiful). It carves great and – if treated with care – can work for the arms and combs. It splits more easily than the above species, but it is totally do-able.
Basswood/linden: Don’t overlook this species, especially for the seat. It is strong enough, carves incredibly well and doesn’t look horrible. And it’s available in wide widths.
Ideal Woods for Legs, Stretchers & Sticks
I prefer ring-porous woods such as oak and ash because it’s easy to read the grain direction, the species are easy to split and generally easy to find.
Red oak: Though this wood gets a bad rap, I love the stuff. It’s plentiful, strong and cheap. And on a chair you don’t have to deal with the cathedrals on wide panels (which can be overwhelming). I prefer fast-grown oak because it is stronger than slow-growth oak. And, in general, I like Southern red oak more than Northern. (Learn more here.)
Ash: If you can get ash, it’s a great chair wood. Be sure to look for evidence of rot these days. Some lumberyards carry ash that has been on the ground too long and has gotten punky.
Hickory: The ultimate wood for legs and sticks. It is dense and requires effort to work. But it is one of the strongest domestic hardwoods around.
White oak: I love white oak for case pieces. In a chair, the surfaces are generally narrow, so you don’t get scads of the gorgeous ray flake from the quartersawn stuff. I can buy twice as much red oak for the price of white. So I usually get red.
How to Combine the Species
If you are making a painted chair, it’s difficult to beat the combination of tulip poplar and red oak. They’re both cheap, easy to get and take paint well. If you want to use a transparent finish, it’s best to do some mixing and matching.
If you use sycamore, basswood or soft maple for the seat/arms/comb, then I recommend ash or hickory for the sticks, legs and stretchers. These species play well together.
If you use cherry for the seat/arms/comb, I’d use red oak for the sticks/legs/stretchers. You’ll be surprised how well these woods work together after a few years in the sun.
What about other species such as elm, black and honey locust, butternut, coffeewood, sassafras and walnut? If you can find these in your area for a good price, you can absolutely use them for stick chairs. A little research on the tree and playing with a board or two (hello, hammer test) will quickly give you some useful data.
But mostly, don’t hold off on building a chair because you cannot find “perfect wood.” It doesn’t exist in my world. And historically, chairmakers used what they had – Whateverous foundus. And that’s one of the best lessons we can take from the past.
— Christopher Schwarz

