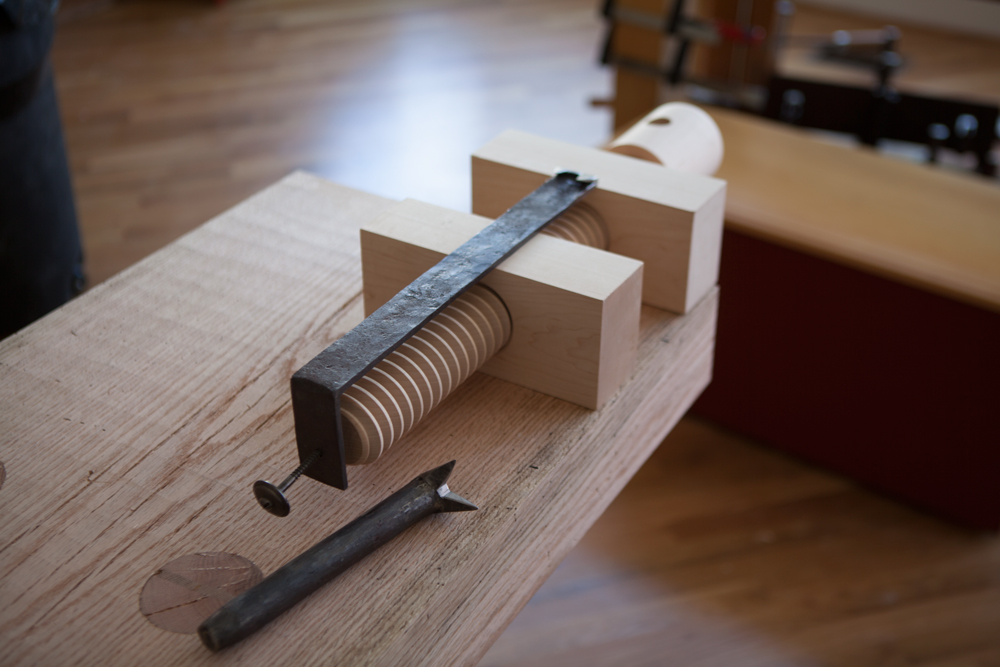
Tail vises are funny things. I’ve installed many of them during the last 20 years, and I have a formula to calculate the time to do it right. Here it is:
Time to install a tail vise with precision = time to build the rest of the bench.
I’m not joking. With the exception of bolting a quick-release vise on the end of the bench, a good tail-vise-installation job takes time, concentration and effort. For this circa 1505 bench, it took me about 10 hours to build the basic bench and install the face vise.
So far, it has taken me seven hours of painstaking work (which I greatly enjoy by the way) to get the 10 critical surfaces of the bench in the same plane to install the vise’s bushing, vise nut and screw. Tomorrow I’ll install the screw, bushing and vise nut. If I’m lucky, it will take only three hours.
Good news. The threaded screws for the face vise on the Holy Roman Workbench are a couple inches below the danger zone. I’ve been working on the bench these last couple days and have found that my boyhood is well out of danger.
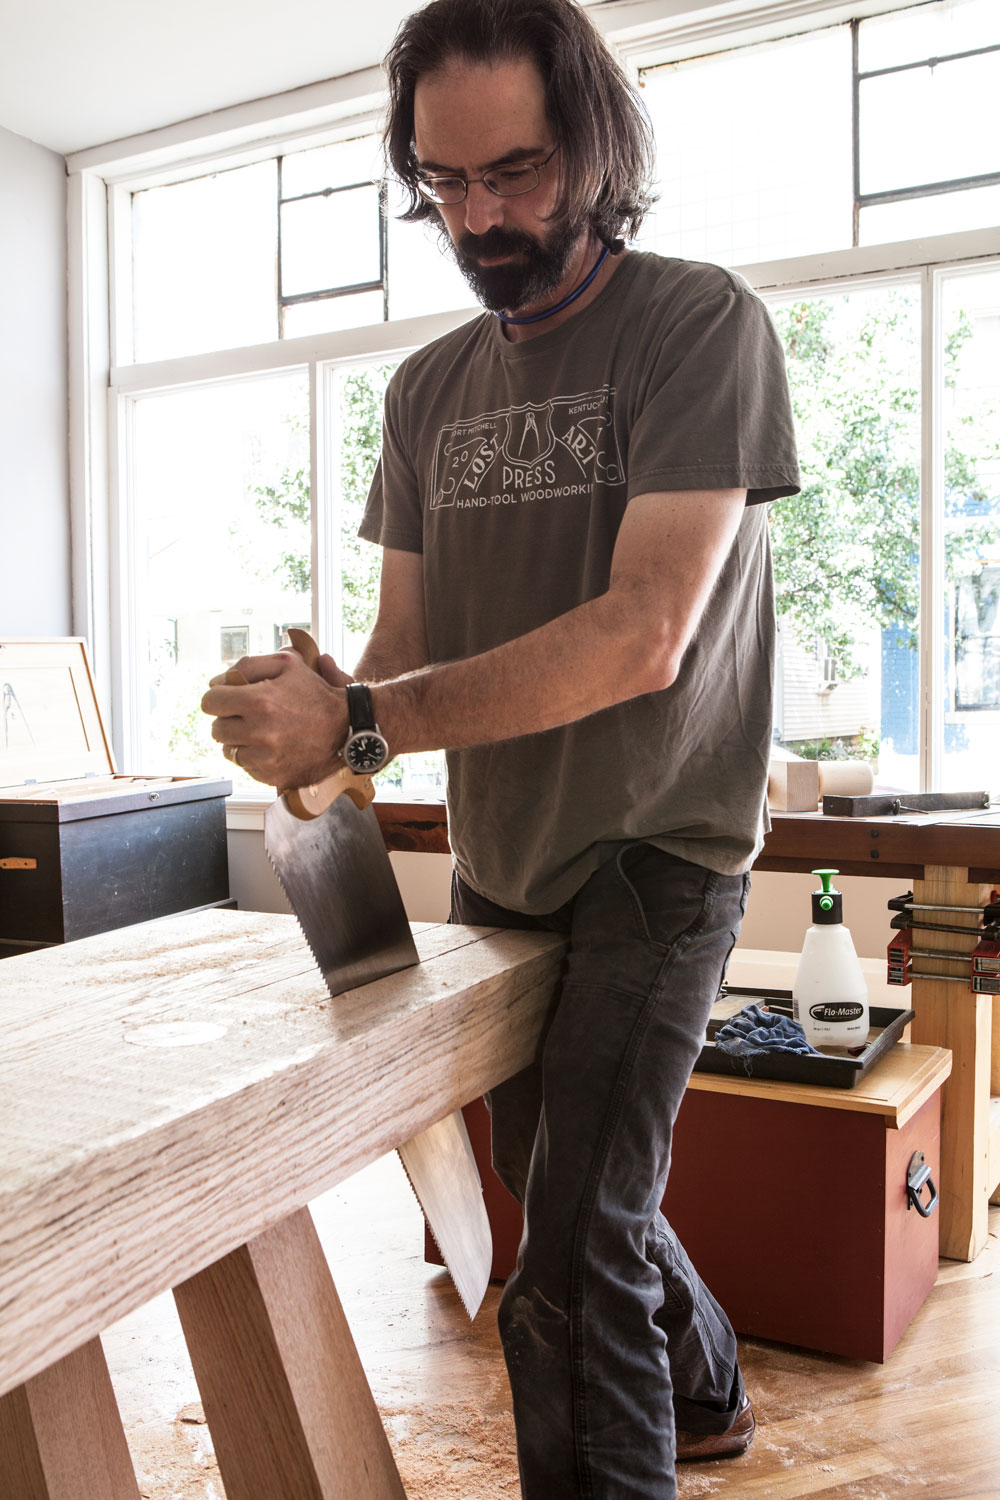
So today I started making the giant slot for the end vise. I began by sawing two shallow kerfs with my circular saw to help guide my ripsaw. A sharp ripsaw can destroy 4”-thick oak with little effort. This is why it’s a good idea to learn to sharpen your own saws.
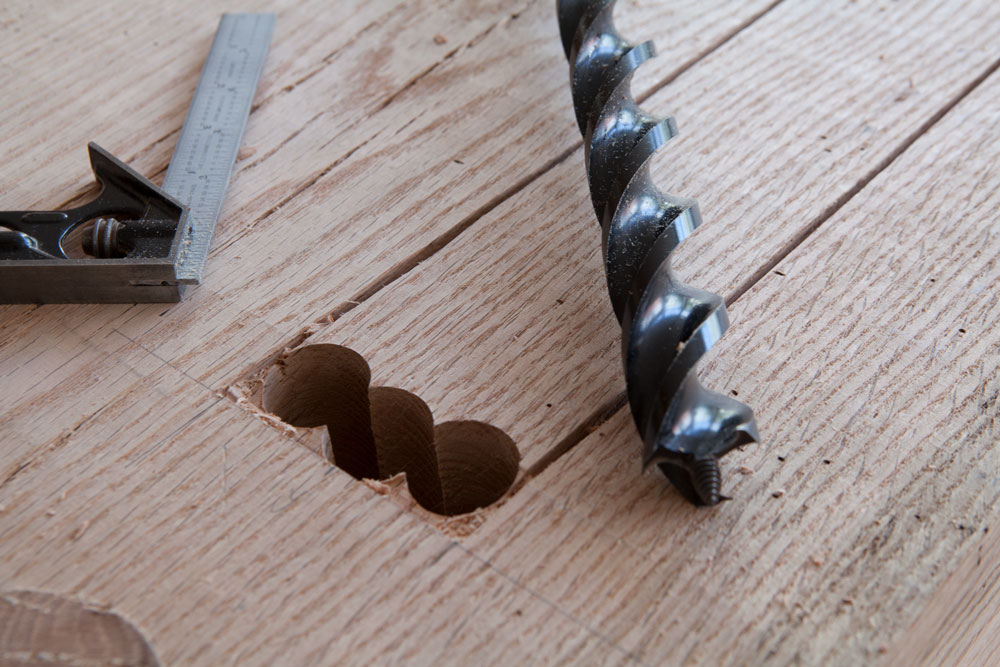
After sawing out the two kerfs for the end vise, I used an auger to waste away as much wood as possible at the end of the slot. Three holes with a 1-1/8” auger did the trick. The waste block came out with only finger pressure.
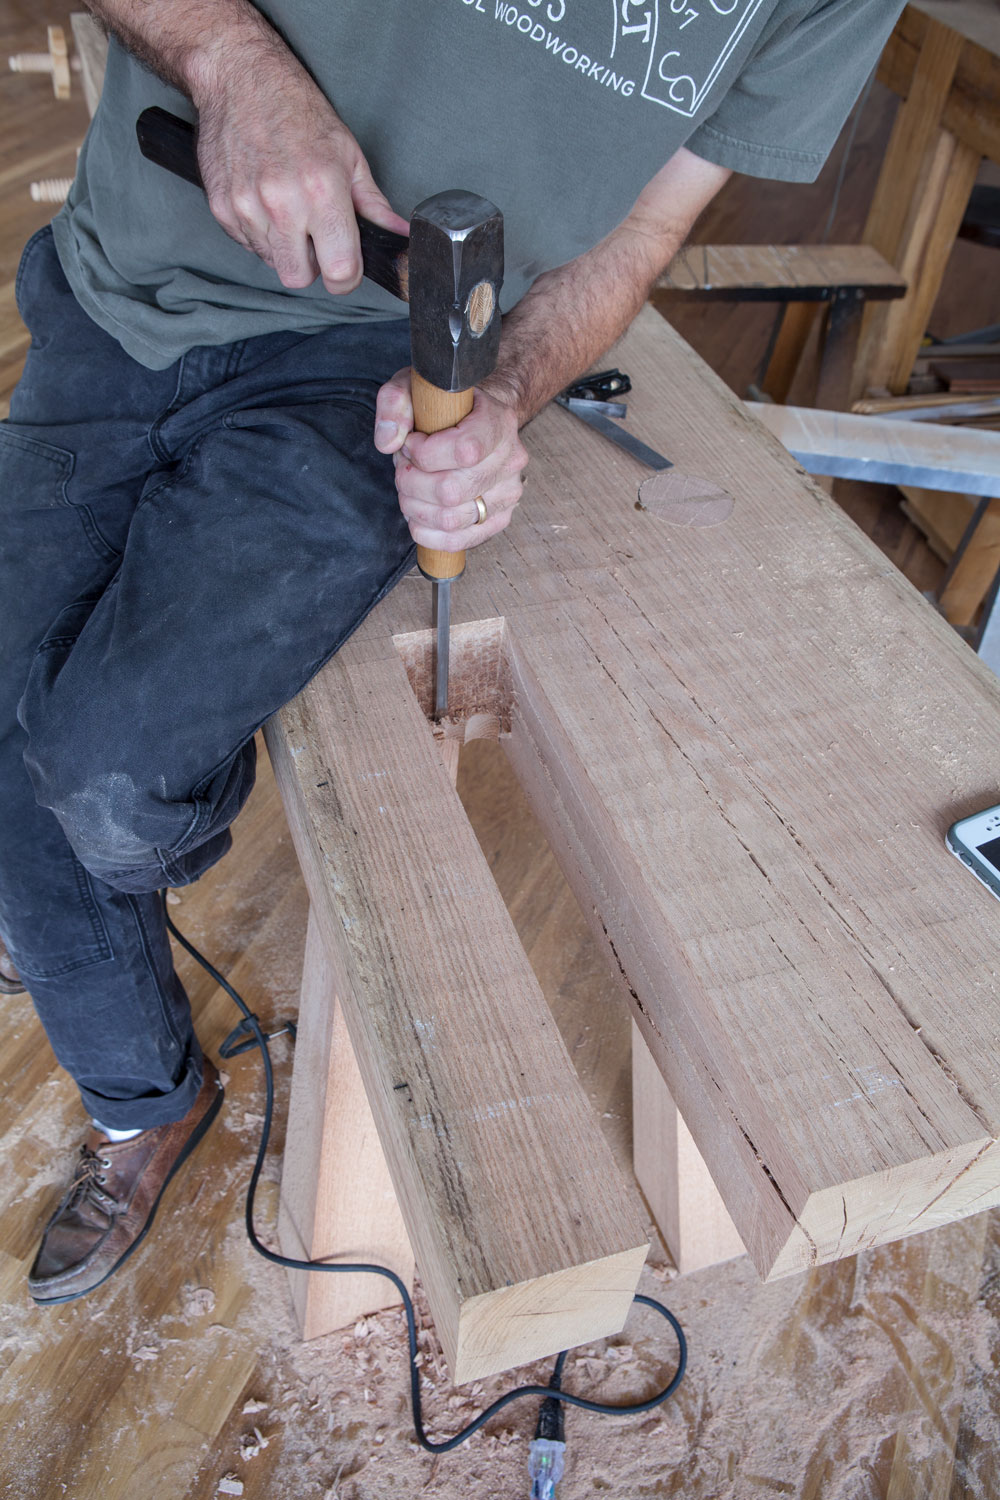
Then I cleaned up things with a mortise chisel. Just like with any mortise, it’s best to clean it up from both faces to avoid splintering out the backside badly. Of course, flipping over a 300-pound bench to get to the backside is always fun (but not too difficult if you know about a little thing called leverage).
With the slot cleaned up, I called it a day. This weekend I hope to get the threaded nuts installed in the slot.
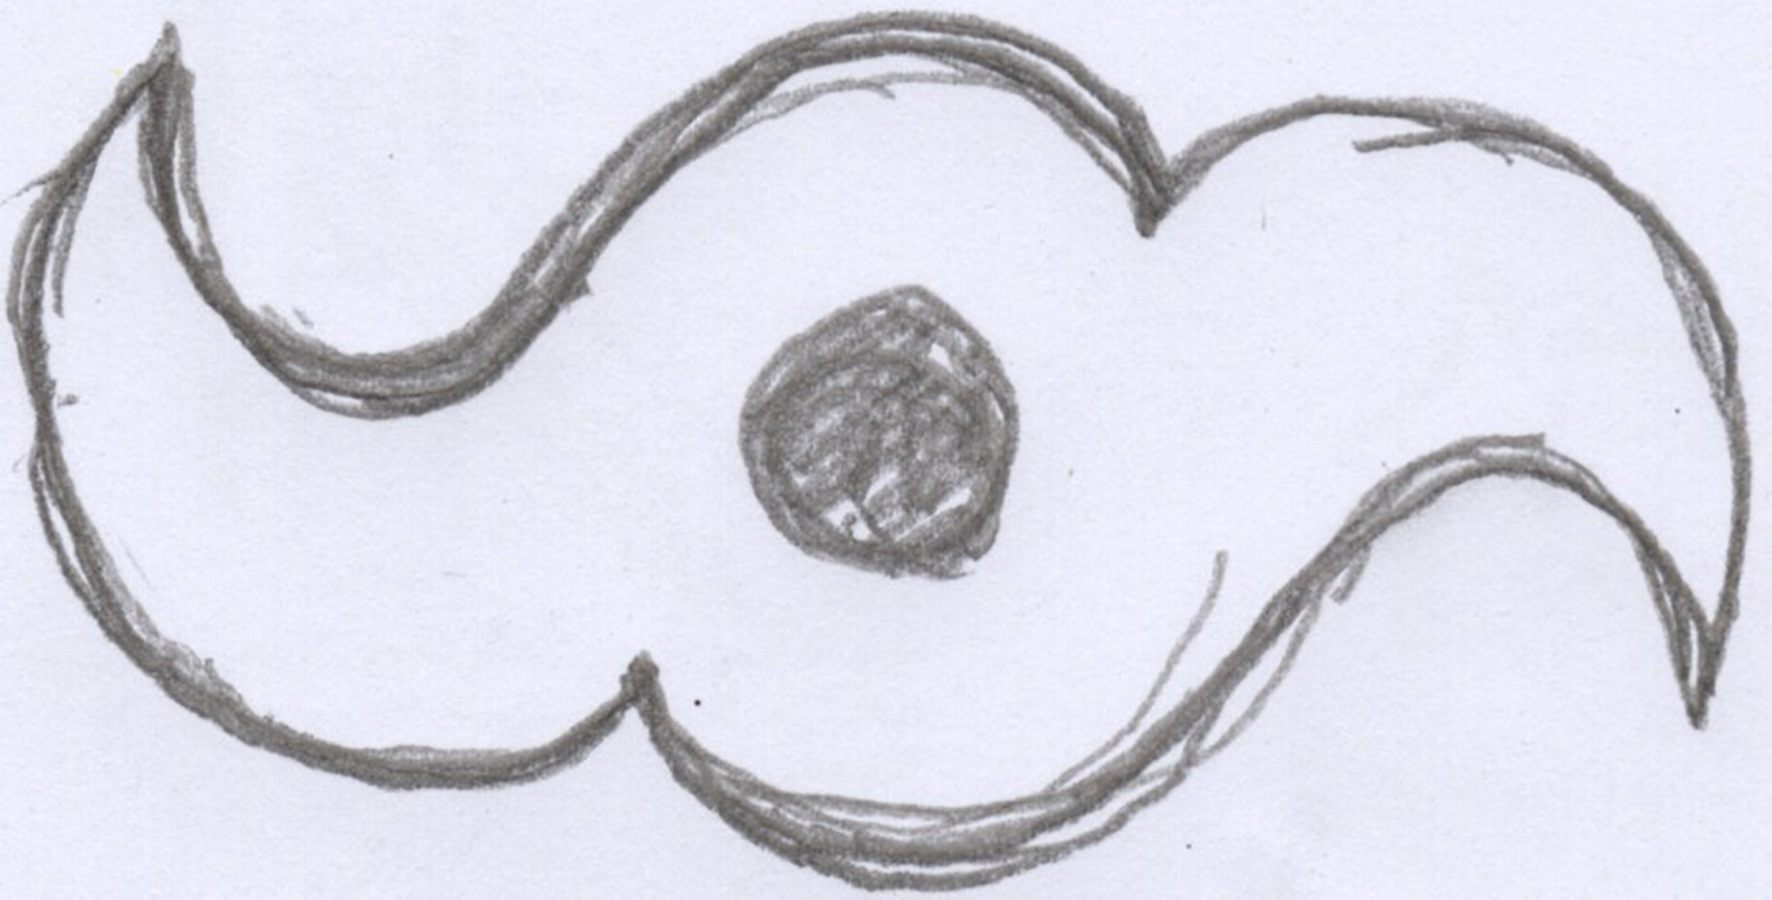
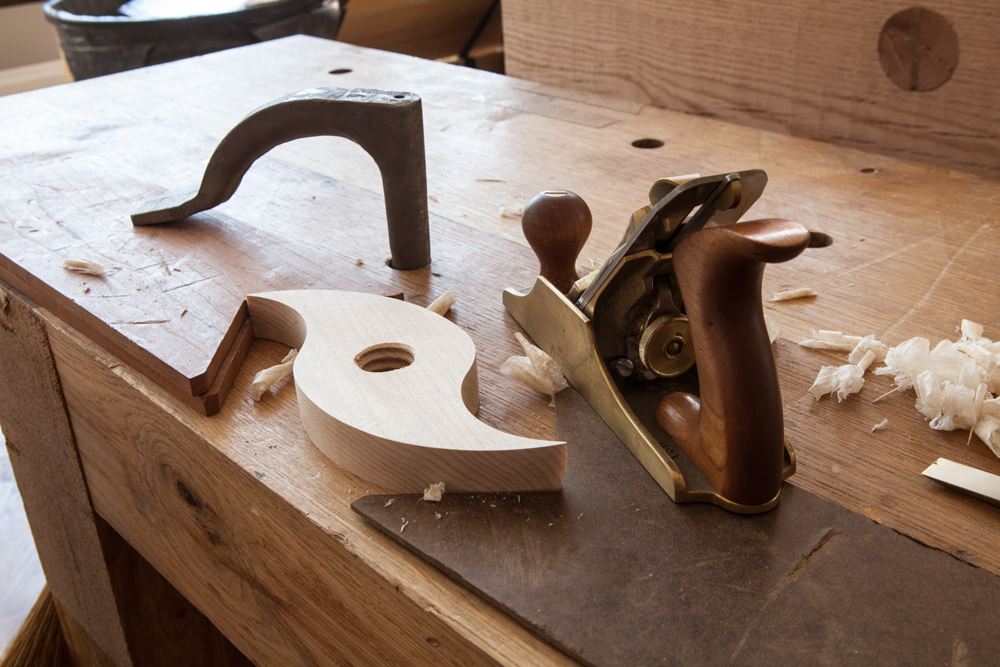
I wasn’t happy with the “hurricane” nuts on the Holy Roman Workbench. So I sat down with a compass and French curves this morning to sketch some new nuts.
Those weren’t working either, so I put away the drafting tools and just drew the dang things on a sheet of scrap paper. Sometimes I get too deep into decoding something when the simple solution is three quick lines on a piece of paper.
These nuts are much more presentable. Though they still look like hurricanes.
The photo above shows them in a partially finished state. I didn’t want to take them all the way to done until I was sure that these nuts were suitable.
My afternoon is shot because of this rework, but at least I won’t see ugly nuts in my dreams tonight.
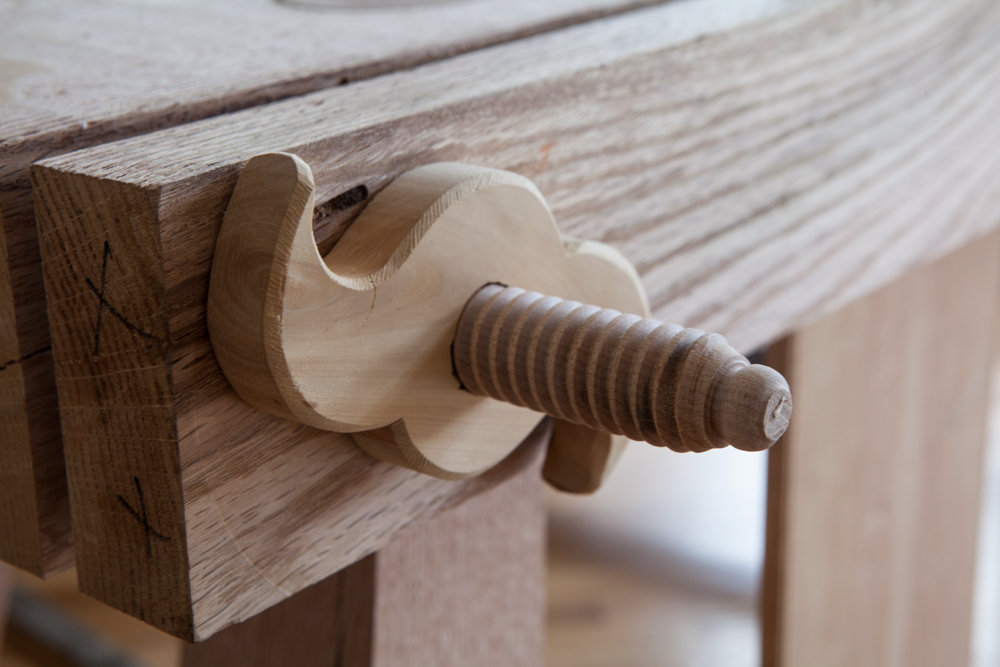
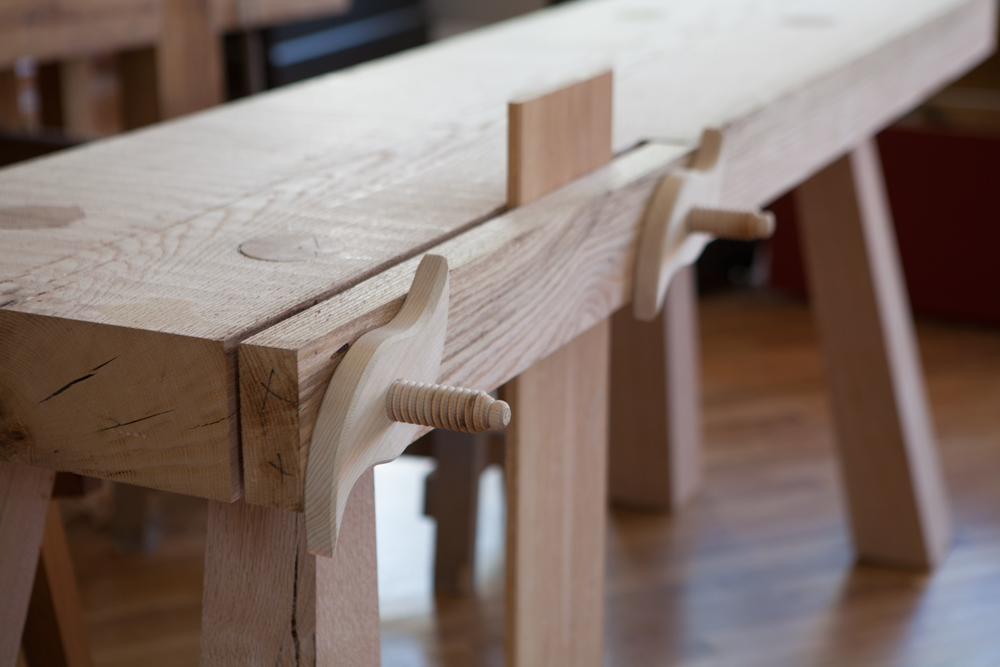
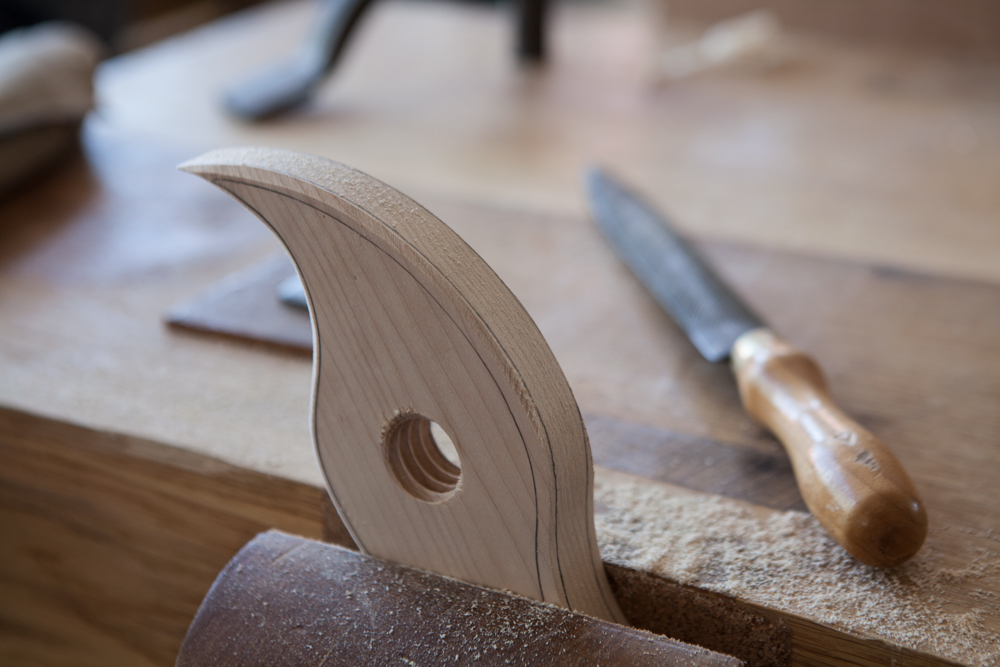
I made up the maple hooky-looking vise nuts for the face vise today. I’m not completely happy with the final shape – the hook on the end needs to be more fish hook-y. But they work.
First I drilled a 23mm hole for each hooky nut in a maple blank, then I tapped each hole. After I confirmed the tapped holes were true and accurate, I drew their shape around each hole. Then I sawed them out and shaped them with a coarse rasp.
The chop for the vise is off-fall from cutting the notch in the benchtop. I planed up the chop (the inside face is purposely planed so it is slightly convex) and applied adhesive cork to the inside face of the chop and between the threaded screws glued to the benchtop.
Then I flipped the bench on its feet and have it a test run. No surprise: the vise worked as expected.
The vise screws poke out about 4” from the jaw of the vise, so I might need to ask Peter Follansbee to spoon-carve me a cup to wear while working at the bench. While I have no further plans to reproduce, I also don’t want to mangle my soft bits (like I did when reproducing Moxon’s face vise).
With the face vise working, I’m turning my attention to the end vise and the gorgeous hardware from blacksmith Peter Ross and Lake Erie Toolworks.
While the jaw of the face vise of this Roman workbench is unusual enough (it’s inset into the benchtop), the screws that operate the vise work unlike most modern vises.
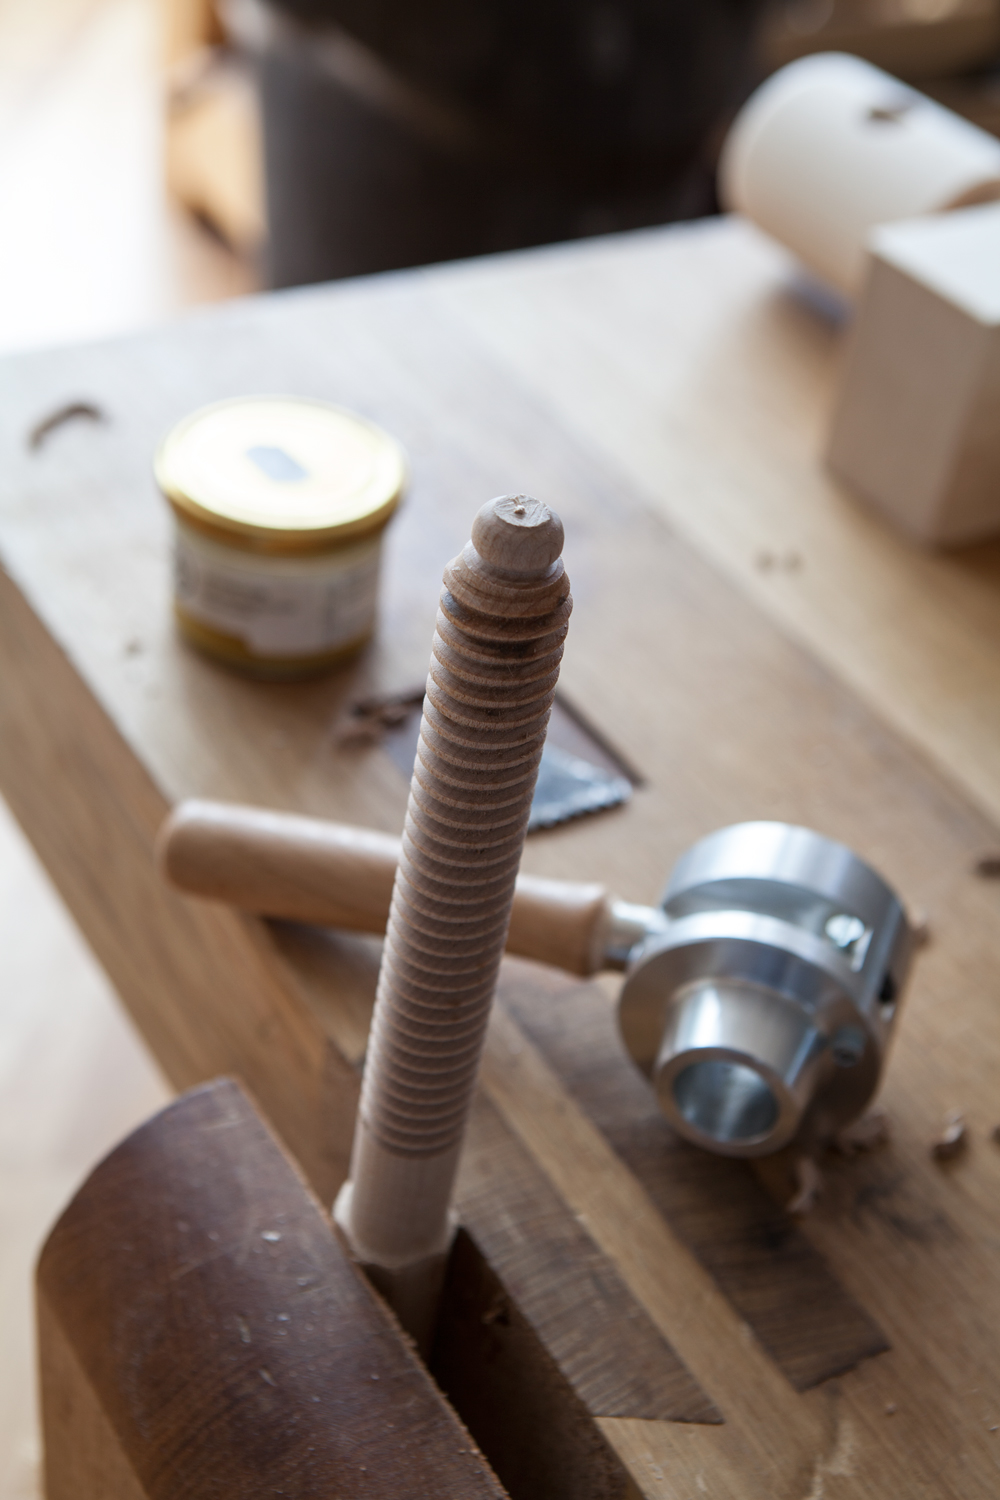
In a modern face vise, the screw turns inside a nut to advance or retract the jaw of the vise. With this vise, the screw is fixed and it’s the nut that moves. This is a very typical construction found in benches from the 1500s up through the late 1700s (and perhaps later).
After weighing all the options for making and installing the screws, here’s how I did it. It might not be the way they did it in 1505 or even the best way, but it was the best method for my tools and the way my mind works.
To make the screws, first I made a 28mm maple dowel on the lathe and left one end square so I could clamp it in the vise. The maple blank was about 12” long, and after threading it I ended up with about 9” of thread.
After threading the dowel with a German-made threader, I cut off the square section.
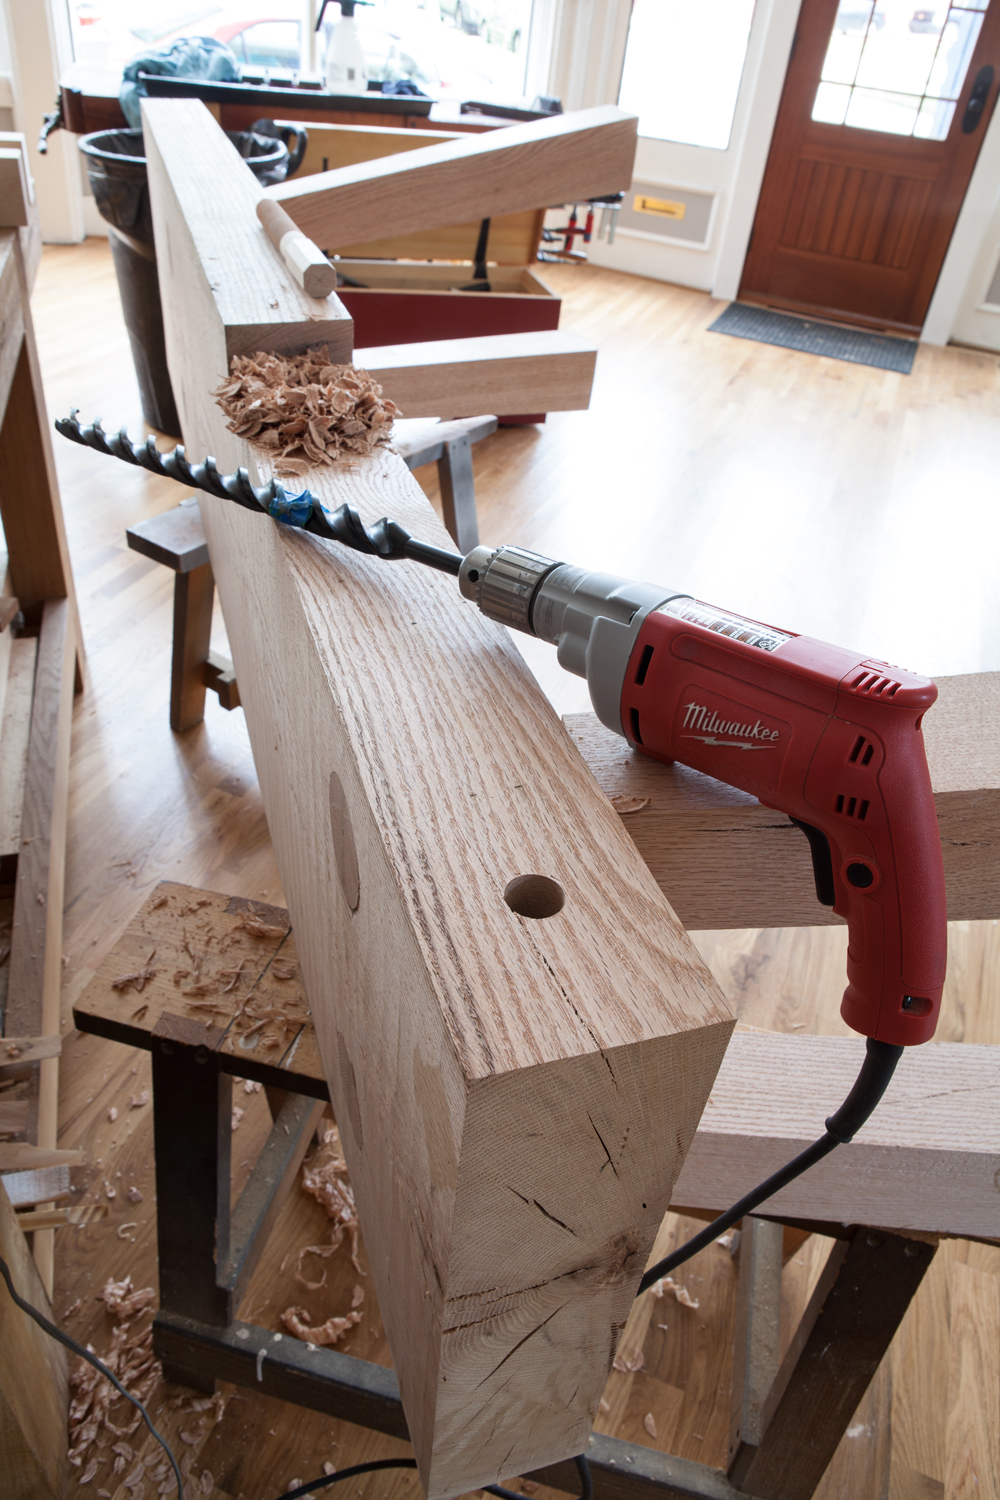
Then I drilled two deep 25mm holes in the benchtop. With my threadbox, you are supposed to bore a 23mm hole. But I used 25mm so I could adjust the screw so it protruded dead square from the benchtop. That 2mm of slop gave me just enough wiggle.
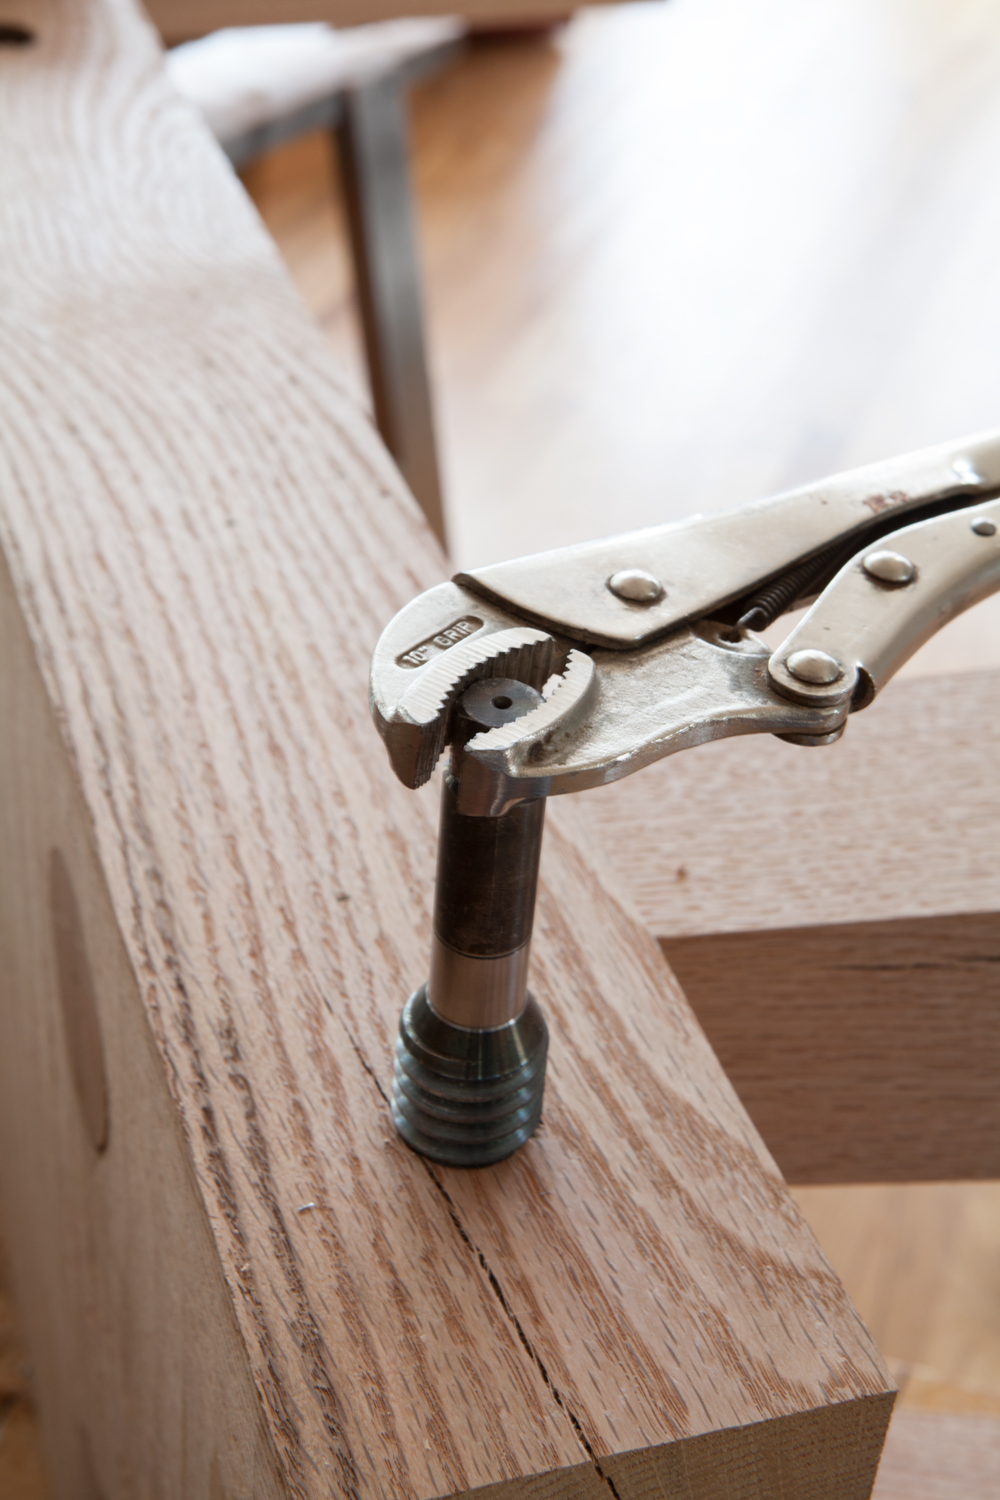
Then I threaded the 25mm holes.
To assemble things, I coated 3” of the threads with epoxy and coated the interior of the holes with epoxy. I screwed in each screw until 6” protruded from the benchtop. Finally, I adjusted the screws so they were dead square with a clamp.
The epoxy filled in the 1mm gap all around the screws, producing a very sound joint.
Why use a modern glue and not hide glue (my favorite glue)? Epoxy has more gap-filling properties than hide glue in my experience. And filling gaps is what I was after. Part of me thought: Wait, don’t I want the joint to be reversible in case I wanted to repair the screws?
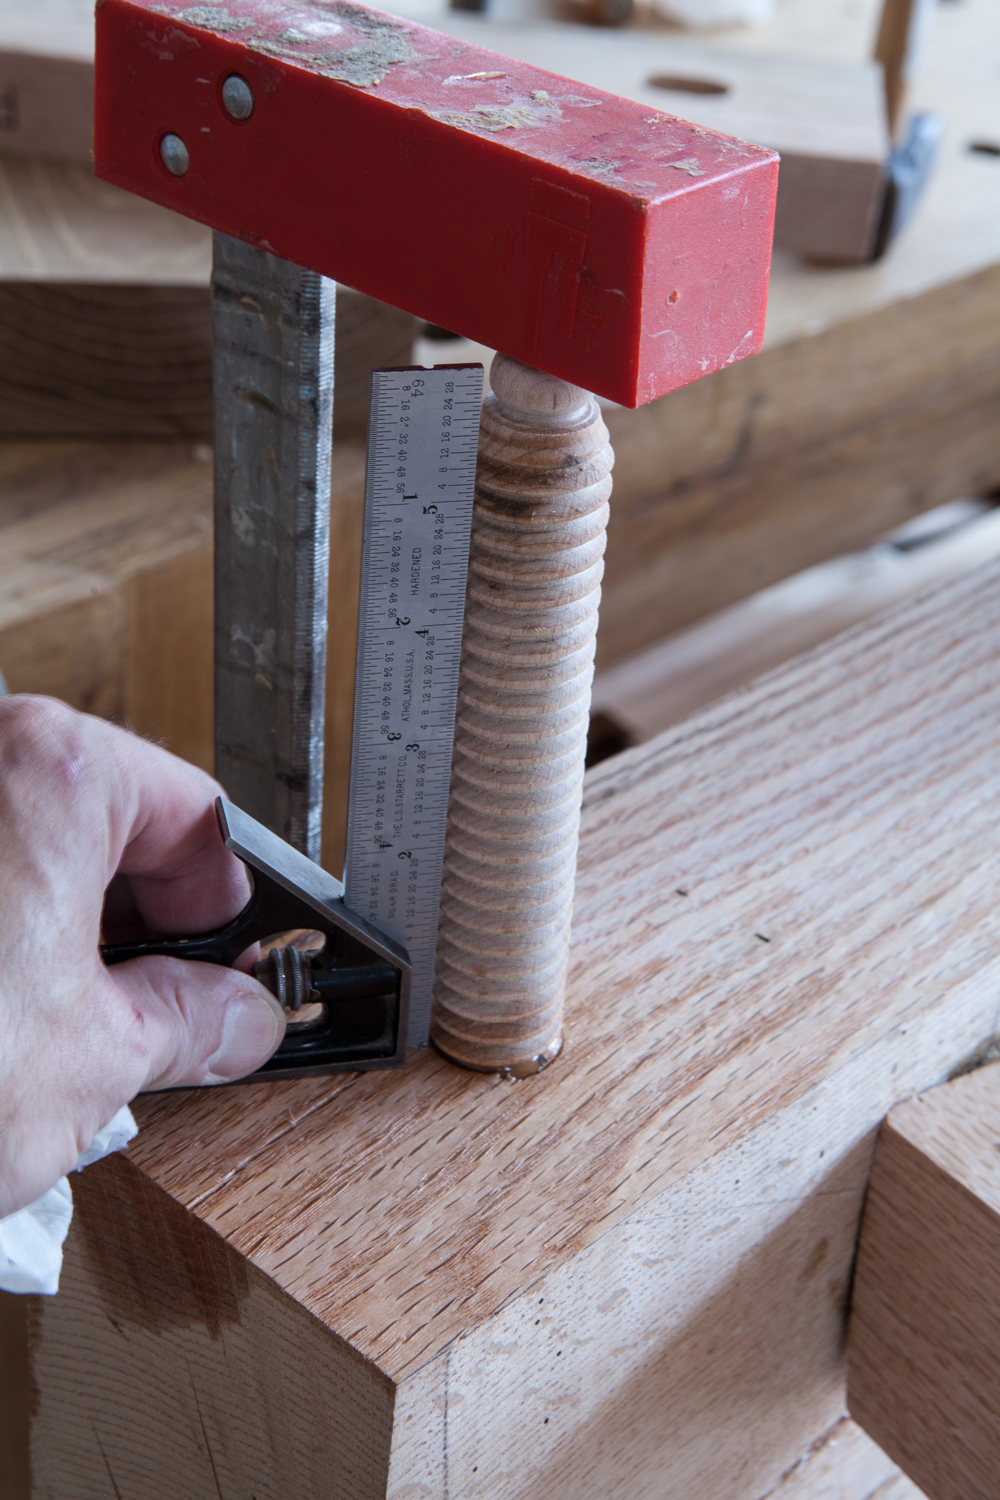
Then the other lobe of my brain answered: How would you repair a damaged 28mm threaded rod? That’s like taking a gerbil to the oncologist. You’d cut off the damaged screw and install a new screw. Duh, other lobe.
So epoxy it was.
Today I also received the hardware for the end vise from blacksmith Peter Ross (it’s gorgeous). I hope to get started installing that stuff tomorrow.