Hey all, Kale here. The other day when Chris asked me to document our Piggly No Wiggly glue-making process, I may have taken the task a little too seriously. I have no regrets.
After receiving interest from readers about how our Piggly No Wiggly glue is made, we decided to share our operation. The video above documents our glue procedure from beginning to end, with some words from Chris about how came to be.
But wait, there’s more. Per y’alls suggestions, a “bundle and save” option has been added to our online store – meaning, the more you buy, the more you save. One 8 oz. bottle of Piggly No Wiggly is $16, two is $29 and three is $42. There’s a drop-down option on the store’s landing page where you choose your number of bottles.
It’s a little thank you from us for the continued support and a reminder that, yes, we do read your comments.
It’s no secret that ensuring a tight joint between arm and mid-arm can be a challenge. We know this first hand and because readers have reached out in the past asking for advice on the matter. Well readers, wait no longer – Chris has spilled the beans on his method!
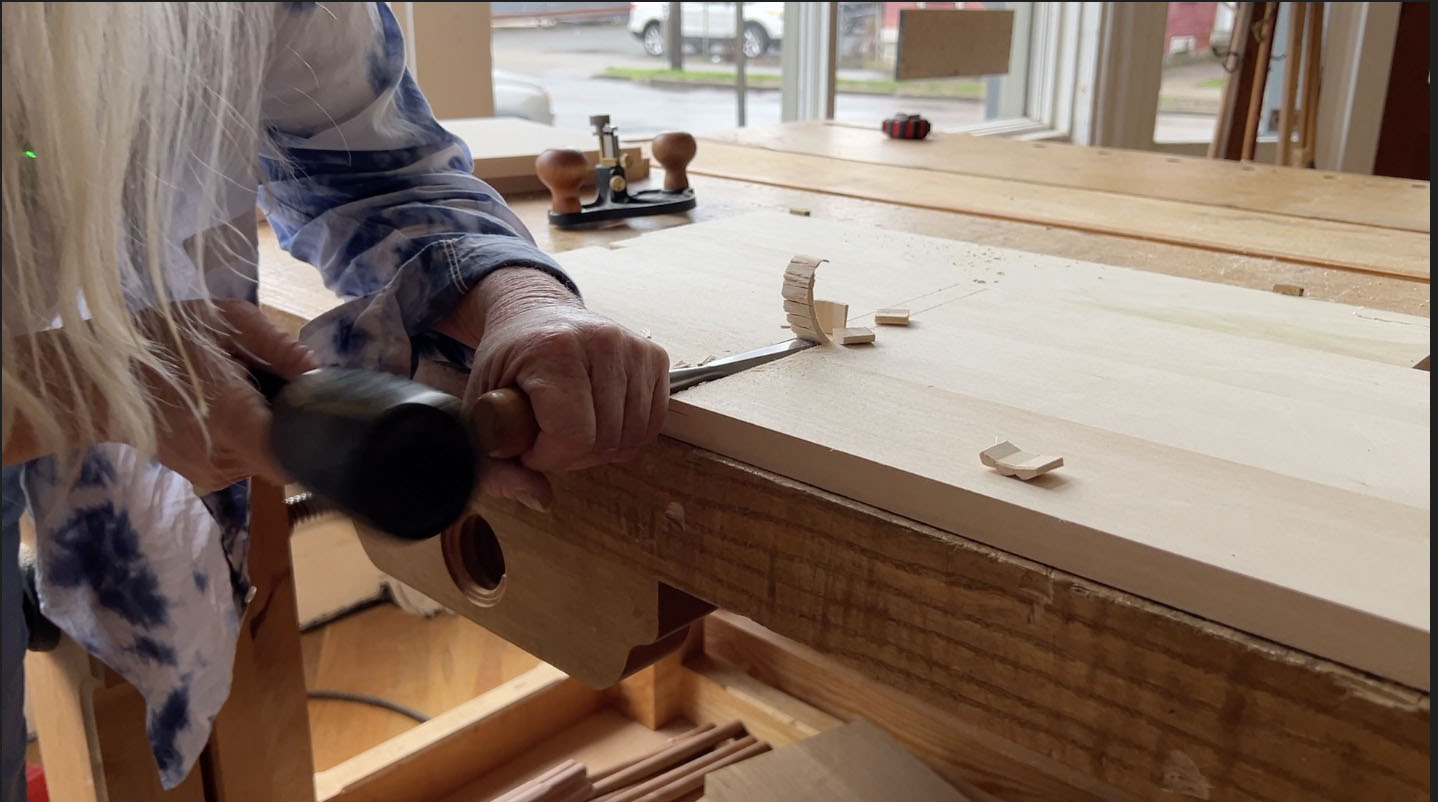
We recently created a video highlighting Chris’s match planing method, the technique he uses on all his arm bows. In the video, Chris welcomes all skill levels as he breaks down this approachable technique step-by-step. You can catch the how-to video below and on Youtube.
Enjoying this technique and video content? Take your skills even further and learn how to build a stick chair with Chris in this 18-part video series: Build A Stick Chair. Chris takes you along with him as he builds a chair design not found in ‘The Stick Chair Book’. From selecting lumber to applying wax, each step is explained and demonstrated with the beginner woodworker in mind.
Click here to buy and own the entire video series.
I woke to a text this morning from Chris: “Found this tip for making our carving vises lower.” (See above.)
“Put the base on the underside. Works great. Might be helpful for you.”
Even though he’s off teaching in Germany, he’s still looking for ways to improve our shop here in Covington.
It’s no secret that I’m the most vertically challenged person in the shop (with Megan just a few inches taller). Megan’s two benches are 30″ high; the other six are 33″ and 34″ – and because I want the larger surface and good window light of the Holtzapffel (34″ high), this forces me to finagle myself into some awkward positions when performing certain tasks.
When building my first chair with Chris, I had block planed only half of my first long stick against Chris’s carver’s vise before my shoulder nearly gave out. Chris quickly corrected this by bringing the low Roman bench into the shop from the back room. Using my body weight, I propped the long stick against the Hulot block with my chest to plane. Instant relief.
So needless to say, I was elated to wake up to this little spark of ergonomic hope from Chris. I was eager to give it a go.
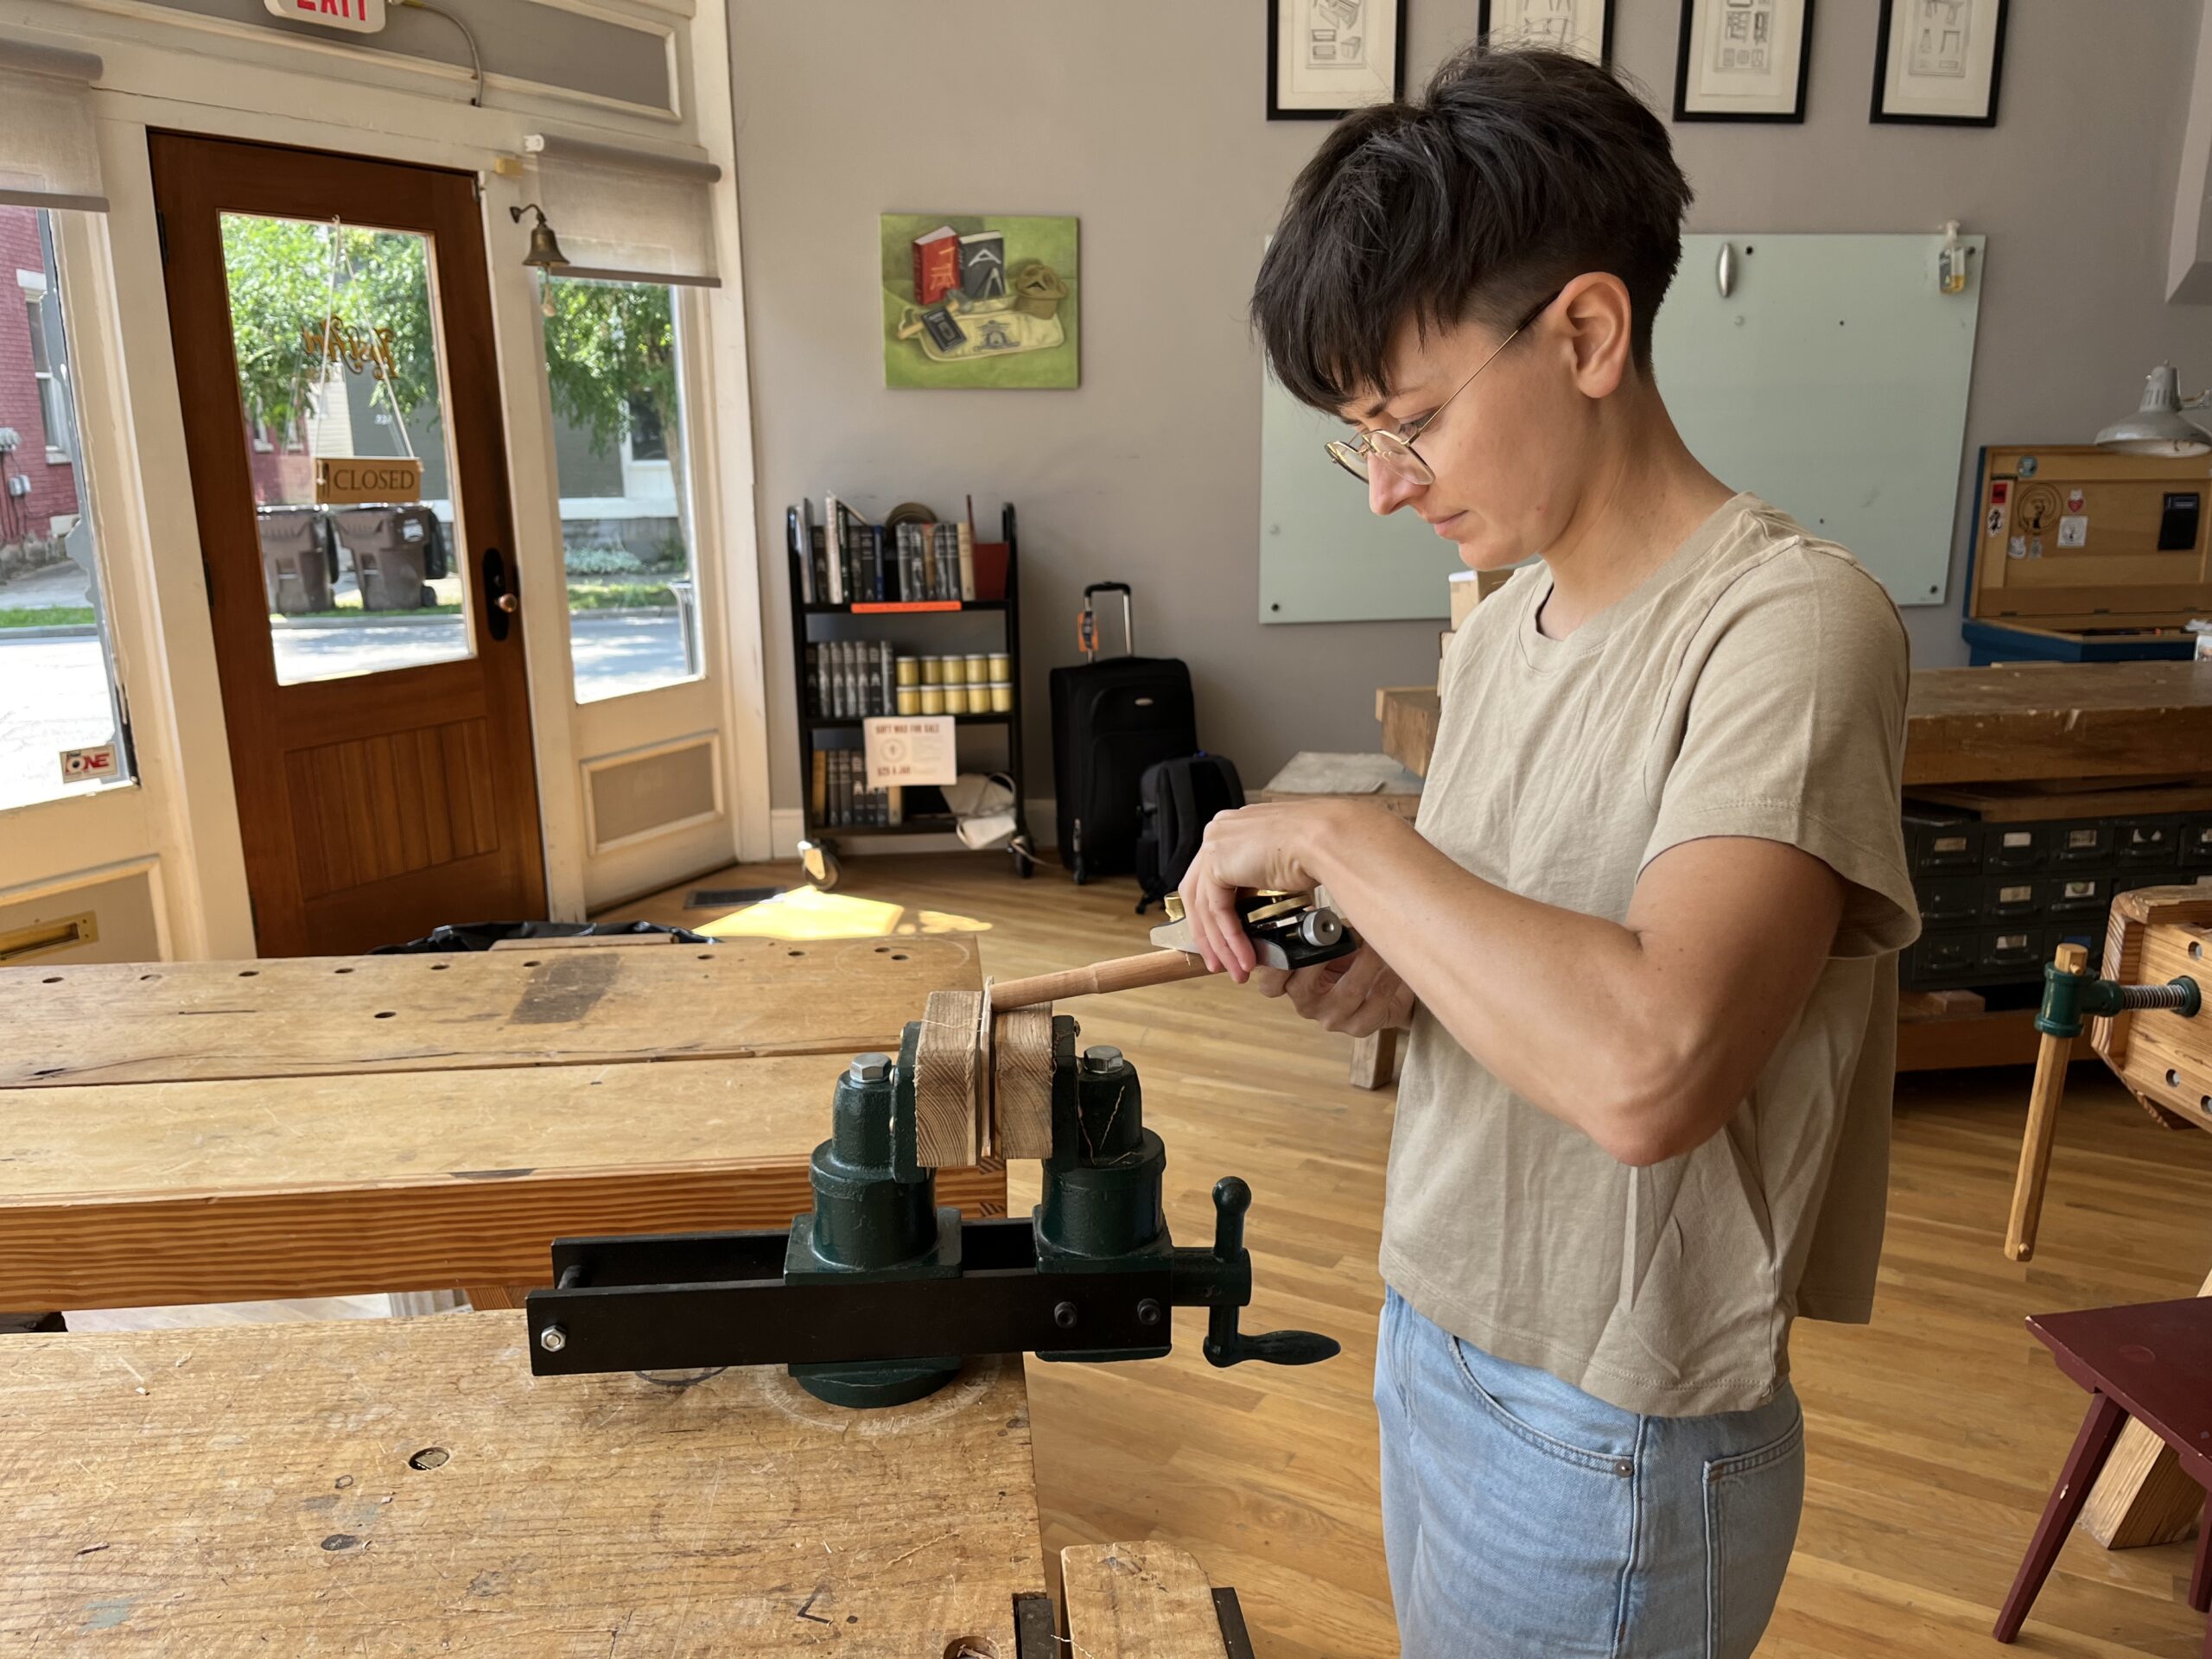
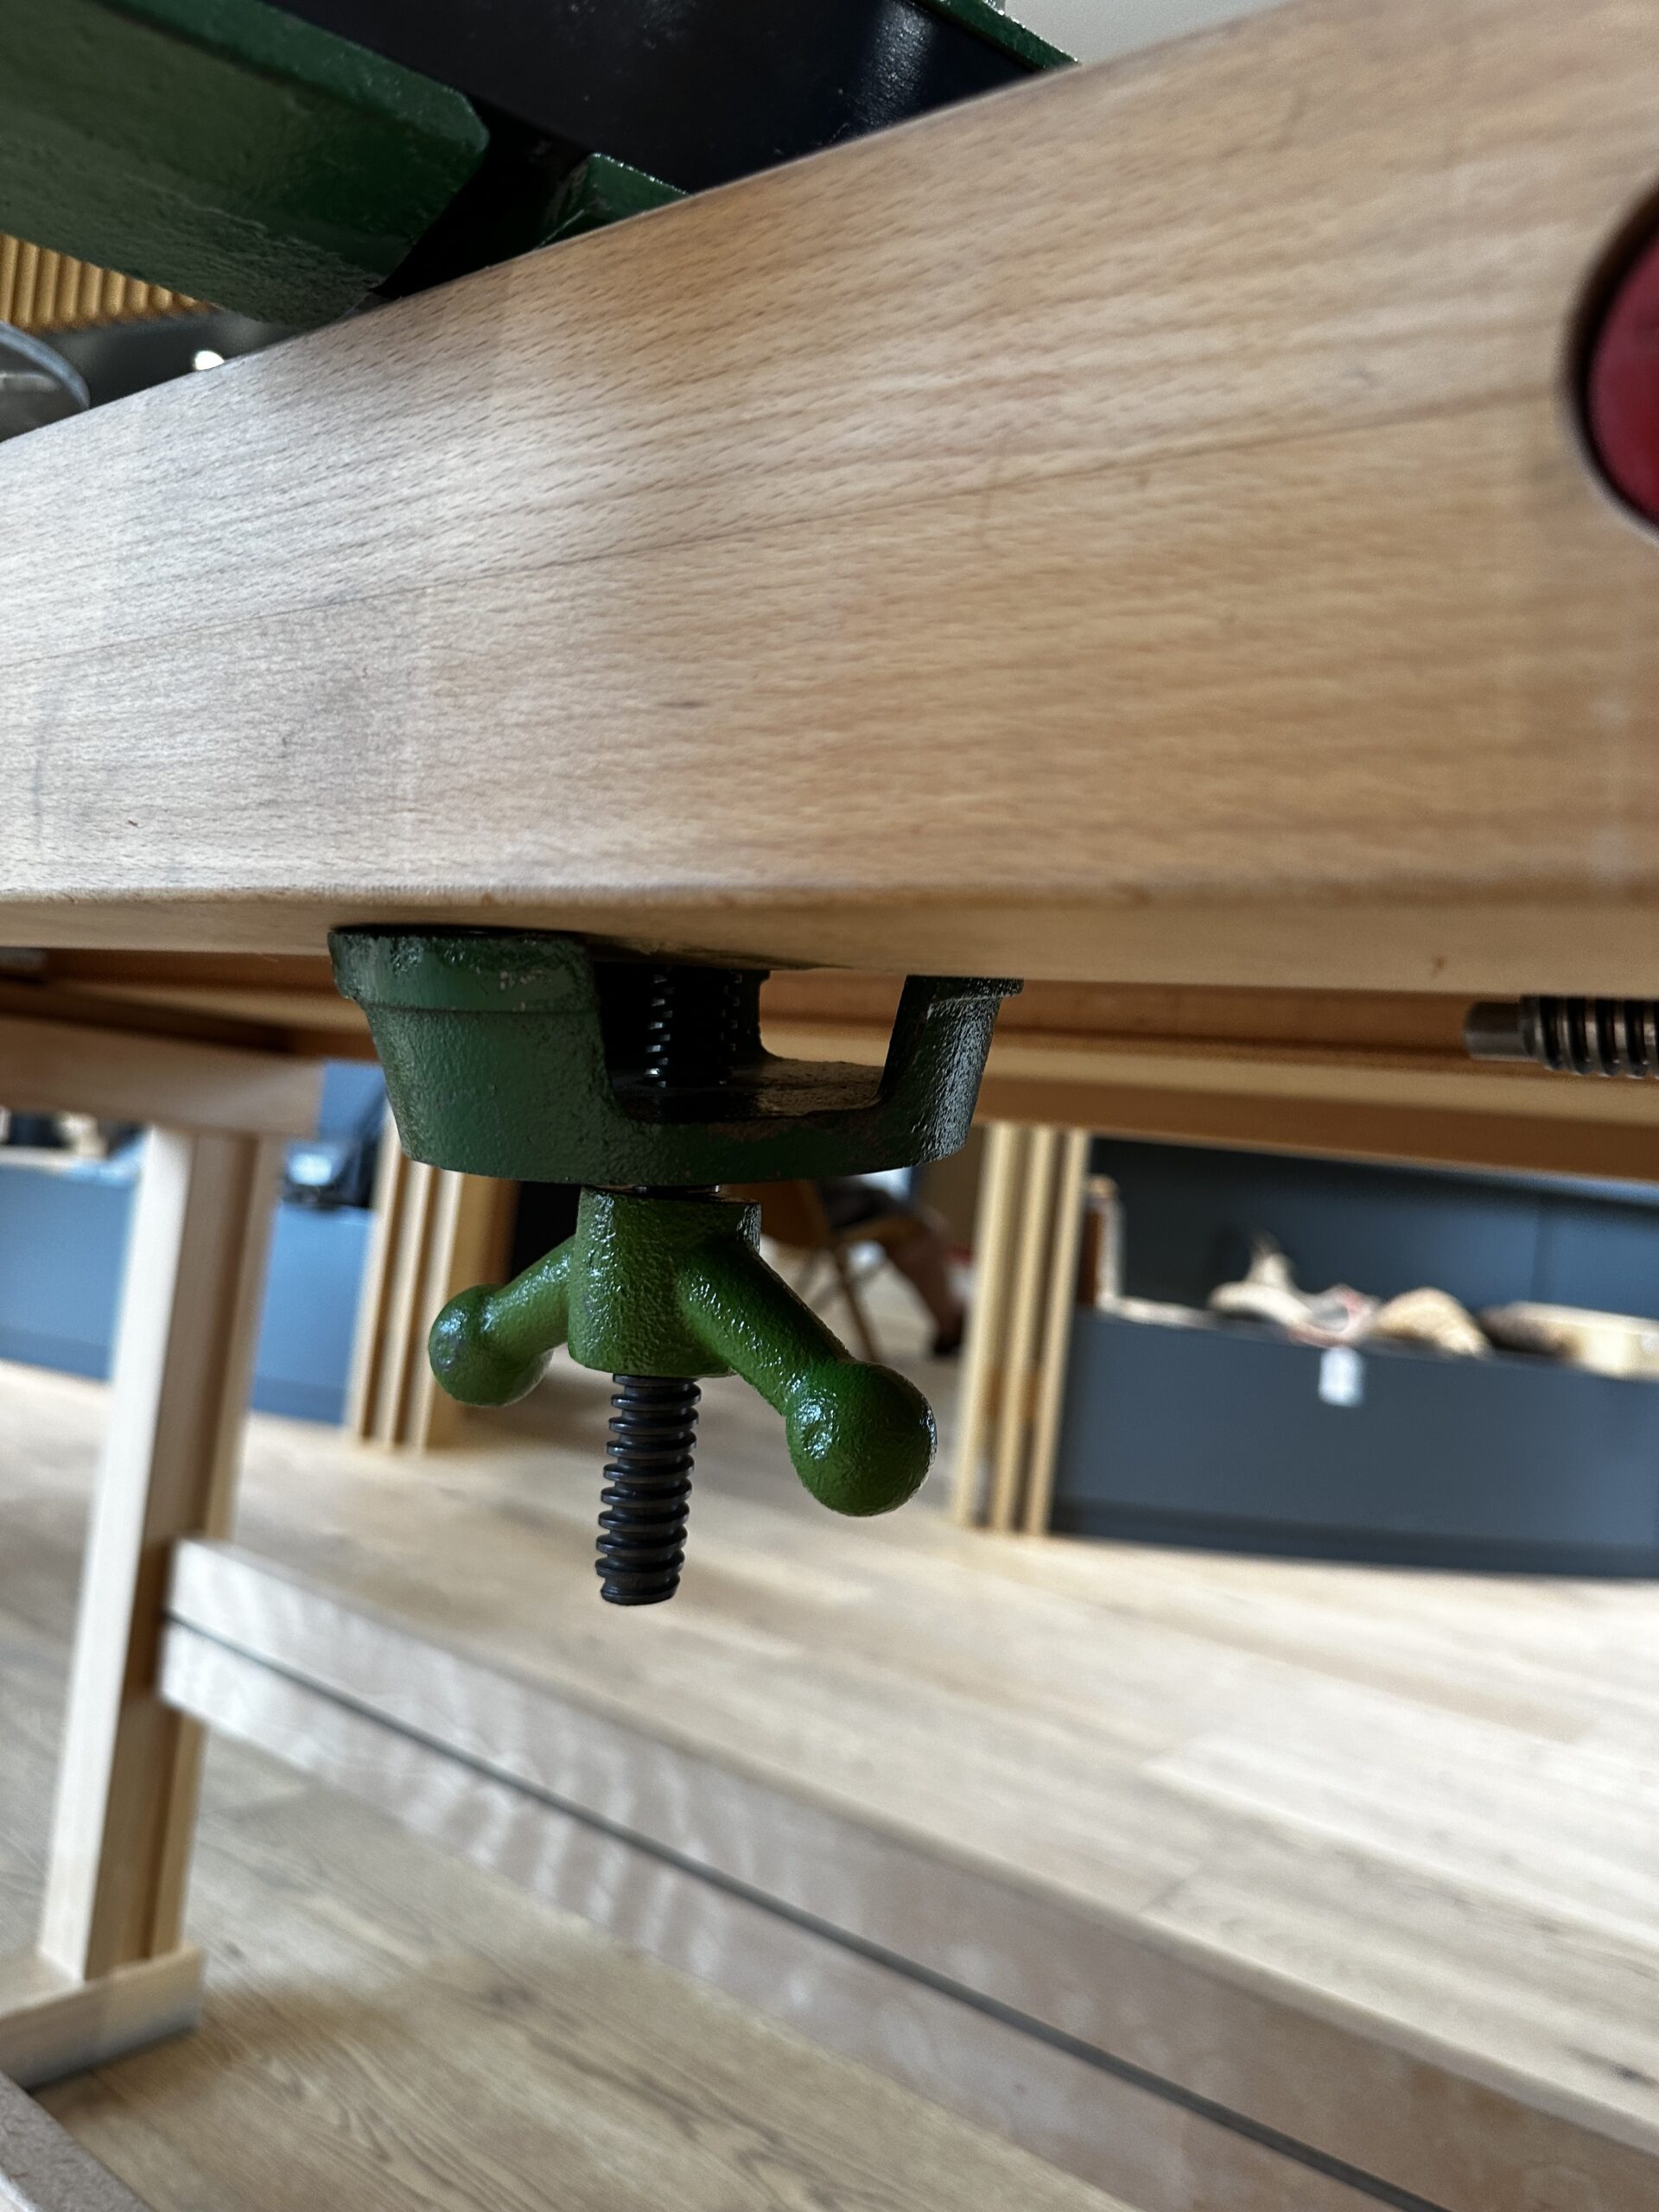
I mounted the carver’s vise to my bench. First with the base on top, in its typical location. Then with the base underneath. I measured the height of the base beforehand out of curiosity. 1-3/8″. Could it really make that big a difference?
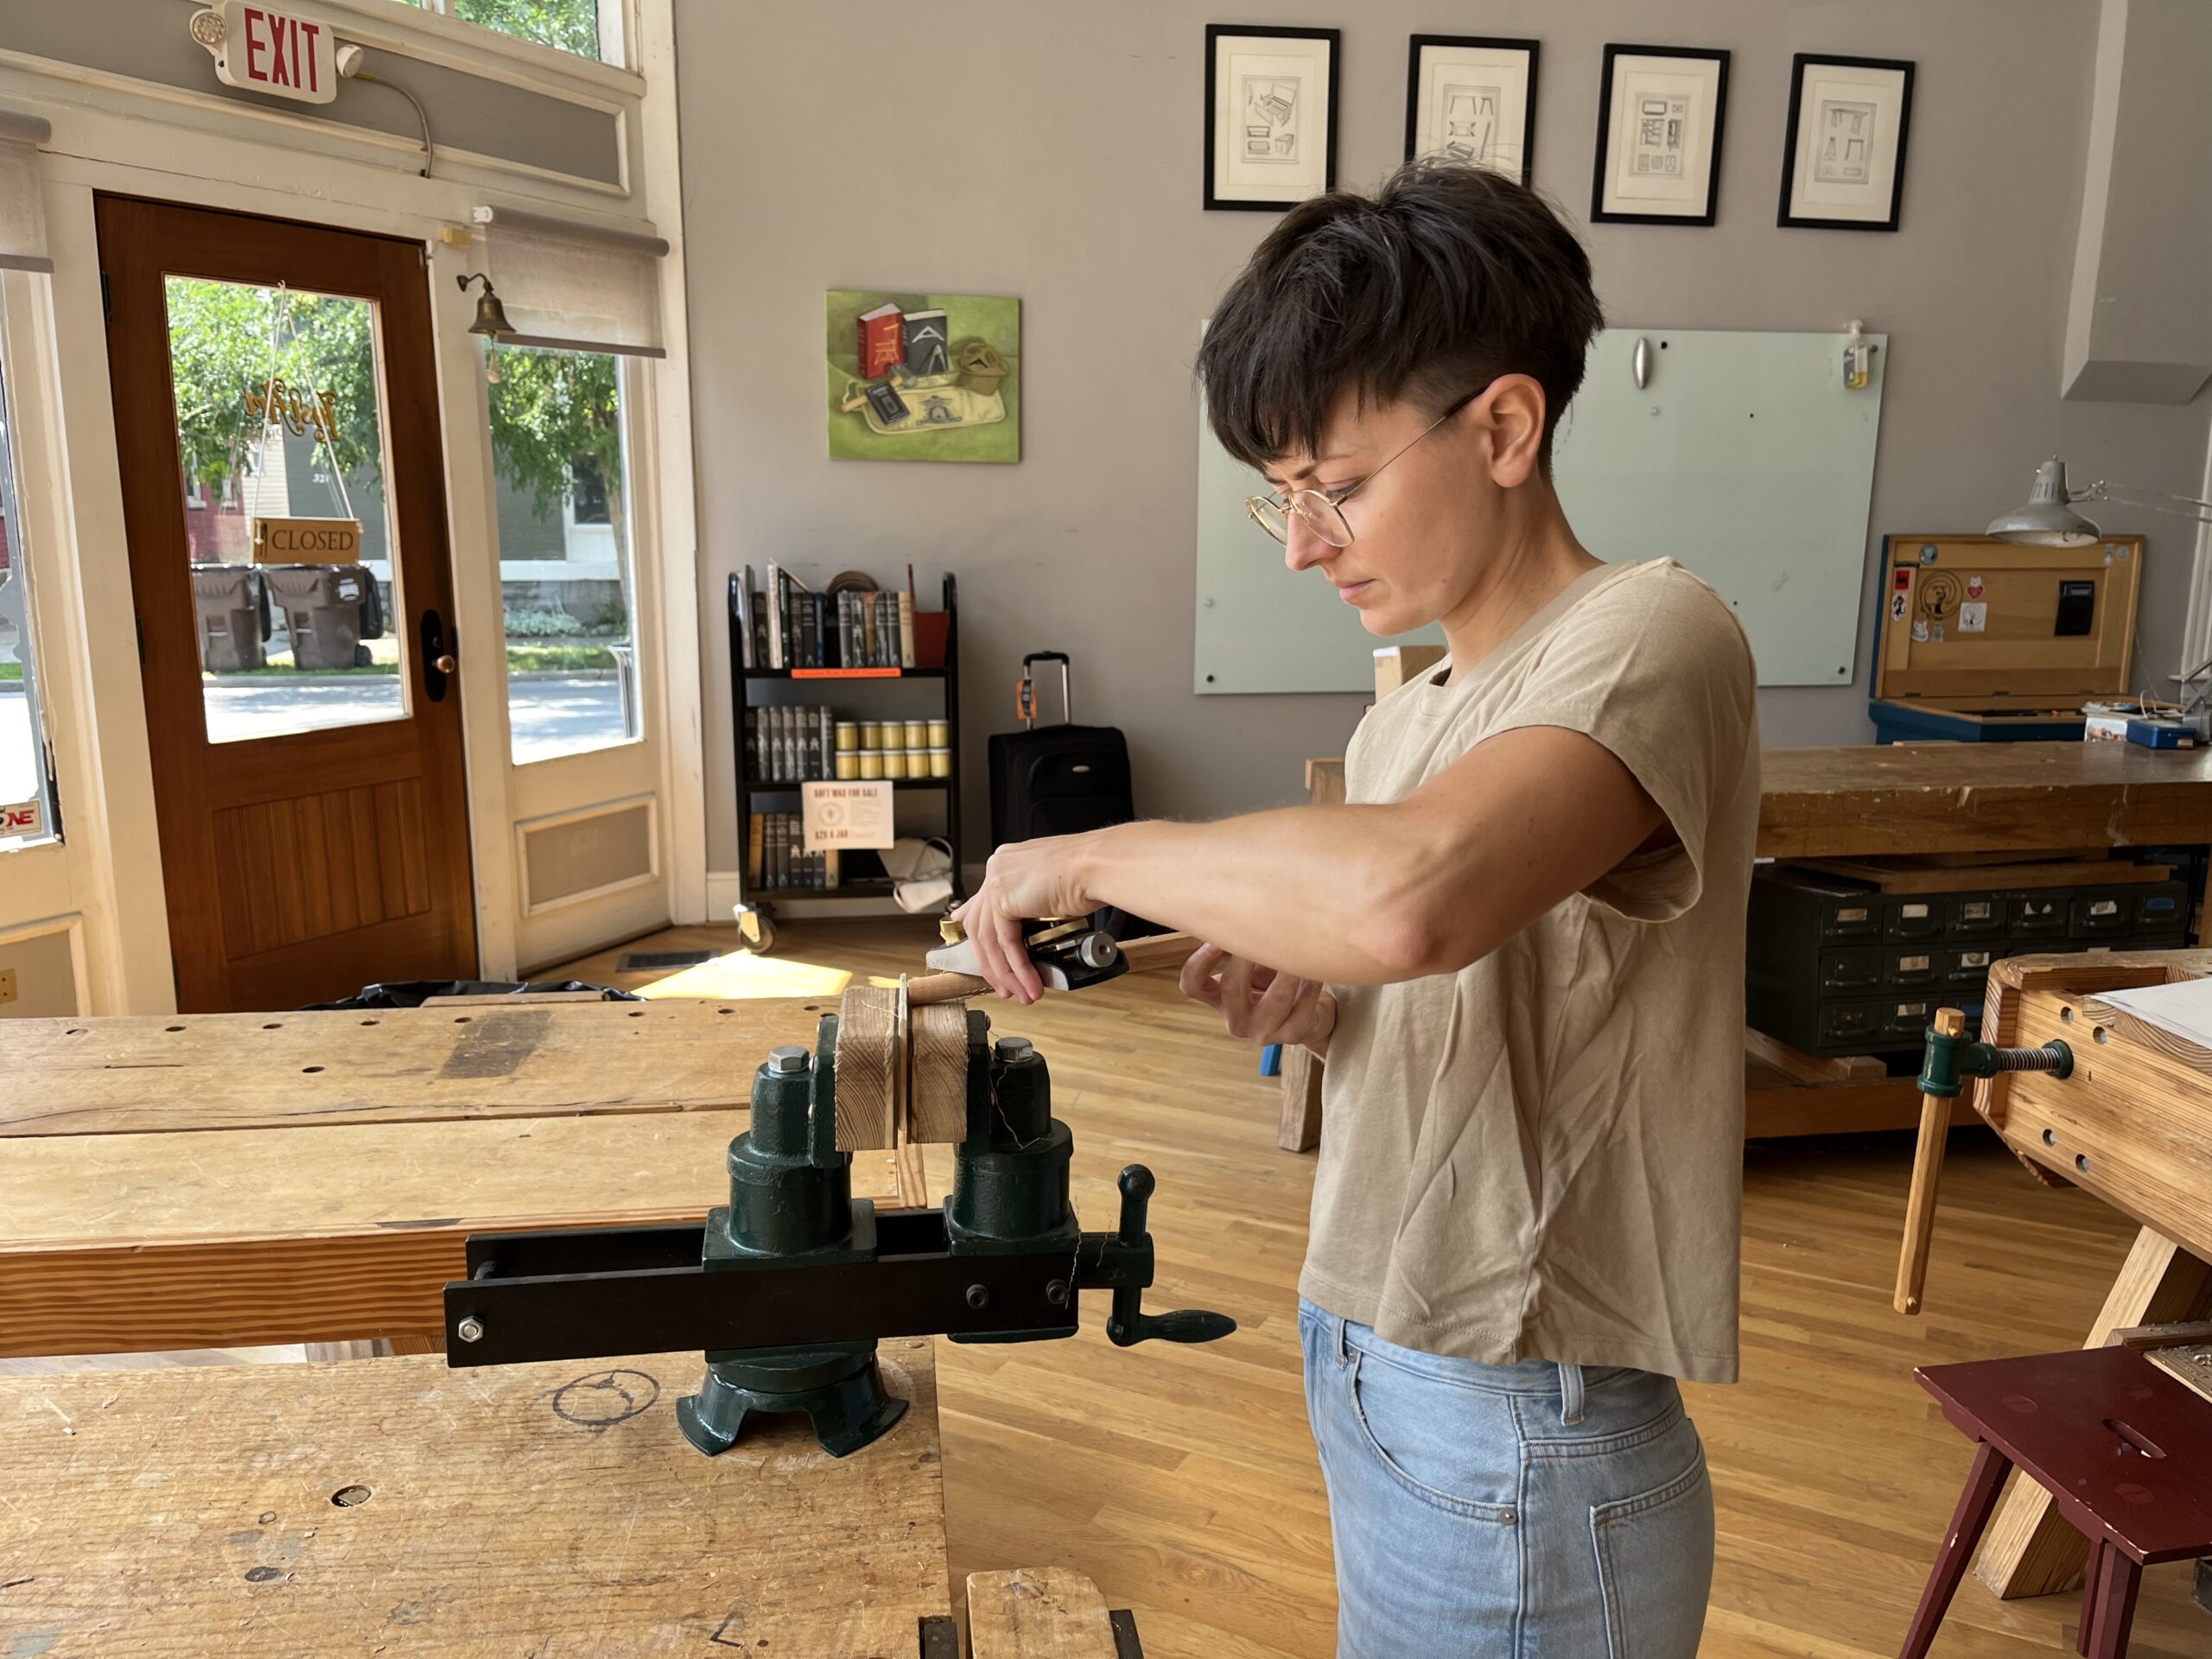
Now the difference in the photos may not look dramatic to you, but I truly could feel a difference. The ability to lower my hands nearly 2″ allowed my shoulders to relax. This immediately relieved tension and allowed my arm muscles do most of the work.
I also noticed the stick’s placement against my body. With the base located underneath the bench, the stick was able to sit lower on my chest, nearly against my belly. Lowering the stick’s gravity and having the stick land in an area that has more cushion than my sternum was more comfortable overall.
I know what you’re thinking and sure, this trick may not be the be-all and end-all solution to short-person-on-tall-bench carver’s vise issues. But I think this is a great start. My shoulders will be thanking me for this technique after planing seven long sticks.
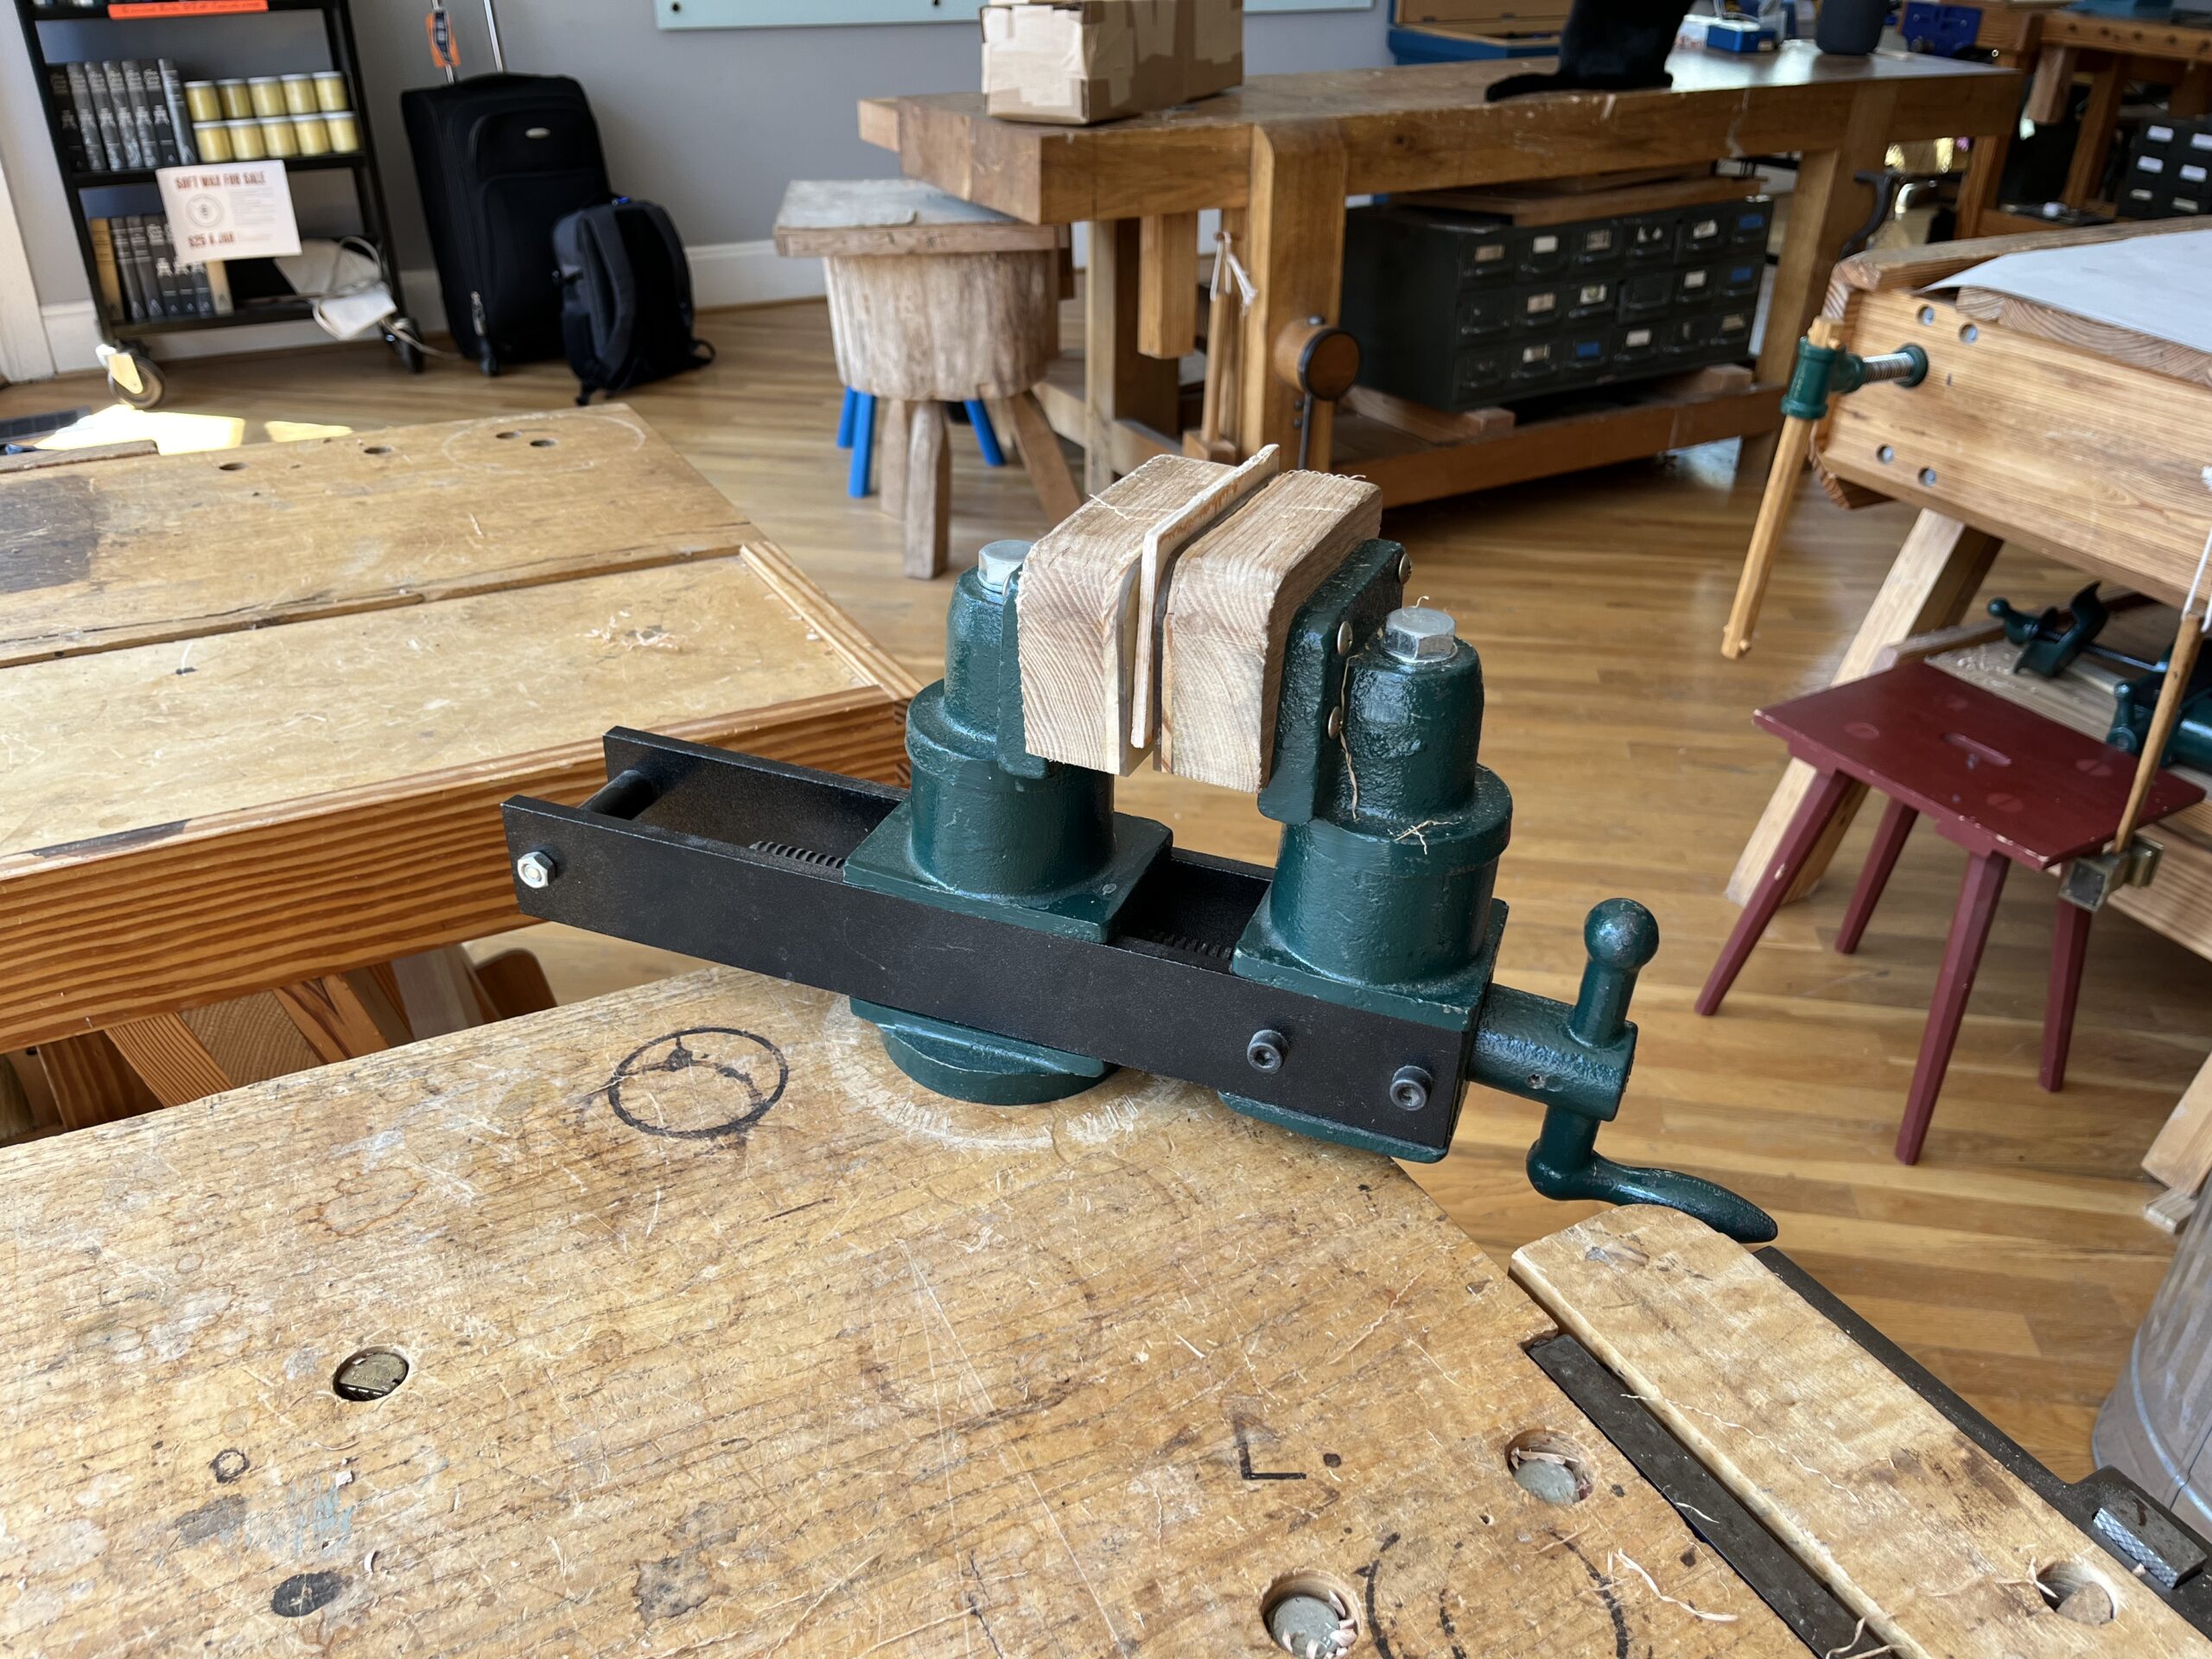
There is one problem with this arrangement, however. Because the vise is flush with the benchtop, the handle used to tighten the jaws bumps into the bench. You have to have the handle hanging fully off the edge, which limits the vise position.
All in all, though, I’m pleased with this simple modification. I plan to keep my vise in this position while working to continue feeling it out and work out any kinks along the way. What do my fellow shorties think?
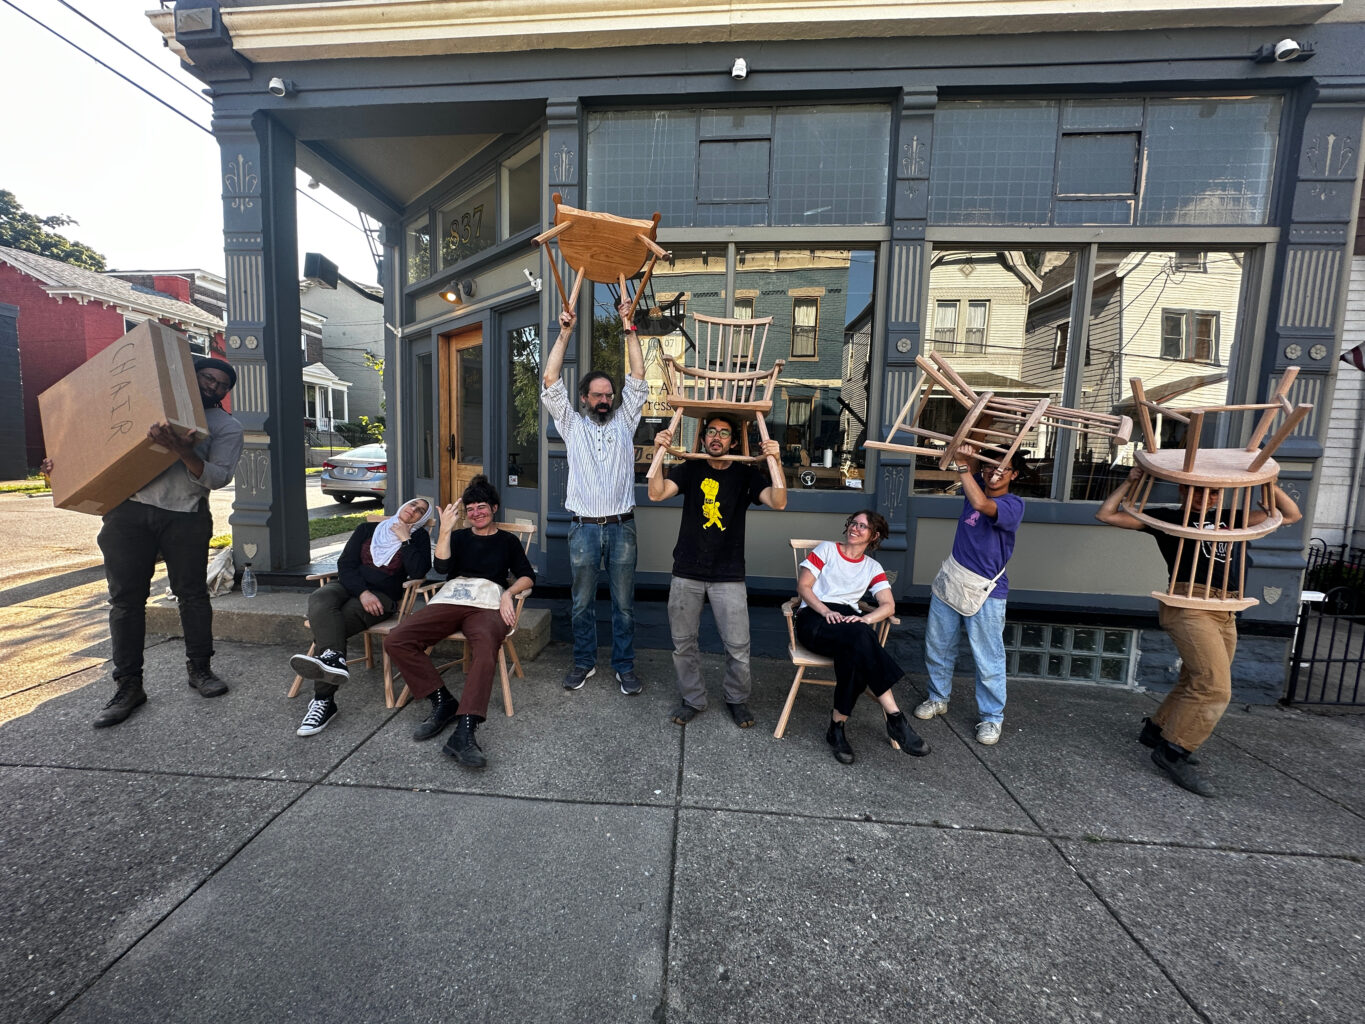
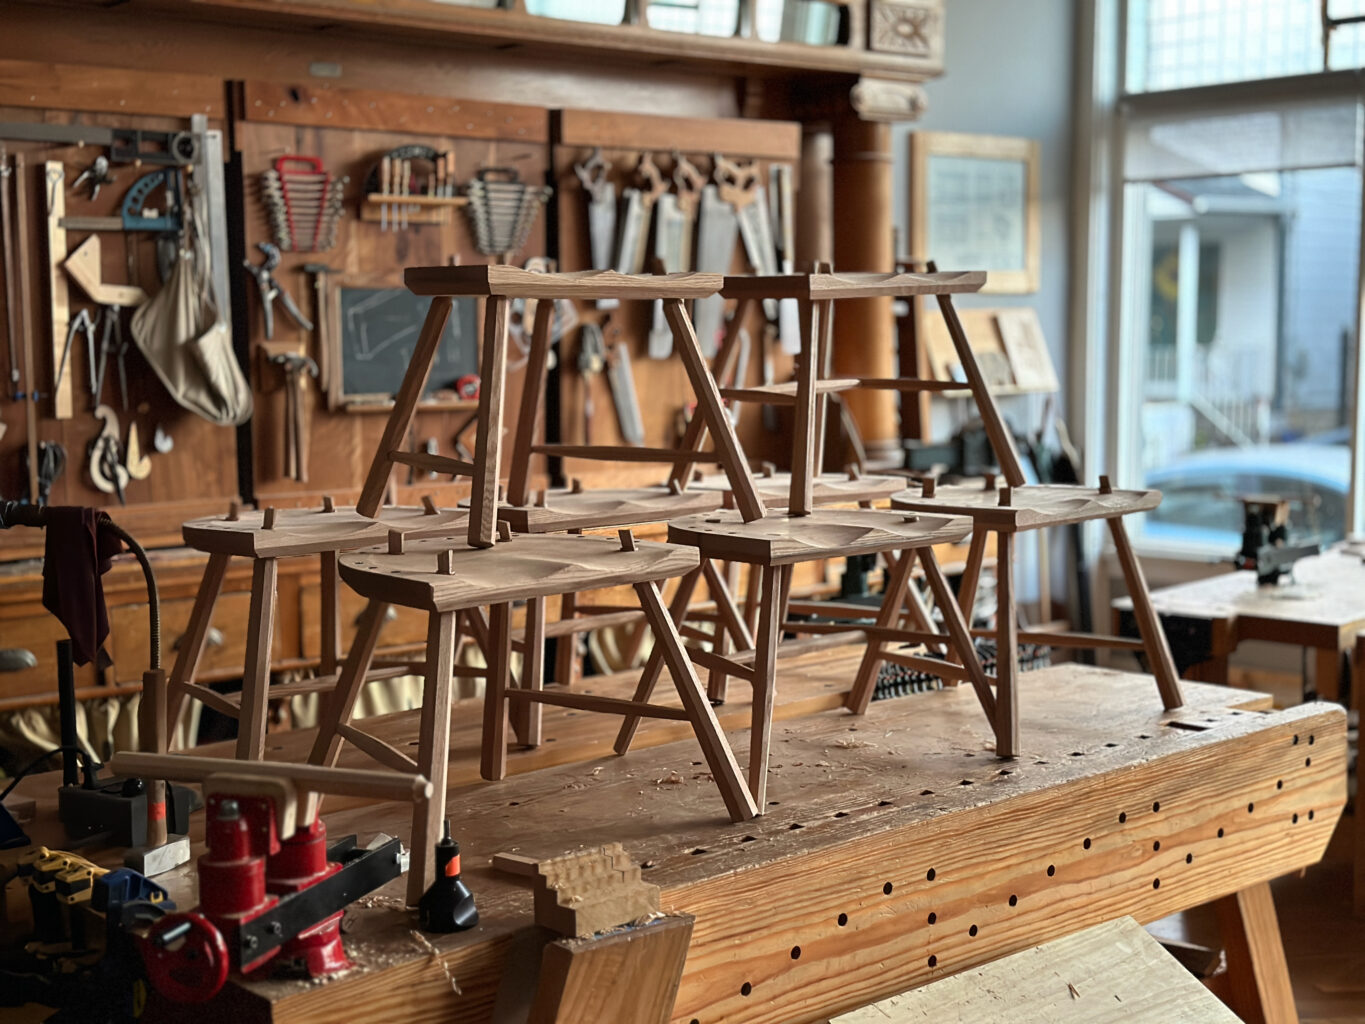
Applications are now open for this year’s full-scholarship class here at Lost Art Press. Six spots are available for six aspiring chairmakers to build a comb-back stick chair in beautiful Covington, Kentucky. The class will be held Sept. 16-20, 2024.
If you aren’t familiar, The Chairmaker’s Toolbox is an organization founded by fellow under-represented chair nerds for under-represented chair nerds. The Chairmaker’s Toolbox aim is to provide access and equity in the field of chairmaking.
Are you an aspiring chairmaker who has been historically excluded from the trade? This is your class. We encourage you to apply for the chance to work alongside like-minded individuals who share a love for all things chair.
Thankfully, things have calmed around here since the madness of last week’s multi-day move of inventory from storage to Anthe. With all books now on site we’ve been able to focus our energy towards the vision for Anthe (as well as packing and shipping orders, of course). Gabe, Mark and I began our day with scrapers and wire brushes, removing layer after layer of loose paint from the bricks in the front room so that we can paint what will eventually become a retail space for LAP. This project has a long way to go, but with the front room of Anthe facing a main avenue here in Covington, this space has potential.