A reminder that at 10 a.m. Eastern, registration opens for Covington Mechanical classes for the second half of 2025. See our ticketing site for more info (and to register at 10 a.m. Eastern).
— Fitz
A reminder that at 10 a.m. Eastern, registration opens for Covington Mechanical classes for the second half of 2025. See our ticketing site for more info (and to register at 10 a.m. Eastern).
— Fitz

Christopher Schwarz is the guest moderator for the next meeting of The Woodworker’s Book Club; at 6 p.m. Monday, March 2. The book under discussion is David Savage’s “The Intelligent Hand,” for which Chris was editor and publisher…and there endeth his suitability for the role.
Chris says, “I have never been to a book club and I don’t know what book clubs do or what you do during them, so I am completely qualified to be a moderator at the book club.”
So this ought to be fun!
– Fitz
Got a woodworking question? Post in the comments below between now and 5 p.m. Eastern, and we’ll do our best to answer. In between answering, Chris is getting ready for an upcoming class and video shoot with Jerome Bias, and I’m working on a personal project (so if we don’t answer right away, that’s why).
— Fitz
Comments have been closed. See you on April 19!
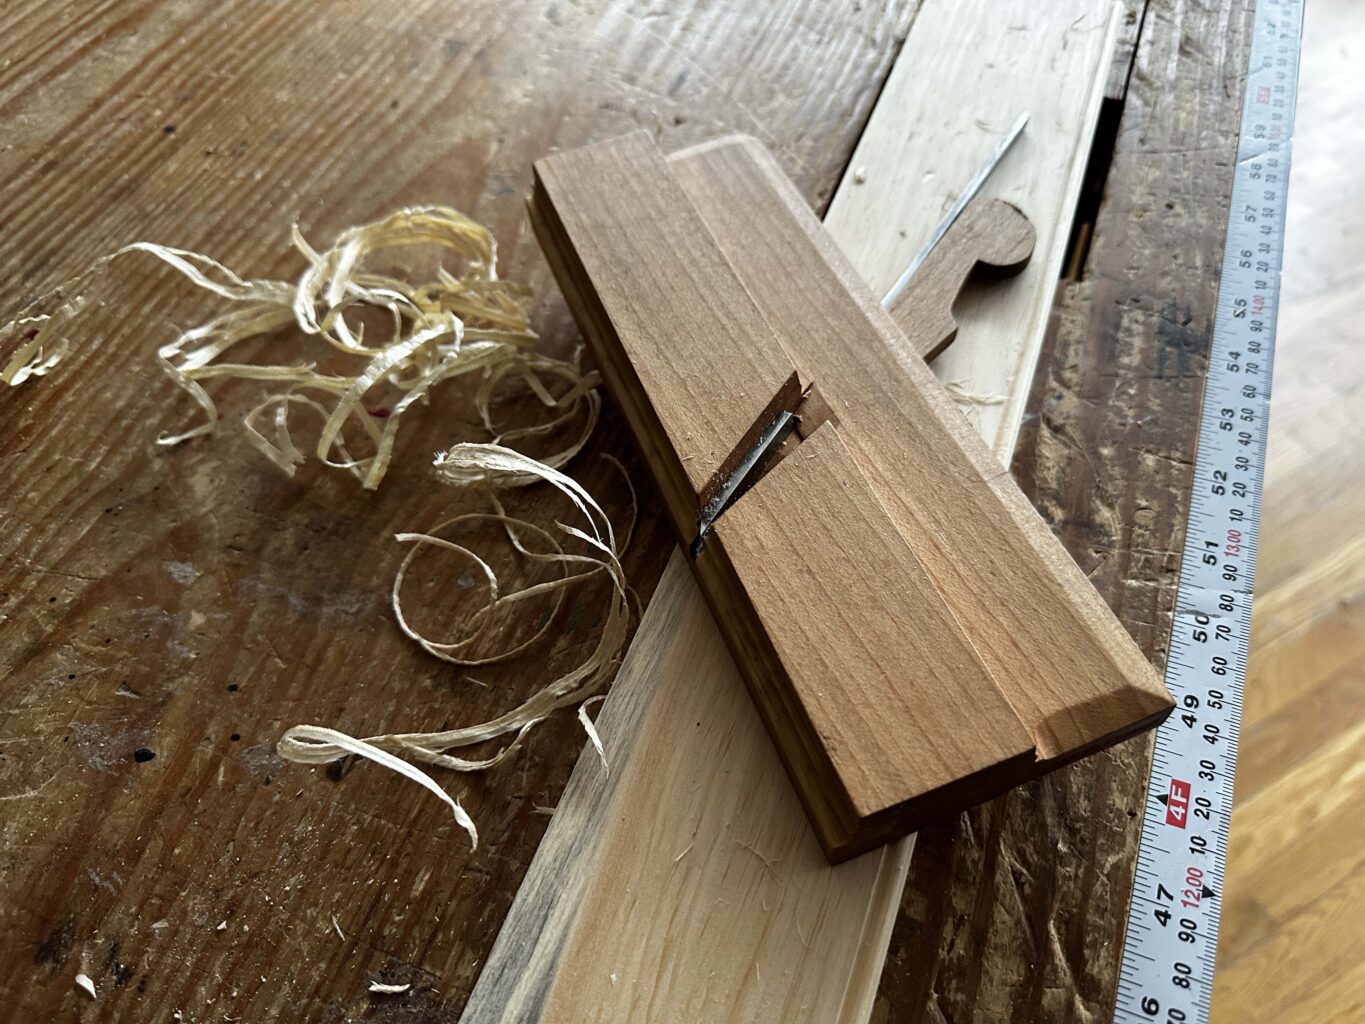
Most of the classes I teach involve at least one moment of fear for me, and that’s when I lend students my 3/16″ Philly Planes beading plane. I love this plane, and love to put a bead on just about everything. Once you try one, you can’t stop! I’d be bereft without this tool.
A bead not only dresses up the edge of the board, it creates a shadowline and makes a small gap look intentional (think backboards). And, it helps to protect a fragile corner by removing a bit that might otherwise break off (say, at the top edge the top skirt of an Anarchist’s tool chest, where the lid drops down over and over).
But a beading plane is a bit of a delicate tool. If you don’t drop the plane back into the cut properly, it’s easy to snap off the boxing. And it’s best to use a light and gentle touch. In my experience, both of these can be difficult for new woodworkers; the tendency is to push too hard (think starting a saw cut) and to attack the work.
But I want students to experience the joy a simple bead can bring; a few passes with the plane, et voilà – now your project is fancy! So I demonstrate the use several times, make sure the plane is properly set, issue dire warnings about what will happen to a student if they break my plane (1), then clench my teeth and hand over the tool.
So far, I’ve been lucky – no breaks. And lots of happy faces when the students cut their first beads. (And I hope a run of sales on beading planes.)
Sure, I have other beaders (because you can’t have just one – and beading planes lead to the acquisition of more moulding planes, then a few hollows and rounds, then…), but this is the tool amongst them that I like the best – not only because it was my first, but because it gives me the least trouble in a classroom setting, usually keeping its setting through six new users. (Note: Other beaders – Bickford, Old Street Tool, Caleb James, Red Rose, Clark & Williams – are excellent; this particular Philly Planes tool is simply the one with which I’ve had the most success while teaching.)
Below are a few paragraphs and photos from my book “Dutch Tool Chests” on how to use this plane, in this case for the bottom lip of the chest, onto which the fall front gets dropped over and over.
A beading plane (and all moulding planes) work best on only one corner of a board: the corner on which the grain is rising out on both faces in the direction of the cut (the plane cuts in only one direction).
Moulding planes also work better in softwoods.
But know that you can often get away with breaking the bead rules – especially in mild grain and softer hardwoods, such as walnut and cherry.
So give it a go no matter your species – and if it looks terrible (i.e., it tears out), turn that ugly bead into a nice chamfer with a block plane. Or just start (and finish) with a chamfer if you’re going for a more utilitarian look (or don’t have a beading plane).

Identify the lip’s best corner (if you’re beading), then clamp the workpiece to your bench in an end vise or wagon vise, or use a sticking board. Bead the edge.
Hold the plane perpendicular to the work, with the iron on the wood and the fence pressed to the edge of the workpiece (it’s easy to get the position wrong and push the plane’s fragile boxing into the wood). Your right hand’s job is to push forward. Your left hand’s job is to hold the plane at the correct angle, and in contact with the workpiece from above and below the tool.

Push forward, following through on the cut. Keep the plane in the cut (2), pull straight back, then push forward again. Repeat until the depth stop contacts the wood and the plane stops cutting. Be careful as you pull back; that boxing can easily break off if you stress it by pulling sideways.

After the plane stops cutting, you might notice some fuzzy bits in the quirk; grab a handful of the plane shavings to burnish those away.
– Fitz
(1) They will have to watch me cry; no one wants that.
(2) Once you have a few beads under your belt, it’s OK to lift the tool and reposition it at the start of the cut…but make sure you get the fence in the correct position so as not to A) break your plane’s boxing and B) ruin your bead.
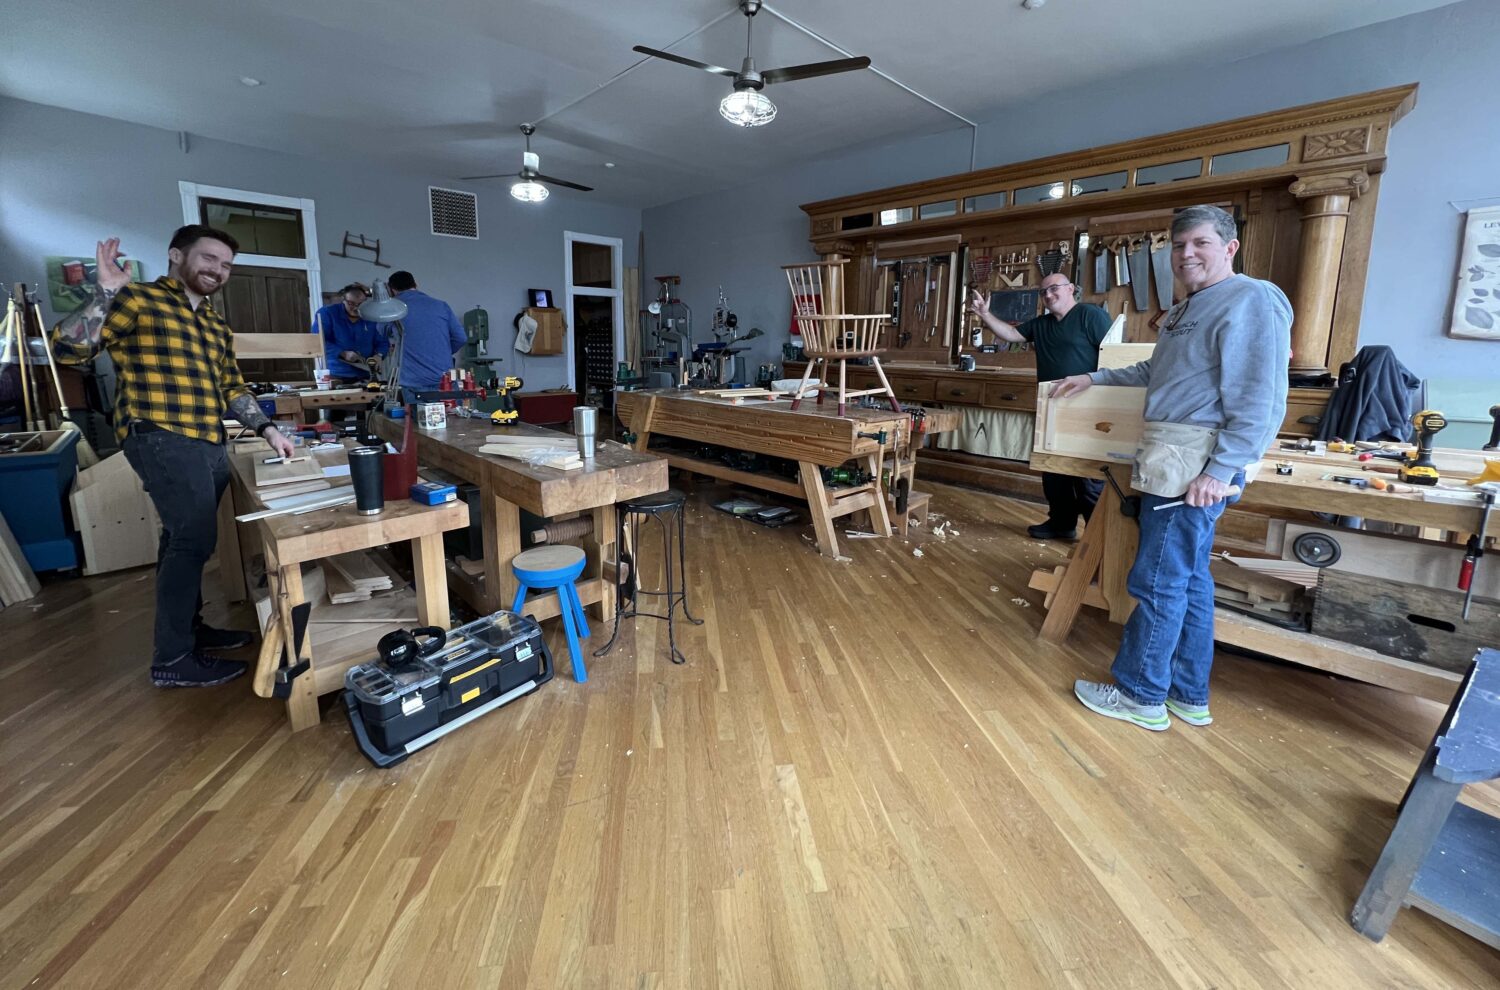
Mark your calendars: Next Monday (Feb. 17, 2025) at 10 a.m. Eastern, registration opens for Covington Mechanicals Classes for the second half of 2025. All classes take place in the Lost Art Press shop in Covington, Kentucky, in the city’s entertainment district – which means there are plenty of options for accommodations and food/drink, as well as fun (beyond the fun of woodworking!).
Click through on the titles below to find out more about each class – and know that our classes tend to sell out quickly (we have room for only six students in most classes), but do join the waitlist, as we often have to fill a slot or two.
Build a Cricket Table with Derek Jones, July 31-Aug. 1
Carving Oak 17th-Century Style, with Peter Follansbee, Aug. 17-20
Make a Dovetailed Step Stool with Megan Fitzpatrick, Sept. 6-7
Green Woodworking with Elia Bizzarri & Eric Cannizzaro, Oct. 6-10
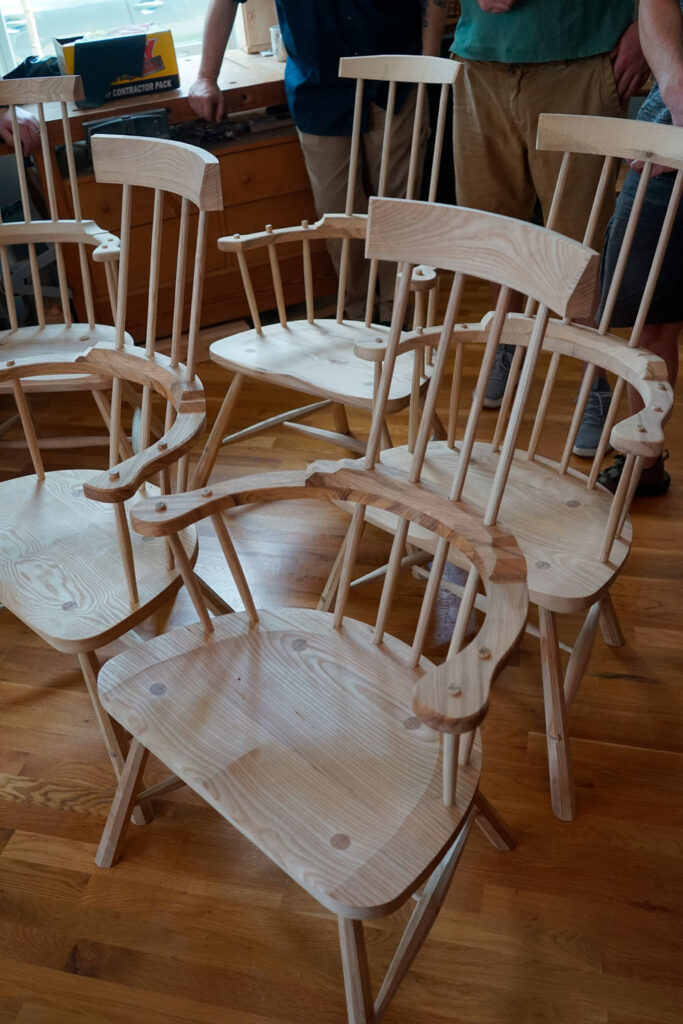
Build an Irish Armchair with Christopher Schwarz, Oct. 25-28
Build a Welsh-style Comb-back Chair with Christopher Schwarz, Nov. 12-16
Compound-Dovetail Wooden Carrier with Andy Glenn, Nov. 21-21
Build a Dutch Tool Chest with Megan Fitzpatrick, Dec. 12-14
If you have questions about classes, please see our FAQ page – and if you don’t find the answer there, send questions to the email noted thereupon.
– Fitz