No matter where you place your holdfast holes on your benchtop, we recommend you have a reason for each one – not just a vague feeling about its location.
The pattern we recommend is based on historical examples, including the writing of A.J. Roubo and the dozens of vintage benches I’ve examined during the last 10 years. Each hole has a purpose.
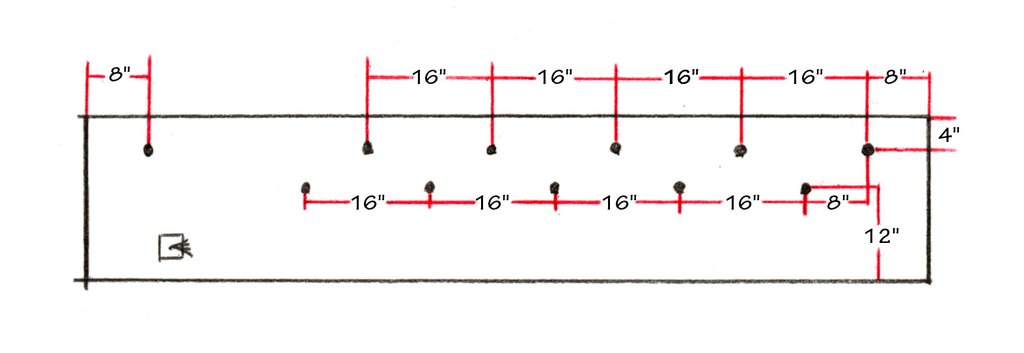
Here’s the map.
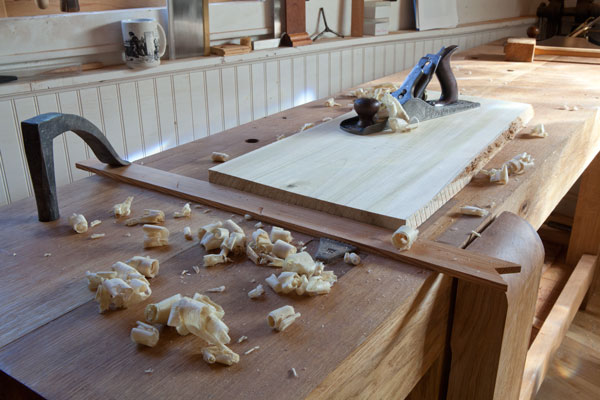
The hole at the top left of the drawing allows you to secure a thin batten to the bench that is braced by your planing stop – creating a wide planing stop for smoothing wide panels. (See the photo above.)
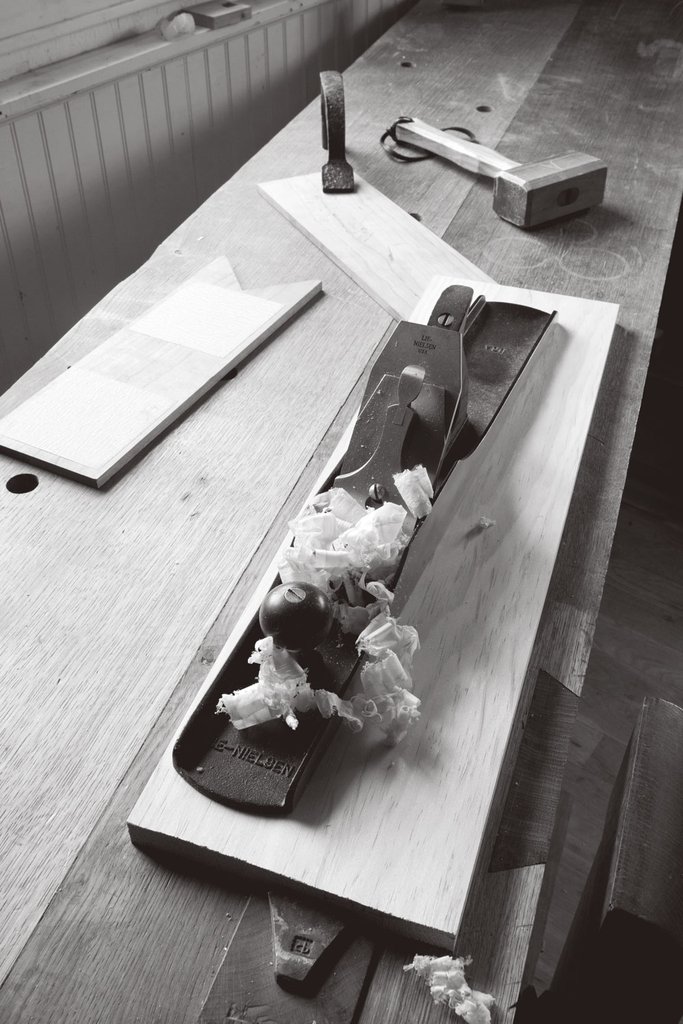
The two rows of holes along the benchtop are for battens and a “doe’s foot” appliance. These rows of holes allow you to work without an end vise. The back row of holes is used with a doe’s foot to secure long boards for traversing (working across the grain) or with-the grain planing.
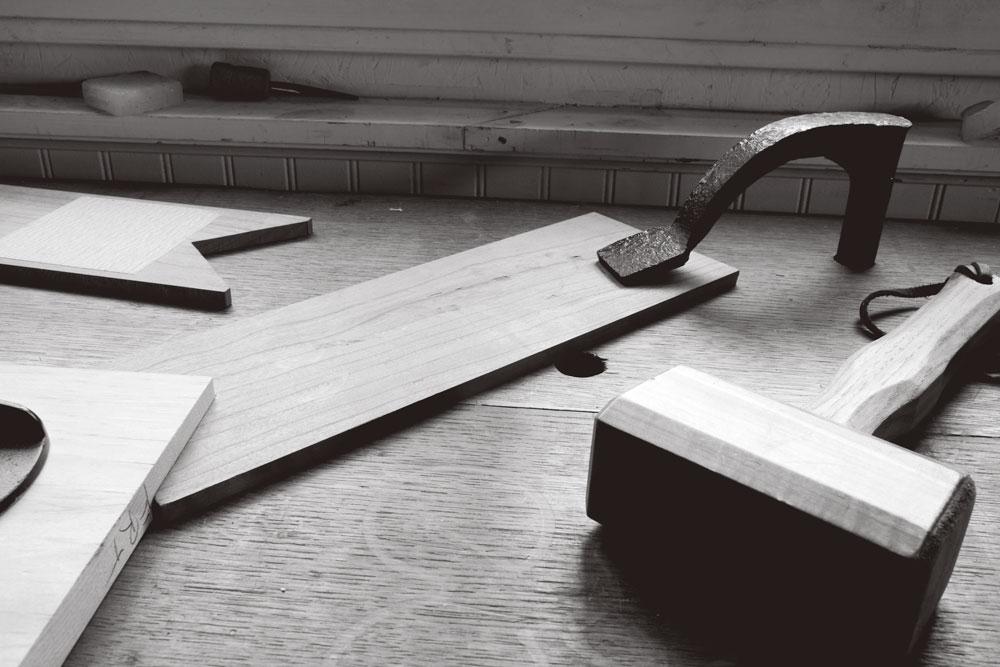
The front row of holes can be used with a doe’s foot as well. I also use this row of holes to secure battens to the benchtop to create a “sticking board” for cutting mouldings.
That front row of holes is also frequently used for securing work to the bench for mortising and sawing. I also recommend you build a bench hook that is just wide enough so you can use a holdfast to secure the work to the bench hook – a handy feature when cutting tenon shoulders.
Oh, and don’t forget to drill a few holdfast holes in the bench’s legs so you can support panels and wide boards from below.
— Christopher Schwarz


