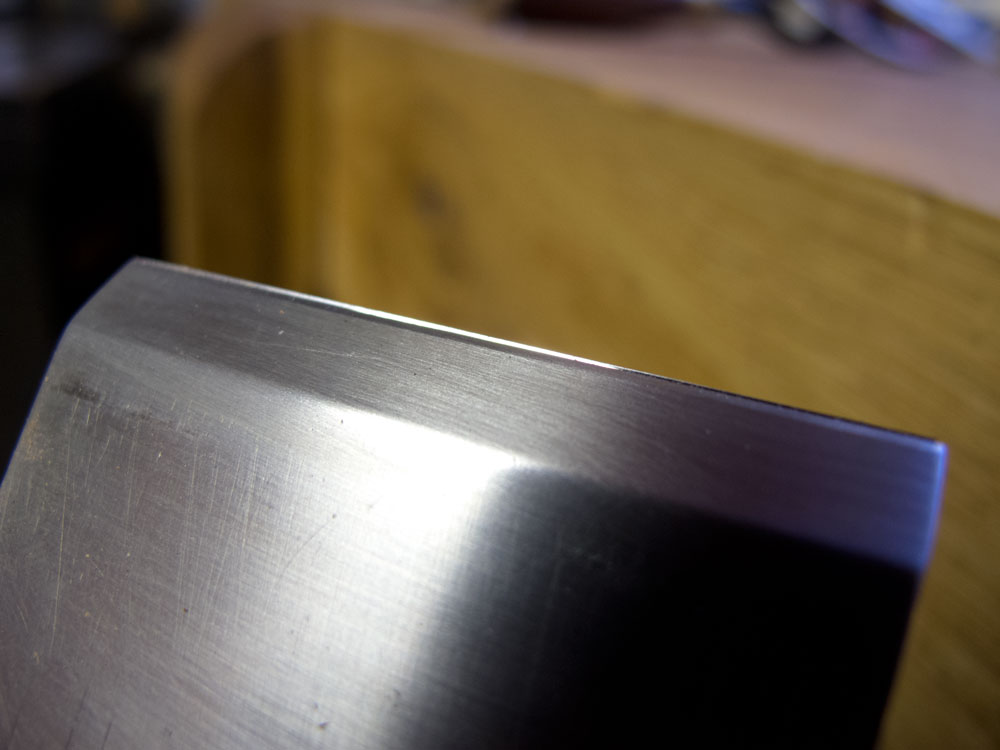
Rhett Fulkerson of Nice Planes in Frankfort, Ky., showed me a cool trick for setting a chipbreaker quickly, precisely and perfectly parallel to the cutting edge.
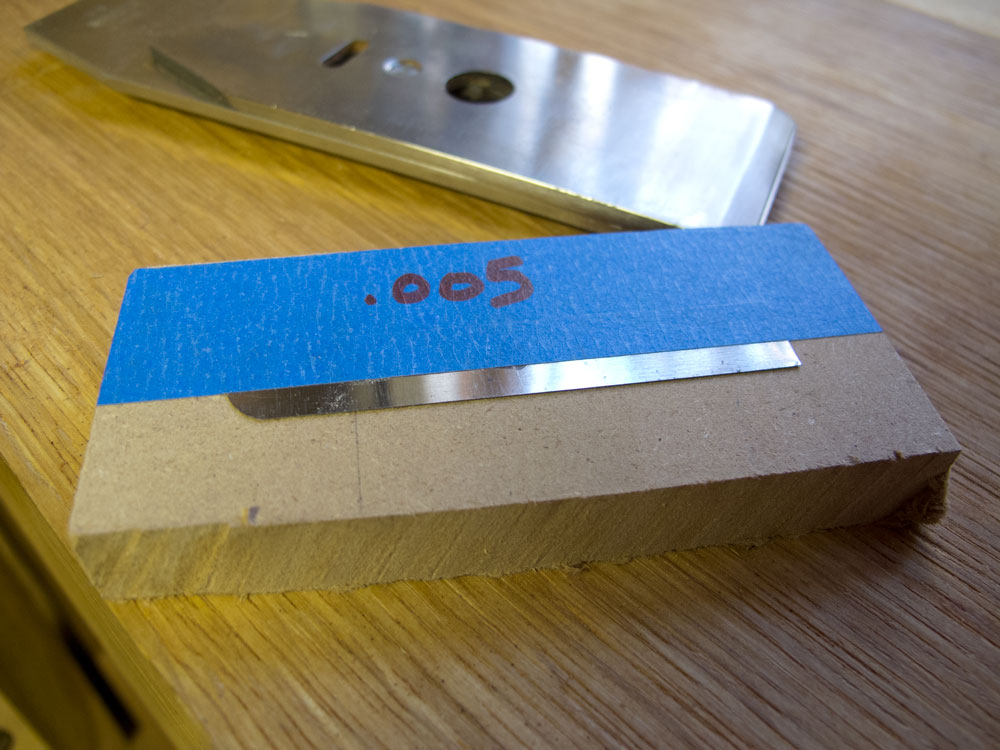
Take a feeler gauge whose thickness is equal to the distance you want to set the breaker back from the cutting edge. In this example, I used a .005” feeler gauge. Tape the feeler gauge to a flat surface.
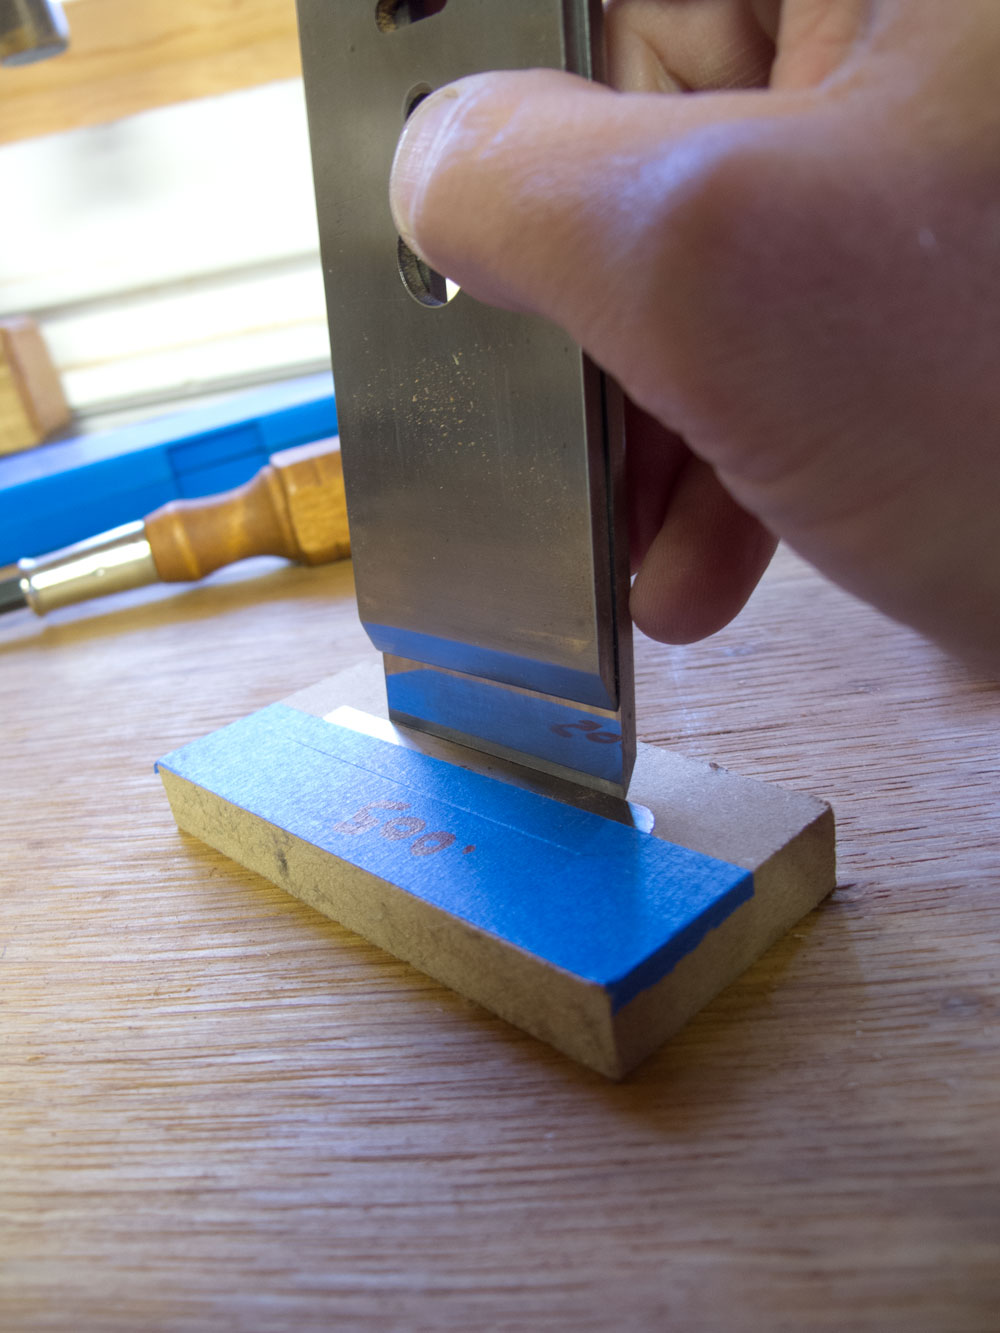
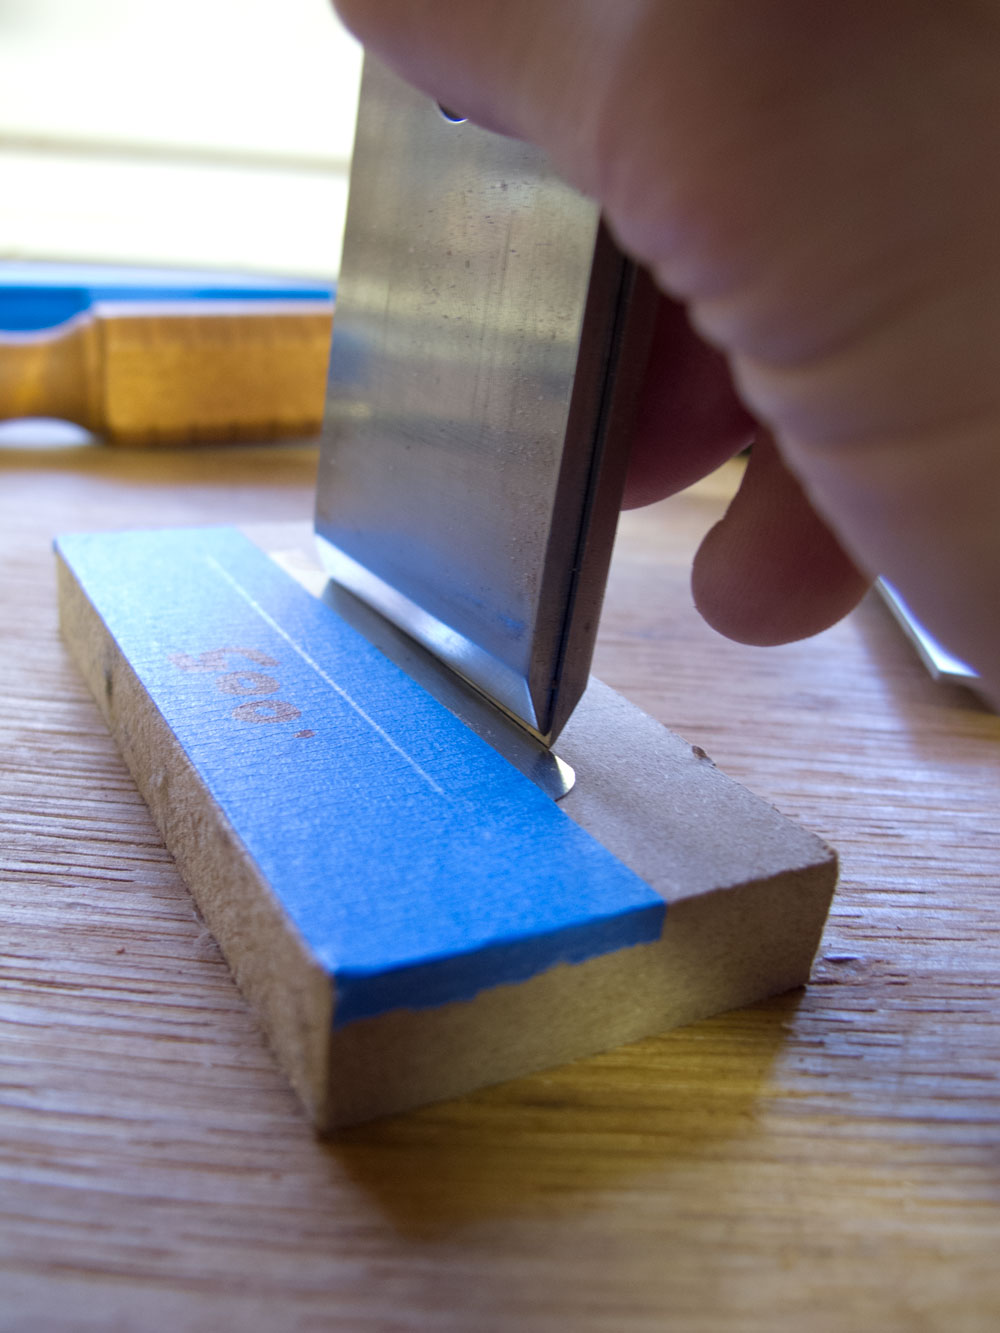
Touch the back of the iron to the flat surface and against the edge of the feeler gauge. Slide the breaker down the back of the iron until it contacts the feeler gauge. If your iron has a curved cutting edge, apply the downward pressure in the center of the iron and the breaker.
Tighten the breaker’s screw. You are done.
Rhett showed me this trick during the Lie-Nielsen Hand Tool Event in Cincinnati, Ohio, this weekend. I also got to check out his planes, his plane kits and his new irons and chipbreakers that you can use to make your own wooden handplanes.
The O1 irons and breakers are very nice. The breakers have a machined lip like the improved chipbreakers found on Lie-Nielsen and Veritas chipbreakers. So the parts precisely on the back of the iron.
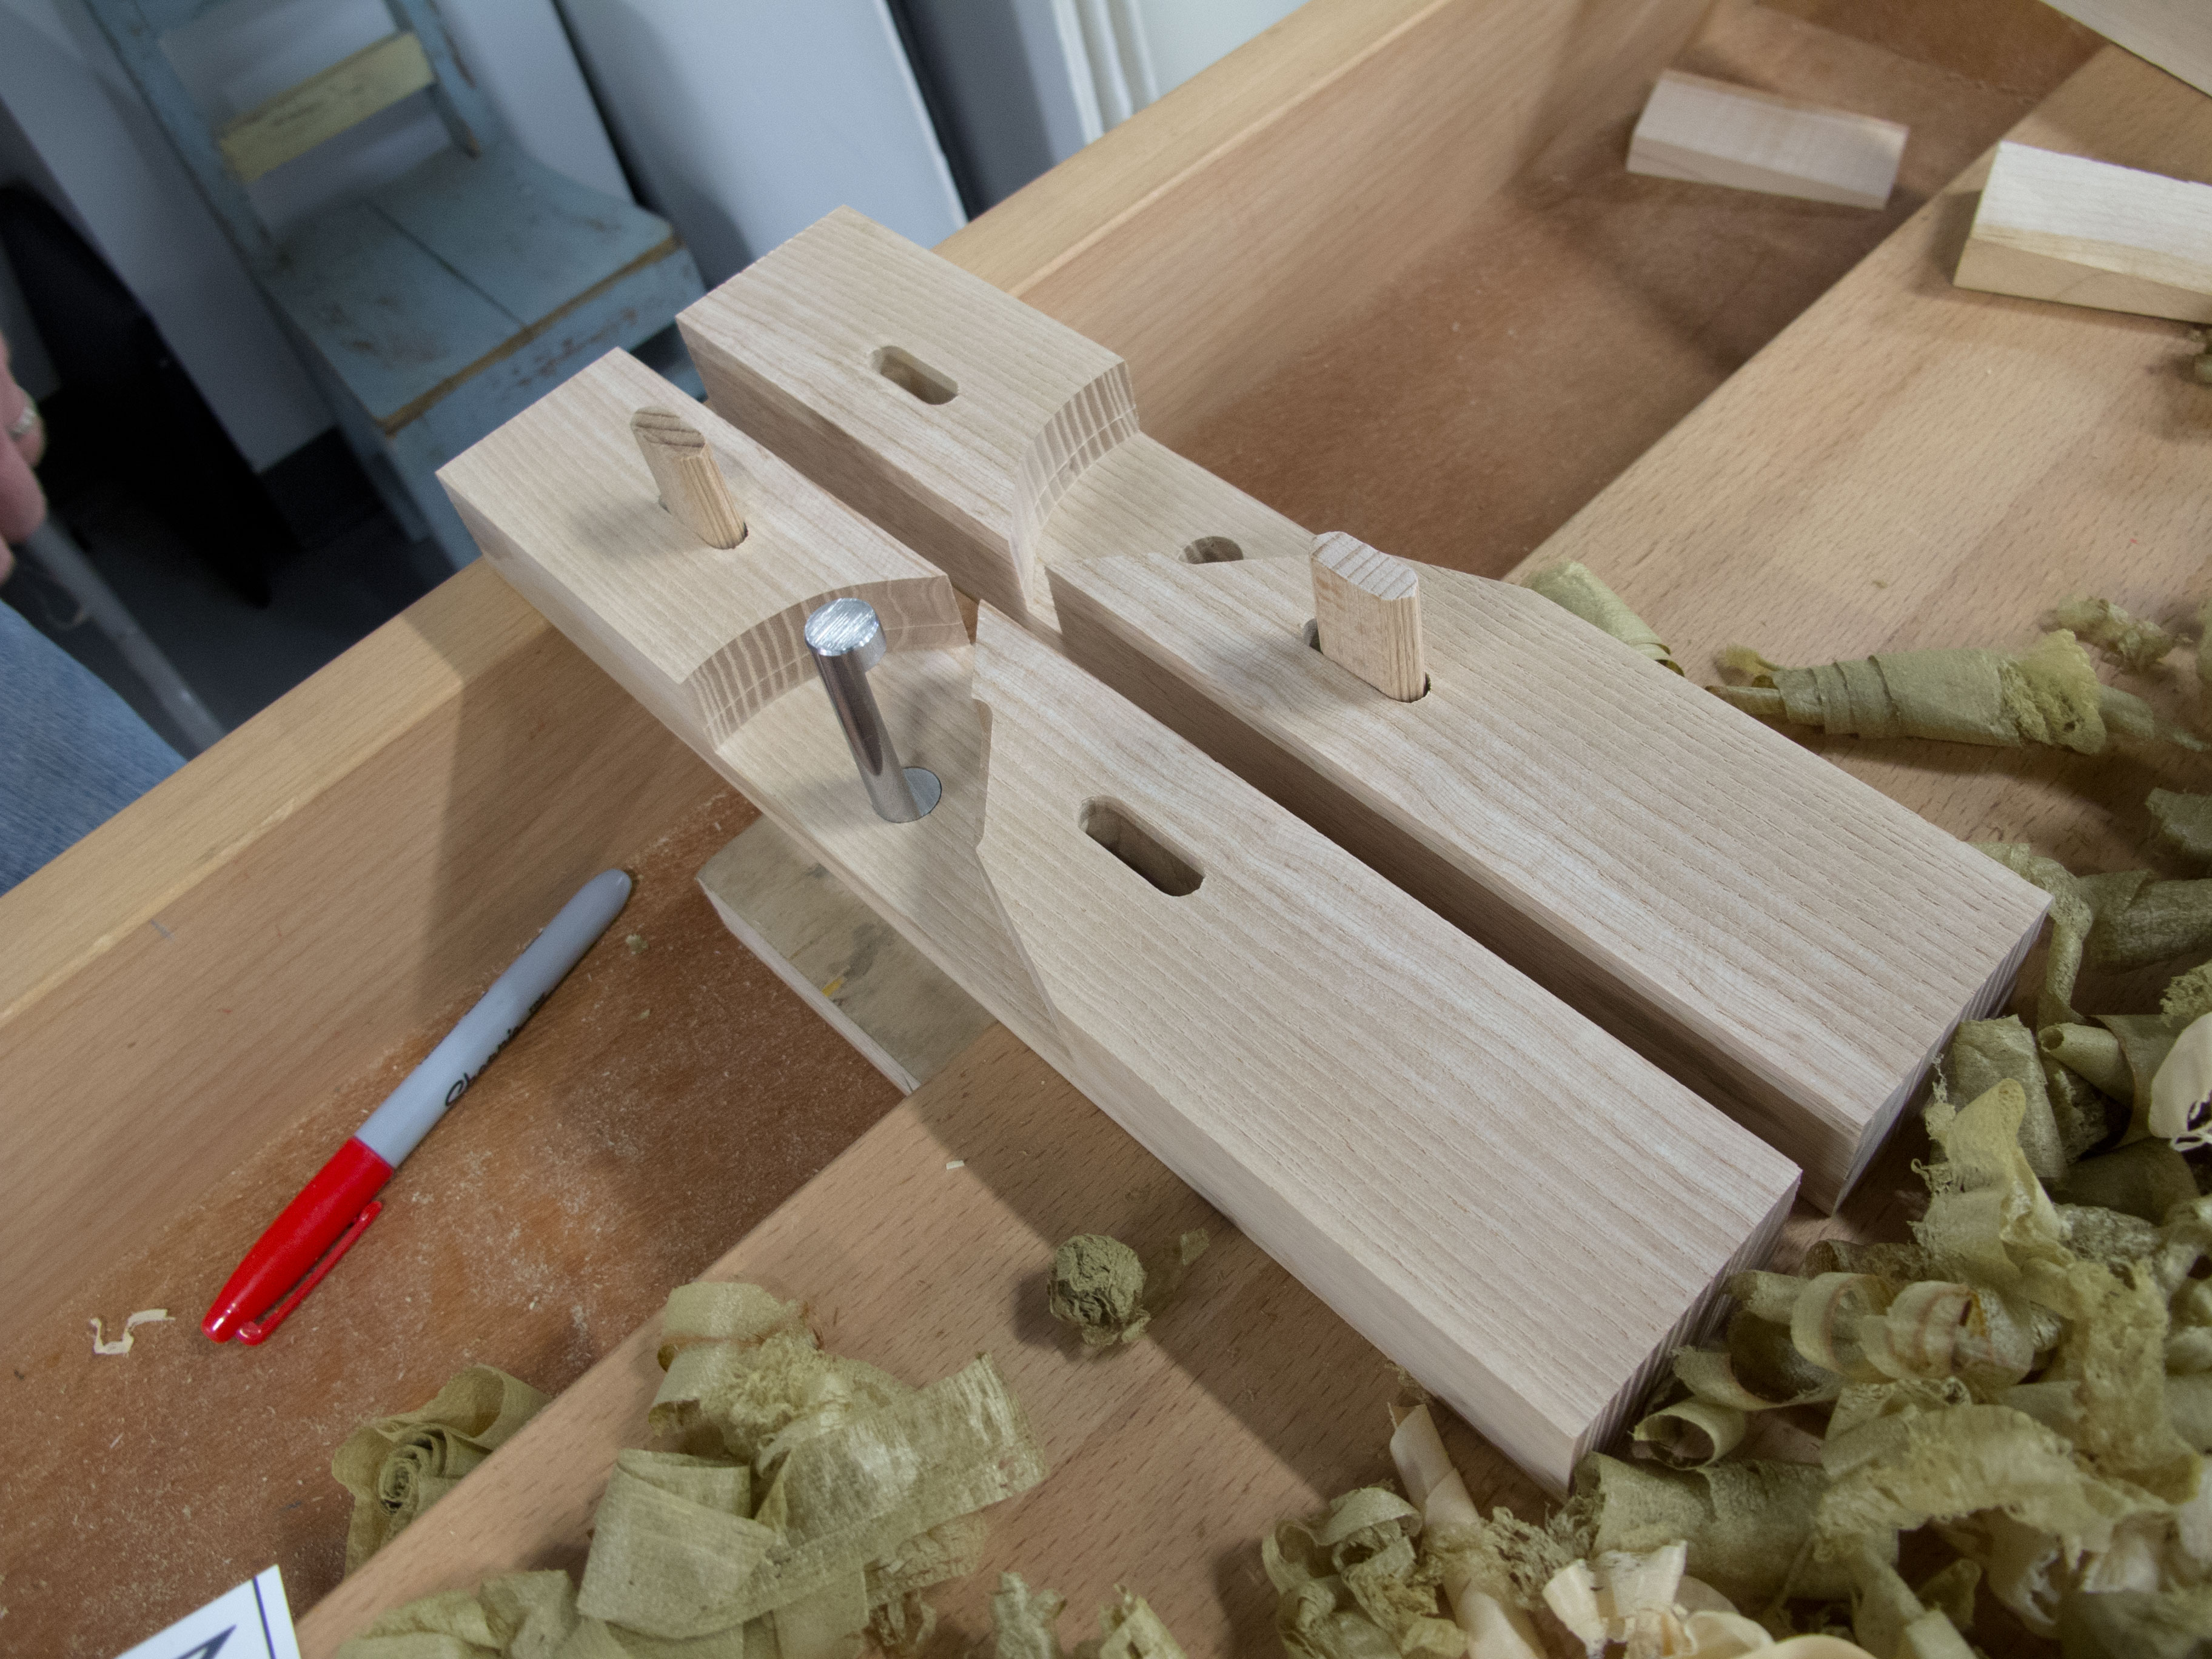
His plane kits in maple are also sweet. Thanks to pre-cut Dominos in both halves of the plane body, it is almost (almost!) impossible for the parts to shift as you glue them up. If you are looking for a plane kit, this is a very good one.
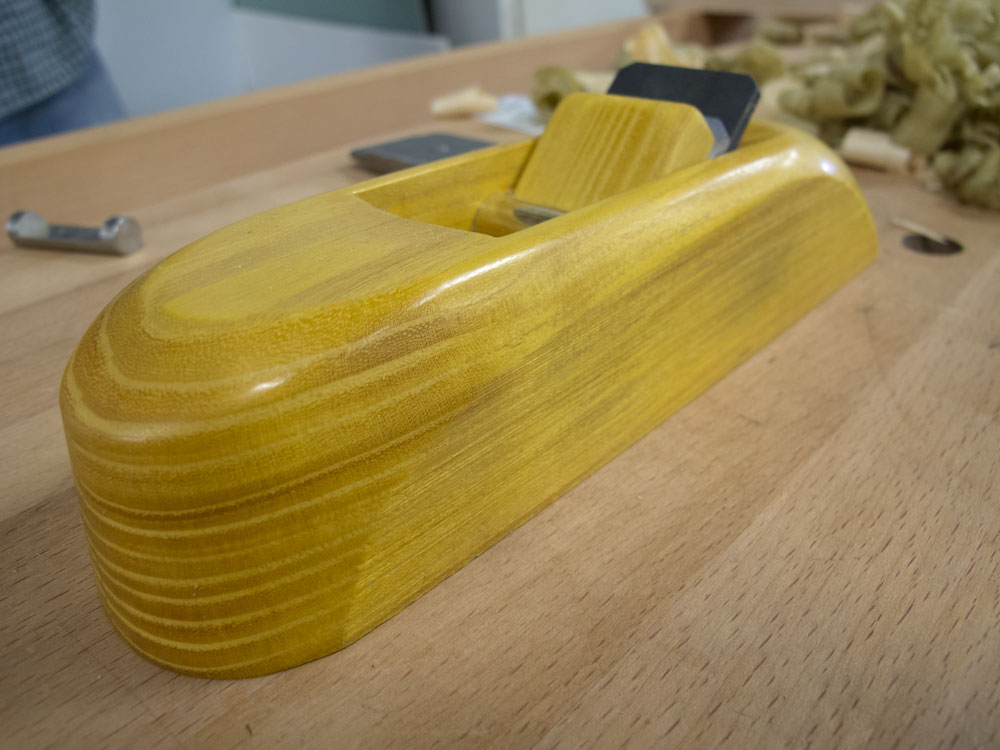
And his finished planes are excellent as well. Since I first saw Rhett’s planes, they have become sleeker and more comfortable in the hand. Definitely check out his site if you have any interest in wooden planes.
(Note: His site says his company is Nice Ash Planes. He recently dropped the “ash” as he started using other woods.)
— Christopher Schwarz

WOW. I really love such simple incredible ideas. I will be using this.
PS. Thanks for Charleston. The house tour was just excellent. Also now reading new book. Besides the great wisdom, the book just feels so GOOD.
Whoa! The chip breaker can be set that close to the iron’s edge? And I thought I was pushing it at 1/16 of an inch.
Try it. You will defeat tear-out forever.
Wouldn’t it be better to tape it to some softer surface like a piece of wood rather than a stone that might damage your plane iron’s polished edge?
Take another look. The photo shows a piece of mdf. Of course that opens up the question of why The Schwarz has mdf laying around his shop.
For setting chipbreakers, duh. 😀
To make all of my furniture with. I’m a grain-painter.
I beg to differ. Setting the cap iron is entirely dependent on what sort of wood you are planing as well as on the plane itself; there is NO one correct setting. The method shown above would be far too troublesome for me. Quite apart from the fact that the cutting edge of a wide smoother, if used for actual surface (not edge) smoothing is not straight.
I don’t believe anyone said anything about there being only one setting. As far as I know, this is a discussion about how to set the breaker consistently. The .005″ setting shown above is, as I stated, only an example.
Brilliant. Now, I need to purchase new feeler gauges!
I stopped at Rhett’s both last Friday, he offered another option to using a feeler gauge, a business card, it gives you the consistent offset across the iron with the benefit on not purchasing feeler gauges. Nice guy, Nice planes, I haven’t ventured into the wooden plane realm, but his make your own kit, iron, chip breaker setup makes seam reasonable straight froward.
Even better. Great tip. Now all of my business cards will look well worn when I hand them out.
Way cool cross pin. Always good to see real humans making and selling things, especially the means to make other things.